Building your skill set could be a very important thing, especially in today’s world, and what’s the best way other than online learning classes. You are not exposing yourself to pandemics, staying safe in the warmth of your home and most of the courses are free.
Presented here are sites that I believe will and can help you with your goal of learning desired material whatever that might be. Sites are listed in no particular order with a description of what each has to offer.
Coursera
https://www.coursera.org/
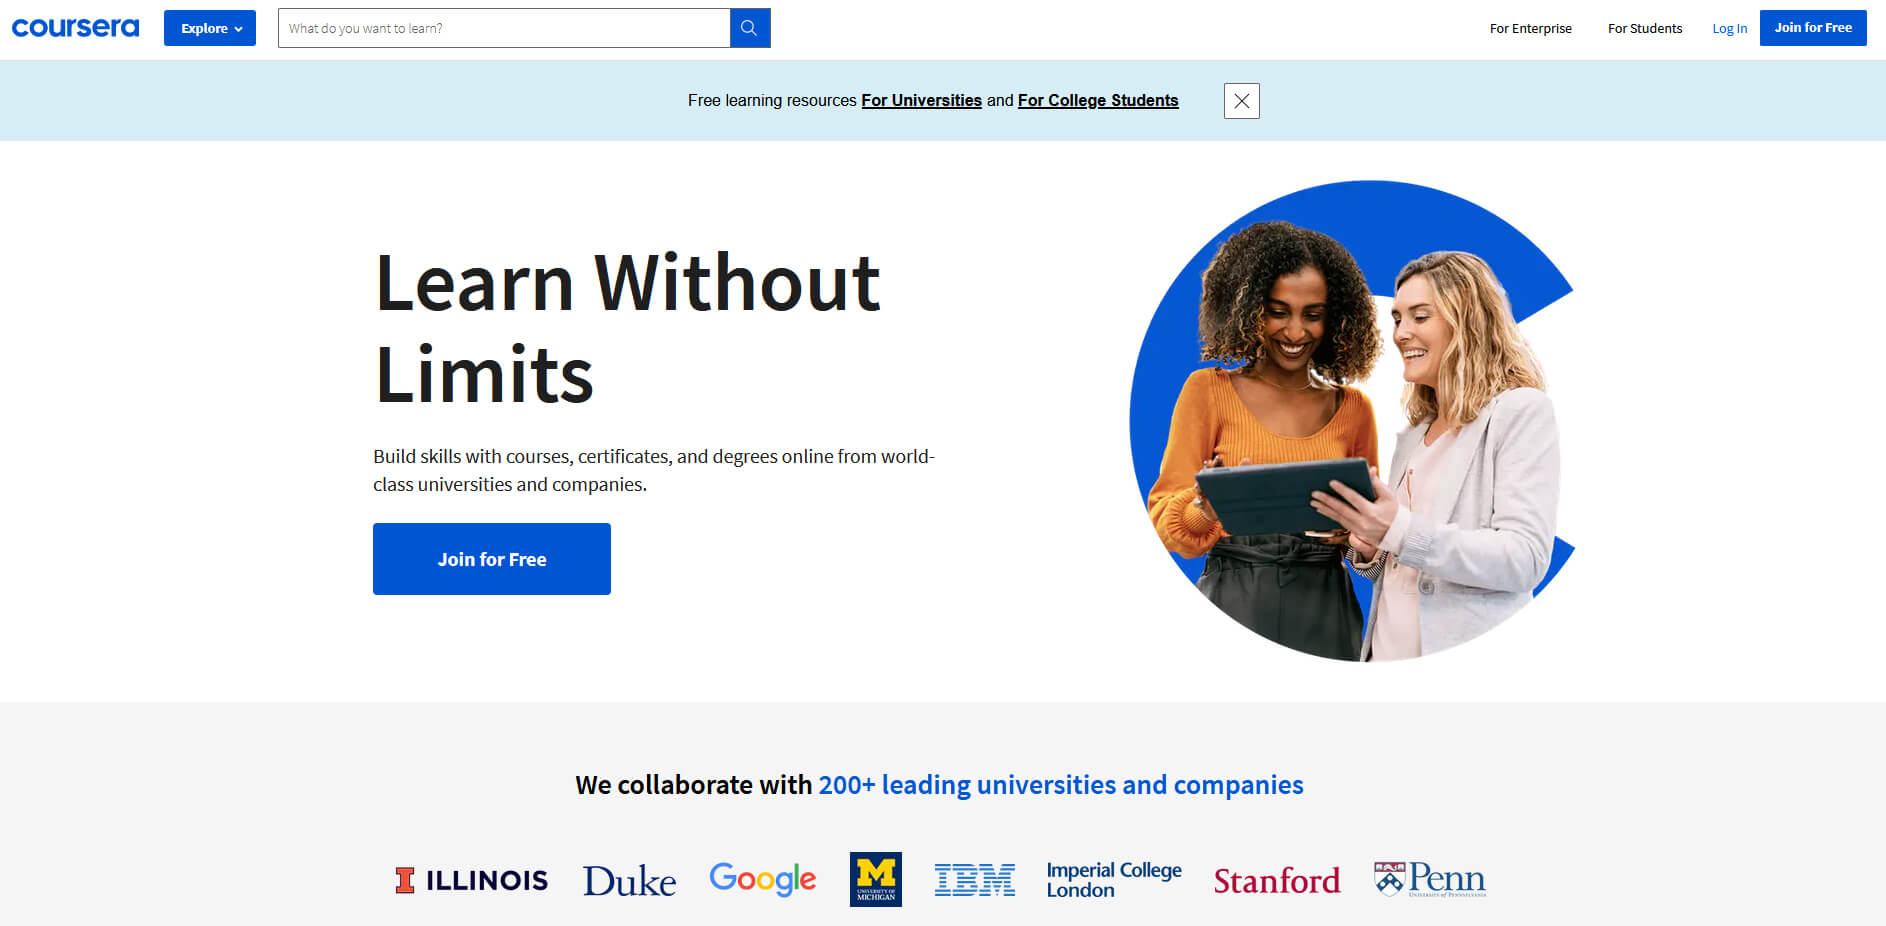
Coursera was one of the pioneers when it comes to college education online. When it started all courses were free and offered certificates if the taker has done tasks with a passing grade. Today not everything is free but still, there are tons of free courses that can help you to learn something new and to advance in your work or hobby.
Google is using the Coursera platform to deliver its courses to the audience and besides google a lot of academic professors from Princeton, Stanford, John Hopkins and many more are presently offering their course material.
edX
https://www.edx.org/
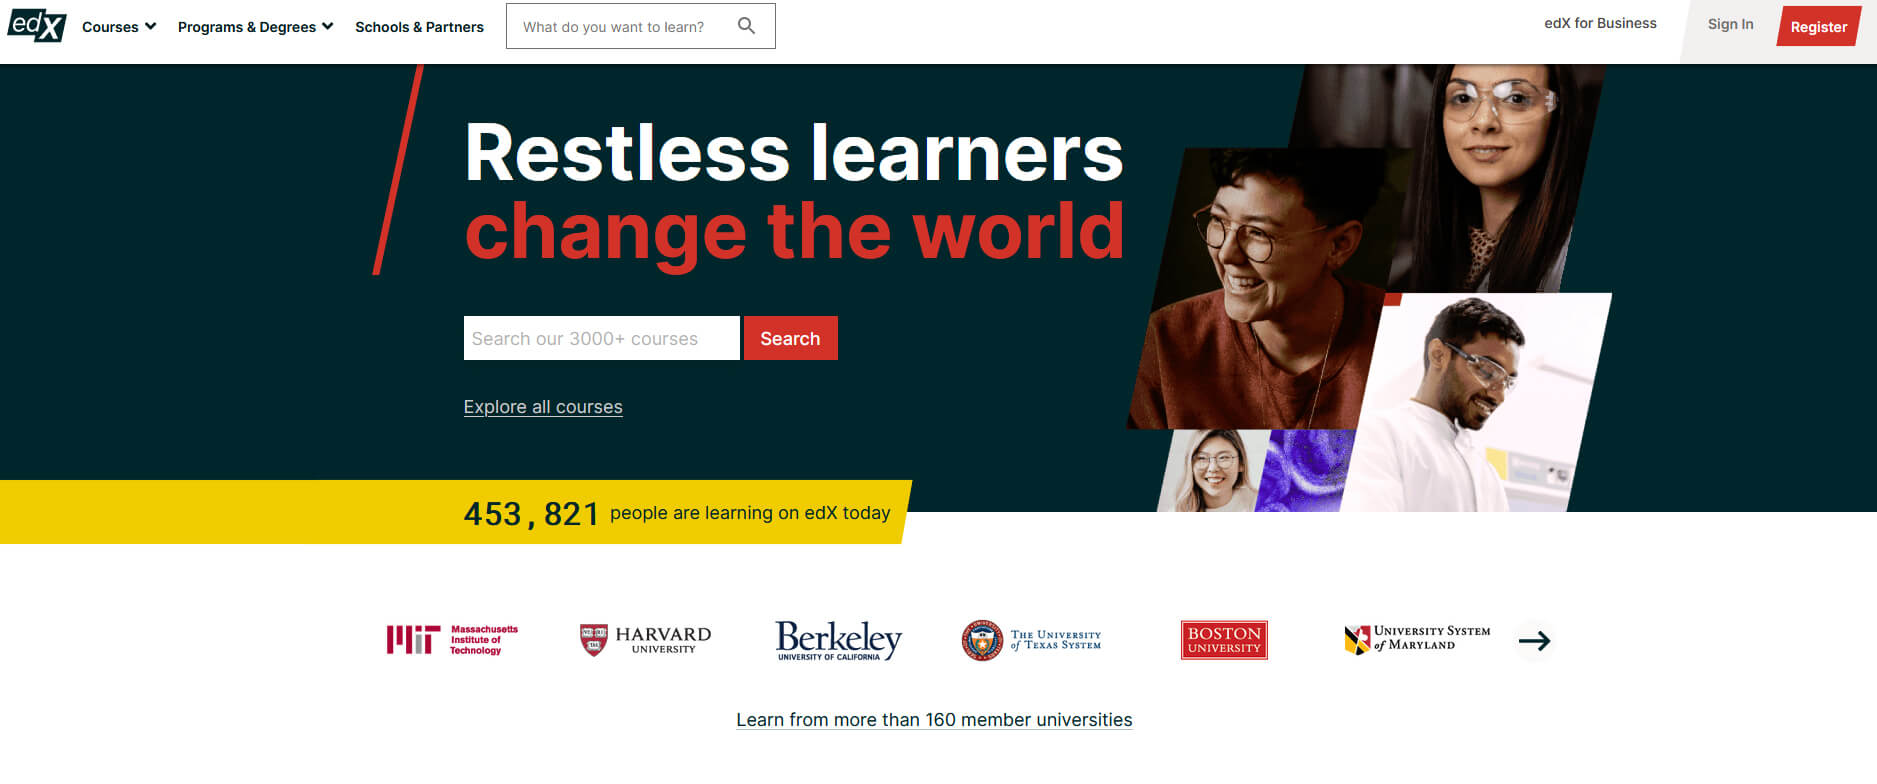
edX has evolved from MITx, MIT’s free initiative to place some free academic lectures from its classrooms free into the world. Since it was rebranded into edX it started including other big university names like Berkeley, University of Texas System, Harvard, and many more.
Since its infant days, edX has expanded and included many areas that it offers coursework from arts to science. Certificated today are mostly not free but course videos are, so if you care to learn and not wave certificates around this is a great place to do it.
Udemy
https://www.udemy.com/
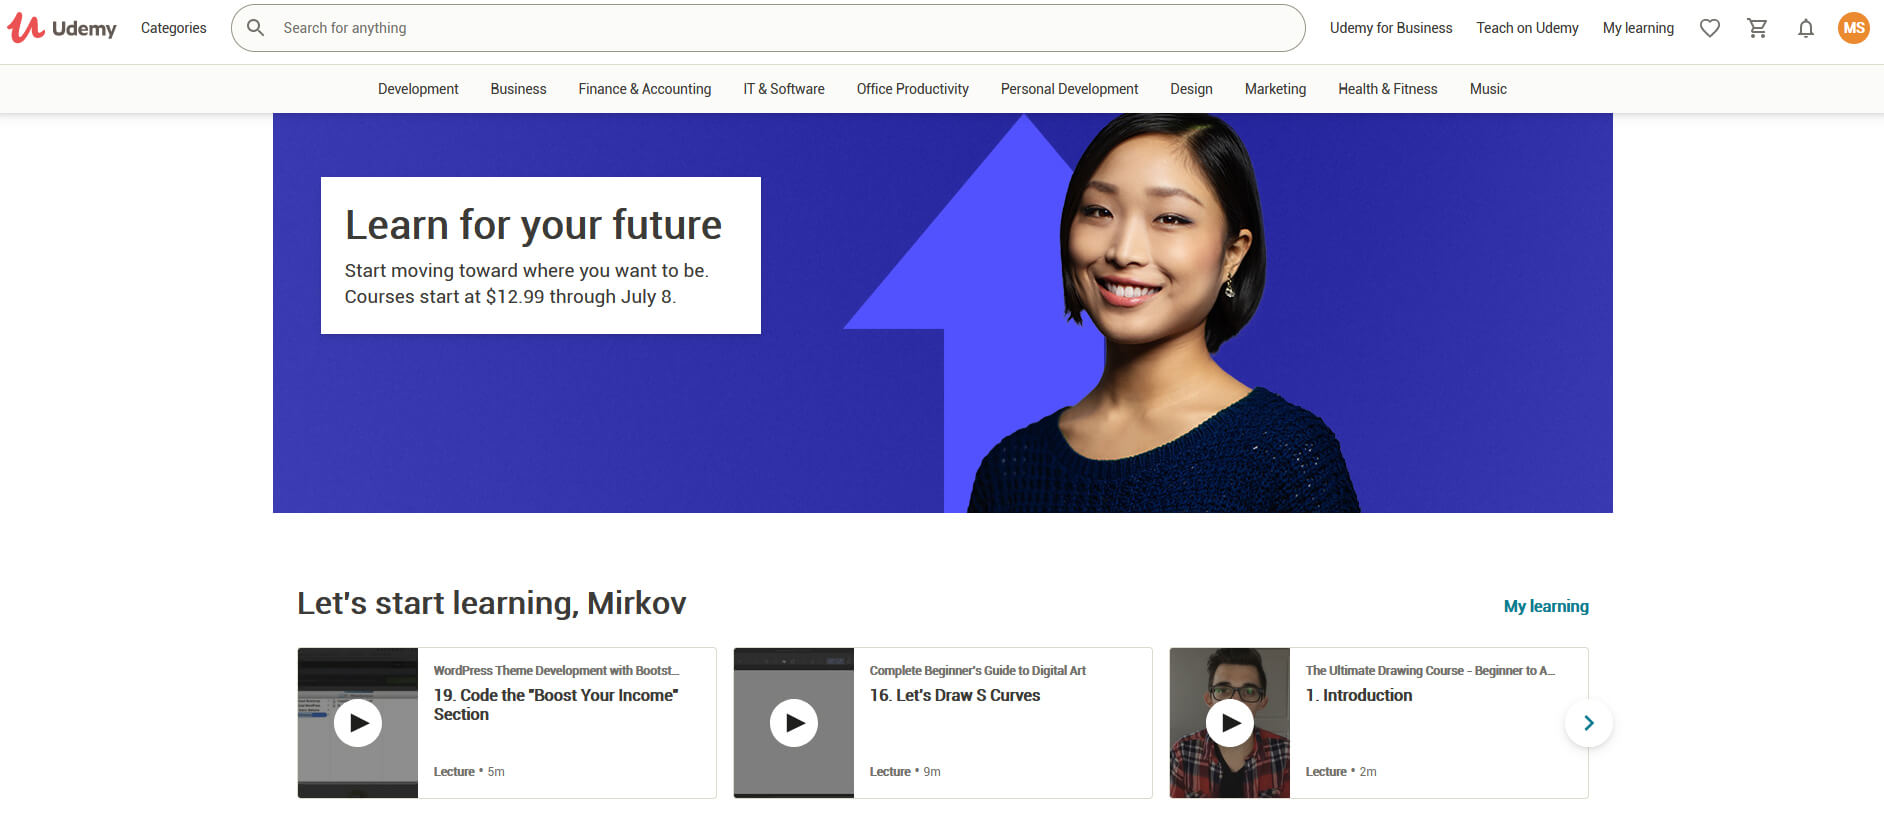
Udemy has a little different approach to course material than previously mentioned websites. Teachers on Udemy are mostly people that are working in a given field. Programmers will teach programming, fitness instructors will teach training, etc.
There are vas variety of topics even on lifestyle, hobbies even gaming to more serious ones like software developing hardware, etc.
There are free courses but mostly are one-time purchases with unlimited access to course material and with frequent discounts udemy might be a good place to look if you can find anything interesting.
Alison
https://alison.com/

Alison is kind of Udemy if we are talking about course material and who is teaching, the difference however is that it has more free content and it is one of the rare websites on this list that has Language courses.
Courses vary from beginner level to more advanced ones.
Udacity
https://www.udacity.com/
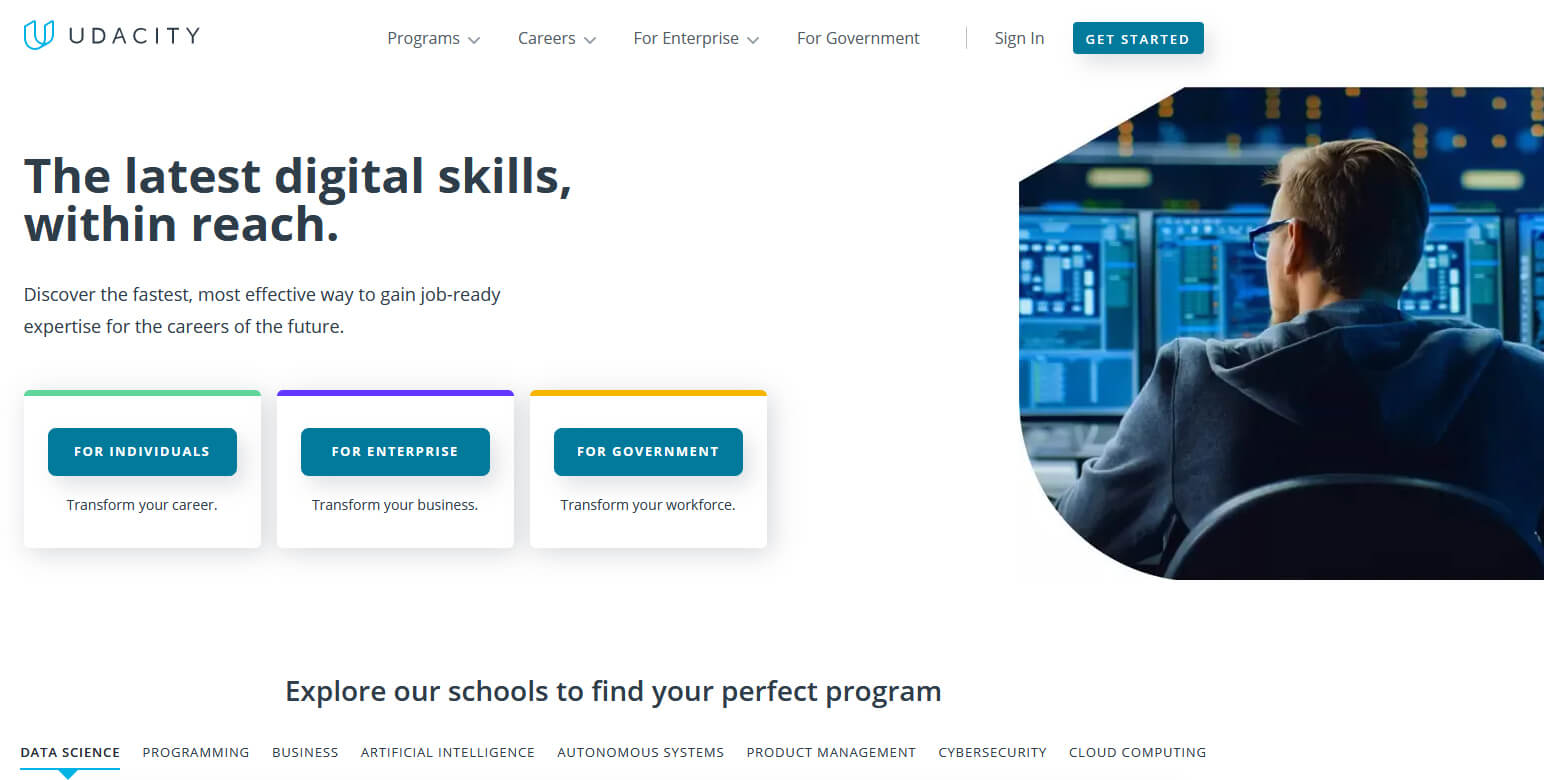
Udacity was also one of the earlier websites to offer free courses, in today’s world it still has free material but there is also paying one.
The big difference from other competitors is that Udacity focuses mostly on programming, data science, and web development and it is very strong in this field. There are no courses about art. Music or similar, mostly IT stuff is covered here.
If this is something that interests you, make a free account and give it a go.
Codecademy
https://www.codecademy.com/
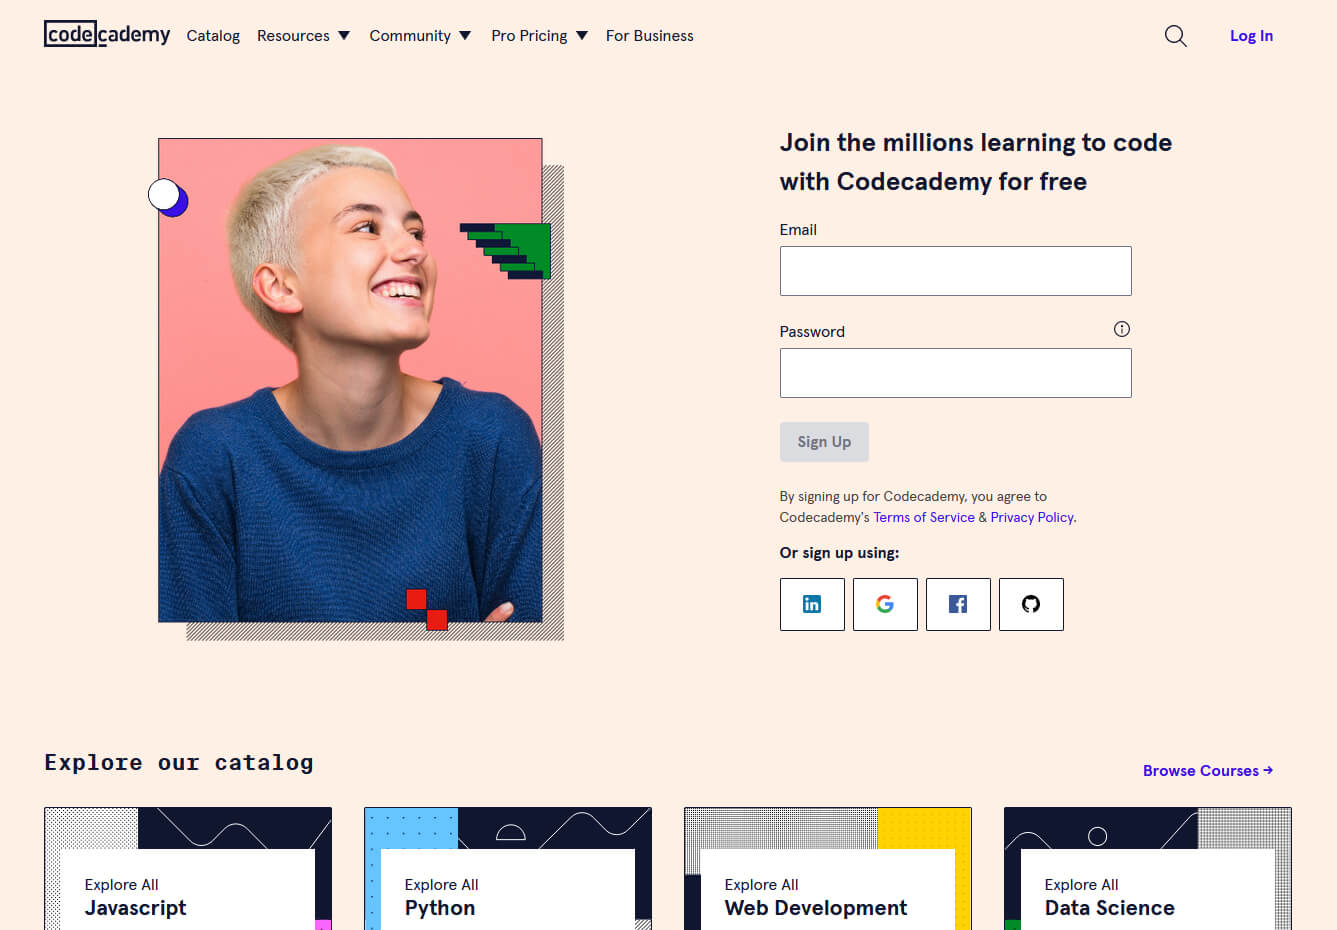
Codecademy is a website mainly focused on teaching you how to code. Pro plan is there but there are a lot of basic and free courses on the mentioned subject.
The curriculum is really wide covering Python, R, Java, JavaScript, SQL, Ruby, C#, C++, Swift, PHP, HTML, CSS and more so I am sure that if you are interested in coding this would be a pretty good place to find things.
Besides pure language coding courses site offers also, Cybersecurity, Web design, Data science, web development, Game Development, Mobile Development, and many more courses on provided subjects.
Academic Earth
https://academicearth.org/
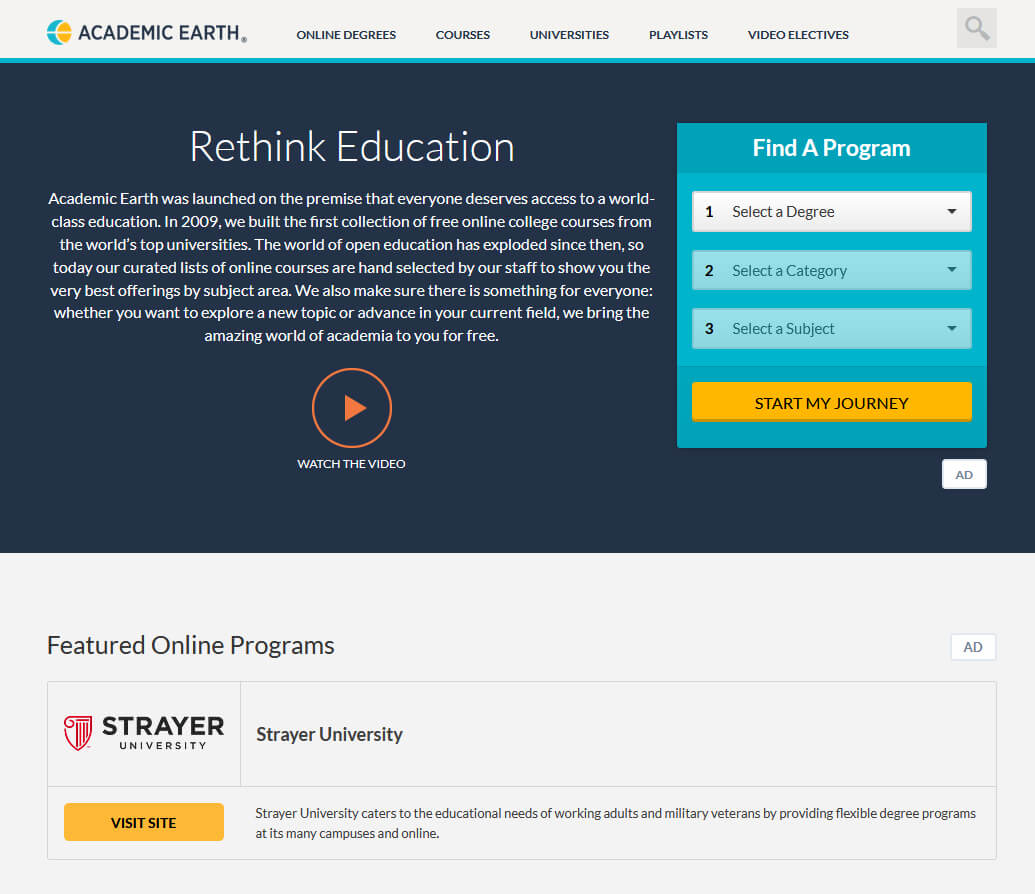
Academic Earth has been built with one simple premise: Everyone deserves access to education.
Lead by this kind of mindset on Academic Earth you will find well, academic courses similar to ones found on edX and Coursera, but from mentioned sites here all courses are free and you will find only academic ones, there are no entrepreneur or expert courses here, just pure academic ones.
If you wish to see and learn something the way it is taught in Harvard, Berkeley, MIT, etc this is the place for you.
Khan Academy
https://www.khanacademy.org/
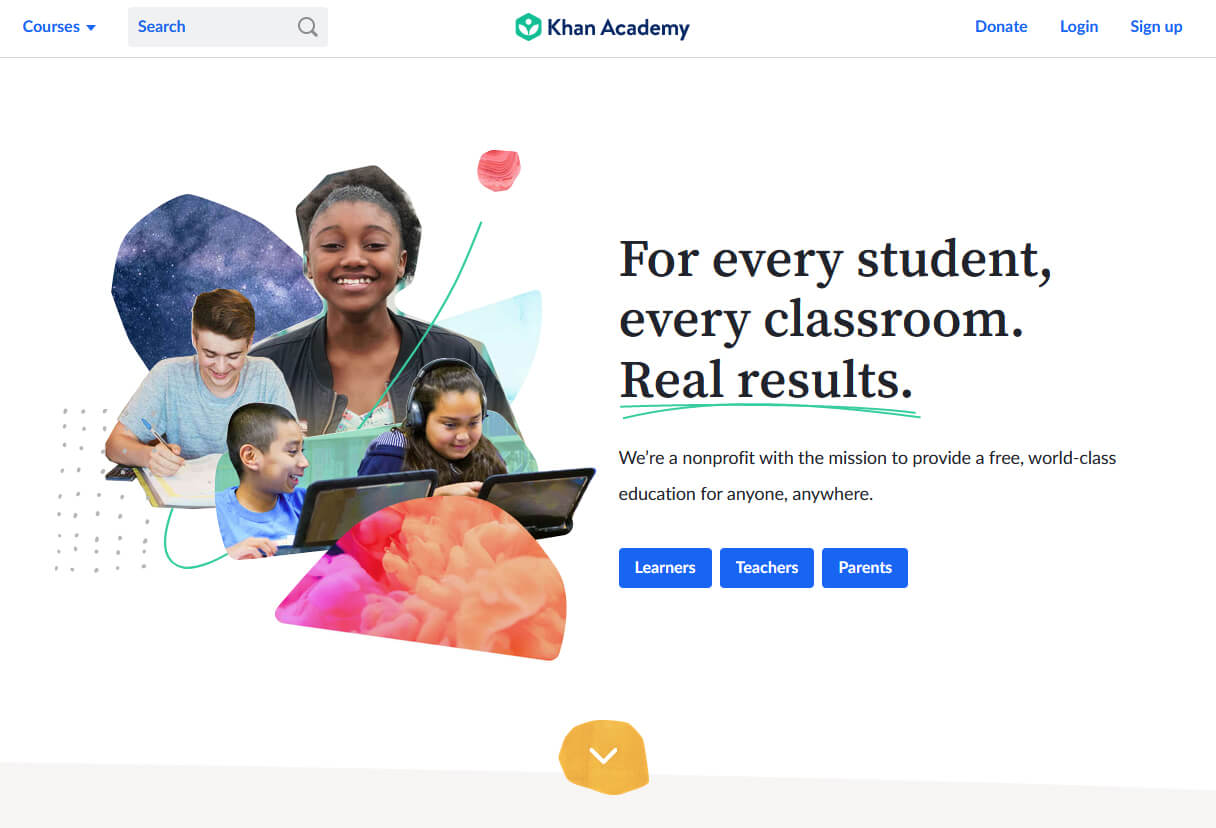
Khan academy is completely free and it is offering courses matching certain grades for children. It is offering courses for all 8 years of elementary school, math courses for high school and college with some coursework on topics like science, arts & humanities, reading, life skills, etc.
Despite not being on the same level as some university courses presented on other mentioned websites Khan Academy is a good place to learn a lot of basic skills that you could build upon later.
Conclusion
I hope that I have helped you in some way to expand your skill set and learn something new with provided sources and I hope to see you again on errortools.com


 If you are one of the users that are experiencing this kind of annoyance, we have a solution for you. Follow this guide as presented and repair this annoying error.