So, you have finished with work, game, movie, music, email, or whatever on your PC, you look at the clock, it is late, you decide to go to sleep or outside, you click on the power button and choose shutdown. Now when a PC is shut down you feel good and go with your business but the next time you power it up you get the same error like the computer never really shut down in the first place. You wonder why and reboot it, just in case and all of the sudden error is gone.
If something similar has happened to you or you had the feeling that after shutting down your computer has not really felt like shutting it down, do not seek professional help, everything is OK with you because when you click on shut down, your computer does not really shut down!
Truth is that Microsoft has changed how to shut down works and how rebooting works in Windows with an update but has not publicly said anything about it so some users may experience this feeling of not shutdown phenomenon and might even think there is something wrong with their PC.
Why this change?
A few years ago shutdown button and option in Windows were really shutting down OS, but things changed when Microsoft wanted to increase boot-up speed. Now when that decision was made shutdown option was changed. So, what was changed? Well in order to increase Windows booting time, the shutdown will now turn off power to PC components and it will look like everything is indeed shutdown but the Windows kernel will actually be saved to a hard drive with all settings and just awaken once the PC is turned back ON. This will result in all errors and other stuff being just still present same as they were once the system was instructed to be turned off.
Rebooting your PC will now clear kernel and file from the hard drive and you will get a clean system startup without any issues tied with the kernel itself.
Workaround
Now that we know why and what change has been made to Windows logical question is can we shut down our PC at all properly? Luckily for us, the answer is yes and we will not need any external application to do it, we can still do it inside Windows itself and it is quite quick and easy.
Bringing back the old shutdown
In order to bring the old shutdown functionality of your PC please follow the instructions but be aware that by doing this your PC will boot a little bit slower since it will have to load the kernel from scratch each time computer is turned ON.
First thing is to go to settings and go to System
Then once you are inside the system, navigate to the power and sleep and click on it to select it. Once you have it selected to all the way to the right and click on additional power settings.
When you click on advanced power settings you should be led to the control panel's power options. Inside this panel click on top left link where it says Choose what the power button does.
Inside options, you will need to untick the box next to Turn on fast startup (recommended), this option has been ticked ON by the Windows update and probably without notifying you. Option means exactly what was described, it will save kernel state on the hard drive for faster boot time but sadly it can cause some issues since it will never be reloaded from 0.
If you are unable to uncheck the box click on the text beside the shield icon that says: Change settings that are currently unavailable (you will have to be logged in as administrator).
Conclusion
Altho turning off fast startup and shutting down the PC completely will for sure extend your bootup time I still believe that it is the right choice since sometimes a lot of clutter and bad things accumulate over time inside the OS and can cause a vast variety of problems in a long run. So stay safe and shut down that PC as it used to be in the past.
Windows 11 has arrived and it is being adopted all around the globe as we are writing this article. People are adapting it daily and today we will take a look at some advanced security features of the new Windows and do you really need an antivirus in it.
It is not a secret that Windows 11 is the most secure Windows ever created, well at least up until now. It is packed with advanced security features like S-mode, Secure Boot, and Trusted Platform Module (TMP 2.0). All these new security features that Microsoft has advertised made people question are enough for security or do you still need third-party Antivirus software.
In order to get an answer to this question, let us first take a detailed look at what each one of them does, and then we will give you our opinion on a given subject.
Windows S mode
For everyday home use, Windows 11 S mode is the most secure feature to have on your PC. This is a safety protocol where only apps from Microsoft Store are allowed to be installed. This eliminates the risk of installing third-party apps that may contain viruses or malware. Furthermore, S-mode protects your web browsing activity through the Microsoft Edge browser. S-mode does not allow you to use other browsers for security reasons. If you are using Windows 11 in S-mode, your PC and data will be secure in most parts. You need not buy antivirus when using Windows 11 in S-mode.
Windows Defender
The inbuilt security suite, Windows Defender was launched for the first time in 2006. Earlier to that it had existed and was known as Microsoft AntiSpyWare. Windows Defender has undergone significant improvements over the years. In its latest version available with Windows 11, Windows Defender offers a comprehensive range of security features. It is available under the Windows Security system. Some key security features include real-time virus and threat protection, account protection, firewall & network protection, app and browser control, parental controls, and device (hardware) security. This is comparable to security features offered by third-party antivirus programs.
Microsoft Account
In Windows 11, it is necessary to use a Microsoft account that will be linked to your device. This ensures the security of your data in case your device is lost or stolen. You just need to make sure that you have set a strong password for your device. Windows 11 also has Bitlocker that keeps your data in encrypted form.
Ransomware protection
In view of rising cases of ransomware, Microsoft has introduced dedicated ransomware protection in Windows 11. It works by stopping apps from carrying out unauthorized changes to files and folders. Users can choose their important files and folders that they want to be protected from ransomware.
Conclusion
As we went through Windows 11 security features, we can clearly see that it is packed heavily with many security features that aim to protect your data and your identity. Looking at them, one can clearly come to the conclusion that you do not really need any third-party software and that Windows itself can catch and protect most of the issues, and they would be right.
If you use Windows 11 carefully, meaning that you go only to trusted websites, do not open suspicious emails, and click on suspicious links, if you do not use extensively external USB devices or mass media you really do not need any kind of third party protection, Windows built-in tools will do well and keep you protected.
However, if you do come in contact with other people's USB devices if you surf over the net, and overall if you really want to be at peace of mind that you are protected you will still need a well-established third-party software protection solution.
Windows 11 has great security features, best so far in any Windows but it is still far from being a solution that does not require dedicated protection solution. So do yourself a favor and grab one.
We recently had a top antivirus software review, find the article here and pick one that is best for you.
https://errortools.com/viruses/the-best-antivirus-software-of-2021/
As you know, the Settings app is a vital part of Windows 10 as it helps in fixing issues in the system and offers users access to various Troubleshooters, as well as the Reset function and many more. So if you want to Reset this PC or a Windows Store app, you need to use the Settings app to do so. However, one of the most annoying errors you can encounter when using the Settings app is that it crashes or sometimes does not open at all. Thus, if you are having issues with this app, worry not for there are alternative ways you can try to reset your Windows 10 PC.
For you to reset your Windows 10 PC without using the Settings app, the main option you have is to use the Advanced Startup options and there are different methods by which it can be accessed. It can be accessed via Lockscreen, Command Prompt window, or via Start Menu.
Option 1 – Reset Windows 10 via Lockscreen
You need to first boot into the Advanced Startup options from the lock screen. If you’re already logged in to your account, you have to hit the Win + L keys to get on the lock screen.
Next, click on the Power button located at the bottom right corner of the screen.
After that, hold the Shift key and click on Restart to restart your computer into the Advanced Setup option mode. And from there, you can reset your Windows 10 computer.
Option 2 – Reset Windows 10 via Command Prompt
Search for “cmd” in the Cortana search box or hit the Win + R keys to open the Run box and type “cmd” in the field and hit Enter to open Command Prompt.
If a User Account Control or UAC prompt appears, click Yes to proceed in opening Command Prompt.
After that, type the following command and hit Enter to execute it:
shutdown /r /o /f /t 00
After you execute the command, it will restart your computer into the Advanced Startup options where you can reset your Windows 10 computer.
Option 3 – Reset Windows 10 via Start Menu
Tap the Win key or click on the Start button located in the Taskbar.
Then click on the Power button at the bottom right portion of the screen.
Next, press and hold the Shift key on your keyboard and then click on Restart. This will restart your Pc into the Advanced Startup options.
Note: Once you have access to the Advanced Startup options, you have to go to the setting which allows you to Reset your Windows 10 PC. All you have to do is select Troubleshoot > Reset this PC to reach the following screen
Afterward, select either the “Keep my files” option or the “Remove everything” option depending on your preference, and then proceed to the next on-screen instructions that follow to reset your Windows 10 computer.
Downloading Windows Updates does not always go smoothly as you can encounter several issues like the “Some updates did not finish downloading, We will keep trying, Error code 0x80246007” error. In fact, this error can also occur on other Windows applications like OneNote.
According to security experts, this error happens for many reasons. For one, it could be that the Windows Update database is corrupted. It could also be that there is another process that’s in conflict with the Windows Update components or there might be some issue with the Background Intelligent Transfer Service (BITS). Whichever the cause may be, you can fix it by following the solutions given below.
Option 1 – Delete the contents in the Temporary folder
You can also try deleting the contents in the Temporary folder – all the downloaded, pending, or failed Windows 10 updates. You can do that using the simple and easy steps below.
Tap the Win + R keys to open the Run dialog box.
Then type “%temp%” in the field and press Enter to open the Temporary folder.
After that, select all the folders and files within the Temp folder and delete all of them.
Option 2 – Try running the Windows Update Troubleshooter
Running the built-in Windows Update troubleshooter is one of the things you can first check out as it is known to automatically resolve any Windows Update errors like Error code 0x80246007. To run it, go to Settings and then select Troubleshoot from the options. From there, click on Windows Update and then click the “Run the troubleshooter” button. After that, follow the next on-screen instructions and you should be good to go.
Option 3 – Try renaming or removing the pending .xml file
The problem might be due to some pending .xml file so you need to rename or remove it. To do so, just go to C:/Windows/WinSxS folder. From there, look for a pending .xml file – you can either rename it or delete it. This will allow the Windows Update to delete any pending tasks and build a new and fresh update check.
Option 4 – Restart the Background Intelligent Transfer Service (BITS)
The Background Intelligent Transfer Service or BITS is a part of the Windows Update service that manages the background download of Windows Update, as well as scans for new updates and so on. Thus, if your Windows Update fails a couple of times, you might want to restart BITS. For you to do that, make sure that you have admin privileges.
Press the Win + R keys to open the Run dialog box.
Then type “msc” in the field and hit Enter to open Services.
After opening Services, look for the Background Intelligent Transfer Service from the list of services and then double click on it to open Properties.
Next, set the Startup type to Manual and click on the Start button. If it doesn’t help, you can try setting it to Automatic (Delayed) and then reboot your PC.
Option 5 – Run the DISM tool
Running the DISM Tool helps in repairing the Windows System Image as well as the Windows Component Store in Windows 10. Using this built-in tool, you have various options such as the “/ScanHealth”, “/CheckHealth”, and “/RestoreHealth”.
Open the Command Prompt with admin privileges.
Then type in the following commands and make sure to hit Enter right after you type each one of them:
Dism /Online /Cleanup-Image /CheckHealth
Dism /Online /Cleanup-Image /ScanHealth
exe /Online /Cleanup-image /Restorehealth
Do not close the window if the process takes a while as it will probably take a few minutes to finish.
Option 6 – Delete the files from the Software Distribution folder
The downloaded Windows Updates are placed in a folder called “SoftwareDistribution”. The files downloaded in this folder are automatically deleted once the installation is completed. However, if the files are not clean up or if the installation is still pending, you can delete all the files in this folder after you pause the Windows Update service. For complete instructions, refer to the steps below.
Open the WinX Menu.
From there, open Command Prompt as admin.
Then type in the following command – don’t forget to hit Enter right after typing each one of them.
net stop wuauservnet start cryptSvcnet start bitsnet start msiserver
After entering these commands, it will stop the Windows Update Service, Background Intelligent Transfer Service (BITS), Cryptographic, and the MSI Installer
Next, go to the C:/Windows/SoftwareDistribution folder and get rid of all the folders and files thereby tapping the Ctrl + A keys to select them all and then click on Delete. Note that if the files are in use, you won’t be able to delete them.
Option 7 – Reset the Catroot2 folder
After resetting the SoftwareDistribution folder, you need to reset the Catroot2 folder to restart the services you just stopped. To do that, follow these steps:
Type each one of the following commands.
net start wuauservnet start cryptSvcnet start bitsnet start msiserver
After that, exit Command Prompt and restart your computer, and then try to run Windows Update once more.
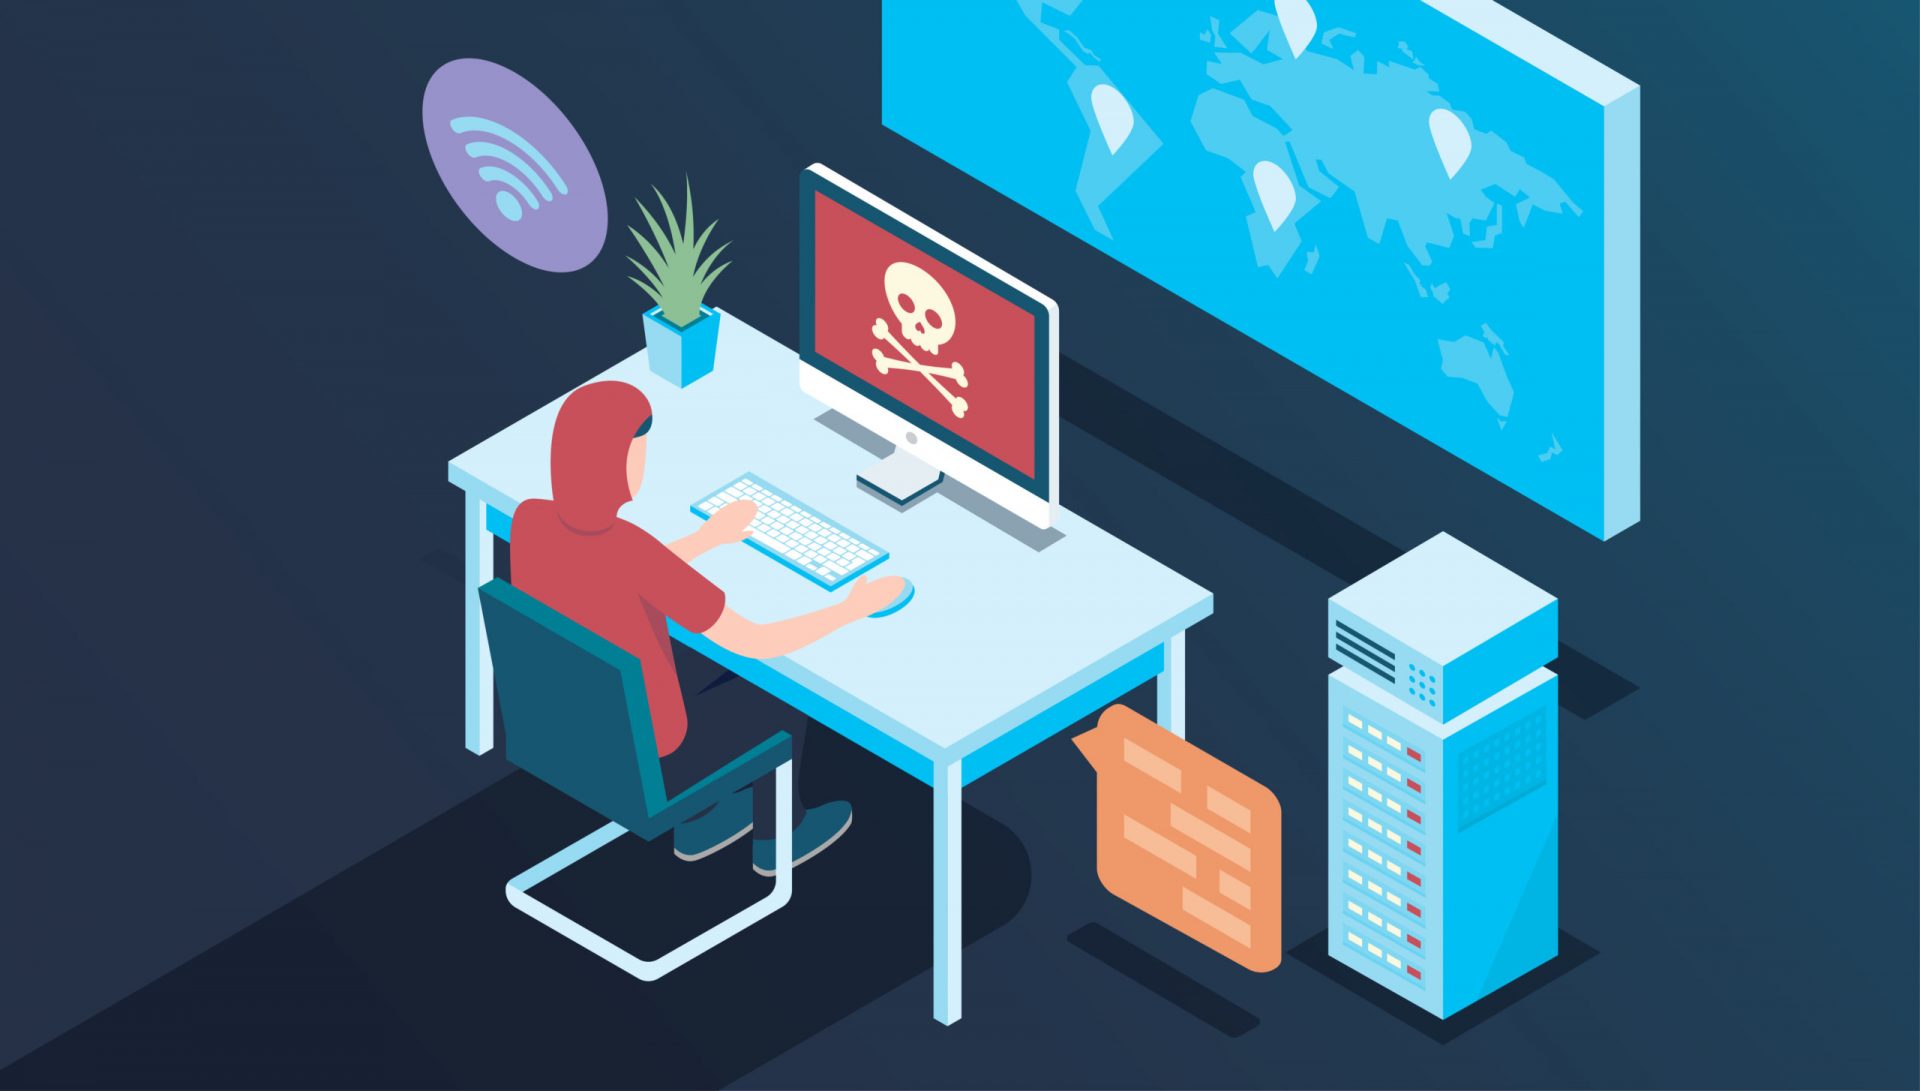
Computer viruses are malicious applications that have the ability to self replicate and spread over the system and various devices, just like viruses in organisms. We all know that computer viruses are bad and that you should avoid them however you can. So in this spirit, we are taking a deeper dive into what kind of viruses exist and how they function.
1. File-infecting Virus
A virus that attached itself to an executable program. It is also called a parasitic virus which typically infects files with .exe or .com extensions. Some file infectors can overwrite host files and others can damage your hard drive’s formatting.
2. Macro Virus
This type of virus is commonly found in programs such as Microsoft Word or Excel. These viruses are usually stored as part of a document and can spread when the files are transmitted to other computers, often through email attachments.
3. Browser Hijacker
This virus targets and alters your browser setting. It is often called a browser redirect virus because it redirects your browser to other malicious websites that you don’t have any intention of visiting. This virus can pose other threats such as changing the default home page of your browser.
4. Web Scripting Virus
A very sneaky virus that targets popular websites. What this virus does is overwrite code on a website and insert links that can install malicious software on your device. Web scripting viruses can steal your cookies and use the information to post on your behalf on the infected website.
5. Boot Sector Virus
These viruses are once common back when computers are booted from floppy disks. Today, these viruses are found distributed in forms of physical media such as external hard drives or USB. If the computer is infected with a boot sector virus, it automatically loads into the memory enabling control of your computer.
6. Polymorphic Virus
This virus has the capability to evade anti-virus programs since it can change codes every time an infected file is performed.
7. Resident Virus
A resident virus stores itself on your computer’s memory which allows it to infect files on your computer. This virus can interfere with your operating system leading to file and program corruption.
8. Multipartite Virus
A type of virus that is very infectious and can easily spread on your computer system. It can infect multiple parts of a system including memory, files, and boot sector which makes it difficult to contain.
There is various Blue Screen of Death errors that you can encounter as you use your Windows 10 computer and some of these Stop errors have something to do with the win32kbase.sys file. This post will guide you in fixing the BSOD errors related to the win32kbase.sys file.
A problem has been detected and Windows has been shut down to prevent damage to your computer. The problem seems to be caused by the following file: Win32kbase.sys.
Your PC ran into a problem and needs to restart. If you would like to know more, you can search online later for this error: win32kbase.sys.
The win32kbase.sys file is a Windows operating system Base Win32 Kernel Driver file located in the System32 folder so if it ends up getting corrupted or if it went missing, your computer will throw up Blue Screen error. To fix BSOD errors that have something to do with the win32kbase.sys file, here are some possible fixes that could help. Worry not for these possible fixes are not complicated.
Option 1 – Run the Check Disk or CHDSK utility
One of the first things you can try to resolve the win32kbase.sys Blue Screen error is running the CHKDSK utility. If your hard drive has issues with integrity, the update will really fail as the system will think that it’s not healthy and that’s where the CHKDSK utility comes in. The CHKDSK utility repairs hard drive errors that might be causing the problem.
Open Command Prompt with admin privileges.
After opening Command Prompt, execute the following command and hit Enter:
chkdsk /f C:
Wait for the process to be completed and then restart your computer.
Option 2 – Run SFC or System File Checker scan
System File Checker or SFC is a built-in command utility that helps in restoring corrupted files as well as missing files. It replaces bad and corrupted system files to good system files. To run the SFC command, follow the steps given below.
Tap Win + R to launch Run.
Type in cmd in the field and tap Enter.
After opening Command Prompt, type in sfc /scannow
The command will start a system scan which will take a few whiles before it finishes. Once it’s done, you could get the following results:
Windows Resource Protection did not find any integrity violations.
Windows Resource Protection found corrupt files and successfully repaired them.
Windows Resource Protection found corrupt files but was unable to fix some of them.
Restart your PC.
Option 3 – Try to run the DISM commands
You might want to repair potentially corrupted files in your system as having them could also trigger the win32kbase.sys Blue Screen error. To repair these corrupted system files, you can run the DISM commands:
Tap the Win + X keys and click on the “Command Prompt (Admin)” option.
After that, input each one of the commands listed below sequentially to execute them:
Dism /Online /Cleanup-Image /CheckHealth
Dism /Online /Cleanup-Image /ScanHealth
Dism /Online /Cleanup-Image /RestoreHealth
Once you’ve executed the commands given above, restart your computer and check if the dxgkrnl.sys Blue Screen error is now fixed.
Option 4 – Try to run the Blue Screen Troubleshooter
As you know, the Blue Screen troubleshooter is a built-in tool in Windows 10 that helps users in fixing Blue Screen errors related to the win32kbase.sys file. It can be found in the Settings Troubleshooters page. To use it, refer to these steps:
Tap the Win + I keys to open the Settings panel.
Then go to Update & Security > Troubleshoot.
From there, look for the option called “Blue Screen” on your right-hand side and then click the “Run the troubleshooter” button to run the Blue Screen Troubleshooter and then follow the next on-screen options. Note that you might have to boot your PC into Safe Mode.
In case you don’t know, there is a built-in tool in Windows 10, known as Reliability Monitor that provides a day-to-day snapshot of the health of your system. It warns users of any looming issues or disasters before your computer breaks down finally. So obviously, Reliability Monitor is useful, however, there are times when it could behave incorrectly. For instance, it might fail to show you any updates even when they are installed. Thus, if you experience any malfunctions with the Reliability Monitor tool in Windows 10, read on as this post will guide you in updating or working in Windows 10.
To fix the problem with the Reliability Monitor, there are several fixes you can check out. You can try to enable the data collection for Reliability Monitor or reset it, as well as put your computer in a Clean Boot State. For more information, refer to each one of the options given below.
Option 1 – Try to enable the Data Collection for Reliability Monitor
The Reliability Monitor tool uses data provided by the RAC Agent scheduled task and it will start to display a Stability Index rating and specific event information 24 hours after the system installation. The RACAgent scheduled task, by default, runs after the operating system is installed. And if it is disabled, it must be manually enabled from the Task Scheduler snap-in for MMC or Microsoft Management Console. Thus, you need to enable the Data Collection for Reliability Monitor to fix the problem.
Option 2 – Try to reset the Reliability Monitor
The next thing you can do to fix the issue with the Reliability Monitor might want to reset it to resolve the problem. If the Reliability Monitor is already open, you have to close it and open it again. After the reset is done, it may take up to 24 hours for the Reliability Monitor to display results again. This should fix the problem.
Option 3 – Troubleshot the problem in a Clean Boot State
There are some instances that some conflicting programs installed in your computer might be the one that’s causing the Black border issue. To identify which program is causing the problem, you need to put your computer in a Clean Boot State. To do so, follow the steps below.
Log onto your PC as an administrator.
Type in MSConfig in the Start Search to open the System Configuration utility.
From there, go to the General tab and click “Selective startup”.
Clear the “Load Startup items” check box and make sure that the “Load System Services” and “Use Original boot configuration” options are checked.
Next, click the Services tab and select the “Hide All Microsoft Services” check box.
Click Disable all.
Click on Apply/OK and restart your PC. (This will put your PC into a Clean Boot State. And configure Windows to use the usual startup, just simply undo the changes.)
From there, start to isolate the problem by checking which one of the programs you installed recently is the root cause of the problem.
Being in the Microsoft Windows insider program will let you get a hands-on new Windows 11, but some people just want Windows 11 without being in the insider program.
Well, people beware! It was detected that some groups have been releasing fake Windows 11 installers with malware into them.
There’s one malicious file called 86307_windows 11 builds 21996.1 x64 + activator.exe. Based on the filename, one might guess that it includes Windows 11 build 21996.1, and on top of that, there’s something in it that will automatically activate Windows for you. It comes in at 1.75GB, so for some people, that might seem reasonable. It starts out looking like a normal installer, and then there’s a second installer that calls itself a download manager. If you accept the nonsense agreement that’s included, you get a bunch of malware.
This is just one example of malicious installers running amok internet, but there are more of them with different software placed inside. Malware can be anything from adware to a Trojan virus. The adware usually isn’t super dangerous. It’s just malware that’s meant to inject your PC with advertisements. Viruses can be more of an issue, and they can be harder to get rid of if your machine is infected.
Windows Defender does a good job of getting rid of this stuff. The only problem is that if you’re downloading Windows 11 from shady sources, you’re probably already set to click through the dozen or so warnings that pop up telling you not to install it.
The solution will be to get Windows from a trusted source of roll inside the insider program and get it from Microsoft directly.
Error code 707 is a typical Gmail error. Gmail is an email service provided by the largest internet giant Google Inc. It is an email service that is most widely used by web-based email providers with more than 425 million active users worldwide.
The error code 707 is usually displayed in any one of the following formats:
“Oops... the system encountered a problem (#707)”“Server error occurred and your email was not sent (error 707)”
Solution
Error Causes
The error code 707 may be triggered due to many reasons. These include:
Enabled Lab ‘Background Send’ feature on Gmail
Web browser history and cache is full of junk content
Outdated browser
Though this error code is not fatal it is advisable to fix it right away to avoid inconvenience and to ensure your email is sent right away without any delays.
Further Information and Manual Repair
Here are some of the easy DIY methods to repair and fix the error code 707 on your PC. These methods are simple and do not require any kind of technical expertise. So, even if you are not technically sound, you can repair the error code 707 on your system in no time.
Method 1
Sometimes you may experience error code 707 while sending email via Gmail because of the enabled Background send labs feature. To fix this error here’s what you must do: Log in to your Gmail account, click on the Gear Box, and select settings.
Now simply switch to the lab tab under the settings. Here search for Background Send. If you can’t locate it, then scroll down and insert background Send in the find box. Once you find this lab feature, disable it. After disabling this feature, try resending the email.
Hopefully, this will resolve the issue. Nonetheless, if the error 707 still persists, then try method 2 given below.
Method 2
The error 707 may also be triggered if your web browser becomes outdated. If so, then it is advisable to update the browser to resolve the issue. Simply download the latest browser version from a reliable website.
After the installation is complete, log on to your Gmail account and then try to send an email. If the email is sent successfully, then the issue is fixed.
Method 3
Try clearing cache and web browser history. When the web browser history and cache are full of junk files, then you might experience this error on your system. Sometimes this can also lead to registry issues. To remove the error and repair the registry immediately, download Restoro.
This is a multi-functional and user-friendly PC Fixer compatible with all Windows versions and embedded with multiple powerful scanners including a registry cleaner.
It scans your entire PC for such errors. It clears the registry, removes all obsolete and unnecessary files including cookies, web browser history, junk files, and invalid entries, and cleans it right away thereby fixing the error immediately.
Click here to download Restoro and resolve error code 707.
Updating your Windows 10 computer does not always go smoothly as there are some errors you can encounter along the way. One of these Windows Update errors is the error code of 0x80246008. This kind of error can occur during different phases of an update that’s being downloaded or installed and even when an update is being initialized.
If you narrow down the cause of this Windows Update error, you’ll most likely see that it is related to the deliverability of a file to a computer from the servers of Microsoft. In other words, the error might be due to conflicts from programs like Firewall as well as third party programs like Antivirus or it could also be due to corrupted disk image or system files or it could be that any of the supporting Windows Update components and services are not working properly. Whatever the cause may be, the potential fixes provided in this post can be applicable to Windows Updates as well as the Microsoft Store.
Refer to the suggestions provided below to resolve the Windows Update Error 0x80246008 but before you proceed, make sure that you create a System Restore point first.
Option 1 – Apply some tweak in the Windows Registry from Command Prompt
Tap the Win + X keys and select Command Prompt (Admin) to open Command Prompt with admin privileges.
Next, navigate to the root location of the bootable device inside the Command Prompt command line.
Once you’re in the root location, type the following command and tap Enter to execute it:
After that, close the Command Prompt command line and then tap the Win + R keys to open Run utility.
In the field, type “services.msc” and click OK or tap Enter to open the Windows Services Manager.
From there, look for the following services:
Windows Update – Manual (Triggered)
Background Intelligent Transfer Service – Manual
Now open their Properties and make sure that their Startup type is as mentioned above and that they are running. If they are not running, just click on the Start button.
Option 2 – Run the System File Checker Scan
If the registry tweak didn’t work, you can run a System File Checker scan instead. It is a built-in command-line utility that replaces bad and corrupted system files to good system files that might be the cause why you’re getting the error when you try updating your computer. To run the SFC command, follow the steps given below.
Tap Win + R to launch Run.
Type in cmd in the field and tap Enter.
After opening Command Prompt, type in sfc /scannow
The command will start a system scan which will take a few whiles before it finishes. Once it’s done, you could get the following results:
Windows Resource Protection did not find any integrity violations.
Windows Resource Protection found corrupt files and successfully repaired them.
Windows Resource Protection found corrupt files but was unable to fix some of them.
Restart your computer.
Option 3 – Run the Windows Update Troubleshooter
If the System File Checker wasn’t able to resolve the Windows Update error, you could also try running the Windows Update Troubleshooter as it could also help in fixing any issues related to Windows Update including this one. To run it, go to Settings and then select Troubleshoot from the options. From there, click on Windows Update and then click the “Run the troubleshooter” button. After that, follow the next on-screen instructions and you should be good to go.
Option 4 – Try to disable your antivirus program
Disabling the antivirus program or any security software installed in your computer is always a good idea you can try when the Windows Update process does not go smoothly. So before you try updating your computer again, make sure to disable the antivirus or security program and once the Windows Update is done, don’t forget to enable the antivirus program back again.
Option 5 – Try deleting the files from the SoftwareDistribution folder and resetting the Catroot2 folder
The downloaded Windows Updates are placed in a folder called “SoftwareDistribution”. The files downloaded in this folder are automatically deleted once the installation is completed. However, if the files are not clean up or if the installation is still pending, you can delete all the files in this folder after you pause the Windows Update service. For complete instructions, refer to the steps below.
Open the WinX Menu.
From there, open Command Prompt as admin.
Then type in the following command – don’t forget to hit Enter right after typing each one of them.
net stop wuauservnet start cryptSvcnet start bitsnet start msiserver
After entering these commands, it will stop the Windows Update Service, Background Intelligent Transfer Service (BITS), Cryptographic, and the MSI Installer
Next, go to the C:/Windows/SoftwareDistribution folder and get rid of all the folders and files thereby tapping the Ctrl + A keys to select them all and then click on Delete. Note that if the files are in use, you won’t be able to delete them.
After resetting the SoftwareDistribution folder, you need to reset the Catroot2 folder to restart the services you just stopped. To do that, follow these steps:
Type each one of the following commands.
net start wuauservnet start cryptSvcnet start bitsnet start msiserver
After that, exit Command Prompt and restart your computer.


 It is not a secret that Windows 11 is the most secure Windows ever created, well at least up until now. It is packed with advanced security features like S-mode, Secure Boot, and Trusted Platform Module (TMP 2.0). All these new security features that Microsoft has advertised made people question are enough for security or do you still need third-party Antivirus software.
In order to get an answer to this question, let us first take a detailed look at what each one of them does, and then we will give you our opinion on a given subject.
It is not a secret that Windows 11 is the most secure Windows ever created, well at least up until now. It is packed with advanced security features like S-mode, Secure Boot, and Trusted Platform Module (TMP 2.0). All these new security features that Microsoft has advertised made people question are enough for security or do you still need third-party Antivirus software.
In order to get an answer to this question, let us first take a detailed look at what each one of them does, and then we will give you our opinion on a given subject.
 1. File-infecting Virus