One of the selling points of Windows 11 was the ability to run Android apps natively in it without the need for any third-party software. It is not a big surprise that even after its release Microsoft is evolving and expanding Windows 11 and its features.
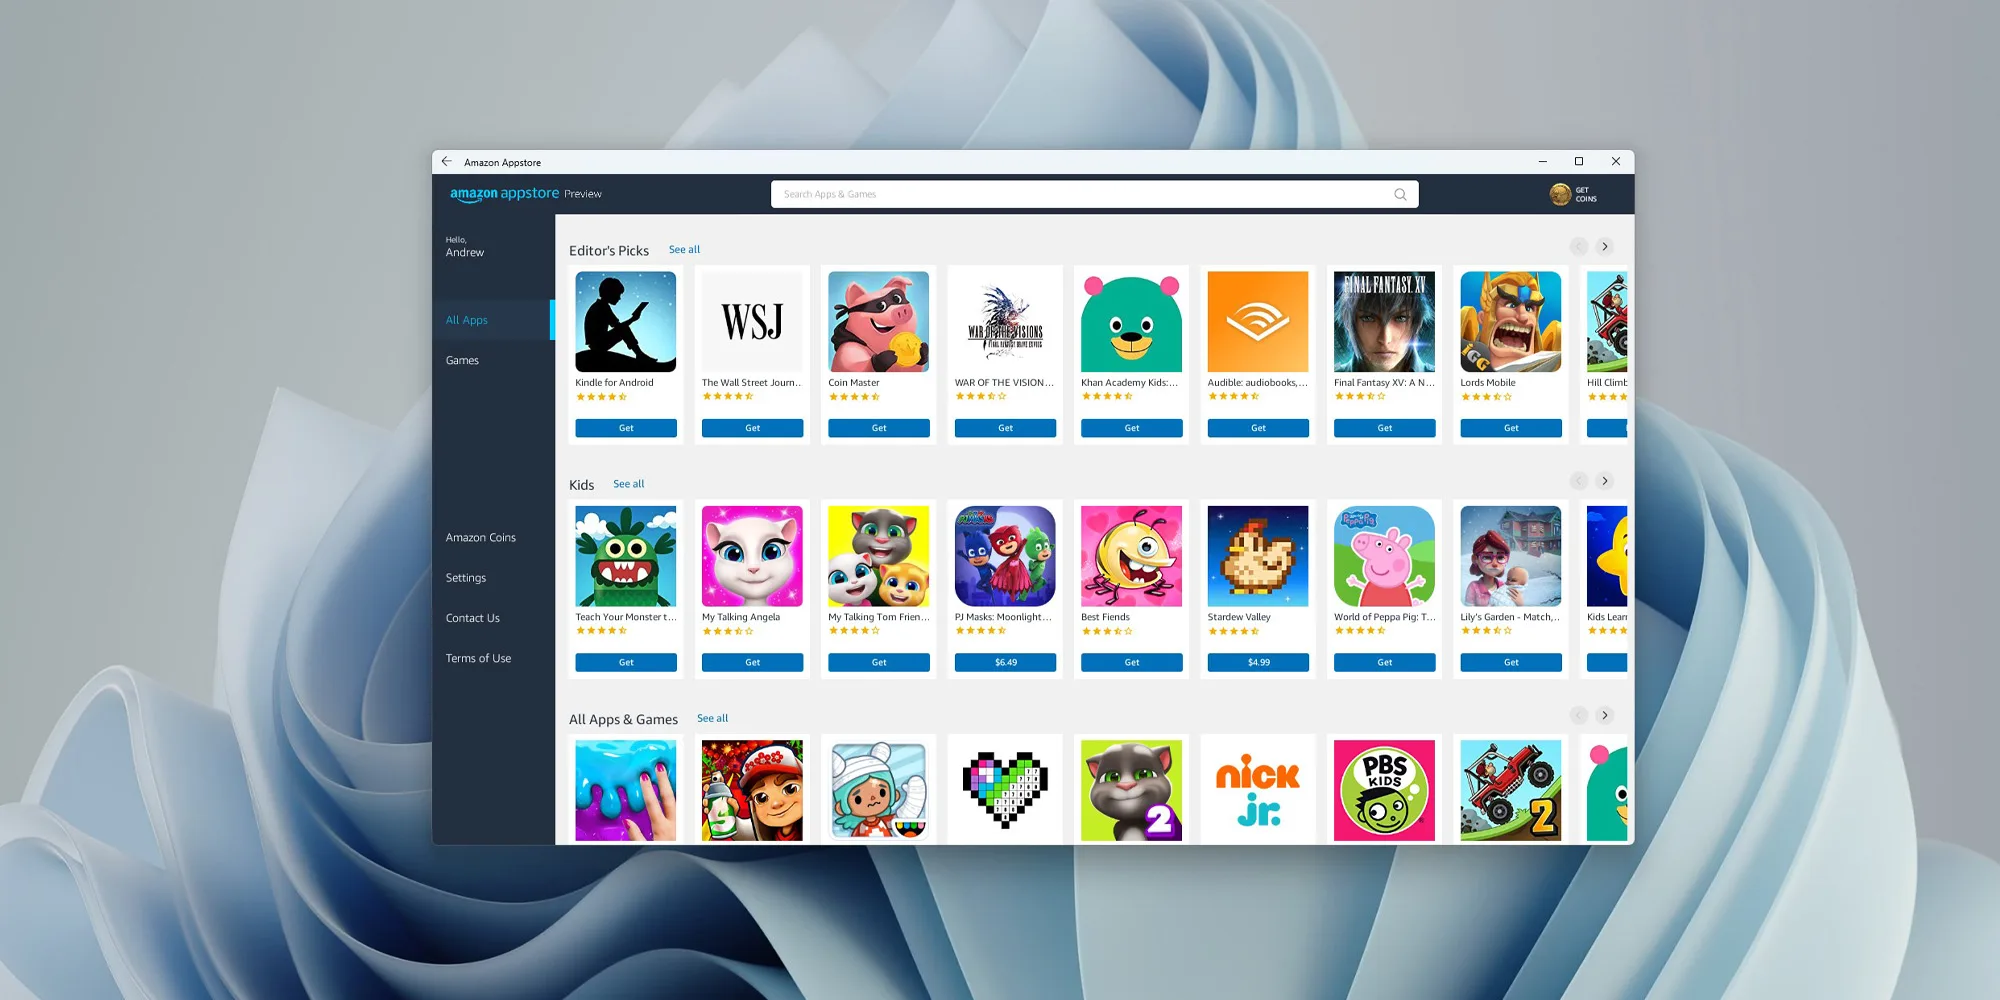
Microsoft is now rolling out an update for the Windows Subsystem for Android on the Dev Channel of the Windows Insiders program. The new version upgrades the core operating system from Android 11 to Android 12.1 (also known as Android 12L), which means the new system and app features in Android 12 and 12.1 are now available on Windows for the first time. However, not the new features in those updates apply to the modified version that runs on top of Windows. For example, one of the main improvements in 12.1 was a dual-pane notification panel for larger screens, but Android app notifications on Windows just show up in the Windows notification panel.
The upgrade also improves how Android apps integrate into Windows. The Windows taskbar will now show which Android apps are currently using the microphone, location, and other system services — similar to many native Windows applications. Toasts messages (the small popups that some apps use for temporary messages) are now displayed as Windows notifications, and the titlebar on Android apps will use the current activity name for the title.
Full changelog
- Windows Subsystem for Android updated to Android 12.1
- Advanced networking on by default for newer x64 Windows builds
- Updated Windows Subsystem for Android Settings app: redesigned UX and diagnostics data viewer added
- Simpleperf CPU profiler recording now works with Windows Subsystem for Android
- Windows taskbar now shows which Android apps are using microphone and location
- Improvements to Android app notifications appearing as Windows notifications
- Reduced flicker when apps are restored from minimized state
- Apps are not restarted when devices come out of connected standby on recent Windows builds
- New video hardware decoding (VP8 and VP9)
- Fixes for on-screen keyboard in apps
- Fixes for full-screen Android apps and auto-hidden Windows taskbar
- Windows Subsystem for Android updated with Chromium WebView 100
- Added support for Android NetworkLocationProvider in addition to GpsLocationProvider
- Improved general stability, performance, and reliability
The new update is limited to Windows Insiders for now, but once Microsoft fixes all the bugs, it should start rolling out to everyone on Windows 11 that has the Android Subsystem enabled.

 Once disguised it will wait patiently for a user's click and once that happens it will replicate itself and further infect the system. This rapid spread can lead to stolen personal data, some system hick-ups, and other system-related issues.
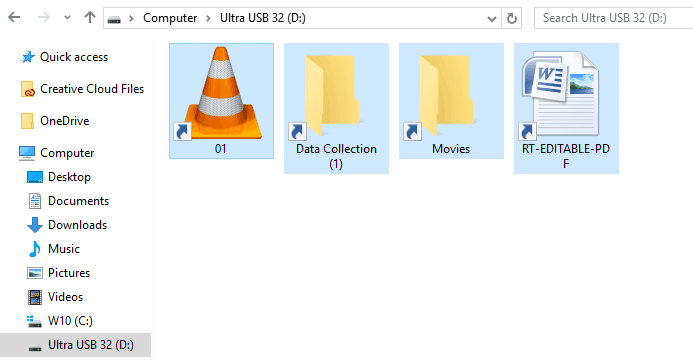
This malware mainly affects physical file transfer devices like for example and most USB drives, hard drives, and SD memory cards and it can easily transfer itself to the computer.
The advantage of this shortcut virus comparing it to others is that it is mostly undetected by a vast variety of antivirus software. So running just anti-virus software maybe not be enough to remove it from your system. Luckily for all unfortunate users that have caught this annoyance, it can be easily removed fully manually in a short time.
Once disguised it will wait patiently for a user's click and once that happens it will replicate itself and further infect the system. This rapid spread can lead to stolen personal data, some system hick-ups, and other system-related issues.
This malware mainly affects physical file transfer devices like for example and most USB drives, hard drives, and SD memory cards and it can easily transfer itself to the computer.
The advantage of this shortcut virus comparing it to others is that it is mostly undetected by a vast variety of antivirus software. So running just anti-virus software maybe not be enough to remove it from your system. Luckily for all unfortunate users that have caught this annoyance, it can be easily removed fully manually in a short time.