Waol.exe is an executable file located in a subfolder of "C:\Program Files" - usually C:\Program Files\America Online 9.0a. Waol.exe is not a core file but it is an important part of AOL (American Online) utilities.
It ensures the AOL programs run smoothly on your system. The Waol.exe error occurs when the AOL program fails to execute and run properly.
The error message is displayed in the following format:
“Waol.exe has encountered a problem and needs to close. We are sorry for the inconvenience.’
 Error Causes
Waol.exe error typically occurs when this executable file gets infected by a virus, Trojan, adware, or spyware. When this happens the file location also changes.
Therefore the best way to verify if your PC is under attack by malicious software is to check the Waol.exe file location on your PC. If the file is found in some other location instead of its correct disk location, then you must immediately fix this error before the damage sets it.
Malicious software like viruses and spyware are notorious for slowing down PC performance and besides they give access to hackers to break into your system and manipulate your confidential and private data saved on your PC.
This exposes you to serious privacy errors and data security dangers including identity thefts, cybercrime, and data breaches.
Furthermore, viruses can also corrupt the computer’s registry and lead to system failure and crashes.
To resolve Waol.exe error many PC users seek an antivirus.
Though this also helps resolve the issue but you should know that an antivirus has certain limitations. It is known to slow down the system speed and will only remove viruses from your PC.
This means if the virus has affected the registry of your PC, it will not resolve that, and to repair your registry you may then have to download a registry cleaner separately on your system thereby reducing the PC speed even more.
To ensure all kinds of malware are removed and registry issues resolved along with system speed optimization, it is recommended to download Restoro.
This is an advanced, innovative, and multi-functional PC repair tool deployed with a variety of powerful utilities. These include a registry cleaner and a system optimizer.
It is safe, efficient, user-friendly, and compatible with all Windows versions including Vista, XP, Windows 7, 8, 8.1, and 10. The antivirus feature embedded inside this software detects scans and removes all malicious programs infecting your PC immediately. It resolves all your system’s privacy issues and makes sure that your system is inaccessible to hackers.
Besides this, the registry cleaner removes files cluttering and damaging the registry and also restores it. With the help of the system stability detector, it detects errors causing PC slowdowns and resolves them too thereby boosting the speed of your PC dramatically.
To resolve Waol.exe error right away, click here to download Restoro today.

Error code 0x80070057 occurs when Windows users are having problems installing updates on their machines. The error code may result due to issues affecting Windows Update, for instance, problems with system files or settings that can be accessed or modified using the registry in Windows. Error code 0x80070057 affects multiple versions of the Windows operating system including Windows 10. Common symptoms manifested when this error code and other update error codes occur include the following:
Update error codes like error code 0x80070057 occur when there are issues related to system files, programs or malicious software is present on one’s machine. To combat these issues, users may need to implement manual repair procedures, depending on the specific error code present on their device.
Further Information and Manual RepairWindows users can fix error code 0x80070057 by manually repairing or deleting subkeys and values within the Windows registry. This enables Windows Update to function as the proper modification of settings and other information present in the registry can fix problems associated with certain error codes.
The manual repair procedures also enable users to address specific problems on the devices that may not be fixed through the use of other methods.The Windows registry contains information regarding applications installed on the version of Windows you use on your device. This information as well as settings related to hardware are all accessible to users and can be useful when combating problems like error code 0x80070057.
However, users will need to be very careful when making modifications within the registry in Windows. This is due to the fact that errors made while accessing the registry can lead to serious issues on your PC. Backing up your registry before you modify it is crucial since it will provide protection against any problems that may arise if you make an error. This is the first step in resolving error code 0x80070057. Follow the steps below to back up your registry properly.
The execution of modifications to the registry can be a complex procedure, especially if you are an average Windows 10 user who lacks technical knowledge. Thankfully, even non-technical users can access the solutions they need by simply following the instructions provided in this article.
You may also contact a Windows repair technician as well, in case you have trouble implementing the steps mentioned for modifying your Windows registry or if other problems arise while you are proceeding with these instructions.
Step one: Access the Windows Registry Editor by typing regedit.exe in the search box near the Start button.
Step two: Type the appropriate password or provide confirmation if you are prompted to do so
Step three: Locate Registry Editor
Step four: Enter the following:
[HKEY_LOCAL_MACHINESOFTWAREMicrosoftWindowsUpdateUX] "IsConvergedUpdateStackEnabled"=dword:00000000
[HKEY_LOCAL_MACHINESOFTWAREMicrosoftWindowsUpdateUXSettings] "UxOption"=dword:00000000
After making these modifications in the Windows registry, restart your machine. You can then check Windows Update to see if the problem has been resolved. If the modifications to the registry have proven successful, you will no longer see the error code 0x80070057 message box. You will also be able to complete all updates via Windows Update.
If you wish to always have at your disposal a utility tool to fix these Windows 8 and other related issues when they do arise, download and install a powerful automated tool.
"Cannot find the file sqlite3.dll (or one of its components)"
Followed by:
"Error starting program.. A required .DLL file sqlite3.dll was not found."
Error CausesThe operation timed out waiting for a response from the receiving (POP) server 0x8004210a Task 'SMTP server name - Sending and Receiving reported error' (0x8004210A): 'The operation timed out waiting for a response from the receiving (POP) server. If you continue to receive this message, contact your server administrator or Internet service provider (ISP).'
“Error 0x80070079: The semaphore timeout period has expired.”To fix this error, you can try to run the three built-in Network-related troubleshooters or update or reinstall the network adapter drivers or perform a network reset. For more details, follow the options laid out below.
AudioToAudio is a browser extension for Google Chrome developed by Mindspark Inc. This extension allows users easy access to popular audio converting websites.
When installed, it changes the default search engine, home page, and new tab to MyWay.com. While active AudioToAudio gathers user browsing activities such as, but not limited to: visited websites, clicked links, search queries. This data is later used/sold by the Mindspark ad network to better target ads. While browsing the internet with this extension enabled, you will see additional injected ads, sponsored content (such as links to web pages, banner ads, affiliate shop links, etc), and even pop-up ads from time to time if the regular ads are blocked. AudioToAudio has been marked as a Browser Hijacker by several anti-virus applications and is marked for removal by most of them.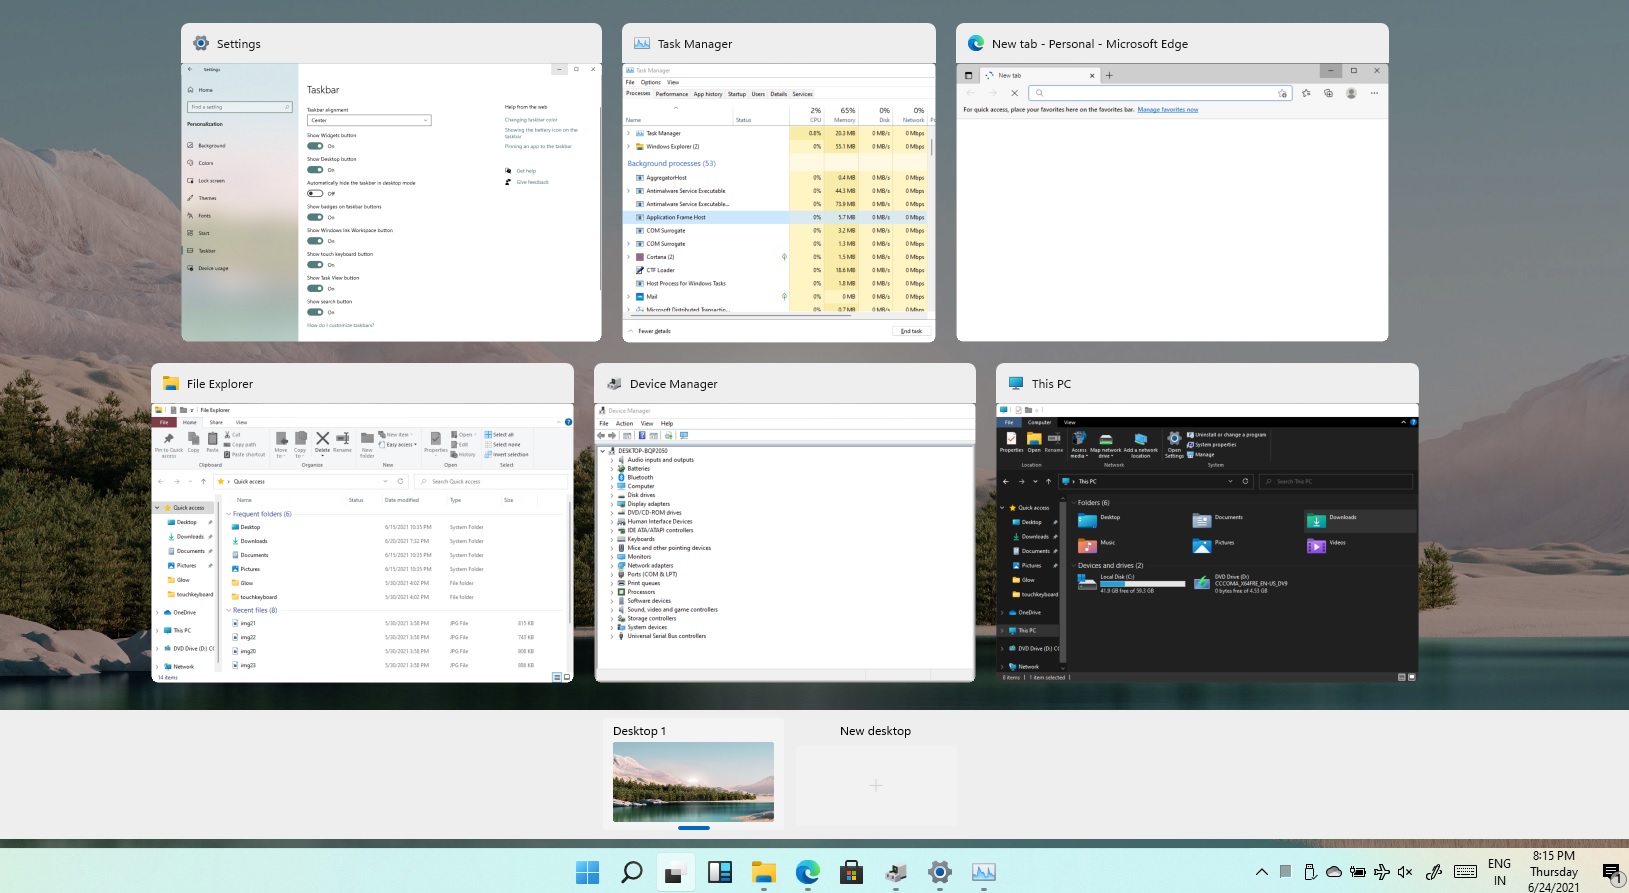 Task View feature inside Windows 11 is actually a great feature, letting you quickly view open windows and virtual desktops. How Task view itself could be reached with keyboard shortcut combination of ⊞ WINDOWS + TAB some users will prefer this way of using it and thus button on the taskbar is something you do not want or need.
There is a very easy way to remove mentioned button and I will show you how to do it.
Right-click the taskbar button itself and click on Hide From Taskbar.
That’s it, you have done it.
Now in order for you to bring it back if you change your mind, you will have to do some extra steps but it is nothing difficult.
Right-click on the taskbar and click on Taskbar settings, you will be lead to Personalization > Taskbar.
Inside locate Taskbar Items and switch Task View to ON, you will see the Task View button right away showing itself again.
Task View feature inside Windows 11 is actually a great feature, letting you quickly view open windows and virtual desktops. How Task view itself could be reached with keyboard shortcut combination of ⊞ WINDOWS + TAB some users will prefer this way of using it and thus button on the taskbar is something you do not want or need.
There is a very easy way to remove mentioned button and I will show you how to do it.
Right-click the taskbar button itself and click on Hide From Taskbar.
That’s it, you have done it.
Now in order for you to bring it back if you change your mind, you will have to do some extra steps but it is nothing difficult.
Right-click on the taskbar and click on Taskbar settings, you will be lead to Personalization > Taskbar.
Inside locate Taskbar Items and switch Task View to ON, you will see the Task View button right away showing itself again.