Error 2046 - What is it?
Error 2046 is an error code related to Adobe Flash Player. It usually occurs while watching movies or videos on the web browser. This error code may interrupt video display and hamper you from watching your favorite movies and videos.
Solution
 Error Causes
Narrowing down the reason for the occurrence of this error code is quite difficult virtually because it may trigger due to several reasons such as:
- There might be issues with Adobe Flash Player settings
- Ad-blocking products
- Windows not updated
- Registry issues
- Malware infection
- Flash Player Add on not properly installed
Further Information and Manual Repair
The good news is that the error 2046 is not fatal. It is easy to fix. In fact, it is so easy to repair that you can do it all by yourself even if you are not a computer whiz. You don’t have to hire a professional and spend hundreds of dollars on repairs.
Here are some of the many manual solutions that you can try to fix this issue on your computer screen:
Reinstall Adobe Flash Player
Since this error code is largely related to Adobe Flash Player, it is advisable to start by reinstalling the Flash Player. Here is a step-by-step guide to help you work through it.
- First, click start and then select the control panel.
- Now click on programs and then uninstall Flash Player from the program list.
- After that’s done, reboot your computer.
- Now download Adobe Flash Player from a reliable website and run it.
If it works perfectly, then the issue is resolved. If not, then try other methods given below.
Re-Enable Flash Player Add-on
Adobe Flash Player add-on is basically installed in IE (Internet Explorer) which is loaded each time you load IE. Sometimes the problem with this add-on can also generate error 2046.
- To resolve this, open Internet Explorer and press Alt-Key.
- Select tools and then manage add-ons.
- Now select Adobe Flash Player Active X and then click disable tab.
Once that’s done, restart the web browser and repeat the same steps but this time click enable button. This will hopefully resolve the issue.
Unblock Ad Blocking Products
Sometimes error 2046 may pop up on your screen if you use ad-blocking products like AdBlock Plus. If so, then try uninstalling ad-blocking products installed on your PC to fix the issue.
Install Window Update
Microsoft releases new updates every now and then. These updates are made with the objective of solving bugs and run-time errors like error 2046.
Therefore if the error code is related to Windows updates then to resolve it is it advisable to launch the Windows update program and update your operating system.
For this, click Start, All Programs, and then click Windows Update. Now click the Check for updates button and download and install the new updates. Once that is complete, restart your PC to bring changes into effect.
Scan for Malware and Look For Registry issues
Whether the issue is related to malware or the registry, it is recommended to download Restoro.
This is a next-generation and a multi-functional PC Fixer embedded with a powerful antivirus and a registry cleaner. Run it on your PC and scan for viruses and registry issues and click repair to resolve. It is user-friendly and compatible with all Windows versions.
Click here to download Restoro to resolve error 2046.

 Microsoft starting as of today will block its Office 365 users if they are using Internet Explorer or early versions of Edge browsers.
So if you are using older non Chromium Edge versions of Microsoft browsers you can no longer access Office services until you switch. Now normally I would fully support this kind of decision since Internet explorer is a slow and vulnerable browser and the edge is similar in that regard.
The new edge browser is great and it should be used but the issue I have is that Office 365 is not free, it is a premium feature and I am wondering how Microsoft plans to deal with people that have already paid for service but suddenly cannot access it anymore.
Microsoft starting as of today will block its Office 365 users if they are using Internet Explorer or early versions of Edge browsers.
So if you are using older non Chromium Edge versions of Microsoft browsers you can no longer access Office services until you switch. Now normally I would fully support this kind of decision since Internet explorer is a slow and vulnerable browser and the edge is similar in that regard.
The new edge browser is great and it should be used but the issue I have is that Office 365 is not free, it is a premium feature and I am wondering how Microsoft plans to deal with people that have already paid for service but suddenly cannot access it anymore.  What is RTX
 So if you ever wanted to learn about photoshop, maya, substance, unreal engine, or some general skills like sketching, drawing, etc. Now is the perfect time to level up your skills. Drop to the
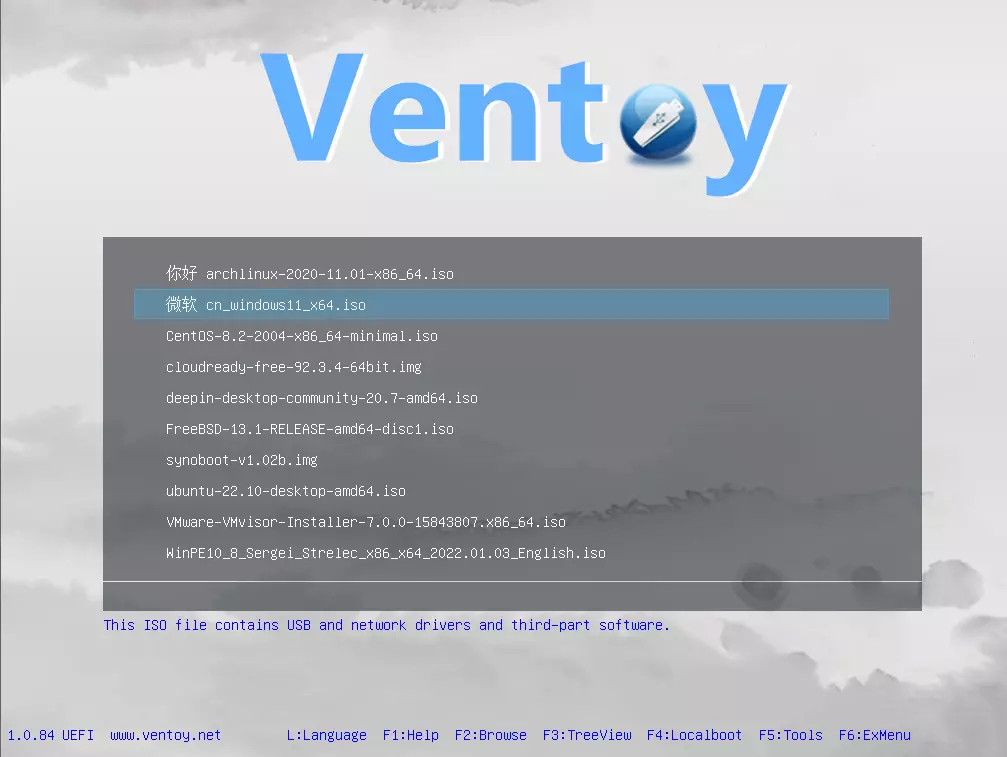
 From the menu choose command prompt (admin)
 In command prompt type sfc /scannow and press ENTER
Leave the computer for the operation to be completed and Reboot your computer
In command prompt type sfc /scannow and press ENTER
Leave the computer for the operation to be completed and Reboot your computer Many Linux users if not all of them can run their distros from a USB drive but did you know you can run Windows 10 from a USB drive as well?
Microsoft has introduced all the way back to Windows 8 one feature called Windows To Go and it kept it in Windows 8.1 and in Windows 10 as well.
This feature is intended as a convenient way for workers to carry their corporate environments with them, but having your own copy of Windows on a thumb drive could be handy for backup purposes, too, or if you frequently use public machines that lack your preferences/applications or that have a restricted OS.
Many Linux users if not all of them can run their distros from a USB drive but did you know you can run Windows 10 from a USB drive as well?
Microsoft has introduced all the way back to Windows 8 one feature called Windows To Go and it kept it in Windows 8.1 and in Windows 10 as well.
This feature is intended as a convenient way for workers to carry their corporate environments with them, but having your own copy of Windows on a thumb drive could be handy for backup purposes, too, or if you frequently use public machines that lack your preferences/applications or that have a restricted OS.