Error Code 0x80073afc - What is it?
Error code 0x80073afc deals with an antivirus program first built into Windows 8/8.1 This error occurs when Windows Defender, the built-in anti-virus software in Windows 8/8.1 and higher, does not start automatically and users attempt to manually start the program. During the initialization period of the program start-up, something goes wrong and users get a 0x80073afc Error message. The error message states there was a problem with the initialization of the program. Windows Defender provides protection of your computer and it is advised by the Microsoft Corporation that you ensure it starts up automatically on every start-up.
Solution
 Further Information and Manual Repair
Users have found several manual repairs that have fixed the problem without needing to contact technicians for extra help. While the methods below should solve your problem easily, if this is the first time you have encountered the issue you may want to do a simple restart. This has fixed the problem for some users and is the easiest first troubleshooting move. If it doesn’t work move on to the methods listed below, which are easily completed without extra help.
Before trying any of these methods, please make sure that you are logged into a profile that is listed as the administrator of the computer of his administrative powers enabled. If this is not the case you will not be able to complete the following methods. Please log out and log back in on the administrator profile.
Method 1:
First, check to see if you have a third-party anti-virus program installed on your computer. Some users believe that the built-in Windows Defender program is not powerful enough to handle the safety of their computer so they usually download a third-party program. However, that program may have caused a conflict with Windows Defender and may not allow it to open. If you do have a third-party program installed, try uninstalling it then manually starting Windows Defender.
Method 2:
If method one does not work, you may be infected by malware or a virus that has tampered with the settings on your computer and will not allow Windows Defender to start automatically or manually.
First, open Run by holding the “Win” key and pressing the “R” key. Then type “Regedit”. The program will ask for permission to follow through with this action. Click on “Yes” and the Open Registry Editor will open.
Find the HKEY_LOCAL_MACHINESoftwareMicrosoftWindows NTCurrentVersionImage File Execution Option and check to see if there are any files similar to MSASCui.exe or MpCmdRun.exe. If there are any file entries that resemble that, you will want to right-click on them before selecting the “Delete” option. If you do not see any entries that match, this is not the issue with your Windows Defender and you will want to try another method.
The Registry on your computer is very important. It helps tell your computer what programs are safe to run, what programs should be run, and what programs should not be run. If it is tampered with by a virus or Malware, multiple system operations can be affected.
However, if you did find similar file names, and you deleted them, try to start Windows Defender manually. If it does not work again, move on to the next method.
Method 3:
If the first two methods do not work for your issue, and you are still receiving error code 0x80073afc when attempting to start Windows Defender, this step should solve the problem if you have Restore Point installed on your computer, which you most likely do.
For this method, we will be restoring your computer to a previous Restore Point. First, just like in method two, hold the “Win” key and press the “R” key. This will open run. Next type “Rstrui.exe” and click “ok”. After some time, you will see System Restore Windows. Click “Next” and select the restore point that you would like to go back to. After your computer has restored to the point you selected, check to ensure that Windows Defender has started correctly.
If the above methods aren't able to rectify the issue, you might have to download and install a powerful automated tool to get the job done.

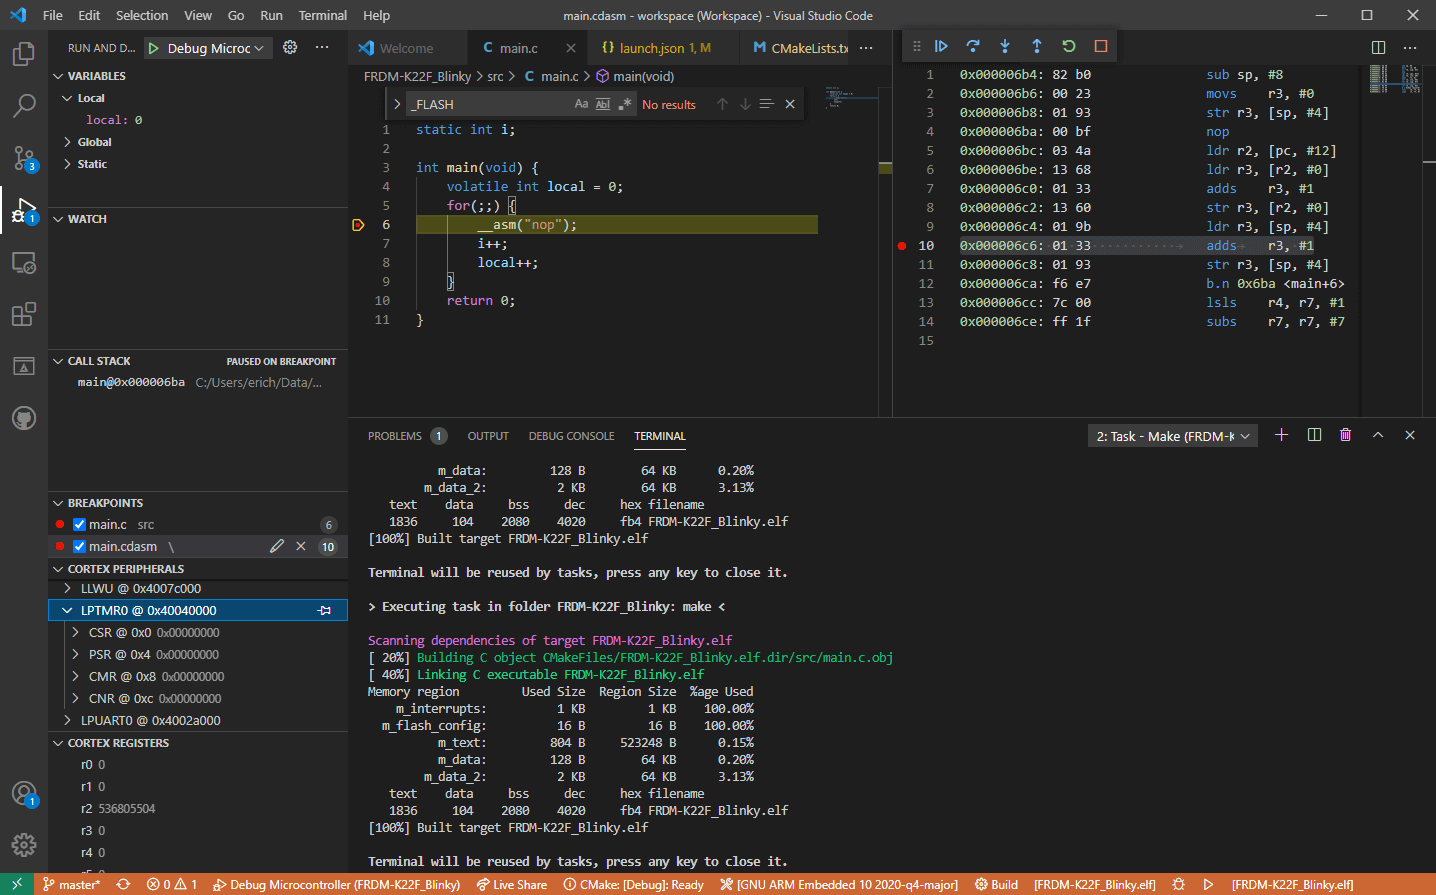 Visual studio code is a code editor available for Windows, Linux, and macOS. It is a completely free tool offering you to code in any language without the need to switch to another editor.
Visual Studio Code is part of Microsoft Visual Studio which is a complete integrated development environment (IDE). Take notice that Visual studio itself has more advanced tools for developing and testing, it has 24/7 support, training, and Azure for WEB apps.
Visual Studio Code is an editor lacking in some advanced features Visual Studio offers.
Visual studio code is a code editor available for Windows, Linux, and macOS. It is a completely free tool offering you to code in any language without the need to switch to another editor.
Visual Studio Code is part of Microsoft Visual Studio which is a complete integrated development environment (IDE). Take notice that Visual studio itself has more advanced tools for developing and testing, it has 24/7 support, training, and Azure for WEB apps.
Visual Studio Code is an editor lacking in some advanced features Visual Studio offers.
 In the dialog, type in netplwiz and press ENTER.
 You will find yourself in the User Accounts window, inside deselect Users must enter a user name and password to use this computer. Press OK
 Sign in the window will pop up where you will have to type in your password and confirm it in order to start the feature.
 After typing in your password and confirming it, press OK. That's it, next time you wake your computer from hibernation or turn it ON, you will automatically be greeted with a desktop instead of a Windows login screen.