- Fixed,
- Expandable
- Differencing
If you suddenly encountered the PDC WATCHDOG TIMEOUT BSOD Blue Screen stop error with a bug check value of 0x0000014F, then it’s probably due to a system component that has failed to respond with the allocated period which prevents the system from exiting connected standby.
This kind of Blue Screen error could be caused by both hardware and software components. To fix this Stop error, here are some possible fixes you can try that might help but before you proceed, make sure that you create a System Restore point first and boot your computer into Safe Mode with Networking.
The next thing you can do to fix the PDC_WATCHDOG_TIMEOUT Stop error is to roll back, or update, or disable device drivers. It is most likely that after you updated your Windows computer that your driver also needs a refresh. On the other hand, if you have just updated your device drivers then you need to roll back the drivers to their previous versions. Whichever applies to you, refer to the steps below.
Note: You can install a dedicated driver on your computer in case you have it or you could also look for it directly from the website of the manufacturer.
In this option, you will have to disable or remove the hardware you’ve just installed recently since external devices could be the one that’s causing the Blue Screen of Death error to appear. To do that, just disconnect any external device that’s connected to your computer physically and then check if it fixes the PDC_WATCHDOG_TIMEOUT Blue Screen error.
The Memory Diagnostic tool in windows can help resolve the PDC_WATCHDOG_TIMEOUT Blue Screen error by checking and automatically fixing any memory-based issues. To run it, refer to these steps:
Updating the BIOS can help you fix the PDC_WATCHDOG_TIMEOUT BSOD error but as you know, BIOS is a sensitive part of a computer. Even though it is a software component, the functioning of the hardware depends on it largely. Thus, you must be careful when modifying something in the BIOS. So if you don’t know much about it, it’s best if you skip on this option and try the other ones instead. However, if you are well-versed in navigating the BIOS, then follow the steps below.
The Blue Screen troubleshooter is a built-in tool in Windows 10 that helps users in fixing BSOD errors like PDC_WATCHDOG_TIMEOUT. It can be found in the Settings Troubleshooters page. To use it, refer to these steps:

 Many times we were talking and writing here on Errortools.com about security, privacy, hacking, identity theft, etc. We tried to raise important security questions and I hope I have managed to at least shed some light and change maybe some bad behaviors for some, helping them embrace better routines about their security on their PC.
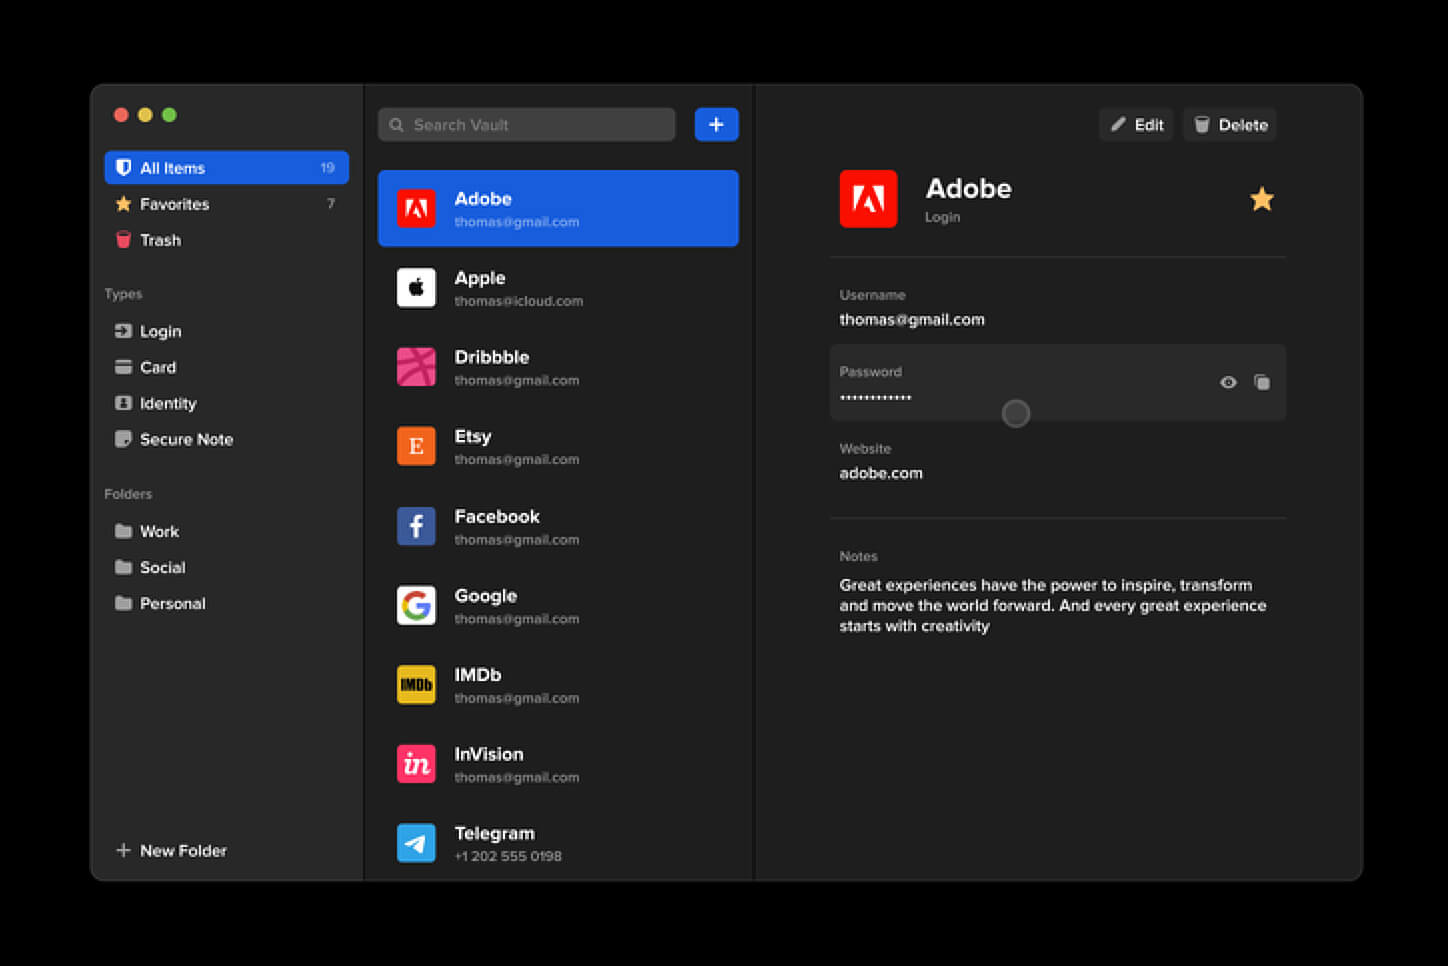
In this light, I will today present you with one neat and awesome piece of software, a password manager worth your time and money (if you want premium features): BitWarden.
Many times we were talking and writing here on Errortools.com about security, privacy, hacking, identity theft, etc. We tried to raise important security questions and I hope I have managed to at least shed some light and change maybe some bad behaviors for some, helping them embrace better routines about their security on their PC.
In this light, I will today present you with one neat and awesome piece of software, a password manager worth your time and money (if you want premium features): BitWarden.
diskpartStep 5: Afterwards, type in either of the following commands to help you in either listing all the Disk connects or all the partitions on those disks formed.
diskpart or list volumeStep 6: Next, you need to select any of the two given commands below depending on the list you entered on the previous step.
select disk # or select volume #Step 7: After you enter the command, it will select the Disk or the Partition you want to select. Now you have to type and enter the following command to clean your drive.
cleanStep 8: Now enter any of the two following commands.
list disk or list volumeStep 9: Then type the next command below to create a specified partition.
create partition primaryStep 10: Once done, type in the following command to select the newly created partition.
select partition 1Step 11: Next, type the following command to mark the selected partition as active.
activeStep 12: Finally, restart your computer to successfully apply the changes made and then see if it has fixed the problem or not.
 Keeping your PC clean is not rocket science and you can do it with things you already and probably have in your house. One thing that I would recommend tho to purchase is antistatic gloves since they could prevent any kind of electrostatic discharges thus protecting your electric components.
If you have the option to disconnect your PC and get it outdoors, I would highly recommend this approach since all the dust will be dusted outside and not in the room where your computer is. If you can not it is still ok, but since some portion of dust will be set in the room, you might need to dust your room after cleaning your computer.
Keeping your PC clean is not rocket science and you can do it with things you already and probably have in your house. One thing that I would recommend tho to purchase is antistatic gloves since they could prevent any kind of electrostatic discharges thus protecting your electric components.
If you have the option to disconnect your PC and get it outdoors, I would highly recommend this approach since all the dust will be dusted outside and not in the room where your computer is. If you can not it is still ok, but since some portion of dust will be set in the room, you might need to dust your room after cleaning your computer.
