If you like to schedule different tasks on your Windows 10 computer and automate them, then you would find the Windows Task Scheduler very useful. It is commonly used by a lot of users to schedule various tasks like scheduling periodic execution of scripts and some programs to make sure that the intended tasks are automatically carried out. Apart from being a preinstalled application, the Task Scheduler is already available on your computer. However, there are times when you might encounter some errors while using it. One of these errors is error 0xFFFD0000. You can encounter this error while executing some PowerShell scripts. It can occur to any tasks as well especially to the ones that have a file executed using a particular program. And just like the PowerShell script, files also use PowerShell to be executed.
To fix Error 0xFFFD0000, you need to follow the instructions provided below carefully.
Step 1: In the Start Search, type “task scheduler” and click on Task Scheduler from the results to open it.
Step 2: After opening Task Scheduler, right-click on the task that’s giving you the error and then click on Properties.
Step 3: After that, navigate to the Actions tab in the new mini window that appears.
Step 4: From there, select the action for the task and click on the Edit button which will open another mini window.
Step 5: Next, make sure that the path to the executing program is properly typed inside the field of Program/script. Note that it should be set to the executable file for that particular program. For instance, you have to set it to “C:WindowsSystem32WindowsPowerShellv1.0powershell.exe” for the Windows PowerShell program.
Step 6: You can also utilize the Browse button and navigate through Windows Explorer to locate that particular executable file for the program.
Step 7: Now make sure to use the file argument in the Add arguments field followed by the path of the file to be executed. It should look like this:
-file "C:/Users/Ayush/Desktop/Powershell Script Sample.ps1"
Step 8: Once done, click on OK to save the changes made and see if the task is still giving you an error or not.
On the other hand, if you are still getting the same error, you can try to repair the Task Scheduler by deleting corrupted tasks. Note that a single corrupted file can cause big problems so this option is quite important. And for you to delete a corrupted task or any task from the Task Scheduler, you have to use the Registry Editor if you are not able to use the Task Scheduler interface. To do so, follow these steps:
- Tap the Win + R keys to open the dialog box for Run.
- Next, type in regedit and click on OK or tap Enter to open the Registry Editor.
- Then navigate to this path: ComputerHKEY_LOCAL_MACHINESOFTWAREMicrosoftWindows NTCurrentVersionScheduleTaskCacheTree
Note: In this path, you can see all the tasks that are currently set in the Task Scheduler. And since it would be hard to tell which one of them is corrupted, you have to delete the latest one in Task Scheduler last. But before you do so, make sure that you take a note of the ID of the tasks. And for you to get the ID, you have to select the task you wish to delete and double click on the ID string located on your right-hand side, and then copy it in the Notepad.
- Right-click on the task name and then delete it.
- After that, delete the very same GUID which you have copied earlier from these folders:
- ComputerHKEY_LOCAL_MACHINESOFTWAREMicrosoftWindows NTCurrentVersionScheduleTaskCacheBoot
- ComputerHKEY_LOCAL_MACHINESOFTWAREMicrosoftWindows NTCurrentVersionScheduleTaskCacheLogon
- ComputerHKEY_LOCAL_MACHINESOFTWAREMicrosoftWindows NTCurrentVersionScheduleTaskCacheMaintenance
- ComputerHKEY_LOCAL_MACHINESOFTWAREMicrosoftWindows NTCurrentVersionScheduleTaskCachePlain
- ComputerHKEY_LOCAL_MACHINESOFTWAREMicrosoftWindows NTCurrentVersionScheduleTaskCacheTasks
Note: You might not see the same GUID from these folders but if you see it, delete it right away.
- Next, navigate to this location: C:WindowsSystem32Tasks
- Delete the very same tasks you just deleted from the Registry Editor.
- Restart your PC and check if the Task Scheduler is back to its normal state or not.


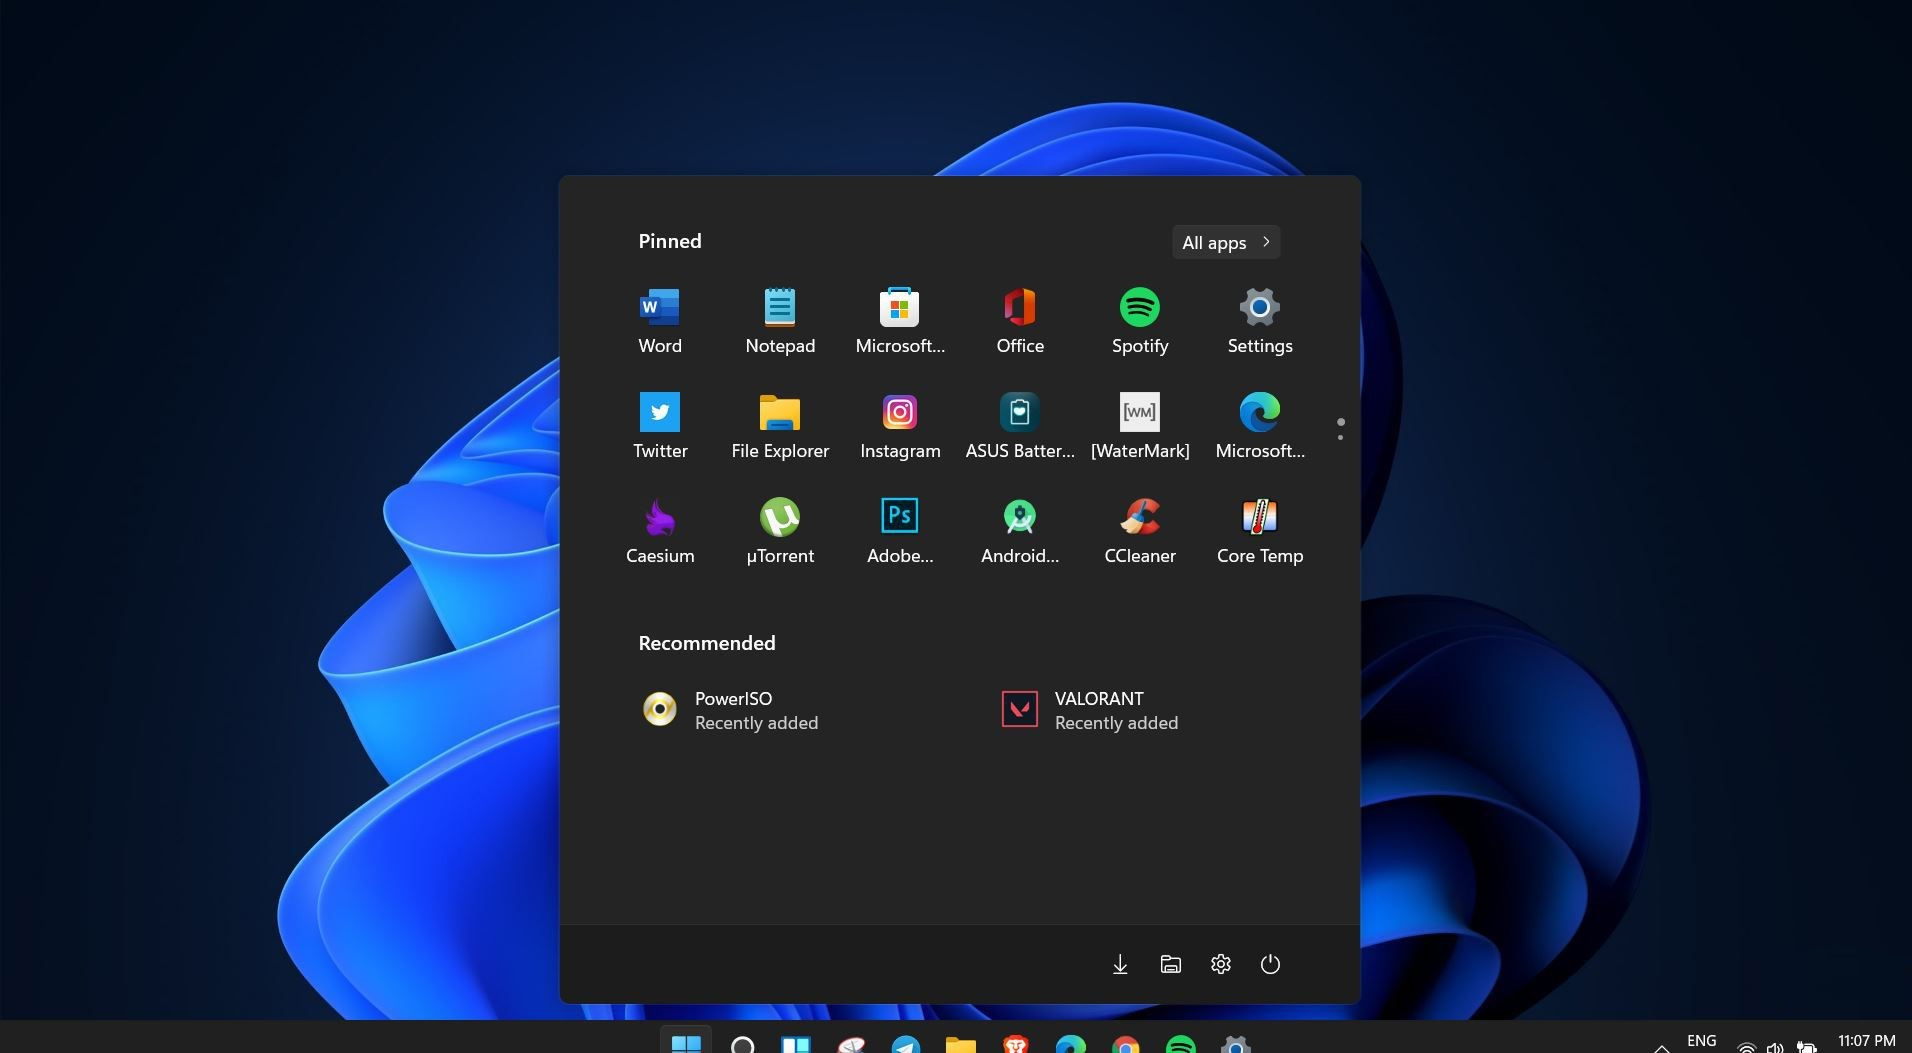 Windows 11 is coming soon, from its typical view and color scheme, Windows 11 will natively support dark mode.
The dark mode is very popular in many applications today, some large companies like Adobe, Autodesk, and many more have already adopted a dark color scheme for their software so it is logical for others to follow and Microsoft is aboard for it.
The dark mode itself has its benefits, for people who work on computer for longer period of time dark mode inside applications will throw less white and blue light on their eyes making workhours easier and pleasant on them.
As a person who does indeed spend a lot of time in front of the screen, I would advise you to switch to dark mode regardless of the time that you spend with a computer, your eyes will be grateful.
Windows 11 is coming soon, from its typical view and color scheme, Windows 11 will natively support dark mode.
The dark mode is very popular in many applications today, some large companies like Adobe, Autodesk, and many more have already adopted a dark color scheme for their software so it is logical for others to follow and Microsoft is aboard for it.
The dark mode itself has its benefits, for people who work on computer for longer period of time dark mode inside applications will throw less white and blue light on their eyes making workhours easier and pleasant on them.
As a person who does indeed spend a lot of time in front of the screen, I would advise you to switch to dark mode regardless of the time that you spend with a computer, your eyes will be grateful.