
You probably heard about switches for LAN but not a lot of people heard about KVM switches. So what exactly is KVM switch?
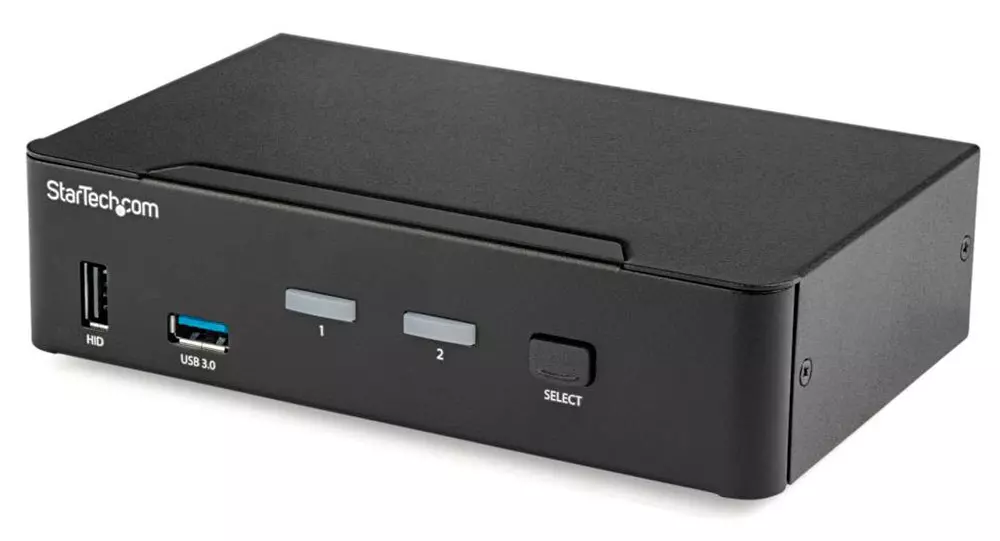
If we look at the name, it is a shortcut for Keyboard, Video & Mouse and the original idea was to have multiple computers but one keyboard, mouse, and monitor. These peripherals would be connected to the KVM switch and other computers could all use one set of these on the fly when needed.
The technology behind the switch is a little interesting since it will actively fake signals to other computers that are not using peripherals. Once they are switched to them the transition is smooth and not noticeable. In old days these switches were more important than today since on every mouse or keyboard disconnection you had to reboot the computer, and although today that is not the case CPU will still detect disconnection and on the next connection it will run through the ID of the device and try to use the existing driver and if peripheral was connected in other USB port, it will install the same driver but connect it to the new USB port.
This type of reconnection can slow down work and place unnecessary load on the CPU so that is why KVM will fake connection in order to make switching externals on the computer smooth and in nick of a time.
Modern KVM switch
These days modern KVM switches will offer you more options than just being able to switch between keyboard, mouse, and monitor. Modern switches now offer Lan, audio, and many more various options.
There are also different kinds of switches offering you only one option, like for example just a Video switch that will let you use one monitor on three computers and many more other specialized options.
Software switches
So far we talked about Hardware switches, a real device being able to take peripherals into it and switch computers on the fly. On the other line, we have software switch solutions that will have specific software installed on all computers and have it run at all times, and switching between them will be through specific software.
There are two very good and main advantages of using software solutions instead of a hardware one. First, of course, is the price, since the most popular Synergy is an open-source solution, completely free of charge. The second big advantage is that software switch is not limited to how many computers can you use. Hardware switches tend to go to a large number like 16 but if you have a large cluster of computers over a LAN, let's say 30 then the box solution might be difficult.
On the other hand software solution will switch only keyboard and mouse since each other computer will have to have some screen on it in order to work. Both solutions have their strong advantages and disadvantages and it is up to you to choose one that best suits you.
Conclusion
If you are multitasking with a lot of computers or just need your peripherals from time to time to connect to another machine then the KVM switch is something that you might find the use of. Just be aware that if you go for some cheap switch you might experience some lag on your peripherals, but if that is not a concern you can get hardware one for as low as $50 USD.

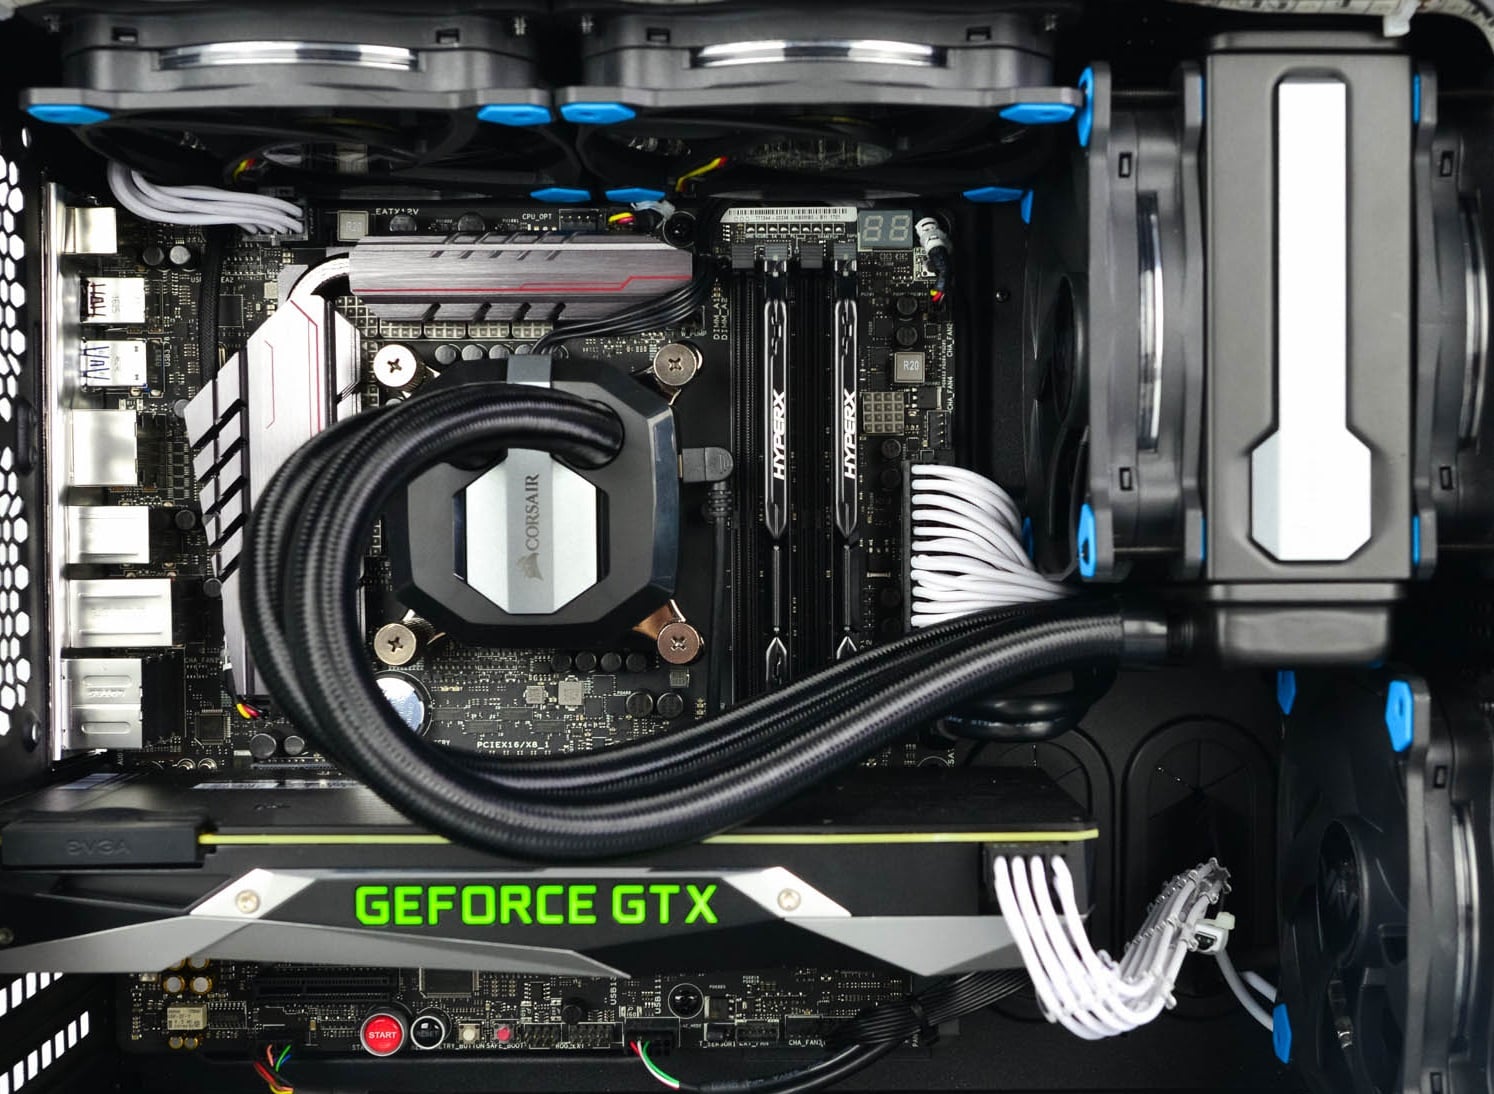 Builders with no depth knowledge and experience can sometimes choose improper CPU or GPU, picking one of them to be much more powerful than another thus not using it to its full potential because another component cannot handle stuff at the same speed. In order to not be trumped by this kind of stuff, there is a website that is completely free and you do not even need to be registered in order to use it.

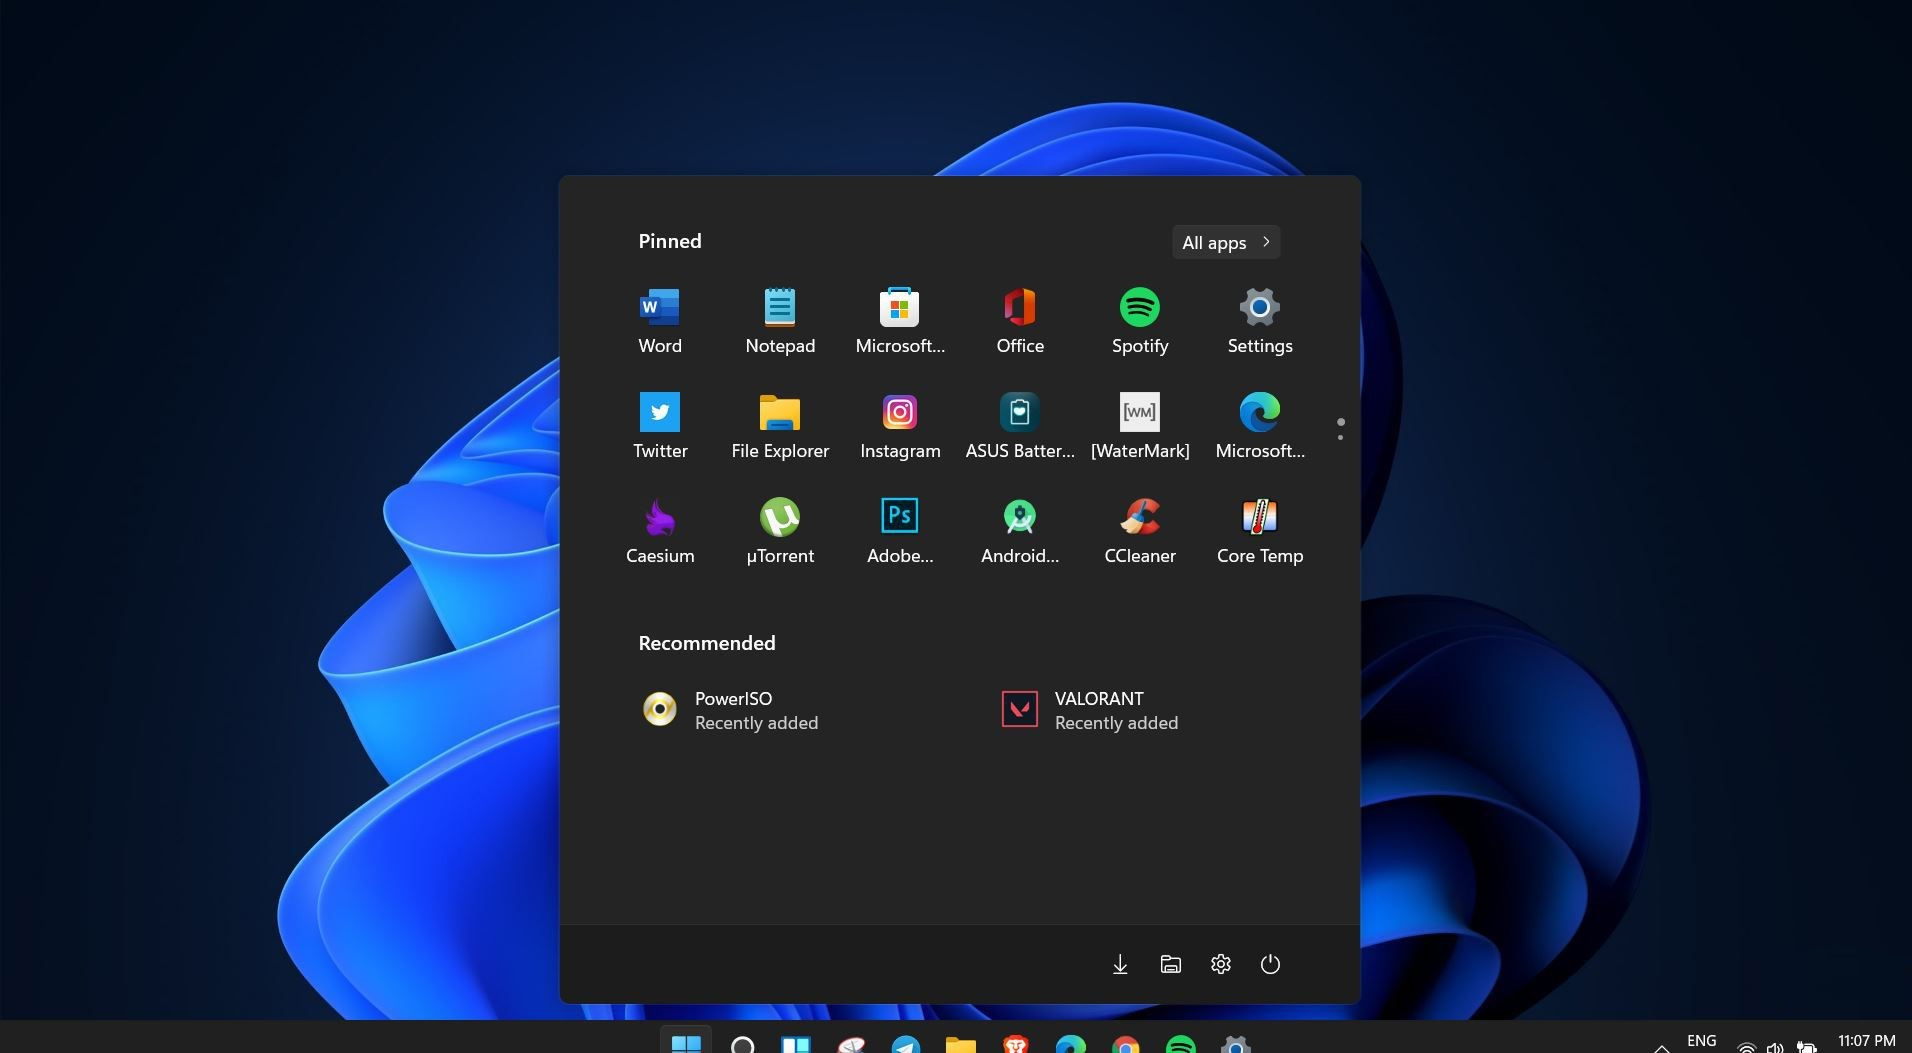 Windows 11 is coming soon, from its typical view and color scheme, Windows 11 will natively support dark mode.
The dark mode is very popular in many applications today, some large companies like Adobe, Autodesk, and many more have already adopted a dark color scheme for their software so it is logical for others to follow and Microsoft is aboard for it.
The dark mode itself has its benefits, for people who work on computer for longer period of time dark mode inside applications will throw less white and blue light on their eyes making workhours easier and pleasant on them.
As a person who does indeed spend a lot of time in front of the screen, I would advise you to switch to dark mode regardless of the time that you spend with a computer, your eyes will be grateful.
Windows 11 is coming soon, from its typical view and color scheme, Windows 11 will natively support dark mode.
The dark mode is very popular in many applications today, some large companies like Adobe, Autodesk, and many more have already adopted a dark color scheme for their software so it is logical for others to follow and Microsoft is aboard for it.
The dark mode itself has its benefits, for people who work on computer for longer period of time dark mode inside applications will throw less white and blue light on their eyes making workhours easier and pleasant on them.
As a person who does indeed spend a lot of time in front of the screen, I would advise you to switch to dark mode regardless of the time that you spend with a computer, your eyes will be grateful.