
Error Code 0x800703e3, What is it?
Error Code 0x800703e3 is an error that arises on Windows 10, as well as on many of the past versions of the Windows operating system, dating back to Windows 7. It is an error that is associated with a number of different causes, and therefore, there are many different ways to attempt to resolve the error.
Common symptoms include:
- Programs running slowly or locking up
- Computer freezing or going to a blue screen
- Report of an error message
In most cases, users experience Error Code 0x800703e3 when they attempt to install new software or upgrade their programs and operating systems on their Windows machine. Error Code 0x800703e3 is fairly simple to fix and many of the methods used do not require advanced computer skills or knowledge. However, if you have any difficulty in implementing the steps below on your device, it is recommended that you contact a qualified computer repair technician to assist you.
Solution
 Error Causes
There are a number of different causes for Error Code 0x800703e3. The most common ones that Windows users experience are:
- Incomplete installations interfering with system files
- Outdated operating system or programs
- Updates left unfinished for long periods of time
- Manual cancellation of the installation process
- Malware or viruses
- Corrupted files in the operating system
- Redundancy in the installations of a program on the device
Further Information and Manual Repair
As there are many different things that can cause Error Code 0x800703e3 to appear on your Windows device, there are many methods that you can use to attempt to resolve the error. While many of these are easy to complete for basic users, some of the methods below require familiarity with advanced computing techniques. If you have trouble using the methods below, contact a qualified Windows repair technician.
Here are the top ways to resolve Error Code 0x800703e3:
Method One: Update Your Device Drivers and Registries
The best place to start in resolving Error Code 0x800703e3 is to open up your settings for your drivers and check to see if any updates are necessary. After updating your drivers, it is important to restart your computer to allow any changes to take effect.
Secondarily, you can also run the Windows Registry Repair tool to see if there are any system files in your library that can be fixed, removed, or added automatically by the repair wizard. Again, it is important that you restart your computer after the tool has finished its scan and repair process to ensure that all necessary changes become fully active and recognized by the system.
Method Two: Check for System and Program Updates
If it has been a while since you last updated your software and operating system, open up the settings for your system updates. Always restart your computer after a system update has been completed to allow the necessary changes to take effect.
Remember that it is important to regularly update both your Windows operating system and your programs to ensure that there is not a backlog of updates to be completed. This can help to keep your computer in optimum health and eliminate future errors during installations and standard operation of your computer.
Method Three: Restore Your System
In some cases, the best way to address Error Code 0x800703e3 is to reinstall the Windows operating system on your machine. If the core issue of the error is that there is a missing or damaged system file, this is the best way to address the problem quickly and efficiently. Before you attempt to reinstall the Windows operating on your machine, make sure that all of your programs and information have been backed up in a secure manner so that you can restore these items after the installation is complete.
Method Four: Remove Recently Added Programs
If you just began to experience the error after installing a new program, try removing the new program from your machine using the “uninstall” process, then restart your computer.
If you have any difficulty in completing the above methods on your own or if the problem has not been fully resolved using these methods, get in touch with a certified Windows technician who can help you to fix the issues at hand and get your computer up and running again.
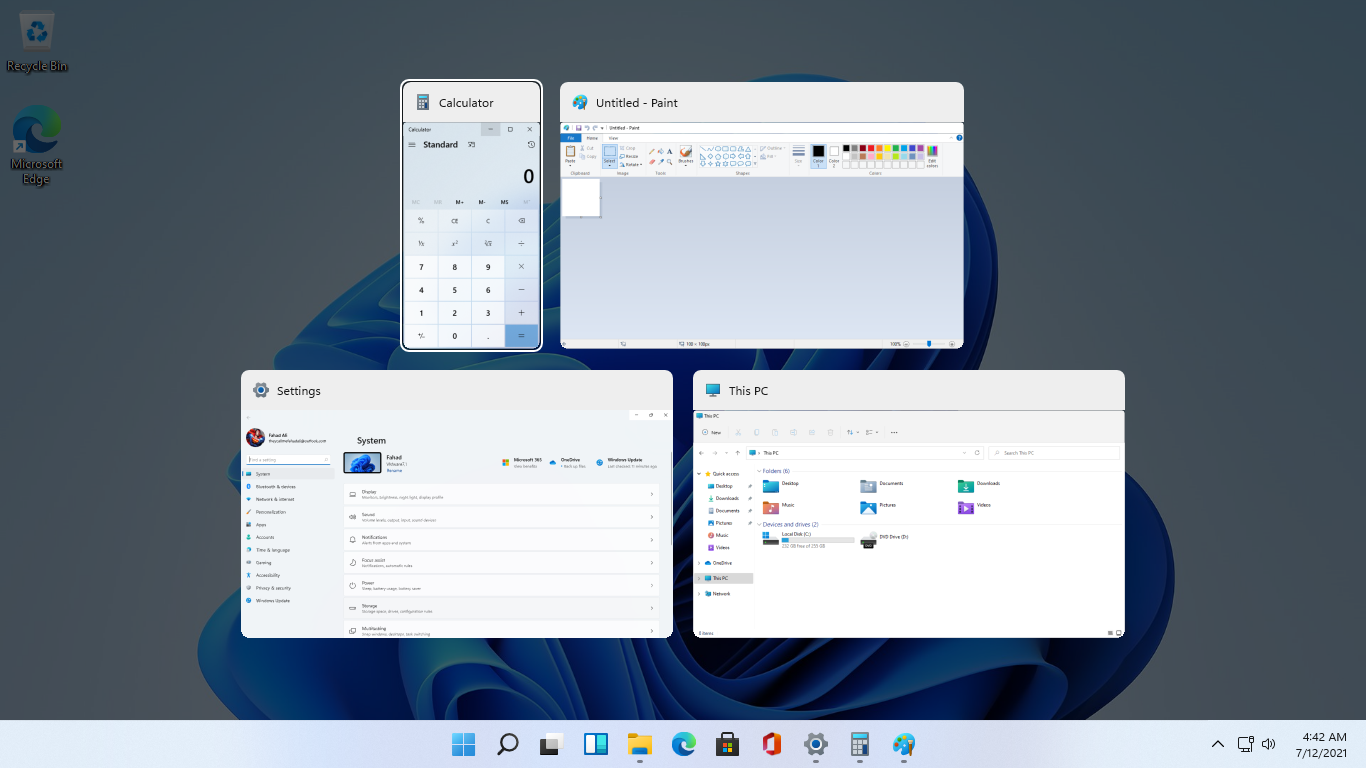 As in previous Windows 10, inside Windows 11 also when you press the ALT + TAB key combination you will get a preview of all running applications along with all Browser tabs so you can go through them and pick the one you want to switch to.
Alto, I personally am a big fan of alt-tabbing, I must admit that I am not a big fan of having multiple browsers tabs on screen when I do press key combo. Luckily there is a very easy way to turn this feature off.
Turning browsers tabs thumbnails off
As in previous Windows 10, inside Windows 11 also when you press the ALT + TAB key combination you will get a preview of all running applications along with all Browser tabs so you can go through them and pick the one you want to switch to.
Alto, I personally am a big fan of alt-tabbing, I must admit that I am not a big fan of having multiple browsers tabs on screen when I do press key combo. Luckily there is a very easy way to turn this feature off.
Turning browsers tabs thumbnails off
 Microsoft starting as of today will block its Office 365 users if they are using Internet Explorer or early versions of Edge browsers.
So if you are using older non Chromium Edge versions of Microsoft browsers you can no longer access Office services until you switch. Now normally I would fully support this kind of decision since Internet explorer is a slow and vulnerable browser and the edge is similar in that regard.
The new edge browser is great and it should be used but the issue I have is that Office 365 is not free, it is a premium feature and I am wondering how Microsoft plans to deal with people that have already paid for service but suddenly cannot access it anymore.
Microsoft starting as of today will block its Office 365 users if they are using Internet Explorer or early versions of Edge browsers.
So if you are using older non Chromium Edge versions of Microsoft browsers you can no longer access Office services until you switch. Now normally I would fully support this kind of decision since Internet explorer is a slow and vulnerable browser and the edge is similar in that regard.
The new edge browser is great and it should be used but the issue I have is that Office 365 is not free, it is a premium feature and I am wondering how Microsoft plans to deal with people that have already paid for service but suddenly cannot access it anymore.  In the run box type in Control Panel and press ENTER
 In Control Panel find Storage Spaces and left-click on it.
 Once storage spaces open, left-click on Create a new pool and storage space
 Once you click on create new, you will be greeted with a list of hard drives you can use for this operation.
 Please note that all hard drives you choose will be completely erased and formatted and then assign a single drive letter. Click on Create pool.
 You will find yourself in new storage options where you can assign a drive letter, give storage space a name, etc.
 California's Department of Fair Employment & Housing has widened its anti-discrimination lawsuit against Activision Blizzard and claims the publisher has been shredding vital documents relevant to the ongoing investigation.
A recent report from Kotaku described the department as offering poorly paid, highly insecure positions, with a culture of hostility towards LGBTQ+ testers. The DFEH's rewording of "employees" to "workers" now hopes to take these contractors' experiences into account.
"As a contract employee, I feel there's a lot of pressure to excel, impress, and move through the ranks as fast as you can before your contract ends and you're forced to go 3 months without income or find another job," Axios reports one worker saying. "I take pride in what I do, but it feels like it's never enough."
Activision's contentious hiring of union-busting third-party law firm WilmerHale "directly interferes" with its own investigation, it says. By going to WilmerHale, Activision appears to be claiming that all work related to the investigation is privileged and can't be shared with DFEH.
The suit also claims that Activision HR shredded documents related to "investigations and complaints", against its legal obligation to retain them during the investigation. The relevant parts of the updated lawsuit were shared by Axios reporters Stephen Totilo and Megan Farokhmanesh, the former also noting that the DFEH "fixed their misspelling of Bill Cosby's name".
"DFEH is also informed and aware that documents and records have not been maintained as required by law or by the DFEH's Document Retention Notice," the complaint reads, "including but not limited to documents related to investigations and complaints were shredded by human resource personnel and emails are deleted thirty days after an employees separation."
California's Department of Fair Employment & Housing has widened its anti-discrimination lawsuit against Activision Blizzard and claims the publisher has been shredding vital documents relevant to the ongoing investigation.
A recent report from Kotaku described the department as offering poorly paid, highly insecure positions, with a culture of hostility towards LGBTQ+ testers. The DFEH's rewording of "employees" to "workers" now hopes to take these contractors' experiences into account.
"As a contract employee, I feel there's a lot of pressure to excel, impress, and move through the ranks as fast as you can before your contract ends and you're forced to go 3 months without income or find another job," Axios reports one worker saying. "I take pride in what I do, but it feels like it's never enough."
Activision's contentious hiring of union-busting third-party law firm WilmerHale "directly interferes" with its own investigation, it says. By going to WilmerHale, Activision appears to be claiming that all work related to the investigation is privileged and can't be shared with DFEH.
The suit also claims that Activision HR shredded documents related to "investigations and complaints", against its legal obligation to retain them during the investigation. The relevant parts of the updated lawsuit were shared by Axios reporters Stephen Totilo and Megan Farokhmanesh, the former also noting that the DFEH "fixed their misspelling of Bill Cosby's name".
"DFEH is also informed and aware that documents and records have not been maintained as required by law or by the DFEH's Document Retention Notice," the complaint reads, "including but not limited to documents related to investigations and complaints were shredded by human resource personnel and emails are deleted thirty days after an employees separation."