If you are trying to install or update Microsoft Edge on your Windows 10 computer but ended up getting HTTP Error 500 or Error 0x8004xxxx or 0x8007xxxx, then you’ve come to the right place as this post will help you sort this problem out.
The aforementioned errors when either installing or updating the Edge browser occur due to a Network issue. There is actually a range of error codes that are associated with the network connection issue. These error codes include Error 500 or 0x80010108, 0x80040801, 0x80042193, 0x80042194, 0x800421F4, 0x800421F6, 0x800421F7, 0x800421F8, 0x80072742, 0x80072EE2, 0x80072EE7, 0x80072EFD, and 0x80072EFE. To fix them, there are several options you can try. You can try to run the Network Adapter troubleshooter or update or reset the Network Adapter as well as check and the proxy configuration.
Option 1- Try updating the Network Adapter Driver
Follow the steps below to update your Network Adapter Driver:
Tap the Win + R keys to launch the Run window and then type in the “MSC” command and hit Enter to open the Device Manager window.
From there, expand the list of all the network drives and update each one of them.
Note: If updating the network drivers didn’t help in fixing the problem, you can also try to uninstall the very same drivers and restart your Windows 10 PC. After that, the system itself will reinstall the drivers you just uninstalled. Alternatively, you can also download and install the drivers from the manufacturer’s website directly.
Option 2 – Run the Network Adapter troubleshooter
To run the Network Troubleshooter, refer to these steps:
Open the Search bar on your computer and type in “troubleshoot” to open the Troubleshoot settings.
Next, scroll down and select the “Network Adapter” option from the right pane.
Then click on the Run Troubleshooter” button.
After that, your computer will check for any possible errors and will pinpoint the root cause of the problem if possible.
Restart your computer.
Option 3 – Try to reset the Network Adapter
You can also try to perform a Network Reset to resolve the problem. This will reset the entire network configuration including your IP address. To perform Network Reset, follow these steps:
Tap the Win + I keys to open Settings.
From there, go to the Network and Internet section.
Next, scroll down and look for “Network Reset” under the status pane.
After that, click on Network Reset and then on Reset now to start resetting the network configuration. Once done, check if it is able to fix the error or not.
Option 4 – Try to fix the Proxy Settings
In the Cortana search box, search for Internet Explorer and then click on the related search result.
After that, tap the Win + T keys on your keyboard and click on Internet Options.
Next, navigate to the Connections tab and click on LAN Settings.
Then click on the Advanced button and delete all the entries in the list generated in the Exceptions section. And if the Advanced button is disabled because the “Use a proxy server for your LAN (These settings will not apply to dial-up or VPN connections)” option is disabled then you are good to go. Now proceed to the next step.
Tap the Win + X keys or right-click on the Start button and select Command Prompt (Admin) or you could also search for “cmd” in the Cortana search box and right-click on Command Prompt from the search results and select the “Run as administrator” option.
If a User Account Control appears, click on Yes to proceed. After that, type each one of the commands listed below, and don’t forget to hit Enter after you type each one of them.
netsh winhttp reset proxy
net stop wuauserv
net start wuauserv
Now restart your computer and check if the problem is fixed or not by installing or updating Microsoft Edge again.
Hello everyone, last time we were talking about disk cleanup and its benefits, but as you need to keep your System clean you should also clean and keep your hardware clean as well. Many system issues could be traced and could happen due to dirty PC. In this article, we will give you tips on how to perform safely cleaning on your computer and hopefully point good sides to it so you can develop a healthy habit of regularly cleaning it and keeping it tidy.
Keeping your PC clean is not rocket science and you can do it with things you already and probably have in your house. One thing that I would recommend tho to purchase is antistatic gloves since they could prevent any kind of electrostatic discharges thus protecting your electric components.
If you have the option to disconnect your PC and get it outdoors, I would highly recommend this approach since all the dust will be dusted outside and not in the room where your computer is. If you can not it is still ok, but since some portion of dust will be set in the room, you might need to dust your room after cleaning your computer.
Cleaning outside case & redusting inside
The first thing after disconnecting your computer is to dust it from outside, here you will need a vacuum cleaner and a brush, gently brush outside dust from your casing and vacuum it with your vacuum cleaner. You can use dustcloth for larger parts but use the brush for fans and connectors.
After you have done cleaning the outside part, open the side of your computer casing, put on your antistatic gloves, and get a fine and soft brush, repeat dusting and vacuuming of the inner parts of your computer. If your computer is not regularly been cleaned this part will take a little longer since there would be excess dust inside and it will take a longer time to vacuum it all but keep going until you are left with no dirt.
Cleaning it inside
Fans are troublesome to clean since they will rotate when brushed and that could make you miss certain sports, in order to battle this get a tape and stick the fan into one position, brush areas that you can reach, then unstick it, rotate the head, stick it again in another position and dust off remaining areas which you could not reach before.
If your computer is very dirty and some hard dirt is at bottom of the connectors, disconnect desired component and clean the connection properly. plug it back in immediately after cleaning to avoid connecting it somewhere else.
Harder stains that could not be dusted could be cleaned with little alcohol. Get your dustcloth just a little wet with alcohol, just a corner, and gently wipe out sticky dust or spills if they are present. Leave it 10 minutes for alcohol to evaporate before plugging it back into an electric socket.
Thermal paste and cable management
If you have money and expertise, every 2 years would be a good idea to change the thermal paste on your processor, all you need to do is buy it from your local computer store online, remove the CPU fan clean the CPU and bottom of the fan and apply new thermal paste, place fan back and lock it. If you do not have expertise in this area, call someone who has to show you how it is done.
When cleaning it would be a good idea if you do not have any cable management to do it now, nice and tidy cables not only look good, they also improve your air circulation inside your casing making your computer cooling better.
once you are done with it, close back the casing side and plug it back in the wall.
Peripherals
When you are cleaning your computer, do yourself a favor and clean your keyboard, mouse, and screen as well. the keyboard can be quickly cleaned with compressed air in the can and screen and mouse with dustcloth.
That's it, remember, keep your PC clean and tidy and enjoy the benefits of non-hardware malfunctions caused by dirt and dust.
Spying via some malicious app on the target phone is not a new thing but it can be very uncomfortable and even against the law in some countries.
Infecting the target phone can be done in various ways, another person can intentionally download and install applications on it, and you can install them via some phishing attacks or by an online scam. Once installed this piece of software presents a very serious invasion of privacy since it can track text messages, track phone location in real-time, record calls in real-time, eavesdrop on calls, take control of the camera and microphone, and many other applications.
Here are some common symptoms of mobile phones infected with spyware.
Symptoms of spyware
Random reboots Slow performance Strange text messages Overheating Unusual high data usage Non-familiar apps in the app list The fast drain of the battery Long shutdown time Strange interference and sounds during calls Signs of activity during standby mode
If your phone exhibits any of these symptoms you might have a spyware app installed and running on it.
Common spy apps
There are many apps that have been designed to spy on people that can be downloaded in the app store or on Google Play today. Most of these spyware apps are aimed at parents wanting to keep an eye on and protect their children. However, these can be used by anyone in order to spy on a target person via their phone.
Below is a list of common apps that can be used to spy on you. Many spyware apps require a phone to be ‘jailbroken’ or ‘rooted’ before being installed, this is when the phone’s operating system is changed to allow the phone to become unlocked and customizable.
mSpy : An undetectable spying app for iOS devices. It can be used to read your chats, see your location, view your email, check your call history, record your keystrokes, and more.
Spyera : This app requires rooted and jail-broken iPhones to work. It can go undetected and monitors phone calls and your call history. It even allows call recording and eavesdropping on live calls.
Flexispy : Flexispy prides itself as the #1 phone monitor for parents and can monitor everything from calls to social texts.
Umobix : This powerful spyware app has a dashboard that allows users to easily monitor someone’s location, calls, texts, keystrokes, all major social media, and more. You can detect Umobix because it heats up the infected phone and greatly affects the battery life of the infected device.
Ikey Monitor : Although it requires the device to be rooted for Android or jailbroken for iPhones, this spy app captures keystrokes, passwords, and screenshots, allows for call recording and supports multiple languages.
Clevguard : Available for both iOS and Android, Clevguard allows users to track GPS and Wi-Fi locations, capture screenshots remotely, and more. Due to a recent update, the spy app drains the target phone’s battery significantly.
Remove spyware from your phone
If any of the beforementioned apps are present on your phone you need to remove them right away.
Go to your phone settings and remove the malicious applications, then download some protection suite and scan the whole phone for any other trace of software remains or other malware apps.
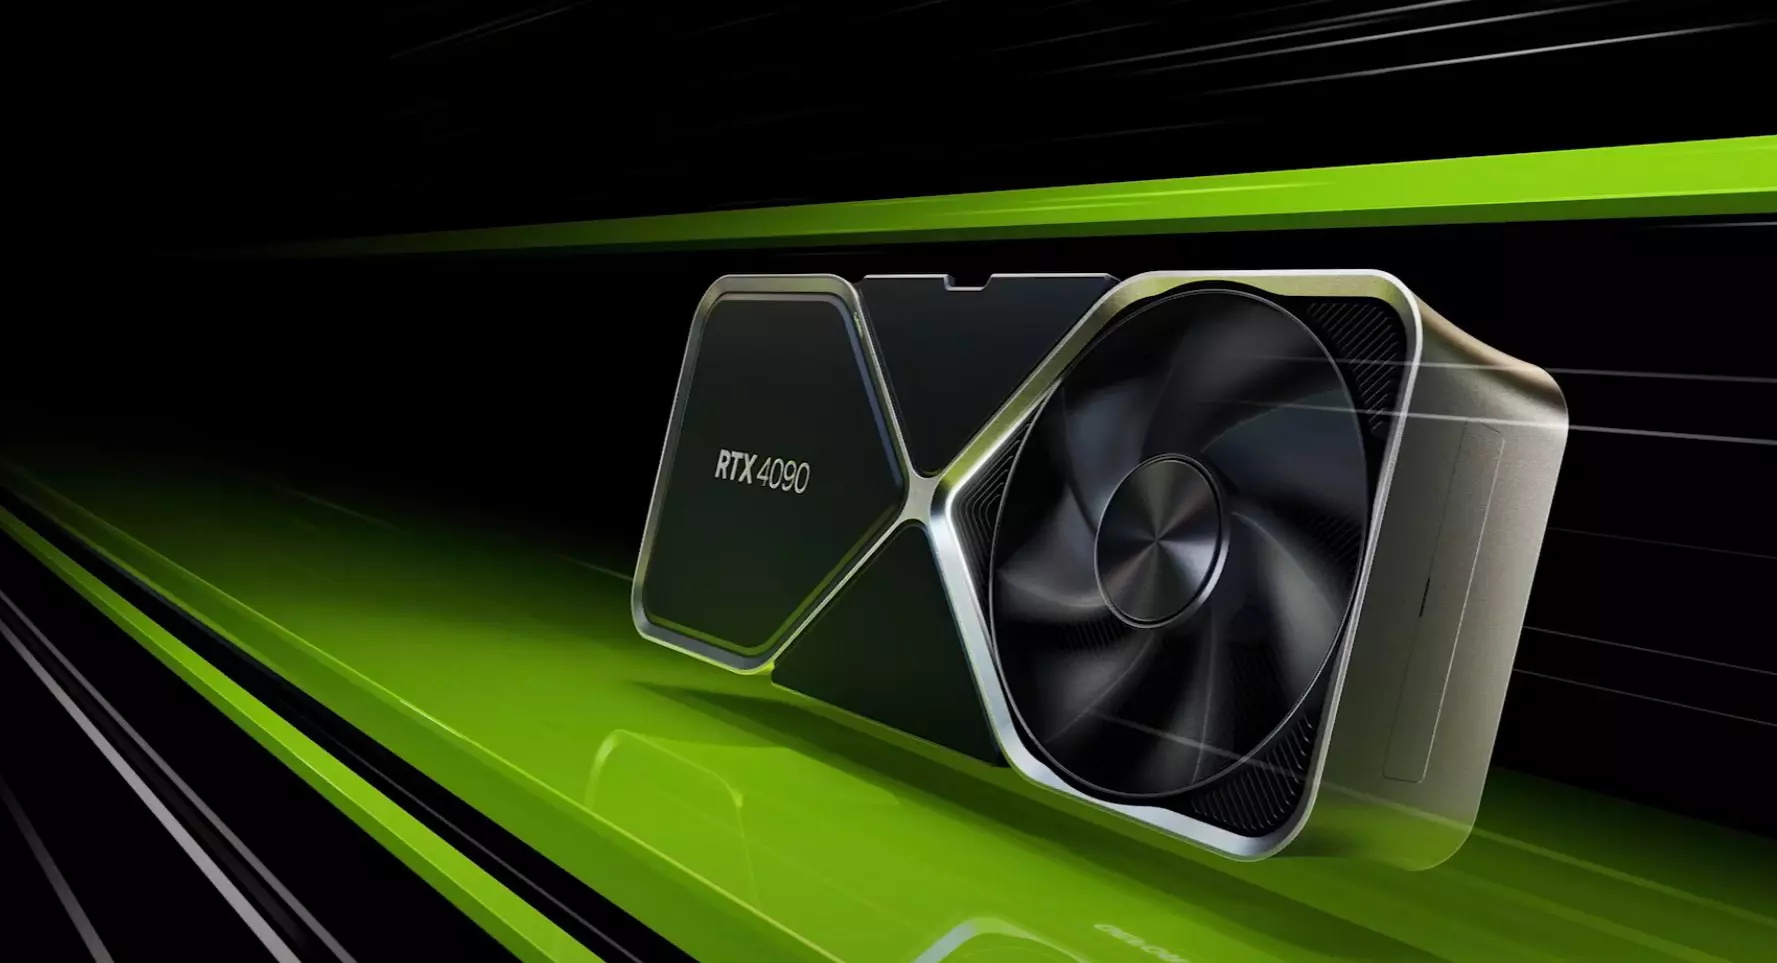
Nvidia announced the third generation of GeForce RTX GPUs called Ada Lovelace. New technology is bringing 76 billion transistors with 18,000 CUDA cores along with new gen ray tracing cores and improved Tensor cores as well. The new lineup also comes with DLSS 3 which is vastly improved from its previous version pushing a 4 times increase in frame rates over native rendering.
RTX 4090, a better model of GPU will come with 16,384 CUDA cores and a boost clock speed of 2.52 GHz. Also, it is packed with stunning 24 GB of GDDR6V VRAM. In Nvidia's words, its performance is twice faster than the 3090 Ti in games like Flight simulator, three times faster on Portal RTX, and four times faster on RacerX.
RTX 4080 comes in two modes, one with 12GB VRAM and a stronger one with 16GB VRAM but differences do not end here. The lower model is packing 7,680 CUDA cores while the stronger one is going to 9,728 CUDA cores. We will wait to see how will these cores count impact real-world performance in games.
As for prices, the flagship model RTX 4090 will be $1,600 USD and it will hit the market on October 12th. RTX 4080 12GB model will be $900 USD and the model with 16GB VRAM will go up to $1,200 USD. This, of course, is the price for Founders Edition cards, OEM cards from third parties like ASUS, MSI, Gigatech, etc will cost more.
Error code 0x80070422 is a Windows-based error code occurring in various versions of Windows including Windows 7, Windows 8 and Windows 8.1, and Windows 10. It usually occurs when users attempt to update Windows. A message box will appear stating that the error code has occurred. Users will notice the following common symptoms:
Inability to complete Windows updates
Error message occurring during use of Windows Update service
The error code, if left unresolved, can cause serious problems for PC users as they will be unable to access the latest updates to the Windows operating system. Such a situation can expose their system to vulnerabilities. Thus, fixing Windows 10 error code is of utmost importance.
Solution
Error Causes
Among the many reasons Error code 0x80070422 is encountered includes:
Corrupted or missing registry and DLL files
Badly or poorly installed software. The software could also be infected by a virus or Trojan
Outdated or poorly installed drivers
Further Information and Manual Repair
Fixing Windows-based error codes can be a simple process. However, in some cases, it requires specialized skills. In the case of Windows 10 error code 0x80070422 consider the two (2) main solutions available through manual repair. You may also need to consider help from a certified Windows repair technician or the use of an automated tool if you are not confident you have the skills to perform the solutions below.
Method 1: Check if Windows Update is Running Properly
One of the main reasons for error code 0x80070422 is a Windows Update service that is not running on the right settings. To verify if an issue with your Windows Update service is the source of the problem applies the following steps:
Type “Windows Update” in the search bar near the Windows home button.
Select “Windows Update settings” when this option appears. (You may also click the home button, then “Settings” followed by “Update and Security”.)
Select “Advanced Options”
(You will be given an option to choose how updates are installed.) Select Automatic.
Save settings and restart the computer.
Once these settings are in place Windows will be able to download updates automatically. This enables your machine to run more smoothly. However, if after applying the steps above, Windows 10 error code 0x80070422 is not resolved, you may proceed to solution two (2).
Method 2: Disable Internet Protocol Version 6 (IPv6)
IPv6 is the latest or most current version of Internet Protocol (IP). This provides your machine with an IP address, a crucial aspect of all communications related to the Internet. By disabling this IP some users have been able to successfully resolve Windows 10 error code 0x80070422.
Like many tasks involving Windows, there are more than one ways in which you can attempt to disable IPv6. These require different types of skills and must be approached with care, as mistakes can lead to serious issues with your machine. Methods include using Command Prompt, Registry Editor, or Control Panel.
If your experience with Windows 10 is quite limited and you are not certain of your skills choose the simplest approach as listed below.
Select Control Panel.
Choose “Network and Internet”, then “Network and Sharing Center”.
Right-click your Internet Connection. The name of your connection will be listed underneath the heading – “View your basic network connection and set up connections”.
Select “Properties” then uncheck Internet Protocol version 6 (IPv6)
Save settings by clicking OK.
Restart the computer and check if the 0x80070422 error code has been corrected.
Method 3: Using An Automated Tool
If the issue persists despite following the solutions above, the best step to take is to use an automated tool. This may not be your preferred course of action, especially since it can be difficult to ascertain the safety of certain tools found online. For this reason, choose a reputable source offering automated tools which are designed to specifically fix Windows 10 error code including error code 0x80070422.
Download and install a powerful automated tool to access the best Windows 10 error code solutions. The process is simple and includes clear instructions which enable even average Windows users to completely resolve complicated errors on their machine.
How to Stop Future Error Codes from Occurring
Though it is hard to predict when an error code will occur, each Windows 10 user can take precautionary steps to prevent other errors from occurring. This includes the following:
Ensure you download software from reputable sources to avoid viruses and other forms of malware.
Clean your registry often. The registry stores settings across all applications. Regular cleaning will your machine function more efficiently as it reduces the likelihood of issues such as crashes or system errors.
Ms-Outlook is the widely used and most favored program to get and to send e-mails within workplaces.
In addition, it eases customers' business execution through additional features like producing schedule records to retaining track of important dates and sessions, preserving details on addresses, producing several files for handling significant e-mails and accessories, and additionally preserving drafts of emails individuals intend to send in future.
Ms-Outlook helps individuals handle functions and organize with each other effectively and economically.
Nevertheless, everything may suddenly halt when the problem code information screen is experienced by the Outlook user, you.
This is time-consuming and annoying as it prevents you from getting into your account and could lock you away from your view e-mail account.
Error code 0x80040116 is a familiar Outlook error that jumps up with no caution on the display.
Besides restricting your capacity to utilize your Outlook account, it presents a critical risk to the private data you've stored inside. Additionally, there is the chance of losing parts and information preserved in your e-mail account.
Error Causes
Finding and determining error code 0x80040116 cause isn't fairly easy. The truth is that there are several distinct causes that could activate this error
A few of the major causes of this error include:-
Broken PST list document. Ms-outlook uses this file to handle the users' requests. You can encounter this problem signal when it gets ruined.
2 gigabytes limit is exceeded by the PST record. You have been incorporating data to Outlook accounts for years frequently without any erasures. When the 2GB limit is reached this error may surface.
PST file gets damaged. This generally occurs thanks to virus contamination to the System or sudden system shutdown.
Problems with account settings.
Further Information and Manual Repair
The error 0x80040116 is displayed in just one of these types:
"Outlook.pst cannot be accessed - 0x80040116(where "Outlook.pst" is PST file name)"
"Sending and receiving reported error (0x80040116): Unknown error 0x80040116"
"Outlook.pst cannot be accessed – 0x80040116"
When you have this error, it is advisable to correct it promptly to ensure it doesn't interfere with your productivity and work.
You do not require to contact an IT expert, to solve this issue. It's graded as an error signal that's easy to repair. So you do not want need deep IT knowledge to fix it.
There are two methods to remove this problem signal. Erase some memory if the error is created by excessive data.
This technique functions in the event the error's cause is PST size. However, that is not likely the best method to repair it if dropping the data that is outdated is no alternative.
Maybe the one that is greatest and the 2nd alternative is to install and to obtain Stellar Phoenix Outlook PST Repair.
Why is this the solution that is most effective to repair and solve the problem code 0x80040116 out there is that the software can fix the malfunction no matter the trigger?
What this means is you do not have to understand the nitty-gritty of determining a problem signal and then locate a unique option to fix its cause.
Wait there is a lot more! Stellar Phoenix Outlook PST fix tool is compatible with all versions of Windows.
Therefore, whether you've got 2007, the 2000 version, or 2010 Outlook editions, you do not have to be concerned about the compatibility like with several other repair resources out there.
Also, it solves the issue in a short while as well as re-establishes each of the e-mails, contact records, and diary info. That means that if you had lost the info as a result of error code 0x80040116, it is possible to heave a sigh of relief as everything is going to be regained right back.
What you need to do is click here, Download, and run Stellar Phoenix Outlook PST on your computer to recover your ms-outlook accounts now and fix error code 0x80040116.
Overwatch has taken the world by the storm, it introduced new mechanics in gameplay, colorful characters, various game modes and it is constantly updated with new content for free. If you have friends to play with this game is even better but sometimes errors occur and the game loses connection to the game server making it unplayable since it requires a constant internet connection to the server to function.
Keep reading and try provided solutions as they are presented to fix this issue and continue gaming.
Booting up your Windows 10 computer does not always go smoothly as it is a complex process and you may encounter some issues along the way. There are various files that get loaded and executed while the Windows 10 operating system is loaded. You might encounter a page that displays the following error message:
“Operating System Loader has no signature. Incompatible with SecureBoot. All bootable devices failed Secure Boot verification.”
There are two main causes for this error – it could be that your computer is using a bad unauthentic Boot Image File or the Windows operating system is installed in the BIOS Mode. To fix this error, you can try performing a “cold” boot or reset the BIOS or reset your Windows 10 computer.
Option 1 – Try to perform a Cold Boot
To perform a cold boot, all you have to do is press and hold the power button of your CPU until it goes off. Once it’s off, boot your computer normally and then check if the problem is now fixed.
Option 2 – Try resetting the BIOS
If performing a cold boot did nothing to fix the problem, you can try to reset the BIOS instead.
Start your computer and tap the F10 key during the booting process to enter the BIOS. If it does not work, you can try tapping the F1 or F2 key as well as the Del key.
Once you’re already in the BIOS, tap the F9 key to get the prompt to RestoreLoad default configuration now for the BIOS.
Next, click on Yes and then follow the next on-screen instructions that appear to set the BIOS back to its default settings.
Once you’re done restoring the default settings of the BIOS, restart your computer and then check if it now boots properly.
Option 3 – Try to change the Boot Sequence
You could also try to change the Boot Sequence to fix the error. To change the Boot Sequence, follow these steps:
Open Windows Settings and then go to Update & Security > Recovery Advanced Startup and then click on Restart Now.
Once your computer has restarted, you should see the Advanced Options.
Next, select Troubleshoot > Advanced Options. This will offer another set of options and from there, select the UEFI Firmware Settings and it will let your restart your computer.
After the restart, it will take you to the Firmware settings and from there, switch to the Boot tab where you’ll see the “Boot Priority” which contains the list of the connected hard drive, CD/DVD, ROM, and USB drive.
Use the arrow keys on your keyboard to change the boot sequence.
Once you’re done, save and exit.
Option 4 – Reset your computer
Tap the Win key or click on the Start button located in the Taskbar.
Then click on the Power button at the bottom right portion of the screen.
Next, press and hold the Shift key on your keyboard and then click on Restart. This will restart your Pc into the Advanced Startup options.
Note: Once you have access to the Advanced Startup options, you have to go to the setting which allows you to Reset your Windows 10 PC. All you have to do is select Troubleshoot > Reset this PC to reach the following screen
Afterward, select either the “Keep my files” option and then proceed to the next on-screen instructions that follow to reset your Windows 10 computer without losing your files.
When trying to run Computer Management, or when running mmc.exe or compmgmt.msc from a command prompt you get the error that the application has been blocked for your protection then keep reading in order to solve the issue. This is a permission issue where if a regular user tries to run such system tools will result in saying that it has been blocked. Along with this, you may have a Group Policy issue. This can be fixed, but you will need admin permission to achieve it. It’s because when they are run from the command prompt with elevated privileges, it works.
Change Group Policy Settings
If your account is an admin account, and you are still facing the issue, then change the group policy settings:
Open Group Policy Settings by typing gpedit.msc in the run prompt followed by pressing ENTER
Navigate to User Configuration > Administrative Templates > Windows Components > Microsoft Management Console > Restricted/Permitted snap-ins
Locate Computer Management policy, and double click to open it
Enable it, exit Group Policy.
When Enabled: The snap-in is permitted and can be added into the Microsoft Management Console or run from the command line as a standalone console.
When Disabled: The snap-in is prohibited and cannot be added into the Microsoft Management Console or run from the command line as a standalone console. An error message is displayed stating that the policy is prohibiting the use of this snap-in.
Temporarily disable UAC
UAC is the user access control panel, and if you need to run the command right away, you can choose to disable it for some time. Click on the Start button, and then type UAC to find the User Account Control Settings.
Click to open, and then slide down the notification setting at the bottom. It will temporarily allow launching the application as there is no check. However, make sure to switch to default once you are done.
It is a fact that Google Chrome is one of the world’s most used web browsers and it’s because this search giant is focused on following the standards of the web. Although this web browser has become quite bloated over the years, it still remains at the top of the list of browsers used most by users. If you are a user of Google Chrome for a long time now, you have most likely come across a couple of issues in the past while using this browser. In this post, we’ll help you fix one of the issues commonly encountered in Chrome which is the “No Data Received – ERR_EMPTY_RESPONSE” error.
This kind of error message in Chrome pops up when you try to log into a website. It isn’t clear what’s the cause of this error but worries not, for there are several ways you can try to fix it.
Option 1 – Try checking if your network connection is working
The No Data Received – ERR_EMPTY_RESPONSE error is not usually related to a downed network. However, anything is possible so you need to check if your internet connection is working just fine or not as it might be the reason why you’re getting this error in Chrome.
Option 2 – Try resetting the network
There are instances when a network goes into haywire because of a bad DNS. Thus, a bad DNS might be the one that’s causing this headache so it’s time for you to reset the entire network to resolve the issue. To reset the network, here’s what you have to do:
Click the Start button and type in “command prompt” in the field.
From the search results that appear, right-click on Command Prompt and select the “Run as administrator” option.
After opening Command Prompt, you have to type each one of the commands listed below. Just make sure that after you type each command, you hit Enter
ipconfig /release
ipconfig /all
ipconfig /flushdns
ipconfig /renew
netsh int ip set dns
netsh winsock reset
After you key in the commands listed above, the DNS cache will be flushed and the Winsock, as well as the TCP/IP, will reset.
Now restart your computer and open Google Chrome then try opening the website you were trying to open earlier.
Option 3 – Try to clear the browsing data of Google Chrome
If your browsing data in Chrome hasn’t been cleared for some time now then that might be the reason why you’re suddenly getting the ERR_EMPTY_RESPONSE error when you browse the web. To fix this error, you need to clear your web browsing data. Refer to the following steps to do so.
Tap the Ctrl + Shift + Delete buttons to go to the Clear browsing data section in Chrome.
Next, set the time range to “All time” and tick all the boxes and then click on the Clear data button.
After that, restart the Chrome browser and try to open the website you were trying to open earlier.
Option 4 – Reset Google Chrome
If none of the options given above worked, you can try resetting the Chrome browser. To do that, follow these steps:
Open Google Chrome, then tap the Alt + F keys.
After that, click on Settings.
Next, scroll down until you see the Advanced option, once you see it, click on it.
After clicking the Advanced option, go to the “Restore and clean up an option and click on the “Restore settings to their original defaults” option to reset Google Chrome.
Restart Chrome and check if you can now open the webpage or not.
I often switch between my desktop speakers and headphones and because of this I very often use the volume adjustment bar to adjust sound levels so it is not too loud and each time when I set it I get annoying BEEP at the end. Now personally this might not bother you and you might want to leave it since it can be a useful feature to tell you how much volume is loud but if you are adjusting multiple times volume during the say it can become really frustrating to hear it each time, especially when switching to headphones and it beeps into your ears.
In this guide, I will show you how to remove the beep so it is not heard anymore when you adjust the volume. Please know that beep is part of the Windows sound scheme and you can either remove specific sound with a completely silent wave or just turn off all windows alert sounds.
Open Windows settings and go to system > sound
in system sound, go to the right part of the screen and click on the sound control panel
In the sound control panel click on the Sounds tab
In the sounds, tab click on the drop-down menu under the sound scheme and choose no sounds.
There you go! You have successfully removed annoying BEEP each time you adjust the volume in Windows 10

 Keeping your PC clean is not rocket science and you can do it with things you already and probably have in your house. One thing that I would recommend tho to purchase is antistatic gloves since they could prevent any kind of electrostatic discharges thus protecting your electric components.
If you have the option to disconnect your PC and get it outdoors, I would highly recommend this approach since all the dust will be dusted outside and not in the room where your computer is. If you can not it is still ok, but since some portion of dust will be set in the room, you might need to dust your room after cleaning your computer.
Keeping your PC clean is not rocket science and you can do it with things you already and probably have in your house. One thing that I would recommend tho to purchase is antistatic gloves since they could prevent any kind of electrostatic discharges thus protecting your electric components.
If you have the option to disconnect your PC and get it outdoors, I would highly recommend this approach since all the dust will be dusted outside and not in the room where your computer is. If you can not it is still ok, but since some portion of dust will be set in the room, you might need to dust your room after cleaning your computer.