For three decades, Wolfram Mathematica has defined the state of the art in technical computing and provided the principal computation environment for millions of innovators, educators, students, and others around the world.
Widely admired for both its technical prowess and elegant ease of use, Mathematica provides a single integrated, continually expanding system that covers the breadth and depth of technical computing—and seamlessly available in the cloud through any web browser, as well as natively on all modern desktop systems.
With energetic development and consistent vision for three decades, Mathematica stands alone in a huge range of dimensions, unique in its support for today's technical computing environments and workflows.
A Vast System, All Integrated
Mathematica has nearly 5,000 built-in functions covering all areas of technical computing—all carefully integrated so they work perfectly together, and all included in the fully integrated Mathematica system.
Not Just Numbers, Not Just Mathematica But Everything
Building on three decades of development, Mathematica excels across all areas of technical computing—including neural networks, machine learning, image processing, geometry, data science, visualizations, and much more.
Unimaginable Algorithm Power
Mathematica builds in unprecedentedly powerful algorithms across all areas—many of them created at Wolfram using unique development methodologies and the unique capabilities of the
Wolfram Language.
Higher Level Than Ever Before
Superfunctions, meta-algorithms... Mathematica provides a progressively higher-level environment in which as much as possible is automated—so you can work as efficiently as possible.
Everything Is Industrial Strength
Mathematica is built to provide industrial-strength capabilities—with robust, efficient algorithms across all areas, capable of handling large-scale problems, with parallelism, GPU computing, and more.
Powerful Ease of Use
Mathematica draws on its algorithmic power—as well as the careful design of the Wolfram Language—to create a system that's uniquely easy to use, with predictive suggestions, natural language input, and more.
Documents As Well As Code
Mathematica uses the Wolfram Notebook Interface, which allows you to organize everything you do in rich documents that include text, runnable code, dynamic graphics, user interfaces, and more.
The Code Makes Sense
With its intuitive English-like function names and coherent design, the Wolfram Language is uniquely easy to read, write, and learn.
Make Your Results Look Their Best
With sophisticated computational aesthetics and award-winning design, Mathematica presents your results beautifully—instantly creating top-of-the-line interactive visualizations and publication-quality documents.
150,000+ Examples
Get started with almost any project with help from 150,000+ examples in the
Documentation Center, over 10,000 open-code Demonstrations in the
Wolfram Demonstrations Project—and a host of other resources.
Instant Real-World Data
Mathematica has access to the vast
Wolfram Knowledgebase, which includes up-to-the-minute real-world data across thousands of domains.
Seamless Cloud Integration
Mathematica is now
seamlessly integrated with the cloud—allowing sharing, cloud computing, and more in a unique and powerful hybrid cloud/desktop environment
Connected to Everything
Mathematica is built to be connected to everything: file formats (180+), other languages,
Wolfram Data Drop, APIs, databases, programs, the
Internet of Things,
devices—and even distributed instances of itself.
If you would like to
read more helpful
articles and tips about various software and hardware visit
errortools.com daily.


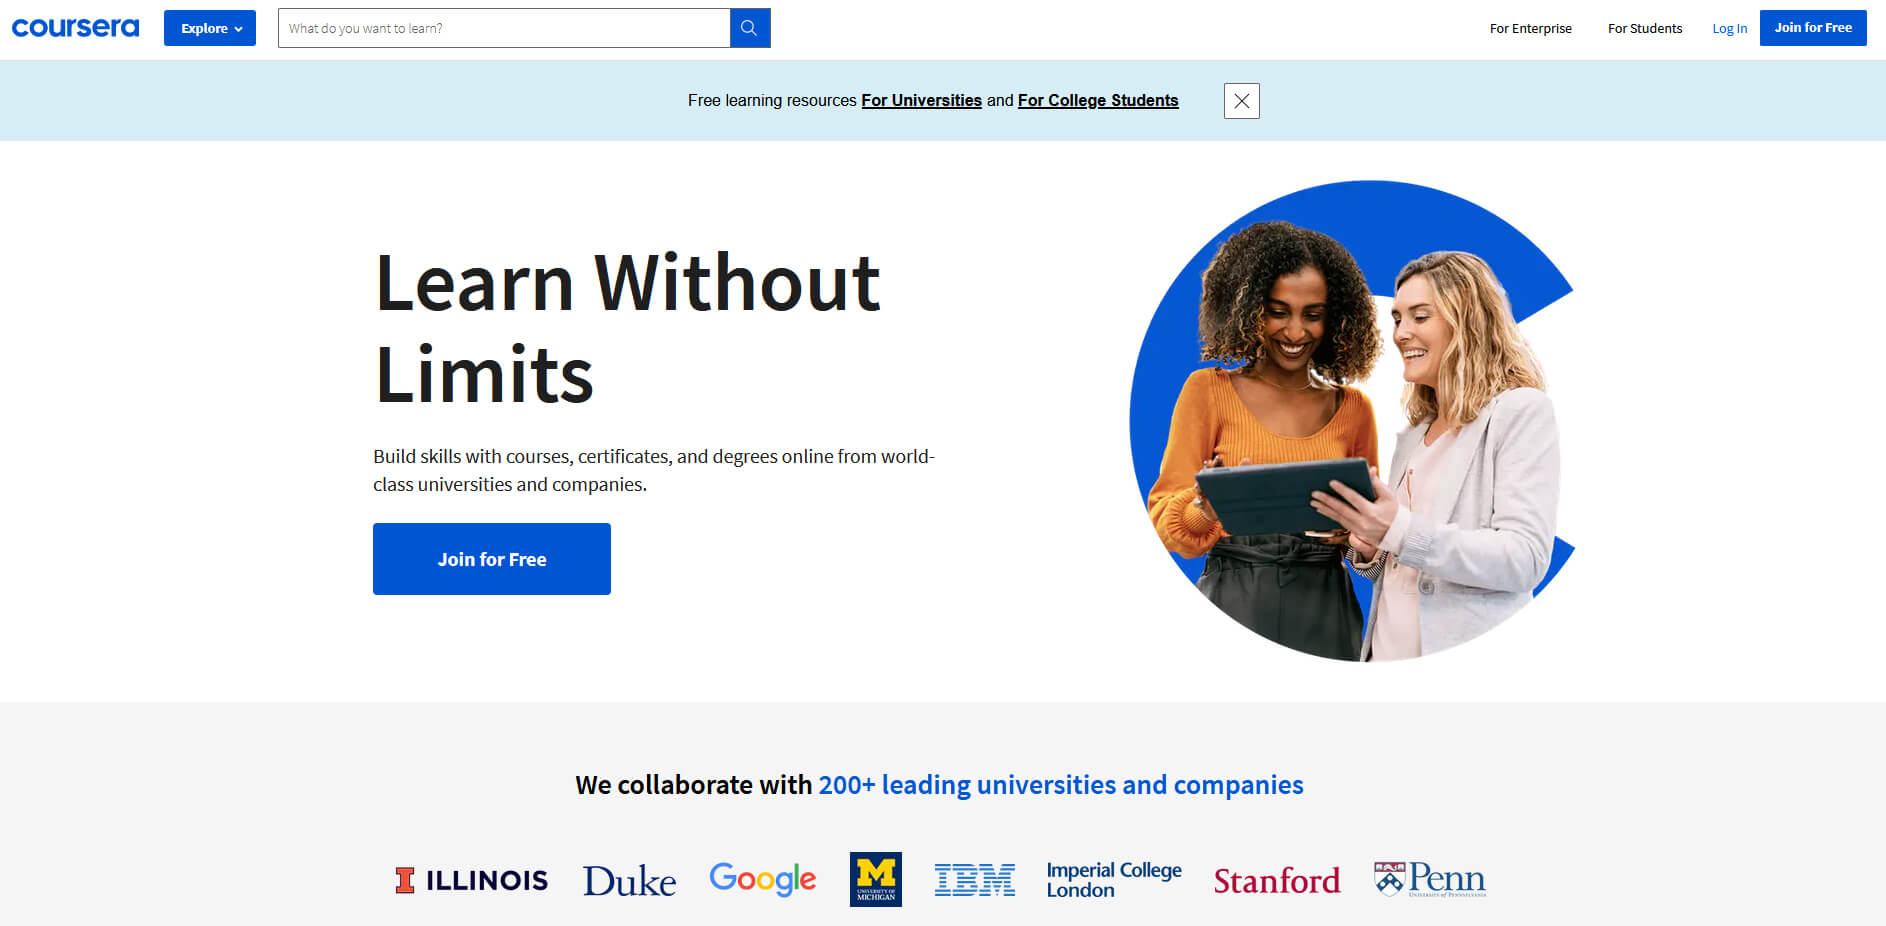 Coursera was one of the pioneers when it comes to college education online. When it started all courses were free and offered certificates if the taker has done tasks with a passing grade. Today not everything is free but still, there are tons of free courses that can help you to learn something new and to advance in your work or hobby.
Google is using the Coursera platform to deliver its courses to the audience and besides google a lot of academic professors from Princeton, Stanford, John Hopkins and many more are presently offering their course material.
Coursera was one of the pioneers when it comes to college education online. When it started all courses were free and offered certificates if the taker has done tasks with a passing grade. Today not everything is free but still, there are tons of free courses that can help you to learn something new and to advance in your work or hobby.
Google is using the Coursera platform to deliver its courses to the audience and besides google a lot of academic professors from Princeton, Stanford, John Hopkins and many more are presently offering their course material.
 edX has evolved from MITx, MIT’s free initiative to place some free academic lectures from its classrooms free into the world. Since it was rebranded into edX it started including other big university names like Berkeley, University of Texas System, Harvard, and many more.
Since its infant days, edX has expanded and included many areas that it offers coursework from arts to science. Certificated today are mostly not free but course videos are, so if you care to learn and not wave certificates around this is a great place to do it.
edX has evolved from MITx, MIT’s free initiative to place some free academic lectures from its classrooms free into the world. Since it was rebranded into edX it started including other big university names like Berkeley, University of Texas System, Harvard, and many more.
Since its infant days, edX has expanded and included many areas that it offers coursework from arts to science. Certificated today are mostly not free but course videos are, so if you care to learn and not wave certificates around this is a great place to do it.
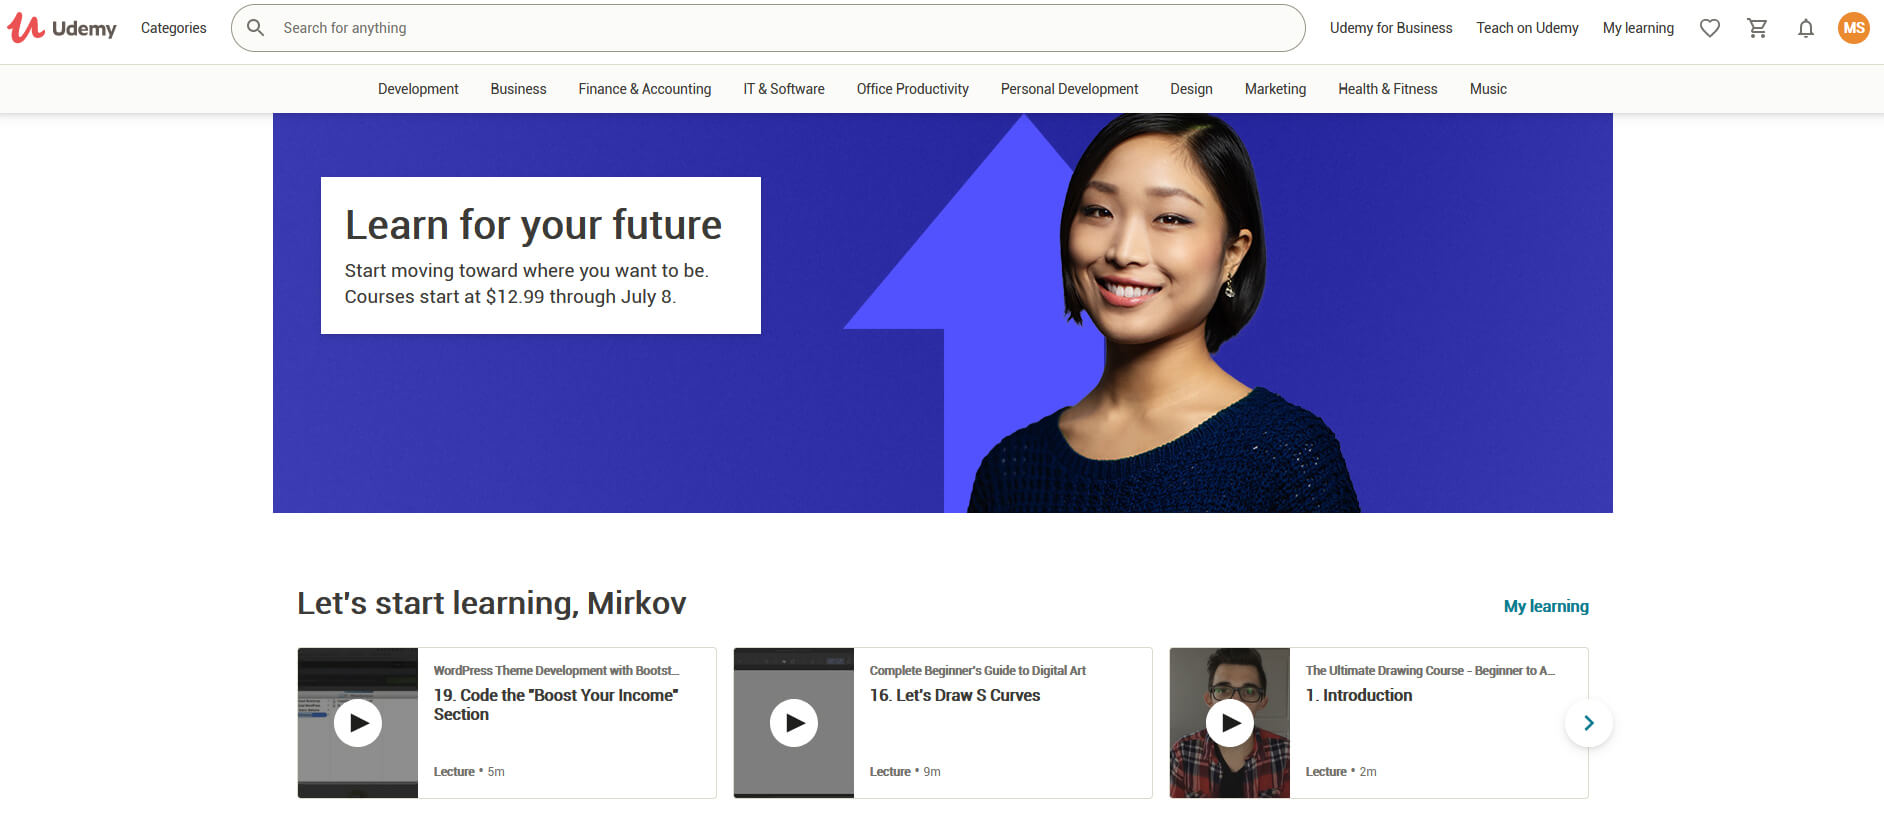 Udemy has a little different approach to course material than previously mentioned websites. Teachers on Udemy are mostly people that are working in a given field. Programmers will teach programming, fitness instructors will teach training, etc.
There are vas variety of topics even on lifestyle, hobbies even gaming to more serious ones like software developing hardware, etc.
There are free courses but mostly are one-time purchases with unlimited access to course material and with frequent discounts udemy might be a good place to look if you can find anything interesting.
Udemy has a little different approach to course material than previously mentioned websites. Teachers on Udemy are mostly people that are working in a given field. Programmers will teach programming, fitness instructors will teach training, etc.
There are vas variety of topics even on lifestyle, hobbies even gaming to more serious ones like software developing hardware, etc.
There are free courses but mostly are one-time purchases with unlimited access to course material and with frequent discounts udemy might be a good place to look if you can find anything interesting.
 Alison is kind of Udemy if we are talking about course material and who is teaching, the difference however is that it has more free content and it is one of the rare websites on this list that has Language courses.
Courses vary from beginner level to more advanced ones.
Alison is kind of Udemy if we are talking about course material and who is teaching, the difference however is that it has more free content and it is one of the rare websites on this list that has Language courses.
Courses vary from beginner level to more advanced ones.
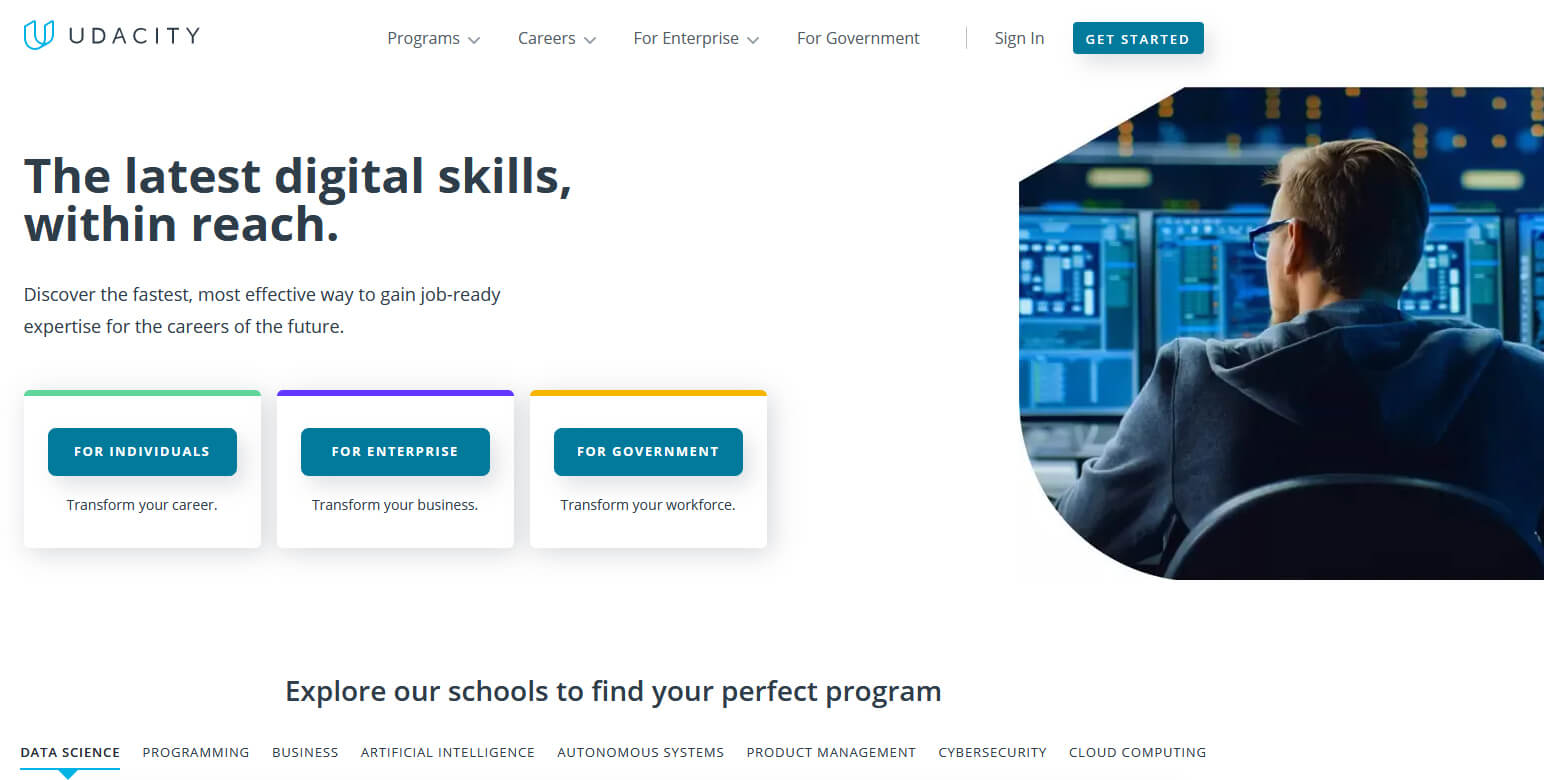 Udacity was also one of the earlier websites to offer free courses, in today’s world it still has free material but there is also paying one.
The big difference from other competitors is that Udacity focuses mostly on programming, data science, and web development and it is very strong in this field. There are no courses about art. Music or similar, mostly IT stuff is covered here.
If this is something that interests you, make a free account and give it a go.
Udacity was also one of the earlier websites to offer free courses, in today’s world it still has free material but there is also paying one.
The big difference from other competitors is that Udacity focuses mostly on programming, data science, and web development and it is very strong in this field. There are no courses about art. Music or similar, mostly IT stuff is covered here.
If this is something that interests you, make a free account and give it a go.
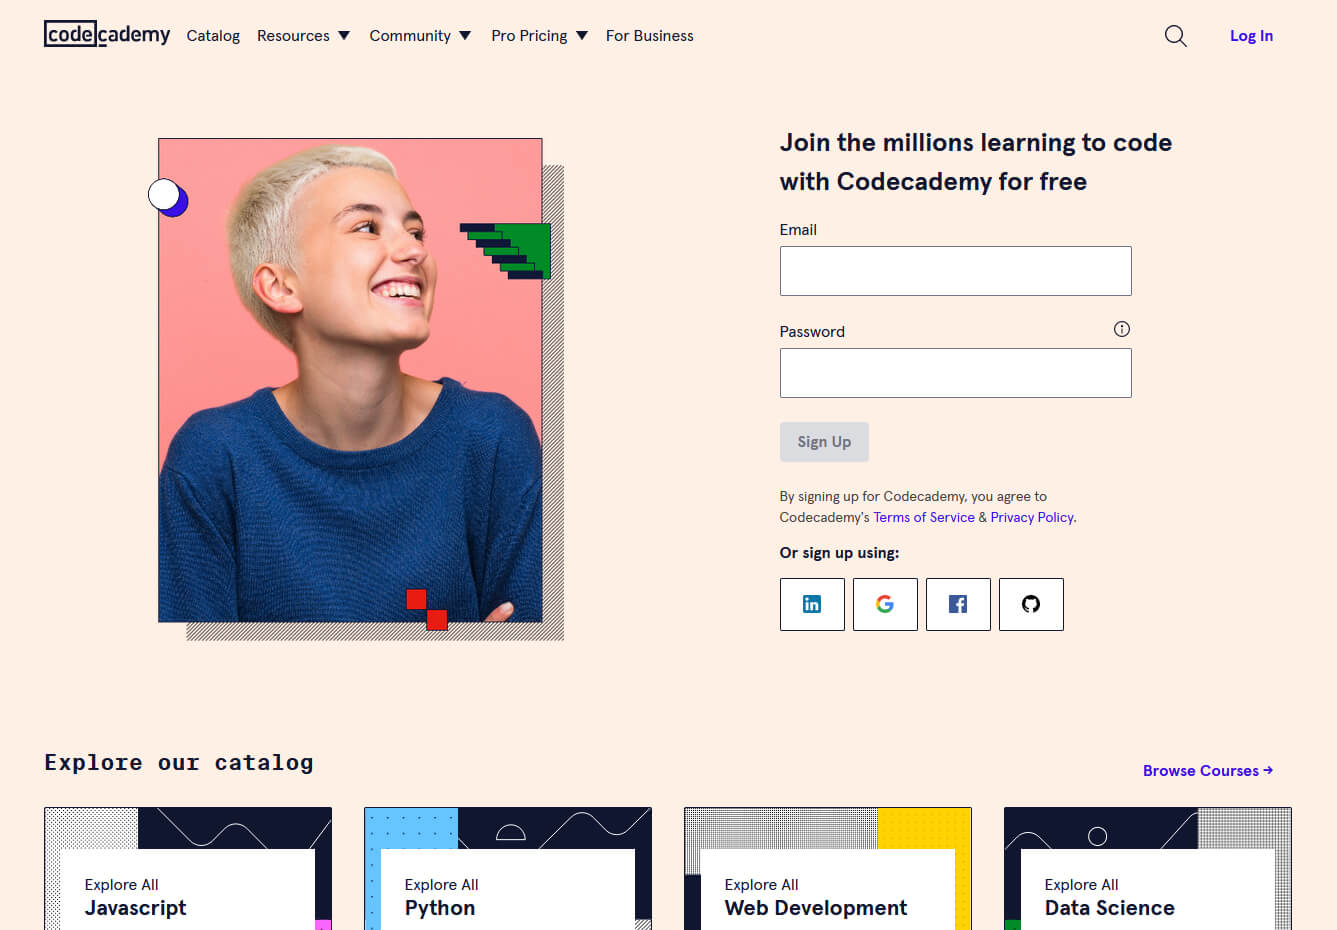 Codecademy is a website mainly focused on teaching you how to code. Pro plan is there but there are a lot of basic and free courses on the mentioned subject.
The curriculum is really wide covering Python, R, Java, JavaScript, SQL, Ruby, C#, C++, Swift, PHP, HTML, CSS and more so I am sure that if you are interested in coding this would be a pretty good place to find things.
Besides pure language coding courses site offers also, Cybersecurity, Web design, Data science, web development, Game Development, Mobile Development, and many more courses on provided subjects.
Codecademy is a website mainly focused on teaching you how to code. Pro plan is there but there are a lot of basic and free courses on the mentioned subject.
The curriculum is really wide covering Python, R, Java, JavaScript, SQL, Ruby, C#, C++, Swift, PHP, HTML, CSS and more so I am sure that if you are interested in coding this would be a pretty good place to find things.
Besides pure language coding courses site offers also, Cybersecurity, Web design, Data science, web development, Game Development, Mobile Development, and many more courses on provided subjects.
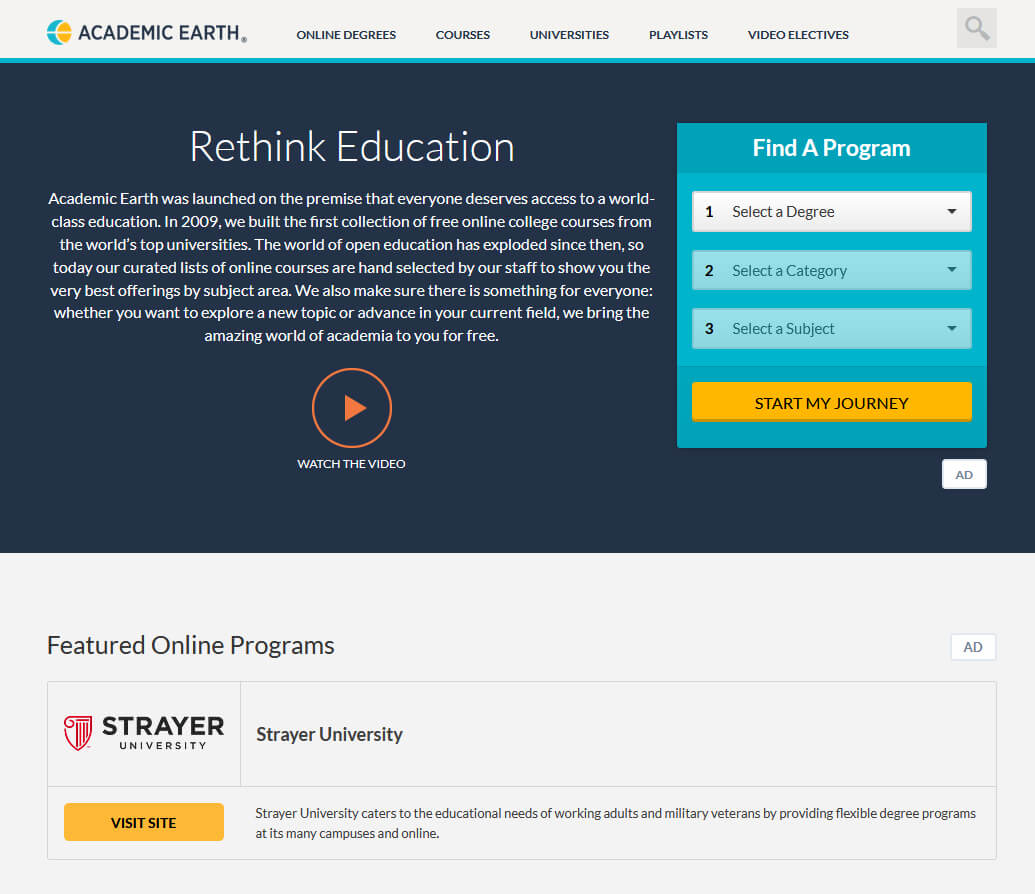 Academic Earth has been built with one simple premise: Everyone deserves access to education.
Lead by this kind of mindset on Academic Earth you will find well, academic courses similar to ones found on edX and Coursera, but from mentioned sites here all courses are free and you will find only academic ones, there are no entrepreneur or expert courses here, just pure academic ones.
If you wish to see and learn something the way it is taught in Harvard, Berkeley, MIT, etc this is the place for you.
Academic Earth has been built with one simple premise: Everyone deserves access to education.
Lead by this kind of mindset on Academic Earth you will find well, academic courses similar to ones found on edX and Coursera, but from mentioned sites here all courses are free and you will find only academic ones, there are no entrepreneur or expert courses here, just pure academic ones.
If you wish to see and learn something the way it is taught in Harvard, Berkeley, MIT, etc this is the place for you.
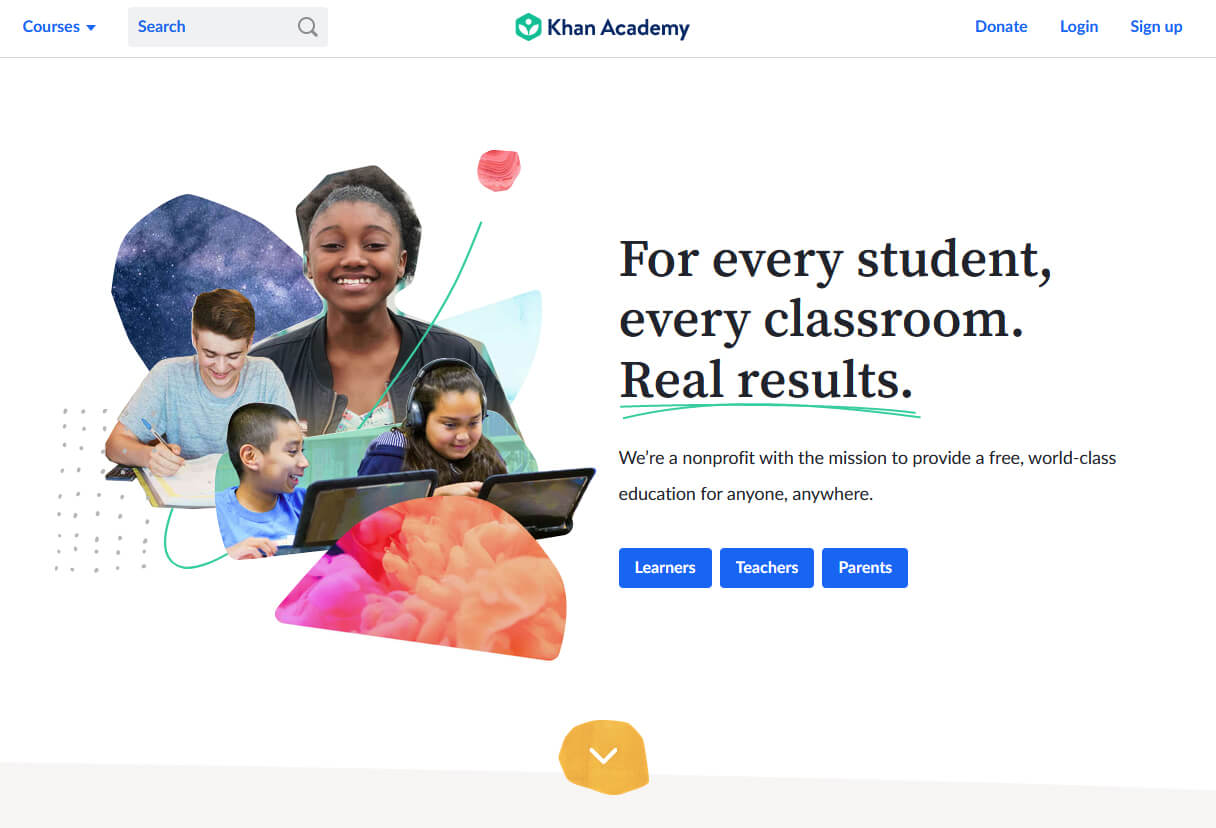 Khan academy is completely free and it is offering courses matching certain grades for children. It is offering courses for all 8 years of elementary school, math courses for high school and college with some coursework on topics like science, arts & humanities, reading, life skills, etc.
Despite not being on the same level as some university courses presented on other mentioned websites Khan Academy is a good place to learn a lot of basic skills that you could build upon later.
Khan academy is completely free and it is offering courses matching certain grades for children. It is offering courses for all 8 years of elementary school, math courses for high school and college with some coursework on topics like science, arts & humanities, reading, life skills, etc.
Despite not being on the same level as some university courses presented on other mentioned websites Khan Academy is a good place to learn a lot of basic skills that you could build upon later.
 Like in Windows 10, Windows 11 will also support God mode to be enabled and used. For those readers that do know what God mode is, let me explain it in simple terms. God mode is the icon on the desktop that once clicked will open and let you adjust every option in the control panel and some hidden features for Windows inside one application.
There are a lot of advantages to having this one-click fast access to features, especially if you are a power user. Luckily creating such an awesome icon and enabling God mode is very easy to accomplish, all you have to do is:
Like in Windows 10, Windows 11 will also support God mode to be enabled and used. For those readers that do know what God mode is, let me explain it in simple terms. God mode is the icon on the desktop that once clicked will open and let you adjust every option in the control panel and some hidden features for Windows inside one application.
There are a lot of advantages to having this one-click fast access to features, especially if you are a power user. Luckily creating such an awesome icon and enabling God mode is very easy to accomplish, all you have to do is:
 From the menu choose Command Prompt (administrator)
 When the command prompt is active type the next command in it:
DISM /online /export-driver /destination:C:\DriverBackup
where: C:\DriverBackup is the folder and the hard drive where you want to store your backed-up drivers.
Press ENTER
That's it, you have now successfully backed-up all of your installed Windows drivers.
Now, save all of your drivers on USB and reinstall Windows.
When the command prompt is active type the next command in it:
DISM /online /export-driver /destination:C:\DriverBackup
where: C:\DriverBackup is the folder and the hard drive where you want to store your backed-up drivers.
Press ENTER
That's it, you have now successfully backed-up all of your installed Windows drivers.
Now, save all of your drivers on USB and reinstall Windows.
 From decide, manager right-click on any device Windows has not been able to install appropriate driver and choose update driver