Jp2klib.dll is a type of Dynamic Link Library. This file is developed by Adobe Systems Inc and associated with CS2 (Creative Suite 2 Premium).
Like all DLL files, this file also contains small programs that support programs developed by Adobe Systems on your PC. The function of Jp2klib.dll is to load and run programs. Jp2klib.dll error occurs when it fails to do so.
It occurs during program startup.
Jp2klib.dll error is displayed in several different formats depending on the cause of the error. Here are some common error messages that you may come across:
"JP2KLib.dll not found."
"Cannot find C:\WindowsSystem32\JP2KLib.dll."
"Cannot start Creative Suite 2 Premium. A required component is missing: JP2KLib.dll. Please install Creative Suite 2 Premium again."
"Cannot register JP2KLib.dll."
"The file JP2KLib.dll is missing."
"This application failed to start because JP2KLib.dll was not found. Re-installing the application may fix this problem."
JP2KLib.dll Access Violation."
Solution
Error Causes
There are several causes for the Jp2klib.dll error code pop-up. These include:
Hardware failure
Jp2klib.dll file not properly registered
Viral infection
Deleted, missing, or corrupted Jp2klib.dll file
Registry problems
Another program overwrote the Jp2klib.dll file
The good news is that this is not a fatal error code like the blue screen of death errors. However, it is still advisable to resolve it right away to avoid inconvenience. This error may limit your ability to access your desired program.
Further Information and Manual Repair
Follow these methods to resolve Jp2klib.dll error code on your PC in a few minutes without any professional assistance or technical know-how:
Method 1 - Re-register the Jp2klib.dll file
Sometimes Jp2klib.dll error may occur if the DLL file is not registered properly. In such a situation "JP2KLib.dll not registered" error message will pop on your computer screen.
To resolve, all you need to do is register this file. Follow these steps to register the Jp2klib.dll file on your PC:
Go to the start menu, type the command in the search box. Don’t press enter yet.
First, hold CTRL-SHIFT and then press it. This action will prompt a permission dialog box. Click yes to proceed.
You will be asked to enter a command, here simply type regsvr32 /u JP2KLib.dll and then press enter.
This will first unregister the previous Jp2klib.dll file. Now type regsvr32 /i JP2KLib.dll and press enter to re-register the same file.
After this, close the command window and reboot your PC to activate changes.
Method 2 - Check the Recycle Bin and Restore the Jp2klib.dll file
If you come across this error message "JP2KLib.dll not found”, this indicates a missing Jp2klib.dll file.
This usually happens if you recently uninstalled a program on your system which was also supported by the Jp2klib.dll file due to which the file was also deleted. But don’t worry!
Check your recycle bin to retrieve the accidentally deleted file on your system. If you find it restore, but if you don’t then simply download it from a reliable DLL website.
Method 3 - Scan for Viruses
Install and run an antivirus to detect viruses. Viruses are malicious programs that damage and corrupt DLL files like the Jp2klib.dll file. Scan for all viruses on your PC and remove them to fix the problem.
Method 4 - Repair the Registry
If you don’t clean the registry often it becomes accumulated with obsolete files like bad and broken entries, cookies, and junk files.
These files corrupt the registry and damage system and DLL files also stored in the same location. It then leads to such error message pop-ups.
To resolve, download Restoro. This is an advanced PC Fixer deployed with a registry cleaner. It is easy to use and in just a few clicks can repair the Jp2klib.dll error on your PC. The registry cleaner scans and removes all obsolete files. It cleans the registry and repairs the damaged system and DLL files.
Click here to download Total System Care and fix the Jp2klib.dll error.
0x800ccc13 is an error message related to sending email using Outlook. Many people are receiving this error after making an upgrade from Windows 7 or Windows 8.1 to Windows 10. The error message appears when you try to send an email message with the use of a POP3 account or an IMAP account in an Outlook profile that has an Exchange Server 2010 mailbox configured. A common complaint would be: Since upgrading to Windows 10 I cannot send email from Outlook 2013. Mail stays in the Outbox, and I get: Error 0x800CCC13. Cannot connect to the network.
Symptoms
This problem may arise under the following situations:
You are using Microsoft Office Outlook in online mode to connect to a Microsoft Exchange Server 2010 mailbox
When you add an additional POP3 or IMAP account in the same Microsoft Outlook profile
You are sending an attachment through email.
You try sending an email by selecting POP3 or IMAP account as the sender
During these circumstances, the email message stays in the Outbox and you receive the following error message:
Task '<the POP3 account or the IMAP account> - Sending' reported error (0x800CCC13): 'Unable to connect to the network. Check your network connection or modem.'
Solution
Error Causes
Error Code 0x800ccc13 occurs because the system files in Windows 10 during the upgrade became corrupted and most likely caused authentication issues. It can happen with any version of Outlook. Damaged data files will also cause error code 0x800ccc13 to manifest. Overall, the corruption of the Microsoft Windows System could be a result of an installation partially done (or an incomplete one), deletion of any application or hardware erroneously, and or malware or adware infestation.
Further Information and Manual Repair
Method 1:
Use the Windows System File Checker to repair corrupted files
Verify that your SMTP, username, and password settings are correct. Now, in order to correct missing or corrupt Windows System files, try the following solution by running a command. This is known as the System File Checker. Follow the steps below to invoke the program using a command prompt command:
At first, you need to open the command prompt. To do so, right-click the Windows button in the bottom left of the screen, and select Command Prompt (Admin).
Now, enter the following command
sfc/scannow
When it is done, a message will confirm that Windows found some corrupt or missing files and it has successfully repaired those.
Check the Outlook and see if your emails are sending.
If the problem persists, don’t worry there is another way to solve this. Users have found another command helpful is using the NetShell utility from the command prompt, which is similar to the above solution.
Open the Command prompt by Right-clicking the Windows button in the bottom left of the screen and select Command Prompt (Admin).
Enter the following command
netshwinsosk reset
This helpful command will reset the network adapter to its default settings. Hope this will solve your problem. If not, you may want to try the Method 2 listed below.
Method 2:
For this method, you need to consider the following things:
Are you using POP3, IMAP, or Exchange server for your email account?
How many email accounts have you configured in your Outlook?
Is there an undelivered email stuck in your Outbox?
If you are trying to send an attachment, what is the size of the attachment?
Try the following:
Move or delete any undelivered email that is stuck in the Outbox folder, and then try sending an email and verify the result
Start Outlook in Safe Mode by following the instructions below
Hold down Windows key + R.
Copy this command Outlook /safe Note, there is a space between Outlook and /
Paste it in the open box and press Enter
If Outlook in Safe Mode works, disable the add-ins by following the steps below and determine if the problem is caused by add-ins.
Disable the add-ins one at a time. Now, restart Outlook and repeat the procedure once more. If the problem appears again, it will help you find which add-in is causing the problem.
Start the computer using the clean boot. Now, try to send an email and see the result.
If the problem still lingers, create a new profile and configure the email account.
If you do not possess the technical expertise required to accomplish this yourself or do not feel comfortable doing so, download and install a powerful automated tool to get the job done.
Due to its hybrid core technology, the Alder Lake line of processors had some DRM issues with some game titles where DRM protection software detected hybrid core design switching via manager as a hack attempt and prevented the game from working properly. Over 50 titles were affected by this issue, now only 3 remain still affected but it is being worked on them so that can be also resolved.
Intel says that the remedy to the issue for these games is the scroll lock fix which can be done so by enabling Legacy Game Compatibility mode from the BIOS of your motherboard. When running the said games, you can press scroll lock to park the E-cores on Intel's Alder Lake Desktop CPUs to get rid of DRM issues.
Certain motherboard manufacturers such as MSI and Gigabyte have made this even easier through software tools with which you don't have to access the BIOS. All you need to do is select a button in the tool which works on both Windows 11 and Windows 10 operating systems and you will enable compatibility mode.
This post will guide you in fixing the error 0x80070103 when installing Windows Update. According to users who encountered this problem, Windows Update (WU) fails to install several different updates. This kind of Windows Update error is can mostly be seen in the Windows Update screen inside the update reports although it is also known to occur when a user attempts to install a peripheral driver – only if the Windows Update offers to update the driver through a prompt and when you click Yes.
There are several possible causes for this error, it could be that Windows Update is trying to install a particular driver for the second time already which happens when it gets confused by an additional piece of identical hardware like the graphics adapter. Aside from that, the Windows Update might have already installed the driver which is known to occur with unsuitable versions of the already installed driver. In addition, the error could also be due to a third-party program interference like a security program or a utility program that is using the same driver and conflicts with the Windows Update.
Here are some suggestions that might help in fixing the Windows Update error 0x80070103.
Option 1 – Install the updates in a Clean Boot State
You might want to try putting your computer in a Clean Boot state and then install Windows Updates again without any trouble. During this state, you can start the system with a minimum number of drivers and startup programs that will surely help you in isolating the root cause of the issue.
Log onto your PC as an administrator.
Type in MSConfig in the Start Search to open the System Configuration utility.
From there, go to the General tab and click “Selective startup”.
Clear the “Load Startup items” check box and make sure that the “Load System Services” and “Use Original boot configuration” options are checked.
Next, click the Services tab and select the “Hide All Microsoft Services” check box.
Click Disable all.
Click on Apply/OK and restart your PC. (This will put your PC into a Clean Boot State. And configure Windows to use the usual startup, just simply undo the changes.)
After that, try to install the Windows Updates or upgrade again.
Option 2 – Try installing the failing driver without using Windows Update
If installing the updates in a clean boot state didn’t help, you can try a manual approach to yield much better results using the Device Manager or by downloading the driver from the manufacturer’s website manually.
Tap the Win + R keys to launch Run.
Type in msc into the box and tap Enter or click OK to open the Device Manager.
After that, a list of device drivers will be displayed. Look for the device driver you and then select either “Update driver” or “Uninstall device”. And if you find any “Unknown device”, you need to update it as well.
Select the “Search automatically for updated driver software” option and then follow the instructions to complete the process.
If you have chosen to uninstall the driver, follow the screen options to complete the process and then restart your PC.
Note: You also have the option to go directly to the website of your device driver manufacturer and go to the section called Drivers then check if there’s a new available update – if there is, download and install it.
Option 3 – Try to run the Windows Update Troubleshooter
You might also want to run the built-in Windows Update Troubleshooter in Windows that could help you in resolving the Windows Update error 0x80070103. All you have to do is go to Settings > Update& security > Troubleshoot > Windows Update. From there, click on the Run the troubleshooter button and follow the next one-screen instructions that appear. After that, restart your computer and check if the error is now fixed or not by trying to install the update once again.
VSSControl: 2147467259 Backup jobs failed. Cannot create a shadow copy of the volumes containing the writer’s data. VSS asynchronous operation is not completed. Code: [0x8004231f]
This message pops up when you are creating a snapshot system restore, usually, the issue is tied with insufficient space or service stopping. We will go into detail about how to fix both so you can finish the operation without any issue.
Check Volume Shadow Copy Services
Easier and faster fix than the next one. Launch Services from the Start Menu, look for Volume Shadow Copy, double-click on it, and check the Service status. If it is stopped, click on the Start button. If it’s running, restart it by clicking Stop > Start.
Increase Shadow Storage Space
If the first fix didn’t resolve the issue then you need to increase Shadow Storage Space. Launch Command Prompt as an administrator. Now, type the following command to check your Shadow Storage Space.
vssadmin list shadowstorage
Now, type the following command to allocate more storage (you can change 10GB with the amount of space you want to allocate)
vssadmin resize shadowstorage /For=C: /On=C: /MaxSize=10GB
NVIDIA is undeniably the market leader as a Graphics Card manufacturer. Recently, NVIDIA came about a feature known as NVIDIA Share. This feature allows users to carry out a number of tasks such as streaming, recording, and sharing their gameplay with other users. NVIDIA Share allows users to take multiple snapshots of the gameplay which brings in capabilities to get the memories of the moments that happen during an awesome game. However, as of late, there were reports that NVIDIA Share is not working or responding. So if you are one of the users who are currently facing this issue, then read on as this post will guide you in resolving it. Make sure to follow the options given below carefully for a successful result.
Option 1 – Try to update the drivers from the official site of NVIDIA
The first thing you can do is to update the drivers from the official site of NVIDIA. And in case you don’t know the type of Nvidia graphics card that your computer is on, follow the steps below:
Tap the Win + R keys to open the Run dialog box.
Next type in “dxdiag” in the field and click OK or hit Enter to open the DirectX Diagnostic Tool.
From there, you can see what type of Nvidia graphics card that your system is on.
Take note of your graphics card information and then look for the best drivers for your operating system. Once you’ve downloaded and installed the file, restart your PC.
Option 2 – Try to roll back the driver to the previous version
If the first option didn’t work for you, then it’s time to roll back the device drivers. It is most likely that after you updated your Windows computer that your driver also needs a refresh.
Tap the Win + R keys to launch the Run window and then type in the “msc” command and hit Enter to open the Device Manager window.
Under the Device Manager, you will see a list of drivers. From there, look for the NVIDIA Drivers and expand them.
Next, select the driver entries that are labeled appropriately.
Then select each one of them and double click to open a new mini window.
After that, make sure that you’re on the Driver tab and if you are not, just navigate to it then click the Roll Back Driver button to switch back to the previous version of the NVIDIA Drivers.
Now restart your computer to successfully apply the changes made.
Option 3 – Try disabling NVIDIA Share
If the first two options given above didn’t work then you might want to try disabling NVIDIA Share. In case you didn’t make any modifications to the driver, chances are either your driver is out of date or there are some issues with the installation of the drivers. For you to find out, you need to first check if your NVIDIA drivers are really up to date. Once you’ve confirmed it, you can now disable the NVIDIA Share feature. Just refer to the steps below to do that.
Search for the NVIDIA GeForce Experience in the search box and then click on the appropriate result to open it.
After you open the NVIDIA GeForce Experience, go to the General tab.
Next, scroll down to the NVIDIA Share section and then select the toggle to turn off this feature.
Now restart your computer and try to check if there are any updates available for the NVIDIA Graphics card and install them again if there are any.
In their search for making Windows, a better operating system Microsoft has come up with an insider program that will collect telemetry and send it to Microsoft in order to provide enough information to make a better OS. Being in an insider program is per choice basis and it is not forced to anyone.
This guide will cover how to turn off the insider program since its constant updates and telemetry can slow down the internet. So if you decided that you no longer want to be part of this program here is how to turn it off.
Press ⊞ WINDOWS + R to open the run dialog
Type in dialog gpedit.msc and press ENTER
You will find yourself in the Local Group Policy Editor Window. Inside windows find:
Computer Configuration > Administrative Templates > Windows Component > Windows Update > Windows Update for Business
Move to the right pane and double-click on the Manage Preview Builds option
Inside the Manage Preview Builds window, check the Enabled radio button
Go to the Options section, and using the drop-down menu, set the preferred release channel
This post will help you fix the request that failed due to a fatal device hardware error on your Windows 10 PC. You can encounter this error when that hard drive/SSD on your computer is damaged physically and the system is either unable to access or perform read/write operations in it. Aside from hard drive/SSD, this error can also happen to removable drives.
This kind of error is not uncommon and in most cases, the hardware is physically damaged due to which you are not able to perform operations. However, there are a couple of fixes that you can try to resolve the problem before you go ahead and back up your data and move them to a different drive. What exactly causes this error? It’s actually self-explanatory and it gives you an idea that the drive is either corrupted or in a bad state. To resolve the error, follow the given options below carefully and see which one worked best for you.
Option 1 – Verify the hard drive using SMART attributes
In case you don’t know, Windows has a built-in feature of SMART analysis which analyzes the hard drive/SSD and checks all the parameters by performing some minor operations. To use it, follow these steps:
Tap the Win + S keys and type “command prompt” in the field then right-click on the related search result and select the “Run as administrator” option.
After opening Command Prompt as admin, type the “wmic diskdrive get status” command and hit Enter.
You should get a result after that, and if you see that it’s “normal”, proceed to the next option below.
Option 2 – Use the CHKDSK utility
When it comes to some issues concerning the hard drive or removable devices, there is a utility in Windows that might help which is called “chkdsk”. This error check utility can help with several issues in the system.
Tap the Win + S keys to open the Search box.
Then type “command prompt” in the field and from the search results that appear, right-click on Command Prompt and select “Run as administrator”.
After opening an elevated command prompt, copy and paste the following command and hit Enter:
Note: In the command given above, “[/F]” will try to fix the system errors while “[/R]” will be the one to fix the bad sectors.
Now if you are prompted to run CHKDSK after your reboot your PC, just tap Y and reboot your PC.
If CHKDSK is not able to find any errors, tap the Win + E keys and navigate the access window. From there, right-click on the concerned drive and click on Properties.
After opening Properties, click on the tab Tools and then click on the “Check” button under the Error-checking section.
Wait until the process is completed and then restart your computer.
Option 3 – Format your drive
You can try formatting your drive since this problem also occurs on removable hard drives. In addition, if your drive is not properly initialized, this error will really pop up. Thus, you need to make sure that the hard drive is initialized and that the correct partition style is selected.
To get started formatting your drive, tap the Win + E keys and then go to the access page of the drive.
Next, right-click on the drive and select Format.
After that, uncheck the “Quick Format” option and then format your drive properly.
Now once the formatting process is finished, unplug the drive and plug it back in afterward.
Check if the error is already fixed. If the drive is not initialized, tap the Win + R keys and hit Enter.
After opening the Run dialog box, type “diskmgmt.msc” and hit Enter to open Disk Management.
From there, right-click on the drive volume and select Initialize Disk.
Next, select the correct partition type and proceed.
That should fix the problem, if not, follow the next advanced option below.
As you probably know, uTorrent is one of the best software you can use to download torrents over the web. It has been around for many years now and is trusted by lots of users despite having competition here and there.
Over the years, uTorrent has changed as it is now packed with tons of features. What’s more, is that this program is no longer the smallest client when it comes to file size. However, just like other software, it is not always working smoothly as there are instances when it’s not responding even when it’s already running. The first thing you can do is to close all the processes of uTorrent and then try opening it again.
There are various reasons why your uTorrent program fails to respond. However, it is most likely caused by some virus that was brought on by the file you’ve just downloaded. On the other hand, it could also be caused by other factors as well but whichever the case is, here are some fixes you can check out to resolve the uTorrent issue.
Option 1 – Delete the file you’ve downloaded
As pointed out earlier, uTorrent might have failed to respond due to some file you’ve just downloaded which is why you have to delete it since there really is no point in keeping a file that’s causing this kind of issue. After deleting the file, try opening uTorrent again and see if it now works or not.
Option 2 – Allow uTorrent to run via Windows Defender Firewall
Click on the Cortana or the Start button and type “firewall” in the field.
From the search results that appear, click on the “Allow an app through Windows firewall”.
After that, a new window will pop up and from there, you will see a list of apps that can be allowed or disallowed using a Windows firewall. From this list, you have to search for uTorrent and once you find it, set it to Publick if you are on a public network or Private if you’re in a private network.
Option 3 – Uninstall or reinstall uTorrent software
You can also try to completely uninstall uTorrent from your computer and then reinstall it right back. to do so, follow the steps below.
In the search box, type in “control” and then click on Control Panel (desktop app) among the search results.
After that, select Programs and Features from the list which will give you a list of all the programs installed on your computer.
From there, look for uTorrent and select it and then uninstall it.
Once uTorrent is uninstalled, go to uTorrent’s official website and download its latest version.
Option 4 – Try scanning your computer using Windows Defender
Tap the Win + I keys to open Update & Security.
Then click on the Windows Security option and open Windows Defender Security Center.
Next, click on Virus & threat protection > Run a new advanced scan.
Now make sure that Full Scan is selected from the menu and then click the Scan Now button to get started.
In an operating system, it is ideal for an administrator to have permission to access all the folders and files. However, there are times when you try to access the security settings or attempt to view the properties of a file, you could encounter an error saying, “You do not have permission to view this object’s security properties, even as an administrative user”.
This kind of error may be caused by several reasons. For one, if your computer is infected with a virus or malware which might have caused some changes to the concerned folder or file. It could also occur if a program or service is using the folder or file simultaneously which explains why you’re not able to access the system. It could also be that the folder or file might have been owned by a user account that no longer exists or you might not have the permissions to view the targeted folder or file even though you’re logged in as administrator.
To fix the “You do not have permission to view this object’s security properties, even as an administrative user” error, here are some options that might help.
Option 1 – Put your computer in a Clean Boot State
You can also troubleshoot the problem in a Clean Boot state. It could be that there are some third-party applications in your computer that’re preventing you from accessing security settings or properties of a file and to isolate this possibility, you need to boot your computer in a Clean Boot State and then try installing the program again. Putting your computer in this state can help you identify which program is the culprit and thus isolates the problem. In a Clean Boot state, your computer will start using only the pre-selected minimal set of drivers and startup programs. Note that you have to disable and enable one process at a time.
Log onto your PC as an administrator.
Type in MSConfig in the Start Search to open the System Configuration utility.
From there, go to the General tab and click “Selective startup”.
Clear the “Load Startup items” check box and make sure that the “Load System Services” and “Use Original boot configuration” options are checked.
Next, click the Services tab and select the “Hide All Microsoft Services” check box.
Click Disable all.
Click on Apply/OK and restart your PC. (This will put your PC into a Clean Boot State. And configure Windows to use the usual startup, just simply undo the changes.)
After you’ve set your computer into a Clean Boot State, try to check if the error is now fixed and that you can now view the Properties.
Option 2 – Try booting your computer into Safe Mode and delete inactive users
Aside from the Clean Boot State, you can also reboot your computer in Safe Mode and then delete all the inactive users. There are instances when the folder was created or owned by a user account that’s either deleted or inactive now and so you need to get rid of these inactive user accounts to resolve the error.
First, boot your computer in Safe Mode.
Then right-click on the concerned folder or file and select Properties.
Next, select Advanced in the Security tab and click on Add.
A new window will appear and from there, click on “Select a principal”.
And then type the name of the user to who you wish to give permissions in the “Enter the object name to select” box.
Now select Check Names and this would resolve the user name.
After that, click OK to save the settings. This will close the window and take you back to the previous one.
Next, from the drop-down menu, change the Type to Allow and select the Full Control checkbox.
Click OK to save the changes made and then restart your computer in a normal mode.
Option 3 – Try to take ownership of the folder or file
Another thing you can do to fix the problem is to take ownership and force the system into giving permissions to the Administrator. How? Refer to these steps:
Type “command prompt” in the Windows Search bar and then right-click on the relevant search result and select “Run as administrator”.
After that, if a User Account Control or UAC prompt appears, just click on Yes to proceed.
Next, type and enter this command: TAKEOWN /F <path>
Note that the <path> is the location of the folder or file in File Explorer.
Now type and enter this second command: ICACLS <path> /grant administrators:F
Finally, once the command has been executed, restart your computer and then see if you can now access the folder or file.
Option 4 – Try scanning your computer using Windows Defender
As mentioned, the error when accessing the security settings or properties of a folder or file might be due to a virus or malware. It could be that it had made some modifications that prevents you from accessing security settings or properties. To eliminate it, you have to scan your computer using security programs like Windows Defender.
Tap the Win + I keys to open Update & Security.
Then click on the Windows Security option and open Windows Defender Security Center.
Next, click on Virus & threat protection > Run a new advanced scan.
Now make sure that Full Scan is selected from the menu and then click the Scan Now button to get started.
Long working hours on a laptop can have some issues with laptop heating and thus slowing down. Today we will take a look at how can you prevent it from heating and keep it in a normal temperature range so it lasts longer and works better.
Close unnecessary programs or browser tabs
Usually, the main reason for high laptop temperature is the heavy and constant workload. Of course, the solution is very simple, turn off unnecessary browser tabs or applications running in the background, and less power will be needed for operation thus directly reducing workload and temperature.
Place it on a hard flat surface
Laptops generally have vents on the side and even under them, these vents, of course, are made so hot air is disposed of through them but if they are covered that will create issues. Placing computers on textiles, pillows, and legs can obstruct their venting holes and increase heat also since they are materials that are not taking heat away.
Your best practice should be placing the laptop onto a hard flat surface so air can flow freely and if you need to keep it in your lap there are lap desks made for this purpose.
Clean the laptop
With some good cleaning, the laptop can stop overheating, and generally, it will be cooler. Vents that has for ventilation can get clogged over large periods of time due to dust which is always present. Compressed air can be a quick easy solution to open the vents and redust it. Other methods include a compressor, vacuum, or brush in order to quickly remove any dust clogs. Taking it into service for complete redusting and paste change is also a great option.
Place it on the dedicated pad
There is some disagreement about using dedicated cooling pads for laptops, some say they are not effective at all, and some swear by them but from my experience good paired laptop and pad can indeed help with cooling it down. Usually, cooling pads will come with fans that will take away heat from the laptop itself reducing its overall heat.
Change your Windows power plan
If your laptop is constantly hot but you are not doing much with him check Windows power settings. There is a good chance it is set to run on a high-performance plan and if this is the case switch it back to a balanced power setting. Power plan like high performance will drain more power and more power will mean more heating. Of course, this will affect performance as well but for regular work that excludes some power gaming, video, and picture manipulations and other demanding tasks this power plan will work just fine.
Take control of the fans inside your laptop
Internal cooling is important and sometimes fans are not running to their full capacity so increasing their speed or changing their plan of work can cool down the computer nicely. Some laptops have fans controlling application already on them, especially gaming laptops but most of them do not. If your laptop does not have it, go to your laptop brand website and see if such an application exists for your model, if it does, download and install it but if there is no such application try general free ones like SpeedFan or Argus Monitor.
Reduce voltage of CPU and GPU
How more power means more heat, reducing the power that CPU and/or GPU take can be reduced inside BIOS by lowering voltage of these 2 components. First, go to BIOS and write down the voltage that is currently assigned to your CPU and/or GPU so you can bring it back if ever needed, also take note that reducing voltage and thus power will not affect negatively your components but increasing it thus overclocking can and will so be careful when bringing voltage back not to overdo it. You can always also reset your BIOS settings to bring them back to factory settings.
Do not use the laptop when charging it
When the laptop is placed on the charger in order to be charged and used at the same time, more power is drawn to it, and since the battery is taking electric charge instead of providing it more heat will be generated now since two different sources will be generating it, the battery itself and computer. When you really can not wait for the laptop to be charged, use it, but turn it off and wait to be fully charged if you can.

 Error Causes
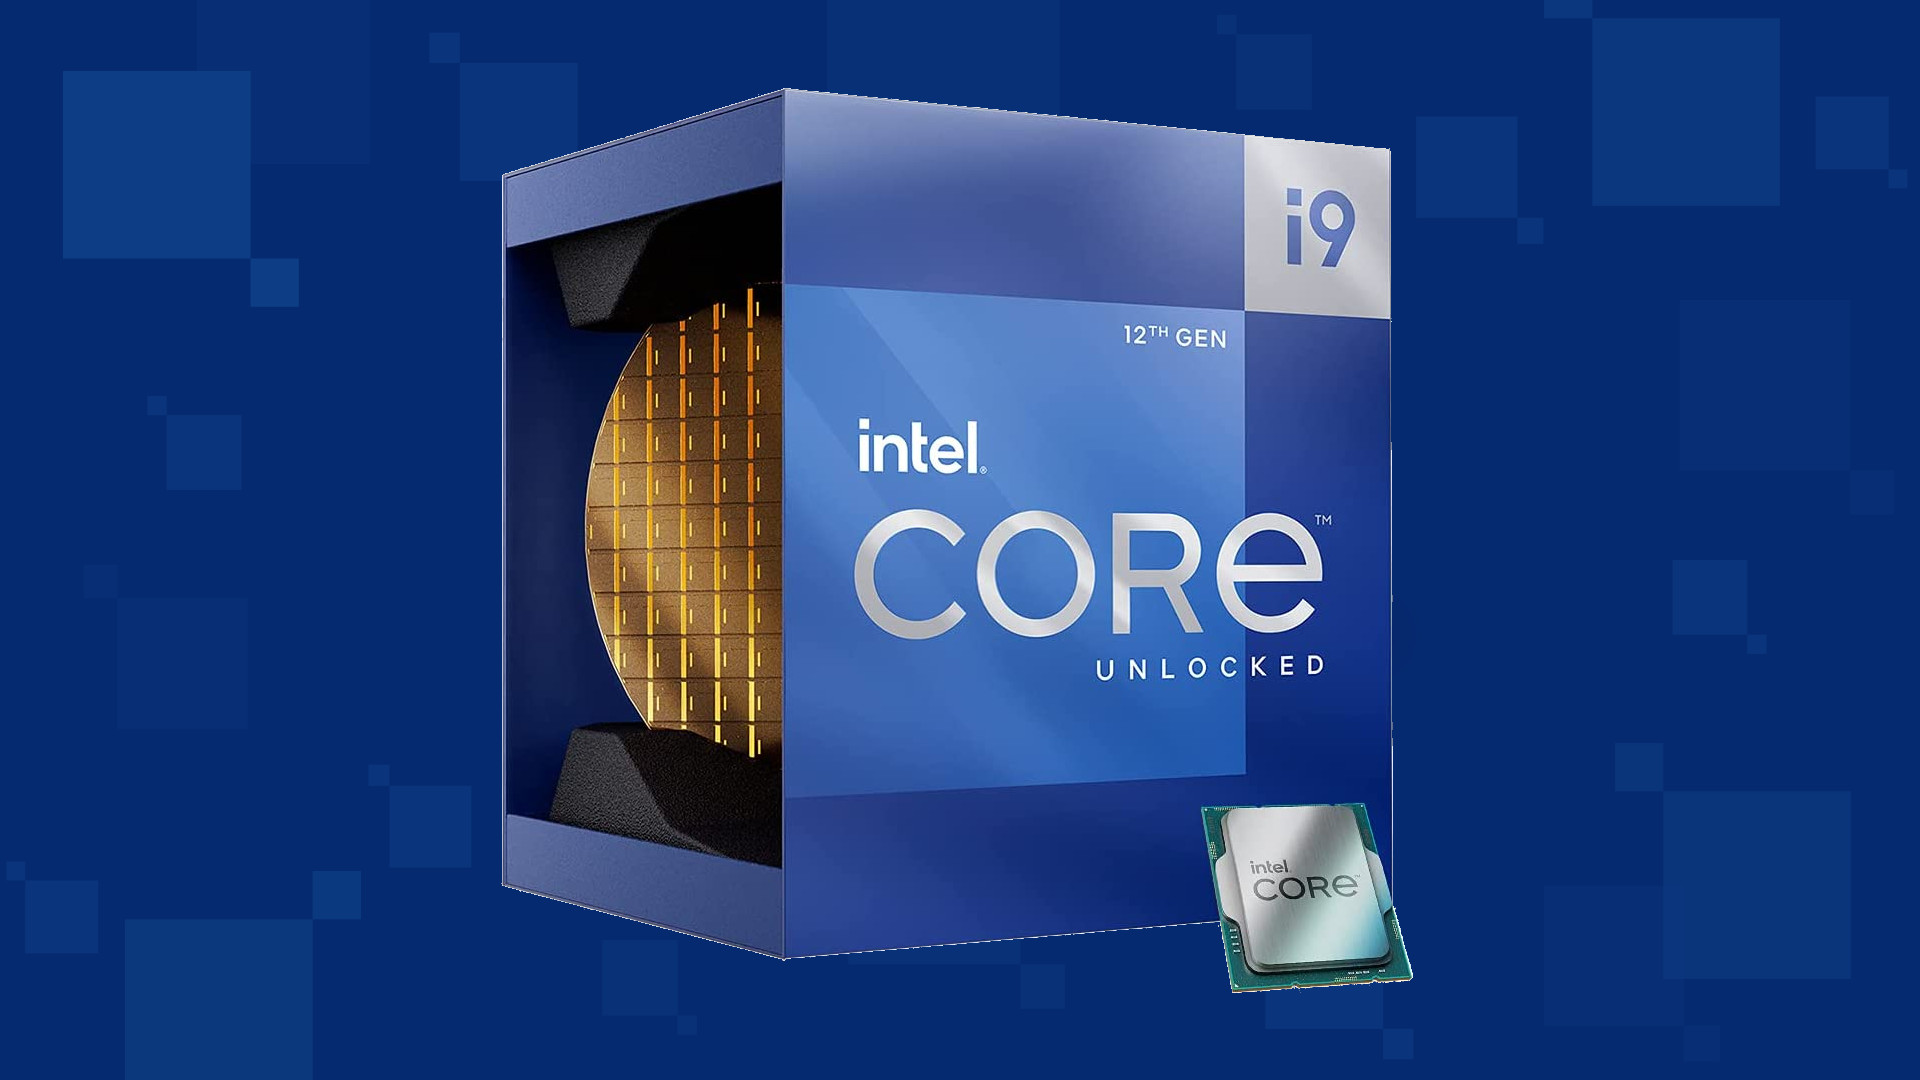 Intel says that the remedy to the issue for these games is the scroll lock fix which can be done so by enabling Legacy Game Compatibility mode from the BIOS of your motherboard. When running the said games, you can press scroll lock to park the E-cores on Intel's Alder Lake Desktop CPUs to get rid of DRM issues.
Certain motherboard manufacturers such as MSI and Gigabyte have made this even easier through software tools with which you don't have to access the BIOS. All you need to do is select a button in the tool which works on both Windows 11 and Windows 10 operating systems and you will enable compatibility mode.
Intel says that the remedy to the issue for these games is the scroll lock fix which can be done so by enabling Legacy Game Compatibility mode from the BIOS of your motherboard. When running the said games, you can press scroll lock to park the E-cores on Intel's Alder Lake Desktop CPUs to get rid of DRM issues.
Certain motherboard manufacturers such as MSI and Gigabyte have made this even easier through software tools with which you don't have to access the BIOS. All you need to do is select a button in the tool which works on both Windows 11 and Windows 10 operating systems and you will enable compatibility mode. 
