
Social media is here to stay it seems, from Facebook, Instagram, Twitter, etc each site has its users and its rules. Companies, bloggers, public figures, and people, in general, are using them on a daily basis and some are posting cool ads, nice graphics, videos, and many more in order to gain followers or just to share something that they think is worth.
Making your post look good is somewhat essential if you plan on reaching a larger audience and Adobe's Express aims to fill that gap. It is the latest Adobe product that is purposely made for graphic and video creation for social media.
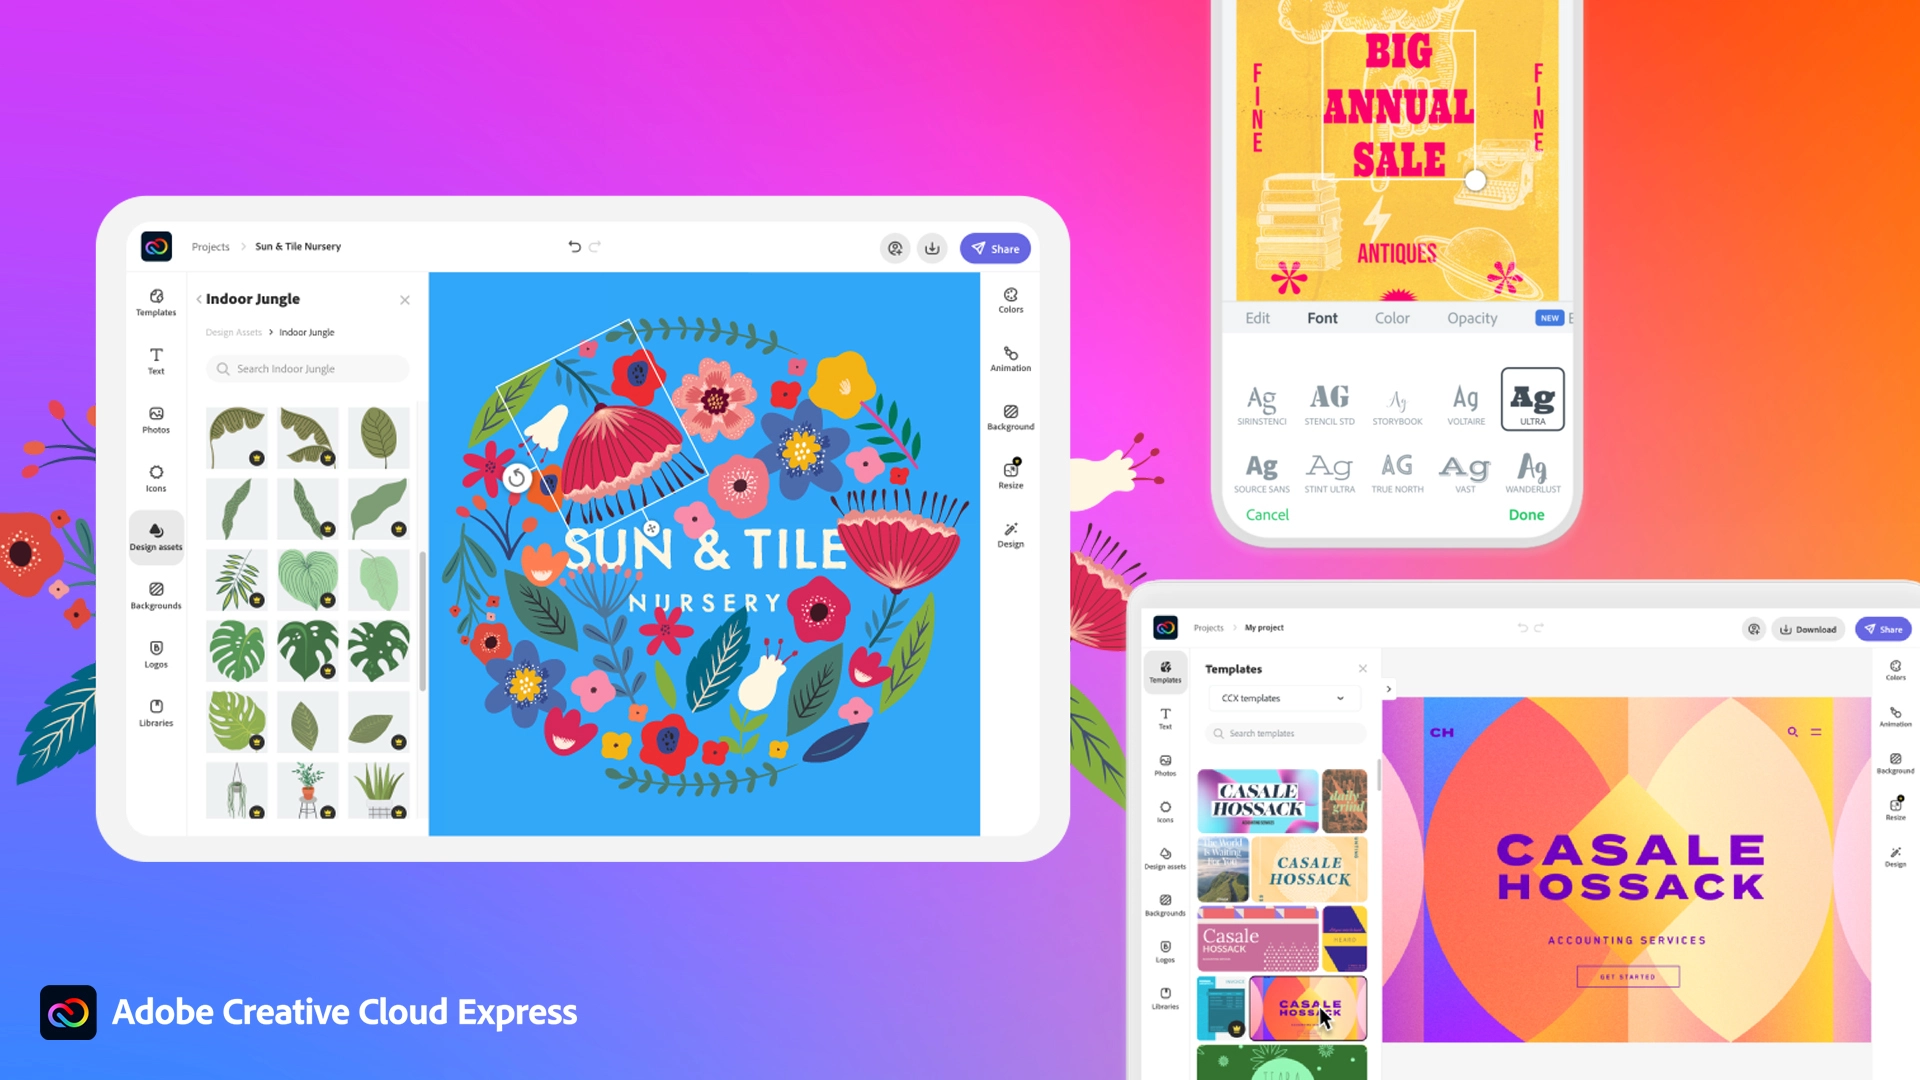
Adobe is well known in the world of professional design in all spheres like print, web, and motion, with this application, they want to take over social media design with Express. The direct competitor to Spark and canva, Express is filled with high-quality adobe templates and some great stuff found in photoshop like automatic background removal which gives it an edge over other applications.
The good thing about Express is that there is a completely free version and premium, like its competitors but with some benefits that clearly show that Adobe is determined to place its application on top of the game. The free plan includes:
- Thousands of unique templates, design assets, and Adobe Fonts.
- A limited collection of royalty-free Adobe Stock-free collection photos.
- Basic editing and photo effects including remove background and animate.
- Create on both web and mobile.
- 2GB of storage.
For 10 USD per month of 100 USD prepaid annual fee, you get a premium plan that includes:
- All premium templates and design assets.
- The entire collection of over 160 million royalty-free Adobe Stock collection* photos.
- Over 20,000 licensed Adobe Fonts, curved type, grids, and font pairs.
- Premium features like refine cutout, resize, and graphic groups.
- Plan, schedule, and publish social media content across multiple channels.
- Add your branding, logo, colors, and fonts in one tap.
- Convert & export to and from PDFs and other file types.
- Create, manage, and share your templates and assets with Creative Cloud Libraries.
- Create on both web and mobile.
- 100GB of storage.
The application itself is incredibly easy to learn and to work with and literally, anyone can pick it up and start creating immediately. No matter are you just starting with social media or using Canva or Spark, give Express a go, make a free account and try it, I guarantee that you will find some features amazing, and its ease of use relaxing.
 In Windows 11 by default inside the Start menu, there is recommended section that contains recently opened folders, documents, and files. If you do not wish this section and do not want recent items in your Start menu there is an easy way to turn it off.

