Error 504 is a type of runtime error that occurs on Windows PC. A runtime error is a bug that causes software or hardware problems thereby preventing programs from working on your PC correctly.
This error may occur during the execution of the program. It also slows down your PC performance.
 Error Causes
Error 504 can be triggered by many causes such as:
Whenever you experience the error 504 on your system, it is advisable to resolve it immediately, typically because runtime errors like error 504 can lead to system failure and valuable data loss which is more than often hard to recover.
To resolve this error code, you don’t necessarily have to hire a professional for the job. In fact, here are some solutions that you can try to fix by yourself, even if you are not a computer programmer.
This is a quick way to resolve runtime error 504 on Windows PC. To update the latest updates for Windows and for the program causing the error, open Windows Update by going to the start menu.
In the search box type ‘update’ and then in the list of results click Windows Update. In the left pane click on check for updates, wait while Windows looks for the latest updates.
It will show you a list of updates available select the important updates that you want to install. Then click ok and then click install updates.
After the updates are successfully complete, restart your PC and try running the application. If the error still persists, then try the solution given below.
Sometimes the runtime error 504 may occur due to viral infection and malware. So, to resolve it download an antivirus. However, the antivirus can also slow down your PC performance.
Another way to resolve it is to scan for registry issues. The registry and DLL files get damaged when it overloads with too much data. This particularly includes irrelevant and obsolete files. Registry issues trigger runtime errors like 504.
The best way to resolve it is to download Restoro. This is an advanced and multi-functional PC Fixer embedded with multiple utilities like a registry cleaner, an antivirus, and a system optimizer.
The registry cleaning utility resolves registry issues by removing the unnecessary files completely and repairing the damaged dll files. The antivirus module scans and removes all kinds of malicious software on your PC like viruses and Trojans, thereby resolving the runtime error 504 in seconds.
As for speed, Restoro also functions as a system optimizer which boosts the performance of your system significantly.
Restoro is safe and bug-free software. It has simple navigation and a user-friendly interface which makes it very easy to operate and workaround. It is compatible with all Windows versions.
Click here to download Restoro and resolve error 504 today!

 Steam has cemented itself as the largest digital game shop in the World. First, release all the way back on September 12th, 2003, it was meant to be a standalone software client aimed to deliver updates to Valve’s games. It was soon expanded to include titles from third parties.
The greatest Steam expansion and its popularity started in 2004 with the release of Half-life 2. Steam allowed prepurchased editions to be downloaded before the official release of the game making it available for play the moment it was officially out.
Very soon after Steam gained its popularity, Valve has opened doors to other developers and offered them to use Steam as means for a digital distribution platform. Today it hosts over 30000 different game titles, not including DLC or applications.
And how soon Valve’s steam deck is coming out soon we would like to share some great tips and tricks about Steam itself for easy everyday gaming.
Steam has cemented itself as the largest digital game shop in the World. First, release all the way back on September 12th, 2003, it was meant to be a standalone software client aimed to deliver updates to Valve’s games. It was soon expanded to include titles from third parties.
The greatest Steam expansion and its popularity started in 2004 with the release of Half-life 2. Steam allowed prepurchased editions to be downloaded before the official release of the game making it available for play the moment it was officially out.
Very soon after Steam gained its popularity, Valve has opened doors to other developers and offered them to use Steam as means for a digital distribution platform. Today it hosts over 30000 different game titles, not including DLC or applications.
And how soon Valve’s steam deck is coming out soon we would like to share some great tips and tricks about Steam itself for easy everyday gaming.
 Parallels is an application developer for MAC OS mostly known for its PC virtualization software Parallels Desktop, a PC virtualization software running on Macs enabling running Windows and Linux with respective software on your MAC.
With its latest Desktop 17 version, the software can run natively on both Intel-based and M1-based MACs. Thanks to this feature MAC users will be able to benefit from various speed improvements while running both Windows 10 or Windows 11 preview.
On both Intel and M1 setups, Parallels resumes Windows and Linux up to 38% faster, provides an up to 25% bump in 2D graphics and a six-time increase in OpenGL graphics processing. M1-centric stats include 33% faster Windows start-up times, up to 28% faster DirectX 11 performance, and up to 20% better disk performance on Windows 10 Insider Preview.
Parallels Desktop 17 delivers a set of fresh features including a new video driver that enhances video and game playback and boosts Windows UI responsiveness. An improved Coherence mode lets users run Windows apps within the Mac environment, cutting down on distracting changes in appearance during Windows sign-in, shut down, and software updates.
Drag-and-drop operations are also improved, with support for text and graphics between Mac and Windows applications. This function works well with MAC OS Monterey's Quick Note feature, which can accept content from any Windows app.
USB support, disk management, copy and paste unformatted text, and automatic virtual machine optimization also receive upgrades.
Parallels is an application developer for MAC OS mostly known for its PC virtualization software Parallels Desktop, a PC virtualization software running on Macs enabling running Windows and Linux with respective software on your MAC.
With its latest Desktop 17 version, the software can run natively on both Intel-based and M1-based MACs. Thanks to this feature MAC users will be able to benefit from various speed improvements while running both Windows 10 or Windows 11 preview.
On both Intel and M1 setups, Parallels resumes Windows and Linux up to 38% faster, provides an up to 25% bump in 2D graphics and a six-time increase in OpenGL graphics processing. M1-centric stats include 33% faster Windows start-up times, up to 28% faster DirectX 11 performance, and up to 20% better disk performance on Windows 10 Insider Preview.
Parallels Desktop 17 delivers a set of fresh features including a new video driver that enhances video and game playback and boosts Windows UI responsiveness. An improved Coherence mode lets users run Windows apps within the Mac environment, cutting down on distracting changes in appearance during Windows sign-in, shut down, and software updates.
Drag-and-drop operations are also improved, with support for text and graphics between Mac and Windows applications. This function works well with MAC OS Monterey's Quick Note feature, which can accept content from any Windows app.
USB support, disk management, copy and paste unformatted text, and automatic virtual machine optimization also receive upgrades.  Bad or good news, depending on your view comes from RIOT for their game Valorant. It seems that Riot has decided to enforce Windows 11 TPM 2.0 feature into Valorant running on Windows 11 and there is a rumor that it will be de facto standard and that it will move to Valorant in general no matter on which system it runs.
Furthermore, there is a rumor circling around that other developers are also talking about implementing TPM 2.0 requirements so they can harvest advanced security features of Windows 11 in order to prevent hacks and other cheats in their games.
This is an interesting point to stand on, on one side, sure, advanced features that will prevent cheating and hacking is a great thing. On other hand denying access to many computers that do not support TPM 2.0 and removing them from the game can be a permanent loss of customers and therefore loss of money. It is a risk to be sure and I am not really sure that alienating gamers is a good choice for long-term income, especially when you will be able to install Windows 11 on an unsupported PC as stated by Microsoft.
We will all see how this Riot decision will reflect on their business, as not a big Valorant player myself I am not impacted too much with this decision, but it will be interesting to see if others will indeed go with this trend or they will decide to wait a while until much more PC’s are upgraded.
Bad or good news, depending on your view comes from RIOT for their game Valorant. It seems that Riot has decided to enforce Windows 11 TPM 2.0 feature into Valorant running on Windows 11 and there is a rumor that it will be de facto standard and that it will move to Valorant in general no matter on which system it runs.
Furthermore, there is a rumor circling around that other developers are also talking about implementing TPM 2.0 requirements so they can harvest advanced security features of Windows 11 in order to prevent hacks and other cheats in their games.
This is an interesting point to stand on, on one side, sure, advanced features that will prevent cheating and hacking is a great thing. On other hand denying access to many computers that do not support TPM 2.0 and removing them from the game can be a permanent loss of customers and therefore loss of money. It is a risk to be sure and I am not really sure that alienating gamers is a good choice for long-term income, especially when you will be able to install Windows 11 on an unsupported PC as stated by Microsoft.
We will all see how this Riot decision will reflect on their business, as not a big Valorant player myself I am not impacted too much with this decision, but it will be interesting to see if others will indeed go with this trend or they will decide to wait a while until much more PC’s are upgraded. 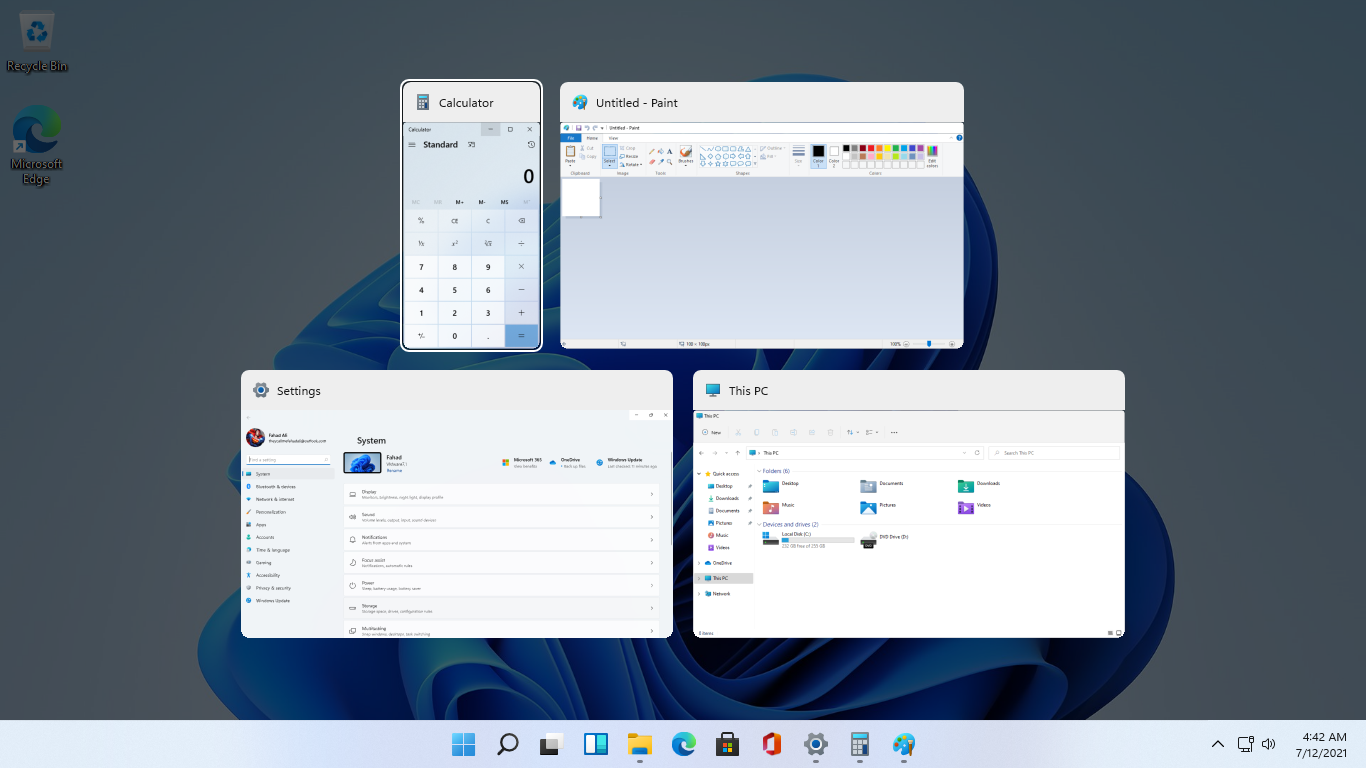 As in previous Windows 10, inside Windows 11 also when you press the ALT + TAB key combination you will get a preview of all running applications along with all Browser tabs so you can go through them and pick the one you want to switch to.
Alto, I personally am a big fan of alt-tabbing, I must admit that I am not a big fan of having multiple browsers tabs on screen when I do press key combo. Luckily there is a very easy way to turn this feature off.
Turning browsers tabs thumbnails off
As in previous Windows 10, inside Windows 11 also when you press the ALT + TAB key combination you will get a preview of all running applications along with all Browser tabs so you can go through them and pick the one you want to switch to.
Alto, I personally am a big fan of alt-tabbing, I must admit that I am not a big fan of having multiple browsers tabs on screen when I do press key combo. Luckily there is a very easy way to turn this feature off.
Turning browsers tabs thumbnails off
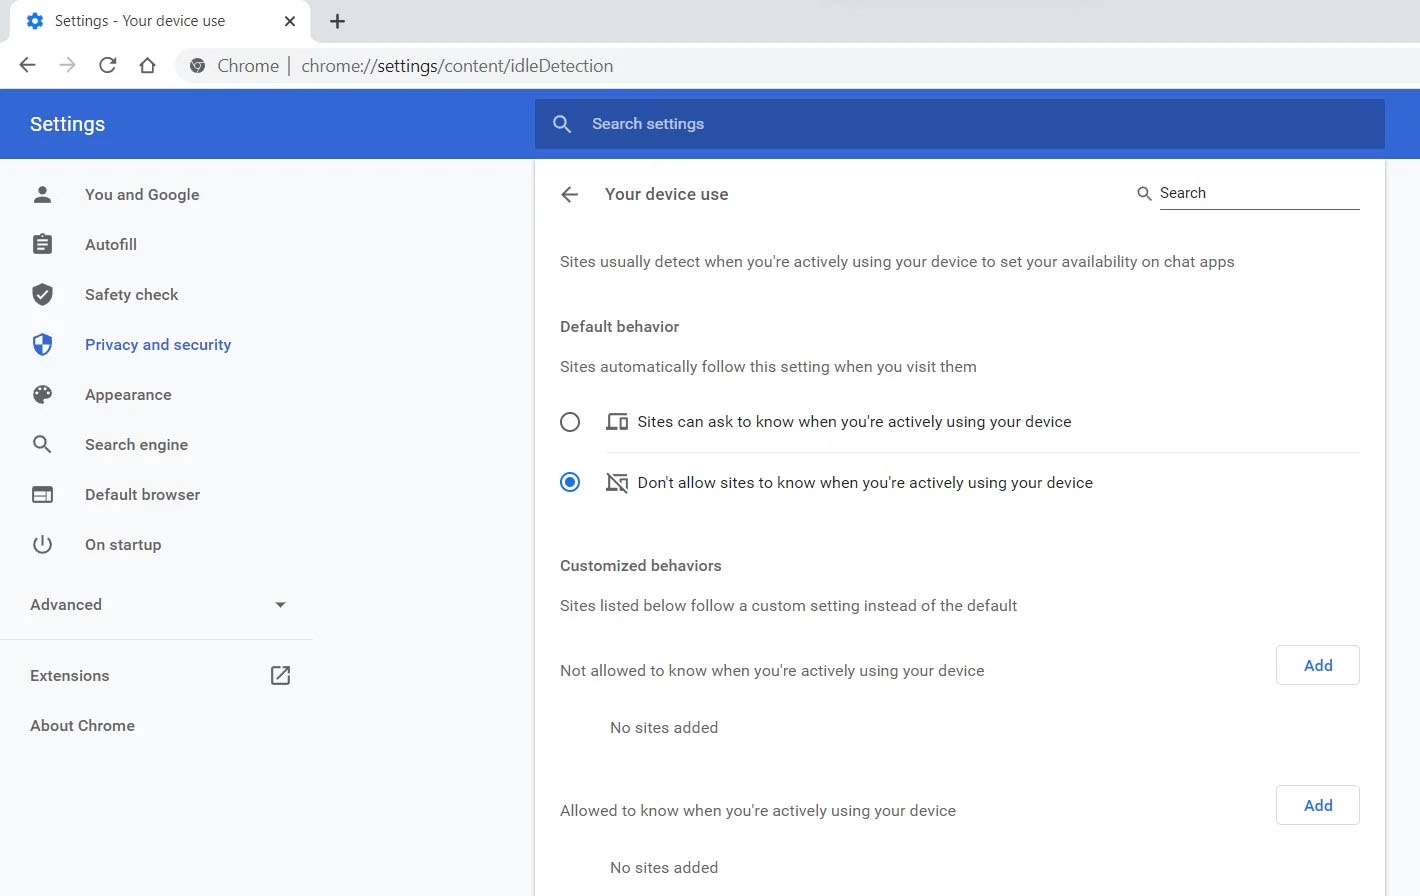 Good thing is that website or web application will prompt you to allow it to use this feature like when a site/application wants to use your microphone or web camera. Developers are on board with this feature since it can provide them with more telemetric data on how users are interacting with their website/application but there are some that are strongly voicing against this.
Tantek Çelik, Mozilla Standards Lead, commented on GitHub, saying:
Good thing is that website or web application will prompt you to allow it to use this feature like when a site/application wants to use your microphone or web camera. Developers are on board with this feature since it can provide them with more telemetric data on how users are interacting with their website/application but there are some that are strongly voicing against this.
Tantek Çelik, Mozilla Standards Lead, commented on GitHub, saying:
As it is currently specified, I consider the Idle Detection API too tempting of an opportunity for surveillance capitalism motivated websites to invade an aspect of the user’s physical privacy, keep long-term records of physical user behaviors, discerning daily rhythms (e.g. lunchtime), and using that for proactive psychological manipulation (e.g. hunger, emotion, choice)… Thus I propose labeling this API harmful and encourage further incubation, perhaps reconsidering simpler, less-invasive alternative approaches to solve the motivating use-cases.Others who have spoken against this feature are people from the WebKit development team inside Apple. Ryosuke Niwa, an Apple software engineer who works on WebKit said:
That doesn’t seem like a strong enough use case for this API. For starters, there is no guarantee that the user won’t immediately come back to the device. Also, who is such a service supposed to know what another device user might be using at any given point? We’re definitely not going to let a website know all the devices a given user might be using at any given point. That’s a very serious breach of the said user’s privacy. It seems to me that such a suppression/distribution mechanism is best left for the underlying operating systems/web browsers to handle.Of course, technology itself as always can be used for good or for bad and time will tell if this feature has brought good stuff or it has paved another brick in surveillance and privacy manipulation. As said for now option will prompt for agreement and let's hope that it will be used for good causes from this day into the future.