Error 1321 is a Windows PC error. This occurs when you try to install a Microsoft Office suite or program on your PC. The set-up program stops responding and the error message is displayed on the computer screen in the following format:
‘Error 1321. Setup cannot modify the file file_name. Verify that the file exists in your system and that you have sufficient permissions to update it.’
When this error occurs you cannot roll back the installation of the Office Suite or use the Add/Remove program option to remove the installed program.
 Error Causes
Common causes of the occurrence of error 1321 are:
The good news is that this error code is not fatal and besides it is also easy to resolve. Here are some easy do it yourself methods for you to repair this error on your system in a few minutes:
To resolve this error code, make sure the encrypted contents to secure data settings are not enabled. To do so, simply right-click the folder in which you want to install the MS Office Suite or program. Now click properties and then the General tab. Now go to the Advanced option.
In the Advanced Attributes dialog box, make sure that the Encrypt contents to secure data check box under Compress or Encrypt Attributes is disabled. If it is not then un-check to disable.
Viral infection can also trigger error 1321. If this is the reason, then simply install and run a powerful antivirus on your system. An antivirus detects all types of malicious viruses such as malware, adware, spyware, and Trojans. Remove them to resolve the issue.
If the issue is related to bad registry entries, then it is advisable to download Restoro on your PC. This is a user-friendly and powerful PC Fixer deployed with a registry cleaner.
The registry cleaner scans your entire PC and wipes away all the bad entries cluttering and damaging the registry in seconds.
Click here to download Restoro and resolve error code 1321 today.

So, what is Electron bot, and why it even matters if it is in the MS store. Electron bot is malware that somehow found its way inside MS Store via game clones of popular games temple run and subway surfer. This infiltration led to the infection of around 5000 systems over the globe in a very short period of time.

This malware is a backdoor that gives complete system control to the attacker. Any type of execution can be performed remotely in real-time. Usually, this kind of attack was aimed at a spread of click fraud over popular social media like Facebook, google, youtube, etc.
Electron Bot's primary goals in the ongoing campaign analyzed by researchers are:
These functions are offered as services to those who want to increase their online profits illegitimately, so the gains for the malware operators are indirect.
For now, users may take note of the publishers who released confirmed malicious game apps using the following names:
Error Causes EVE Online is one of the earliest MMO games out there but since its release, it is still actively developed and is receiving updates. This science-fiction Sandbox will offer space lovers everything they need and more. Large scale PvP, mining, pirating, etc. It can be daunting and complex for beginners but take your time to get familiar with its systems and you will be rewarded greatly with an immersive and complex game worth the time. Open PvP in some zones might not be everyone’s cup of tea and seeing only your ship might be a turn-off for some players, but if you do not mind these things give it a go. It is free to play with an item shop.
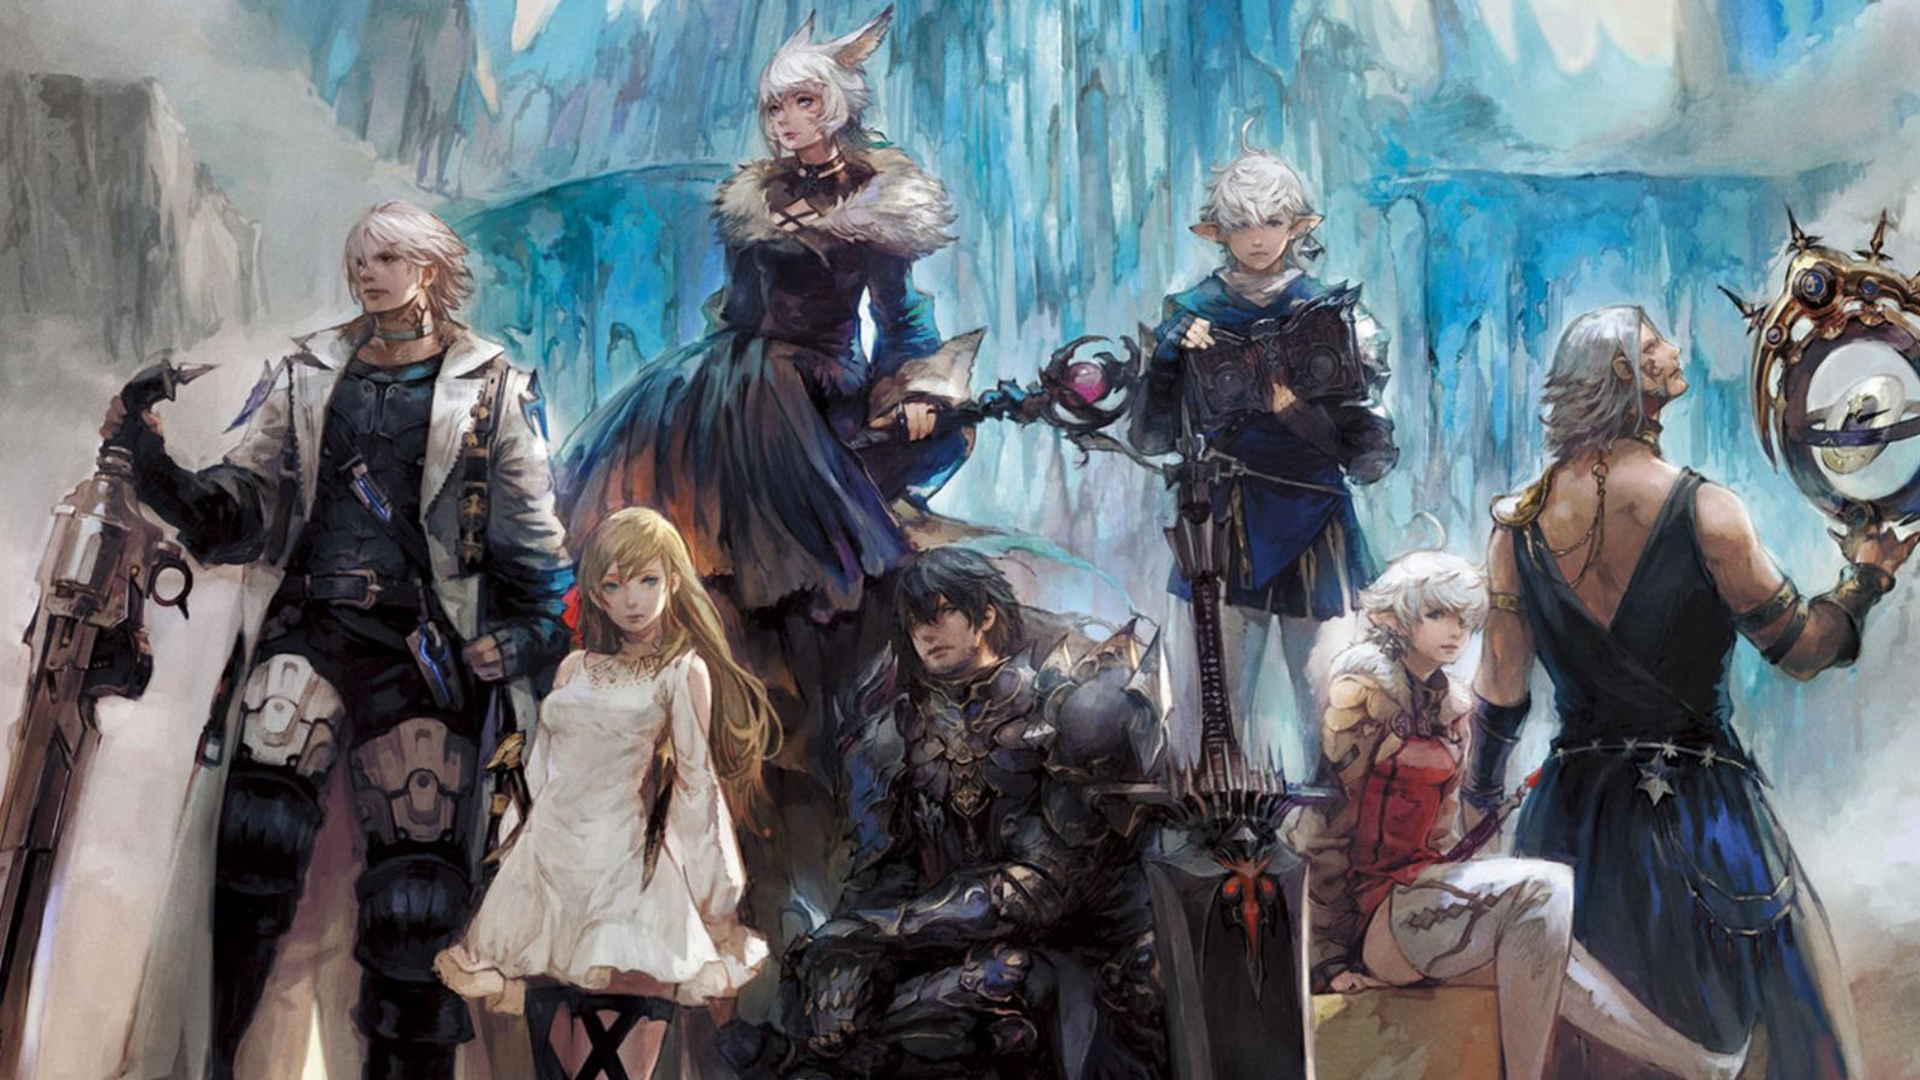 FF14 had a tough start, so tough that it was scrapped and destroyed and has been remade again and that idea was great. The game now is better than ever and at this time it is experiencing large players from other games surging into it. This on the rails fantasy MMO will offer you a great story and great leveling experience. It has a free trial where you can play the whole original game for free but if you wish to continue playing you will have to buy the expansion and pay a monthly subscription but the content is well worth the money.
 Let’s be honest, not a single list of MMO games cannot be without a once greatest and most successful MMO ever made, World of Warcraft. But instead of me praising the game why it was the greatest and why you should play it and how great it is I am going to take a little different approach. I am going to recommend you World of Warcraft classic, yup, you read it correctly, classic. Now World of Warcraft is a retail game with a subscription service but with that one subscription you will be able to access three games in the World of Warcraft universe: World of Warcraft retail (standard game), World of Warcraft Classic (vanilla WOW without expansions offering you experience as it once was when it was released) and World of Warcraft the Burning Crusade classic (same as WOW classic but with the first expansion the Burning Crusade). Among all solutions, I would really urge you to play either WOW classic or WOW TBC classic simply for reason that they are far superior games in comparison to typical retail ones, but if you like easier game go for retail, it is included in the sub anyway.
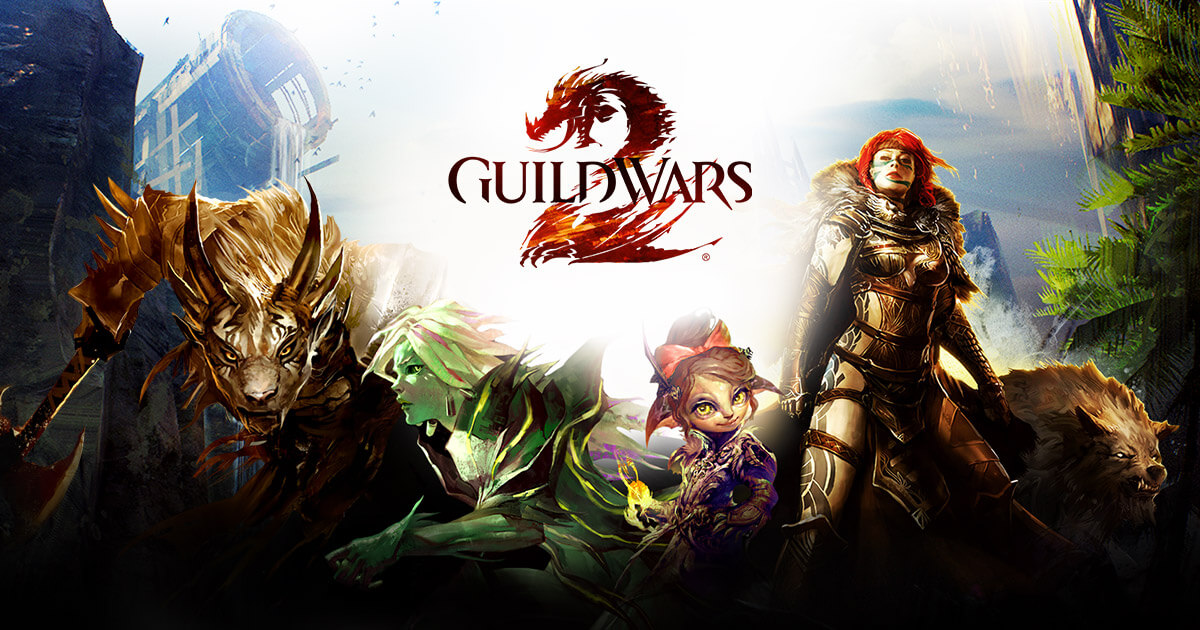 Guild Wars 1 was one of my favorite games and I sank a lot of times in it and once Guild Wars 2 came I must admit I was pleasantly surprised with it and I would recommend it highly. The base game is completely free to play with only expansion to be purchased and it is buy to play model without monthly fees. It has specific mechanics different from other games and interesting classes to try. The living world is a great feature of the game and it is still very strong with its player base.
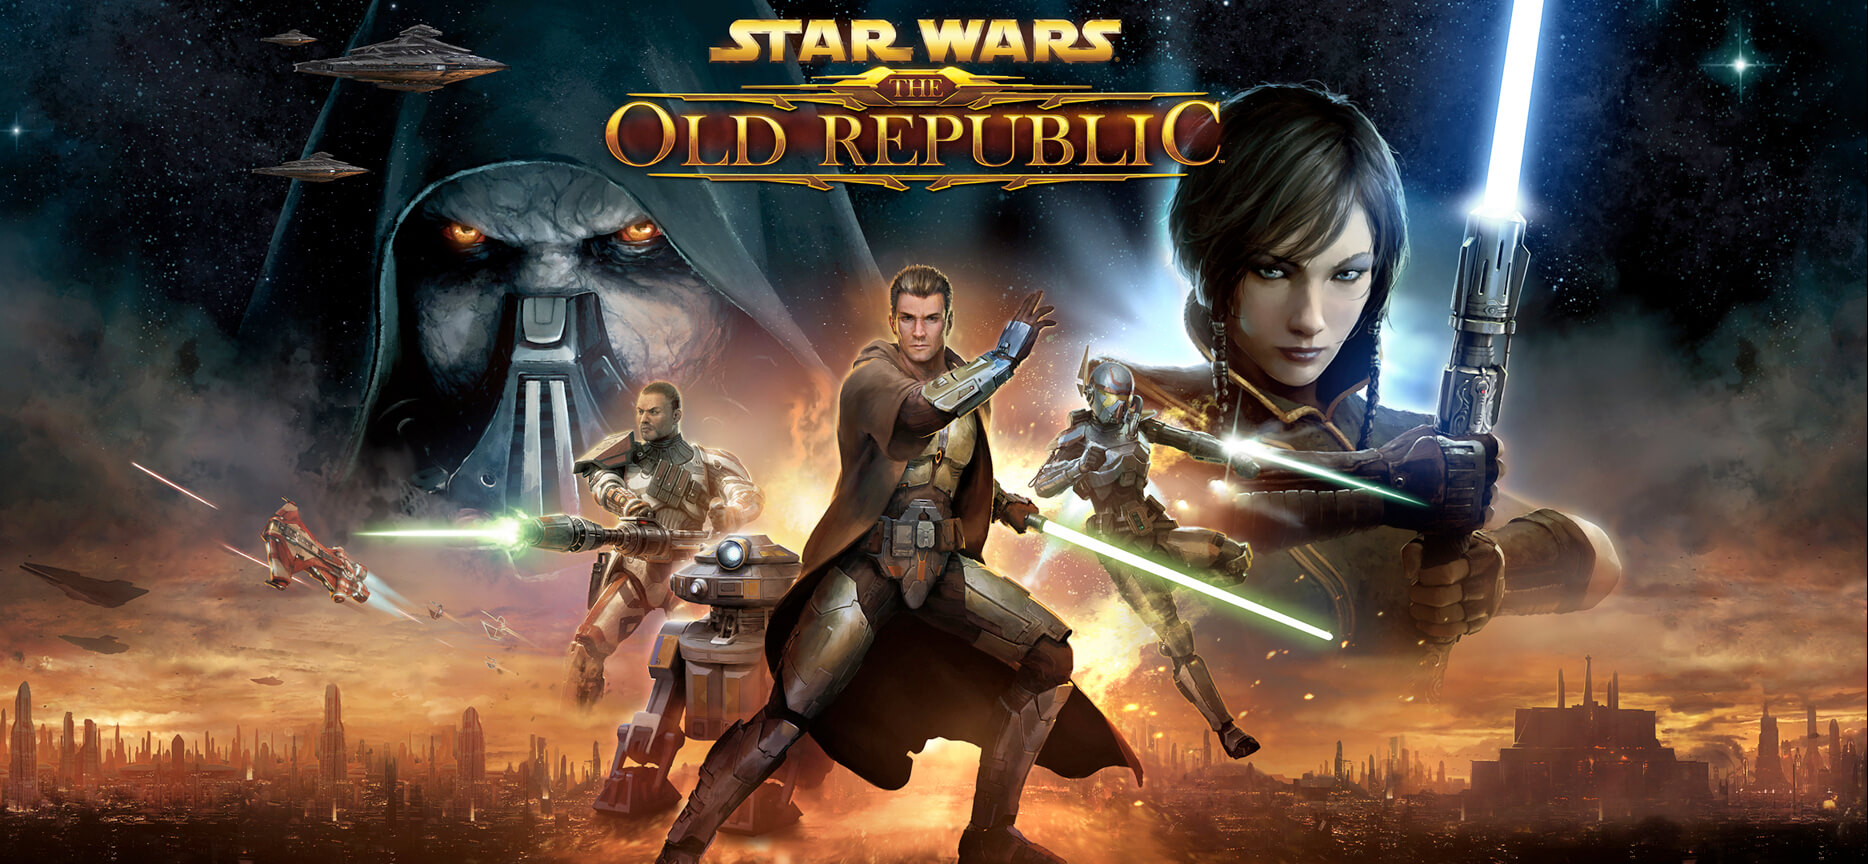 This game is made for people who enjoy, love, and like Star Wars. Mechanically besides being able to have henchmen with you and space battles (which I do not really like how they are done) game itself does not offer anything special. Where it shines is in the story and overall Star Wars experience. If you look at this game as a single-player game with multiplayer dungeons you will have a great time, since the story is really good but sadly end game lacks in comparison.
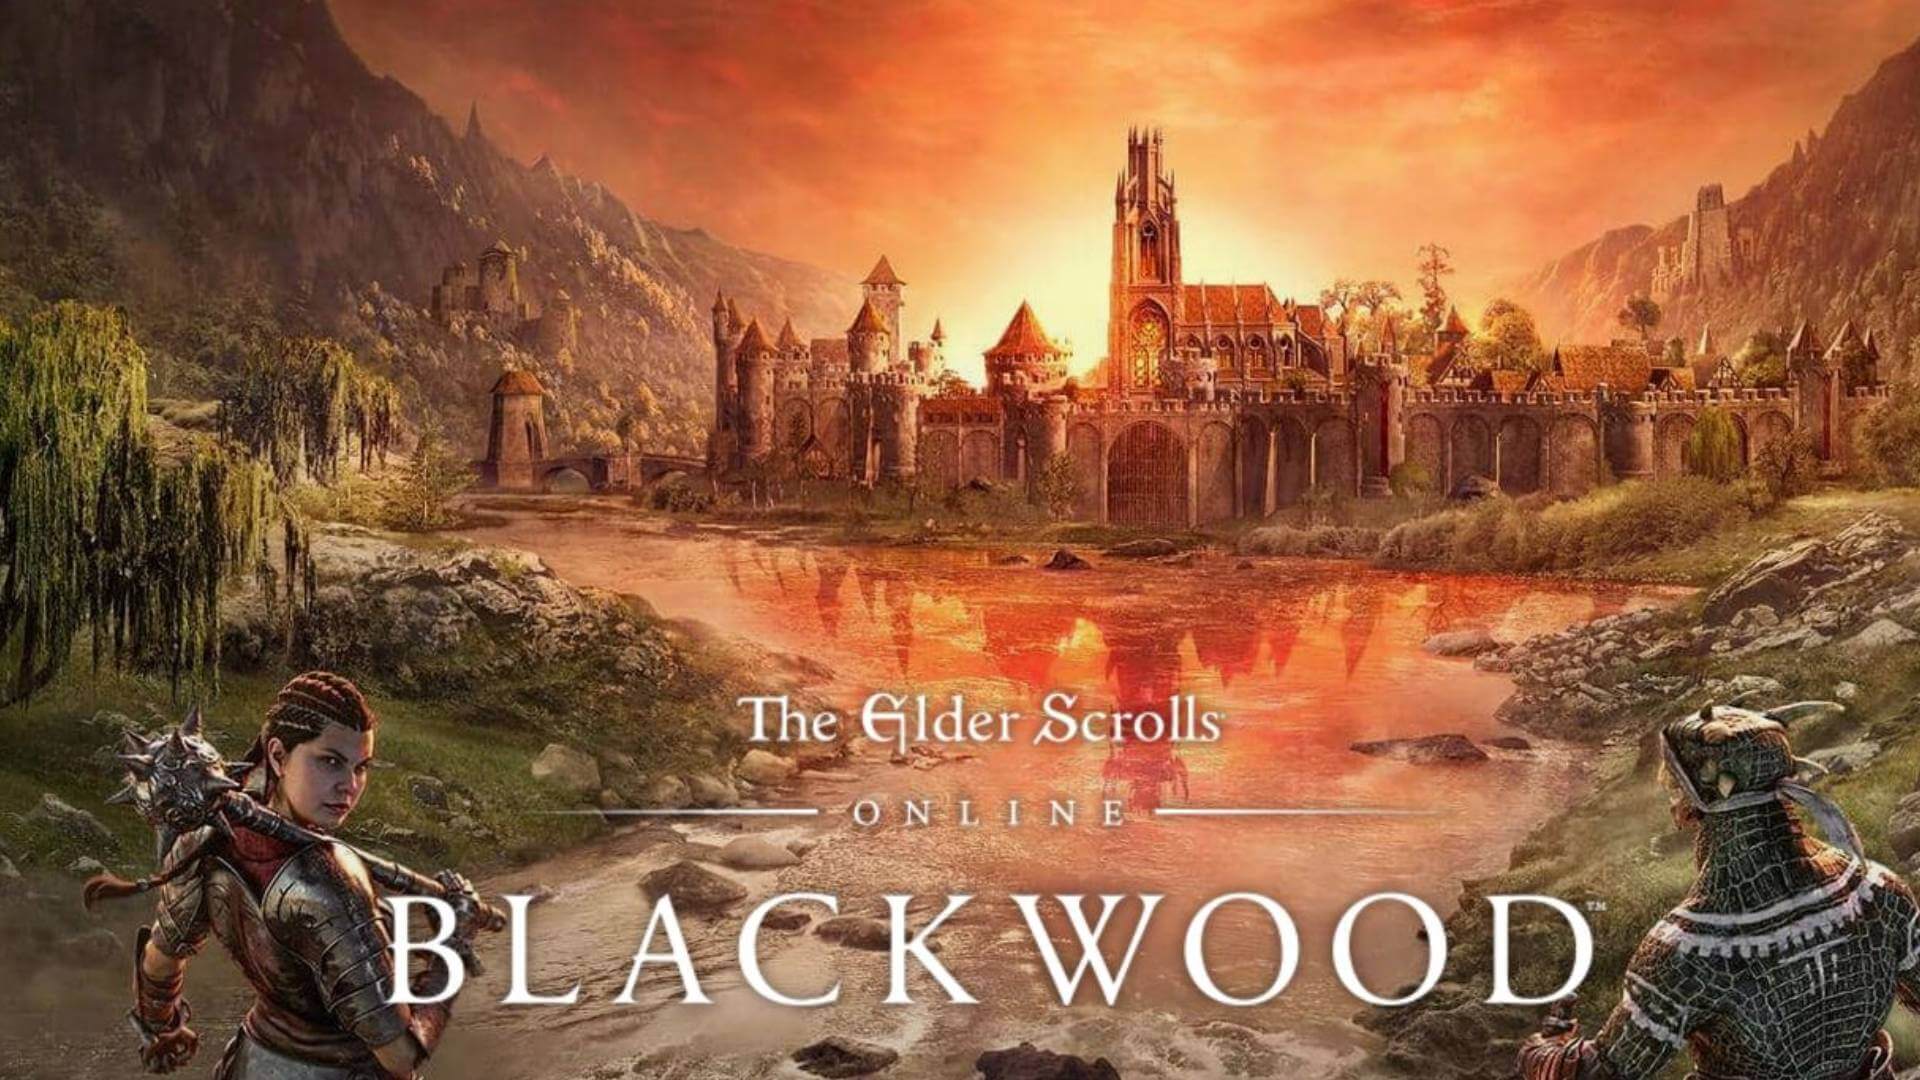 I am going to admit something here, I was not fond of the idea to make the beloved Elder Scrolls series into MMO, but in time I gave it a go and I am really glad I did. This game is great and it is getting better and better as time progresses. It is buy to play without monthly fees and basic game free, same as FF14 but without fees. It has a decent community and offers a really good Elder Scrolls experience and now it is packing Morrowind expansions and other great areas. Highly recommended for any Elder Scrolls fan.
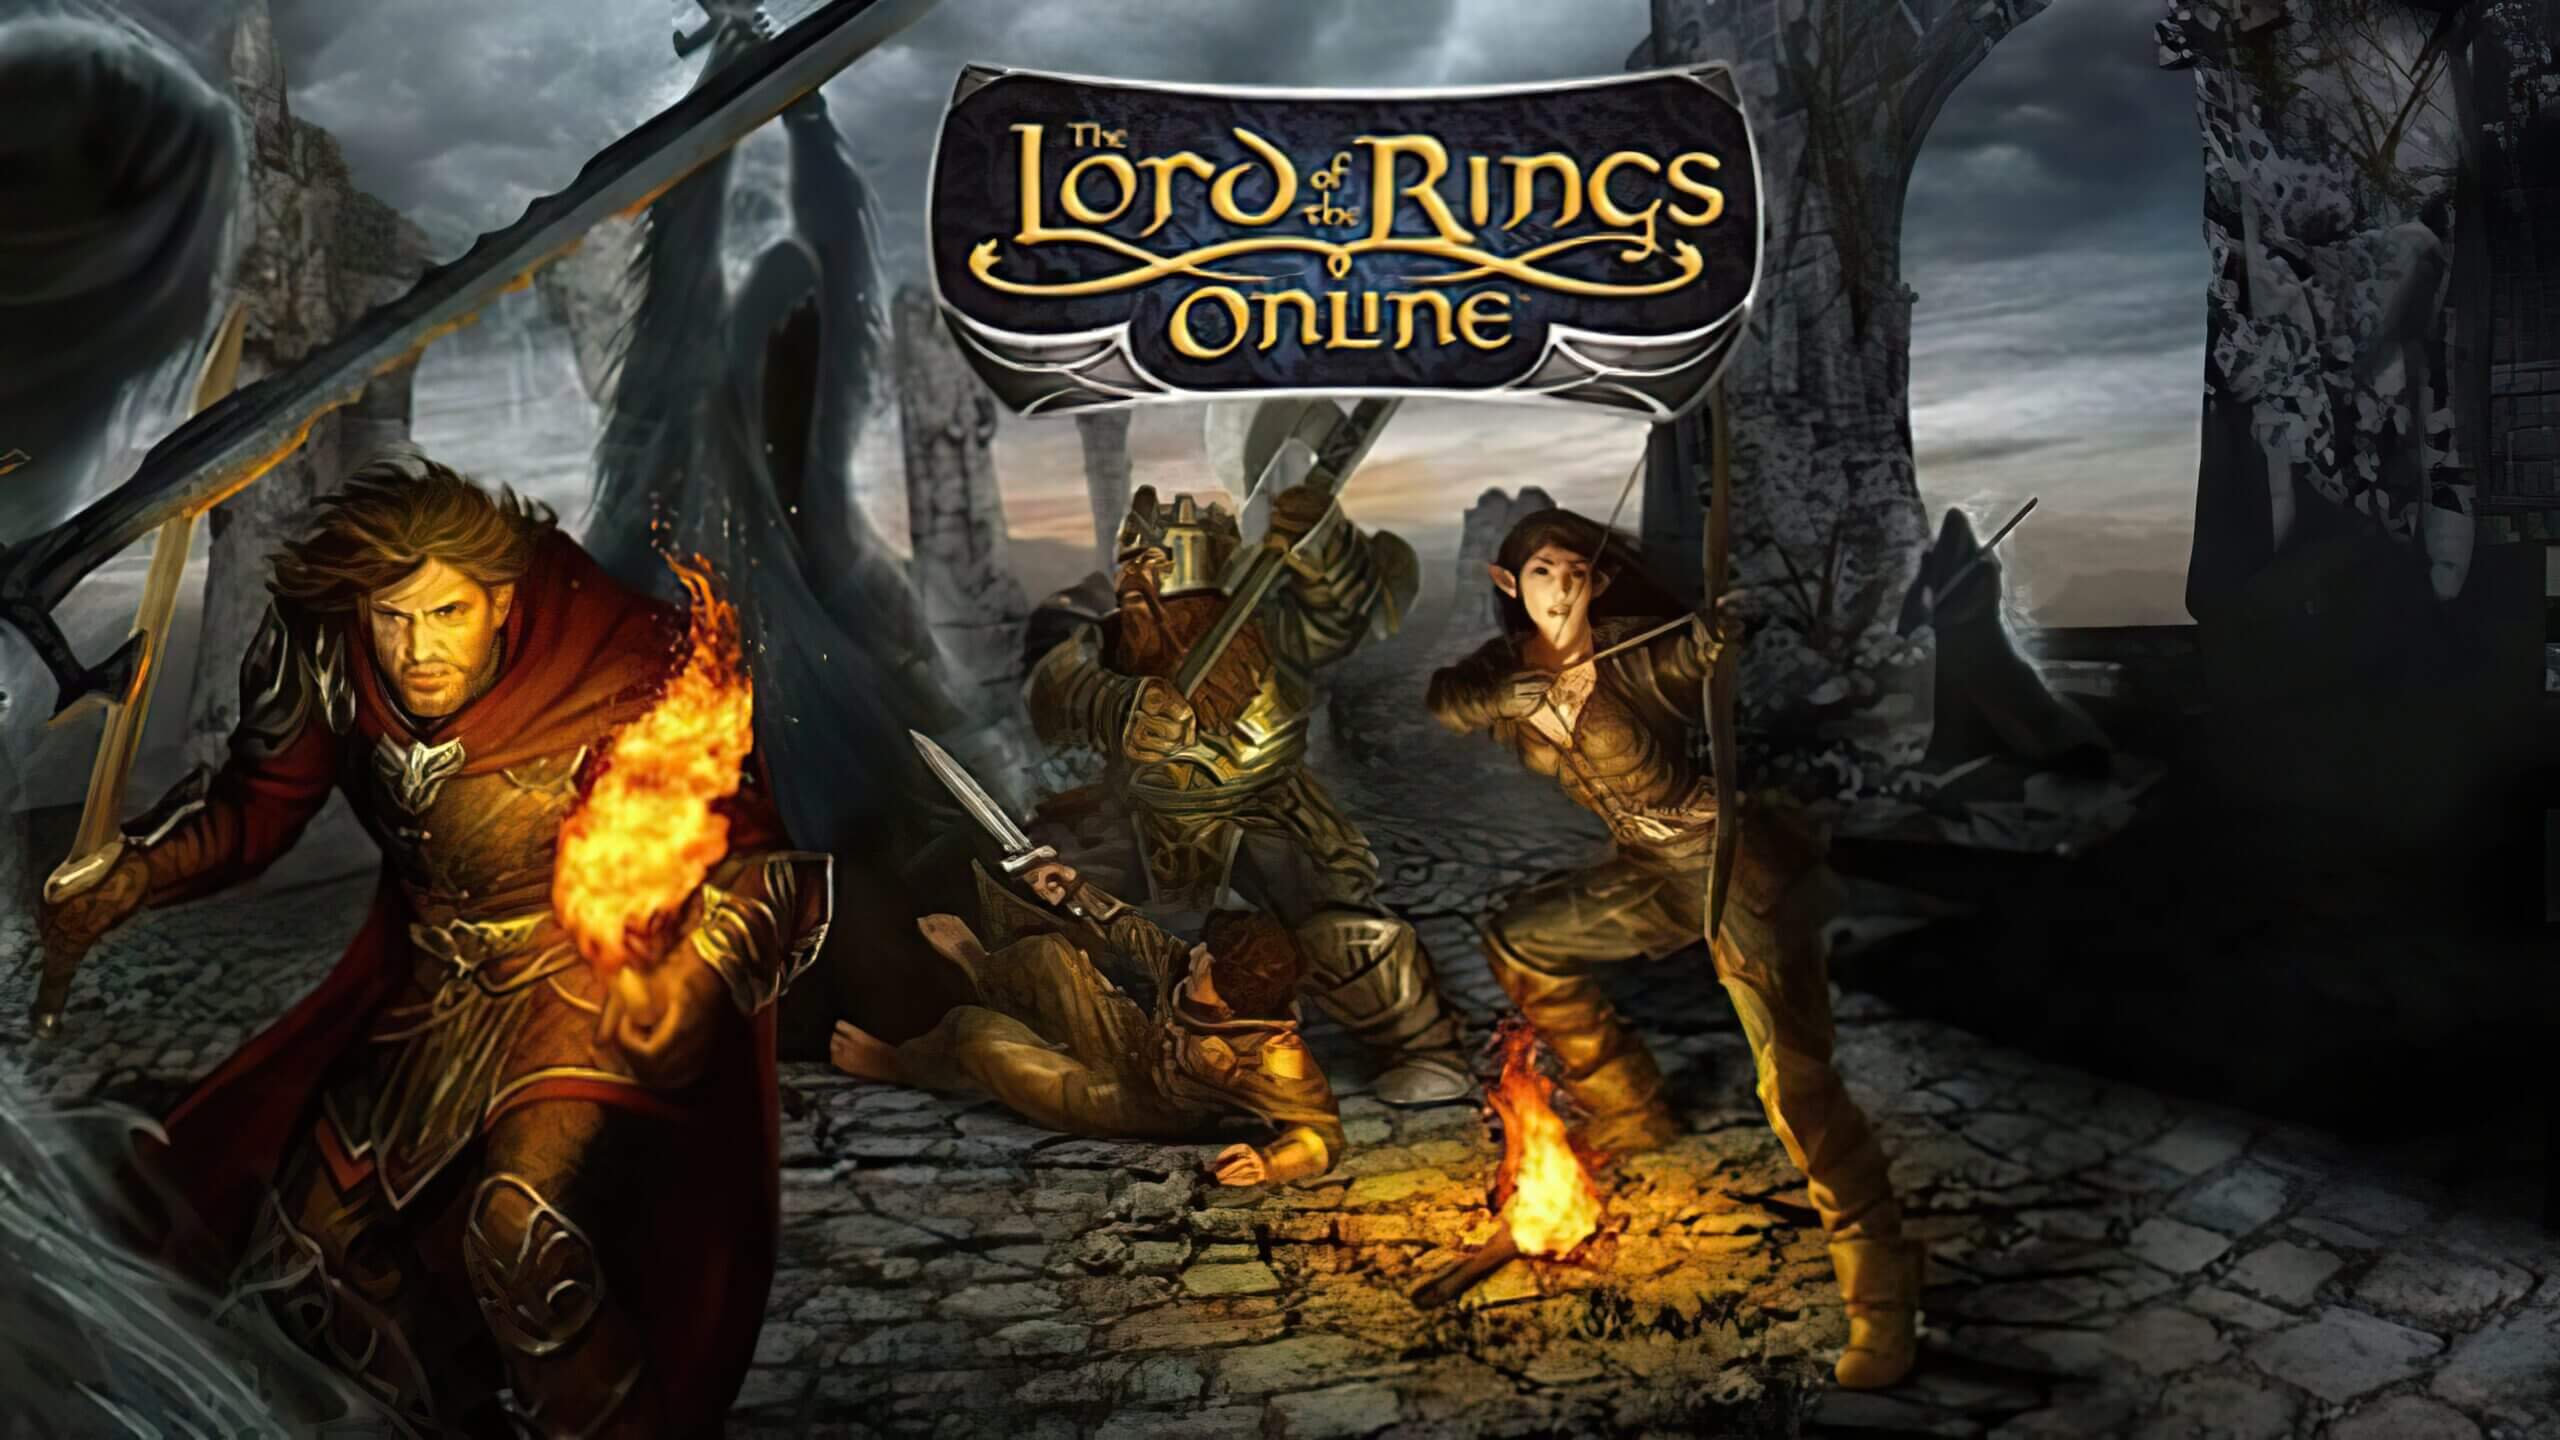 This one is troublesome to recommend, on one side you have free to play games deeply inside Tolkien Lord of the Rings lore, on the other side, you have outdated graphics and some stupid item shop decisions like buys specific classes. But if you look past stupid item shop decisions and can live with playing free class in the game you will be pleasantly surprised. The game itself is surprisingly good, the story is great as expected from the game infused with lore taken from one of the best books series ever written, and the feeling when visiting iconic landscape is epic. But if I need to be real as I should, I would recommend this one to people appreciate good story and lore and ones that are fans of Lord of the Rings itself.
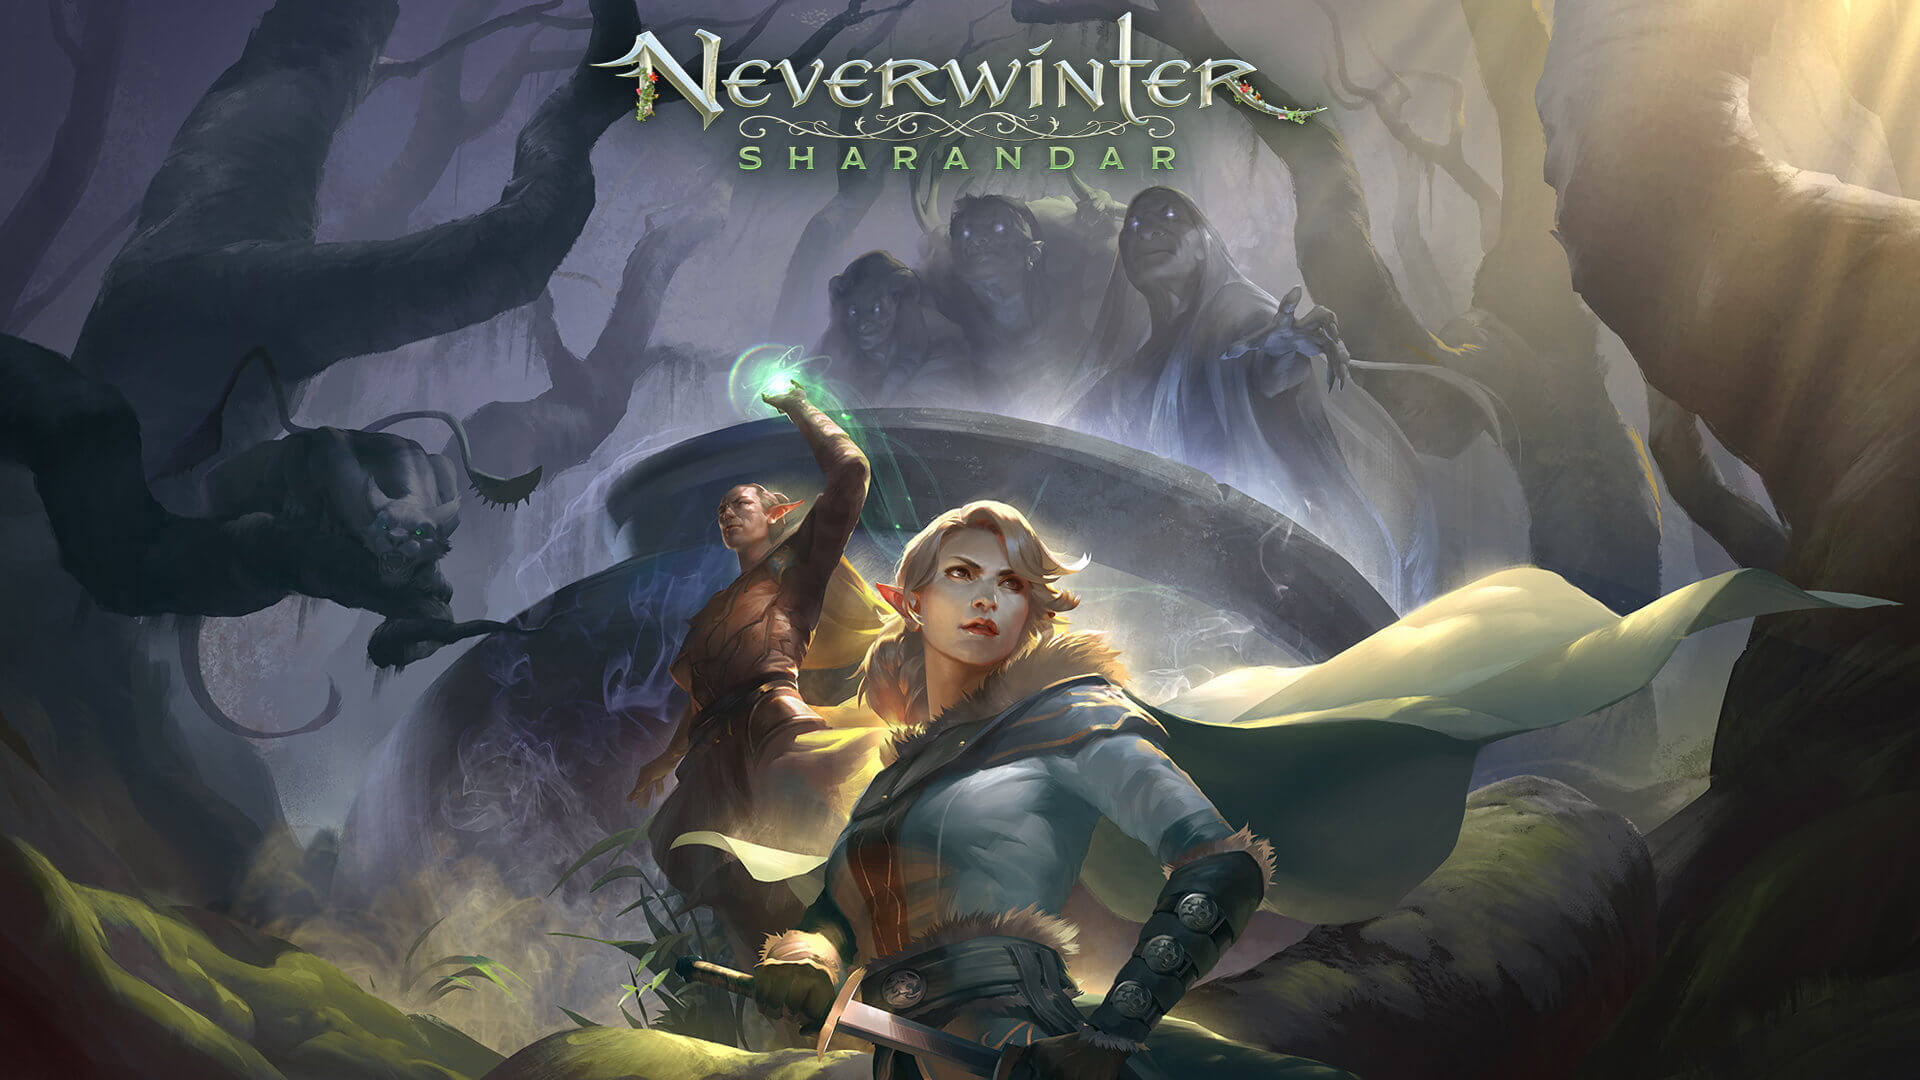 Neverwinter is a premium and licensed D&D MMO game and it is well strange. The free-to-play model of the game will let you enjoy it until you hit the end game, then you will have to shell real money if you want to be competitive but the journey until then is great. I would recommend it to D&D lovers and people that love to try other people's maps, yup you read it correctly. Neverwinter has a map editor making it one of a kind MMO game where you can create your own dungeons and post them for other players to play, this user-generated content makes it a very specific beast in this list, and for that feature alone it has my recommendation.
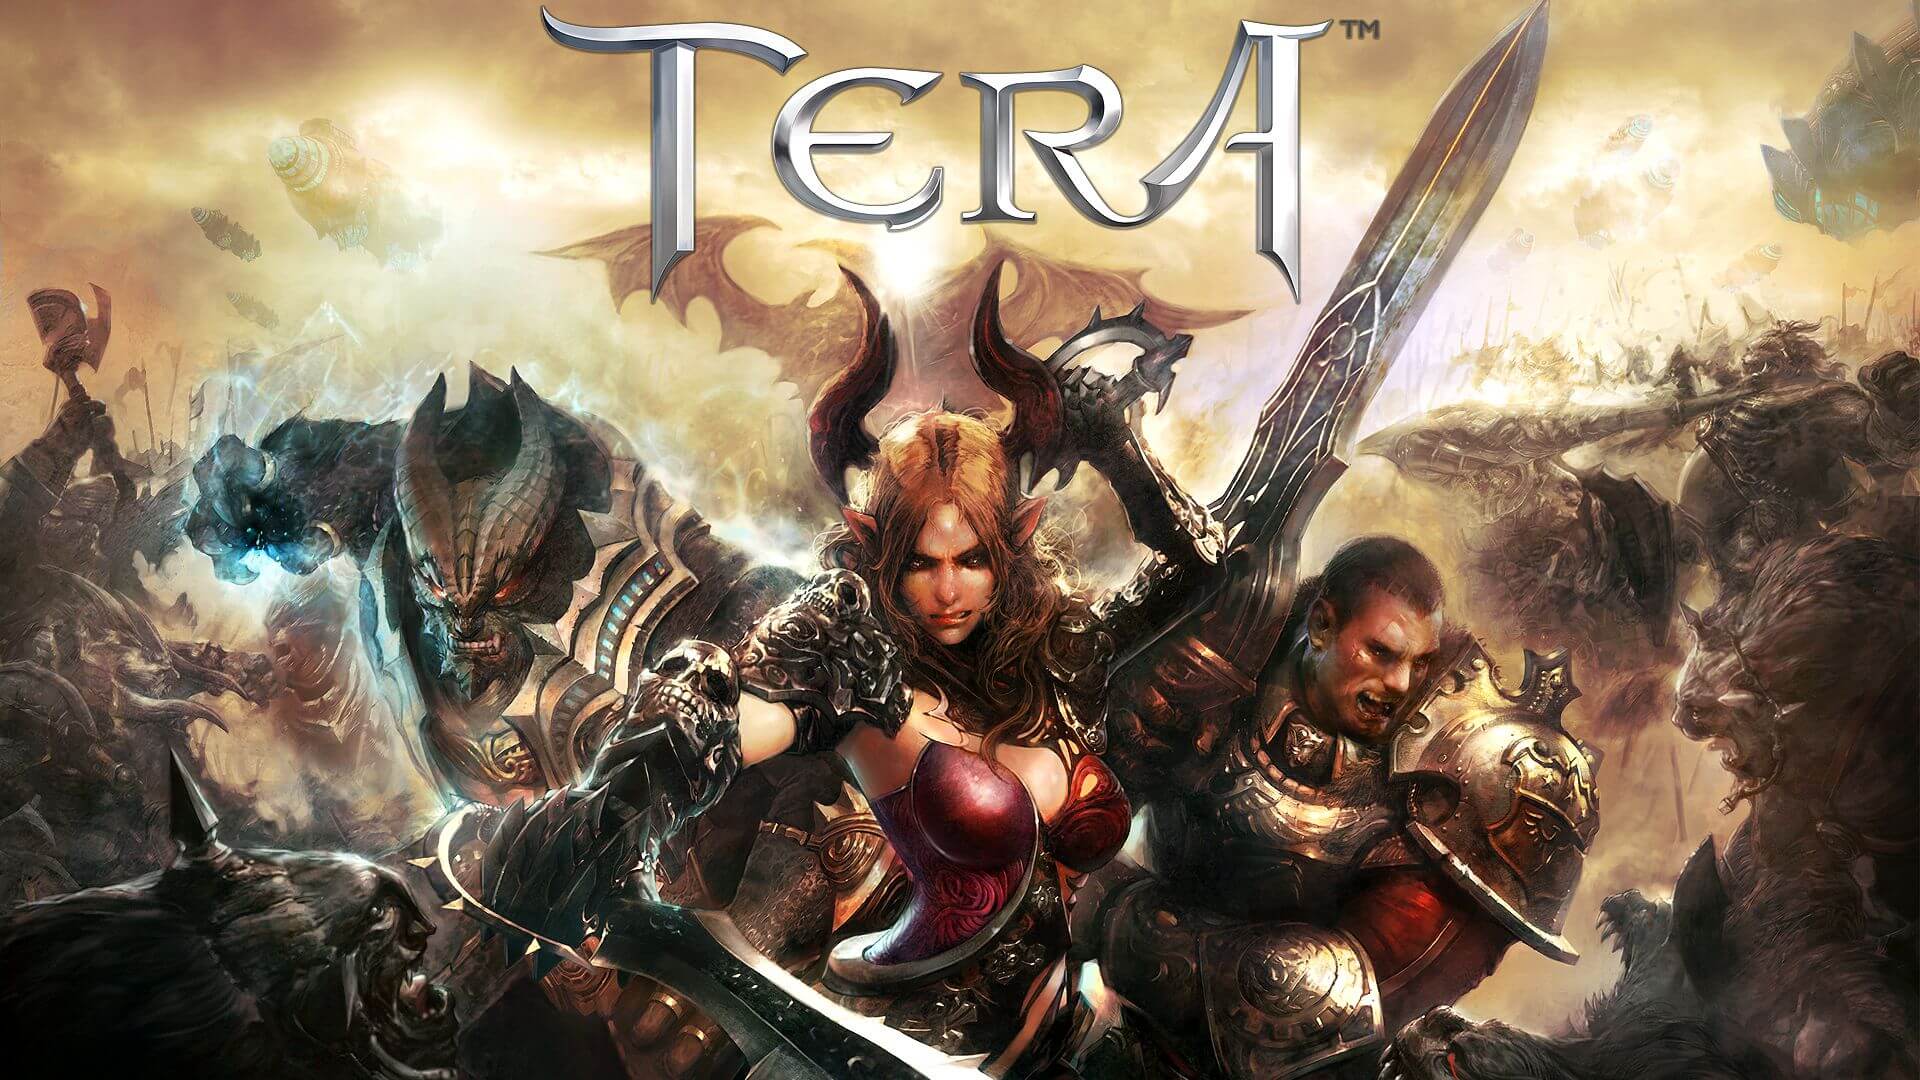 Another one of the older titles, Tera will offer you nor depth nor anything new in terms of leveling, quests, or end game except… the COMBAT. This is maybe the greatest MMO Combat game ever created and it is quite fascinating that even after so many years no other game has managed to create a better combat system than one of Tera. If you enjoy action combat and like some specific aesthetics Tera is a game for you.
 Albion is a sandbox game with open-world PvP and building mechanics where you can build your own forest, house, etc. You know, sandbox stuff, including a lot of crafting and well, other sandbox stuff. If you want great quests and some occasional play then skip Albion, this game is made for a more hardcore player base not being afraid to die and spend some time crafting and going through the economy. The best comparison might be with EVE but in fantasy settings.
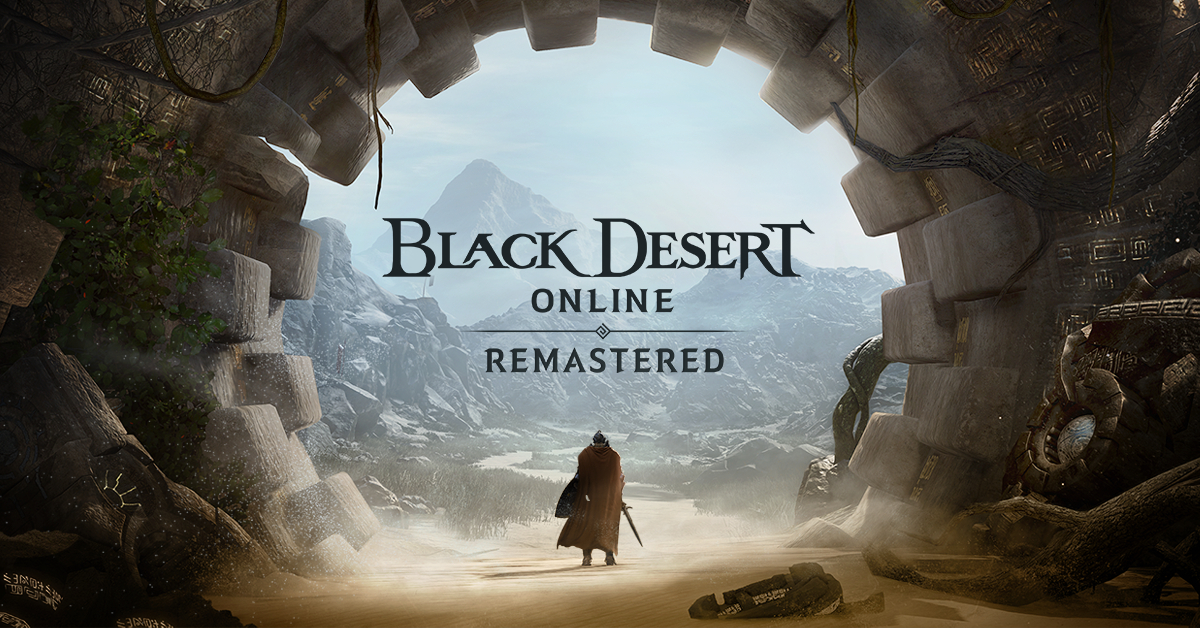 Black Desert is also a sandbox game but different from Albion, here you can organize and hire a workforce and send them to different nodes on a map to harvest resources and build an economy while you are on some epic adventure. Housing is also included but you can buy already made houses instead of making your own in the world. Combat is a game that comes very close to Tera combat and it is very enjoyable. The end game is money sink and PvP based so be careful when choosing this one.
 If you like occult and supernatural with new world order themes and conspiracy theories, Secret World Legends is the game for you. Somewhat little clunky its setting and story really set it apart in many many ways. It has semi-action combat and it is free to play with item shop but all the content can be experienced for free. Recommended for fans of deeper gameplay and horror lore.
 When I said no MMO list can be without World of Warcraft, it also cannot be without Runescape, one of the oldest games it was revamped with newer mechanics and graphics, free to play all the way and you can also pick old school Runescape if you really want to go all the way on a nostalgia trip. I would recommend a newer one for newer players, the game offers a great story and unusual quests infused with puzzles and interesting storylines. If you like really good quest design without fetch and grind quests along with interesting story this is a game for you.
 Last on my list would be AION, a very interesting game made also a long way back, but the fact that is completely free with the cosmetic shop will make it as one to recommend since you can experience the whole game for free. It has some limited flying mechanics in it and later game zone are open PvP zones, story is interesting and leveling process is enjoyable. Also game itself is not really easy and if not careful you can get yourself in danger quite quickly. Recommended for old-school feeling.
 In run dialog type RegEdit and press ENTER
 In registry editor find HKEY_LOCAL_MACHINE\SYSTEM\CurrentControlSet\Services\LanmanServer\Parameters
Right-click on Parameters> New> DWORD 32
Name it IRPStackSize and change the value to 32
Save and reboot your computer.In run dialog type RegEdit and press ENTER
In registry editor find a key Computer\HKEY_LOCAL_MACHINE\SYSTEM\CurrentControlSet\Services\Tcpip\Parameters
Right-click on Parameters> New> DWORD 32
Name it DefaultTTL and change the value to 64
Save and RebootIn run dialog type RegEdit and press ENTER
In registry editor find a key Computer\HKEY_LOCAL_MACHINE\SYSTEM\CurrentControlSet\Services\Tcpip\Parameters
There should be a DWORD Value, TCP1323Opts, if not, then create it. Right-click on Parameters> New> DWORD (32-bit) Value.
Double-click on it and change its value to 1
Save and reboot
In registry editor find HKEY_LOCAL_MACHINE\SYSTEM\CurrentControlSet\Services\LanmanServer\Parameters
Right-click on Parameters> New> DWORD 32
Name it IRPStackSize and change the value to 32
Save and reboot your computer.In run dialog type RegEdit and press ENTER
In registry editor find a key Computer\HKEY_LOCAL_MACHINE\SYSTEM\CurrentControlSet\Services\Tcpip\Parameters
Right-click on Parameters> New> DWORD 32
Name it DefaultTTL and change the value to 64
Save and RebootIn run dialog type RegEdit and press ENTER
In registry editor find a key Computer\HKEY_LOCAL_MACHINE\SYSTEM\CurrentControlSet\Services\Tcpip\Parameters
There should be a DWORD Value, TCP1323Opts, if not, then create it. Right-click on Parameters> New> DWORD (32-bit) Value.
Double-click on it and change its value to 1
Save and reboot
 I going to admit right here that I am a big fan of Cooler Master PC cases, I like them and they are always one of the things that I consider when building a new PC, overall I like their ideas and quality so personal for me it was quite a surprise to see that they are one that is making a new generation gaming chair.
Now truth to be told Orb X is not your typical gaming chair as you can clearly see from the pictures. The chair itself will come in two colors: white or black and RGB lighting looks to be prominently featured throughout.
I going to admit right here that I am a big fan of Cooler Master PC cases, I like them and they are always one of the things that I consider when building a new PC, overall I like their ideas and quality so personal for me it was quite a surprise to see that they are one that is making a new generation gaming chair.
Now truth to be told Orb X is not your typical gaming chair as you can clearly see from the pictures. The chair itself will come in two colors: white or black and RGB lighting looks to be prominently featured throughout.
 The chair itself is advertised as both meant and aimed for professional and gaming crowds but I believe the gaming crowd is in general more interested in this hardware piece.
Hardware is enclosed in a fully motorized shuttle dome which aims to maximize your privacy, it supports a single 49inch display or three 27inch monitors along with surround speakers if you do not wish to use headphones.
The chair itself is advertised as both meant and aimed for professional and gaming crowds but I believe the gaming crowd is in general more interested in this hardware piece.
Hardware is enclosed in a fully motorized shuttle dome which aims to maximize your privacy, it supports a single 49inch display or three 27inch monitors along with surround speakers if you do not wish to use headphones.
 It offers an adjustable headrest, lumbar support, and footrest so you can spend some time in it and be comfortable. Controls on the chair itself allow you to raise or lower the dome for easier getting in and out of it.
Orb X also has a compartment in its backside, it folds out and has a sliding tray designed to hold your PC or console. Everything is enclosed so wiring is not the issue.
Overall Orb X seems really like the computer chair of the future, Cooler Master expects to release the Orb X by December 2021, priced around $12,000-$14,000.
It offers an adjustable headrest, lumbar support, and footrest so you can spend some time in it and be comfortable. Controls on the chair itself allow you to raise or lower the dome for easier getting in and out of it.
Orb X also has a compartment in its backside, it folds out and has a sliding tray designed to hold your PC or console. Everything is enclosed so wiring is not the issue.
Overall Orb X seems really like the computer chair of the future, Cooler Master expects to release the Orb X by December 2021, priced around $12,000-$14,000. Device Manager Error Code 31 pops up when Windows prevents the driver for a particular hardware device from loading. The error code 31 is almost always presented in the following format:
“This device is not working properly because Windows cannot load the drivers required for this device.” Code 31
This error can occur with any hardware device; however, in most cases, it occurs with Ethernet cards. The good news is that it belongs in the easy-to-resolve category. So repairing it should not be difficult.
 Error Causes
To resolve error code 31 on your system, try the methods given below. We have listed down some of the most effective and easy-to-perform DIY methods for fixing Device Manager code 31 on your PC.
This simply means to return the driver back to its previous state - to the version last installed. Try this method to resolve error code 31. This is probably the easiest way to return your PC to its previous working state.
However, by doing so, you will not be able to update your drivers and run new driver versions on your system. In other words, this is a temporary method to fix this issue.
You may still want to try other methods given below to ensure you have the latest drivers installed on your system.
You can roll back the driver to its previous version by accessing the Driver Rollback feature located in the driver settings within the Device Manager. Or another way to perform a rollback is to use the Windows System Restore Utility.
It is a recovery tool built-in the new Windows versions. To access it, simply go to the start menu and type System Restore Utility in the search menu.
Access it and pick a point in the past, also referred to as the restore point, to return your PC to its previous state before the error code 31 occurred.
However, to resolve the problem permanently, try method 2.
Error code 31, as discussed above, may occur due to outdated, misconfigured, or corrupted drivers. Whatever the reason may be, to ensure the proper functioning of your hardware device, it is important to update the drivers on your system frequently.
To start driver updates, first, it is important to find out and identify problematic drivers. You need to identify the drivers that are corrupt, misconfigured, and outdated. For this, go to the Device Manager and then look for devices with yellow exclamation marks.
The yellow exclamation marks next to the devices show that these device drivers are problematic. Once you’ve identified the problematic drivers, simply update them by finding the latest and compatible versions on the manufacturer’s website.
This process is time-consuming and can be frustrating at times, especially when doing it for the first time.
Also, once you’ve updated the drivers, you need to update them from time to time to ensure they don’t get outdated, or else you will have to encounter Device Manager error codes again.
Method 3 - Download DriverFIX to Update Drivers Automatically
To avoid the hassle and stress involved in updating drivers manually, it is advisable to download and install DriverFIX.
DriverFIX is a smart, innovative, and feature-filled software embedded with an intelligent algorithm that quickly detects problematic drivers, matches them with the latest and compatible versions, and updates them immediately and automatically in just a few seconds and a couple of clicks.
It’s as simple as it can be. Furthermore, with this software installed on your PC, you don’t have to stress and worry about when your drivers need to be updated again.
DriverFIX ensures all drivers are continuously and regularly updated before they become outdated.
Click here to download DriverFIX to repair Device Manager error code 31 and update drivers automatically and regularly.
One of the selling points of Windows 11 was the ability to run Android apps natively in it without the need for any third-party software. It is not a big surprise that even after its release Microsoft is evolving and expanding Windows 11 and its features.
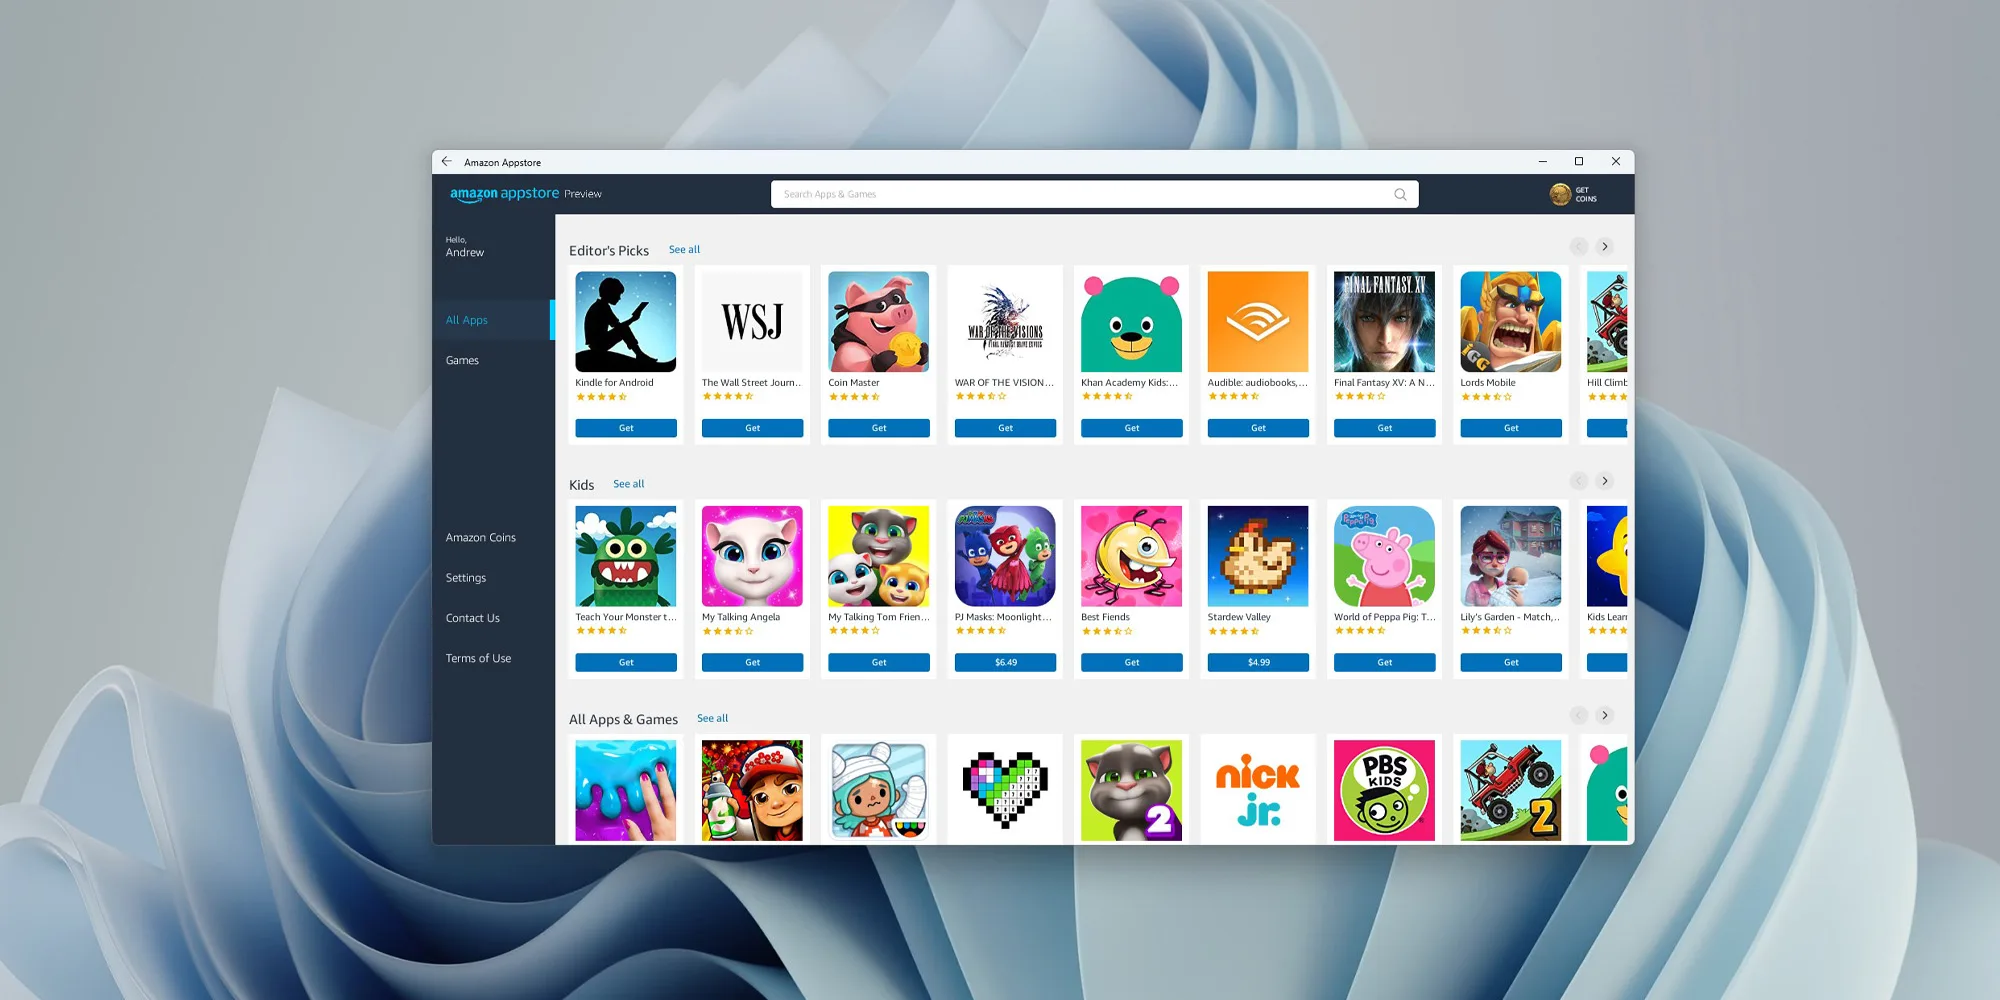
Microsoft is now rolling out an update for the Windows Subsystem for Android on the Dev Channel of the Windows Insiders program. The new version upgrades the core operating system from Android 11 to Android 12.1 (also known as Android 12L), which means the new system and app features in Android 12 and 12.1 are now available on Windows for the first time. However, not the new features in those updates apply to the modified version that runs on top of Windows. For example, one of the main improvements in 12.1 was a dual-pane notification panel for larger screens, but Android app notifications on Windows just show up in the Windows notification panel.
The upgrade also improves how Android apps integrate into Windows. The Windows taskbar will now show which Android apps are currently using the microphone, location, and other system services — similar to many native Windows applications. Toasts messages (the small popups that some apps use for temporary messages) are now displayed as Windows notifications, and the titlebar on Android apps will use the current activity name for the title.
Full changelog
The new update is limited to Windows Insiders for now, but once Microsoft fixes all the bugs, it should start rolling out to everyone on Windows 11 that has the Android Subsystem enabled.