The Windows 10 operating system utilizes a variety of measures in order to track your app launches so that it can boost both your start and search results. It can personalize the start menu based on the apps that you use the most on the Start menu as well as the search results. This way, the App Launch Tracking is definitely useful especially when you want to access your favorite and frequently used apps quickly in the Start menu and search results on your Windows 10 computer.
On the other hand, Windows 10 provides users with the ability to control their privacy settings in order to protect the privacy of users. Windows 10 users can either opt to enable the app launch tracking to improve the start menu and search menu or opt to disable the app launch tracking in order to prevent the Windows operating system from tracking that you open if you really value your privacy that much. Whichever setting you prefer, you need to change the privacy control settings as well as make some tweaks in the Windows Registry in order to turn on or turn off the app launch tracking feature.
Note: Keep in mind that when you disable the app launch tracking feature, the “Show most used app” setting will either be grayed out or labeled as “Disable” on your Windows 10 computer. Thus, if you want to keep viewing the most used apps, just re-enable the app launch tracking feature if you have disabled it.
Before you proceed, make sure to create a System Restore point
HKEY_CURRENT_USERSOFTWAREMicrosoftWindowsCurrentVersionExplorerAdvanced
Take note that you still have to create a 32-bit DWORD value even if you are using a 64-bit Windows computer.

 Error Causes
diskpartStep 5: Afterwards, type in either of the following commands to help you in either listing all the Disk connects or all the partitions on those disks formed.
diskpart or list volumeStep 6: Next, you need to select any of the two given commands below depending on the list you entered on the previous step.
select disk # or select volume #Step 7: After you enter the command, it will select the Disk or the Partition you want to select. Now you have to type and enter the following command to clean your drive.
cleanStep 8: Now enter any of the two following commands.
list disk or list volumeStep 9: Then type the next command below to create a specified partition.
create partition primaryStep 10: Once done, type in the following command to select the newly created partition.
select partition 1Step 11: Next, type the following command to mark the selected partition as active.
activeStep 12: Finally, restart your computer to successfully apply the changes made and then see if it has fixed the problem or not.
If you would like your computer to be discoverable on your network and use print and file sharing you will have to change your network profile on your computer from public to private.
Follow the provided guide step by step to change your network profile setting:
Locate the Wi-Fi icon in your system tray and click on it. Click on properties on your WI-FI network to open the network menu. Inside the menu in the Network profile section enable the Private option.
Your changes will be automatically saved.
Find the WI-FI icon in the system tray and right-click on it, then choose Network and Internet Settings. Network & Internet page with open, find your network name at the top and select properties.
On the WI-FI page, in the Network Profile Type section choose Private. As in Windows 10, your changes will be automatically charged, and you can start using them immediately.
If you want to switch back to a public profile follow provided steps but disable the private option.
“We couldn’t install Windows in the location you choose. Please check your media drive. Here’s more info about what happened: 0x80300002”You can encounter this kind of error if there is corruption in the partition table of the drive where the installation is in progress. In addition, corruption on the Media device could also cause this problem. So if you encounter this error when running Windows Setup, read on as this post will guide you in fixing it. There are several ways to resolve this issue. The first thing you can do is to verify the compatibility between the BIOS and the installation media. You could also try recreating all the partitions as well as recreating the bootable USB drive. For more detailed information, follow the given options below.
Customers will most likely encounter the “We couldn’t update system reserved partition” error when upgrading to Windows 10 from Windows 7 or Windows 8.1. This error may also come with error code 0xc1900104 or error code 0x800f0922.
Error Cause“We couldn’t update system reserved partition” Windows 10 upgrade error is normally caused by too little space on the System Reserved Partition (SRP). The System Reserve Partition is an additional small partition created by Windows, which stores boot files. The SRP can be filled up with security apps and third-party anti-virus. Once this partition has insufficient space, the system will not be able to upgrade to Windows 10.
Caution: The following steps are complex and need to be done by experienced users especially using the command line. Once an error is made in entering commands, there’s a chance that your device can be put in a no-boot situation, or data stored on the device can possibly get lost.
To upgrade to Windows 10, your device needs to have at least 15MB free space on the System Reserved Partition. Follow the procedure below and then try upgrading again.
NOTE: While in Admin mode, some apps like OneNote will not run.
Doing this method will make a permanent, but small increase in the free space of the device’s SRP.
a. Open the Run window by pressing the Windows key + R. Type diskmgmt.msc then hit Enter. b. Select System Reserve partition then right-click on it.
c. Choose Change Drive Letter and Paths then select Add.
d. Type Y for the drive letter then click OK.
e. Click on the Start button and search for cmd. In the results, right-click on Command Prompt then choose Run as administrator. The command prompt window will appear.
f. Type Y: at the command prompt then press Enter.
g. Once you’ve switched to drive Y, type takeown /d y /r /f . then hit Enter.
NOTE: Ensure that the space and period after “f” is included in order for the command to work properlyh. Type icacls Y:* /save %systemdrive%NTFSp.txt /c /t then hit Enter to back up the permission to the drive.
NOTE: Ensure that all files are marked as successful and that no files are marked as failed.
i. Type whoami then hit Enter. Record the username that appears. Afterwards, type icacls . /grant <username you got from whoami>:F /t then press Enter.
NOTE: Ensure that there’s no space between the username and “:F” or the command will not work.j. In the File Explorer, open the SRP drive and select the Boot folder. Choose the language folders you want to permanently delete. Language folders are named with four letters split with a hyphen. For example: de-DE is the German language while en-US is the U.S. English language.
2. Truncate the NTFS Log:
a. Open the Command Prompt then type chkdsk /L Y: to check the size of the NTFS Log. If the NTFS Log size is less than 5000KB, you need not truncate the file.
b. Type chkdsk /L:5000 /X /F then hit Enter to truncate the NTFS Log.
c. Return to Disk Management window. Select Action menu then select Check if the device’s SRP now has a larger amount of free space. Once there’s enough space, right click the System Reserve Partition then select Change Drive Letter and Paths. Choose Y: then select Remove.
3. If there’s still not enough available space after truncating the NTFS Log, resize the USN journal:
a. Open the command prompt then type fsutil usn queryjournal Y: to display the size in hex value. Convert the hex value to decimal then divide it by 1048576. The result you will get will be in MB. If the journal size is 30MB or more, proceed with truncating the file.
NOTE: To convert the Hex value to Decimal, open the Calculator app in Windows then choose View menu. Select Programmer then choose Hex. Type the Hex value then choose Dec.
b. Type fsutil usn deletejournal /D /N Y: then hit Enter to delete the journal. Type fsutil usn createjournal m=1500 a=1 Y: to recreate the journal having the new log size value.
a. Type icacls Y: /restore %systemdrive%NTFSp.txt /c /t in the Command Prompt. Check if the files were successfully processed before proceeding. If you see a message saying some files failed while processing, this is normal since some of the files have already been deleted before performing a backup. However, if there are no successful files indicated, the command was not properly executed.
b. Type icacls . /grant system:f /t then hit Enter to adjust the ACL back to System. Now, you can set the owner of the drive by typing icacls Y: /setowner “SYSTEM” /t /c then press Enter.
c. Check if the device’s SRP now has enough free space by going back to Disk Management and refreshing the data. If the SRP already has sufficient space, you can now remove the drive letter. Right-click on the System Reserved Partition then choose Change Drive Letter and Paths. Select the Y: drive then choose Confirm deleting the drive letter by clicking OK.
This method makes a larger, but temporary, increase in the SRP free space.
1. Be sure you have an external drive having at least 250 MB free space and formatted as NFTS.2. Open Run by pressing the Windows key + R. Type mscthen to choose the Recovery Partition. Right-click on it then choose Change Drive Letter and Paths.
3. Select Add then type Y for the drive letter, click
4. Click on the Start screen then type cmd in the search bar. In the results, right-click on Command Prompt then choose Run as administrator. The command prompt window will appear.
5. Switch to another drive by typing Y: in the command prompt. Once you’re in the drive Y, type takeown /d y /r /f .
NOTE: Ensure that space and period after “f” are included in order for the command to work properly.
Logitech announced the Logitech G CLOUD gaming handheld, somewhat of a STEAM Deck competitor. Somewhat, because the reason is that not like Deck this device is not packing huge power in order to run locally PC games, instead it is made with one goal in mind to connect to Cloud gaming and let you play games in that way.

The device is packed with a 7-inch display featuring 1080p resolution in a 16:9 ratio with a refresh rate of 60Hz, an analog thumbstick, a D-pad, 4 action buttons, and triggers. Inside the device beats Snapdragon 720G (CPU used in most Android phones), 4GB of LPDDR4X RAM & 64GB of internal storage. As seen hardware is way less impressive than one that is packed inside the STEAM deck but as stated this handheld is not meant to run natively PC games so this hardware will suffice for its purpose.
Logitech has partnered with both Nvidia and Microsoft to add GeForce now and Xbox Cloud Gaming access to its device. If you have an account on either one of these services you can fully use them on the Logitech G Cloud gaming handheld. You can also play some Android games via the Google play store but the main goal is Cloud gaming.
The price of 350$ USD is not very impressive since STEAM Deck which is a way more capable device is running for 400$ USD, for the difference of only 50$ USD Deck has an advantage, and the price itself is a hard point for selling and if we place into this mix som retro handhelds that go as low as 100$ USD Logitech is in an awkward position. Note that Nintendo Switch is 300$ USD.
"Cannot find the file sqlite3.dll (or one of its components)"
Followed by:
"Error starting program.. A required .DLL file sqlite3.dll was not found."
Error Causes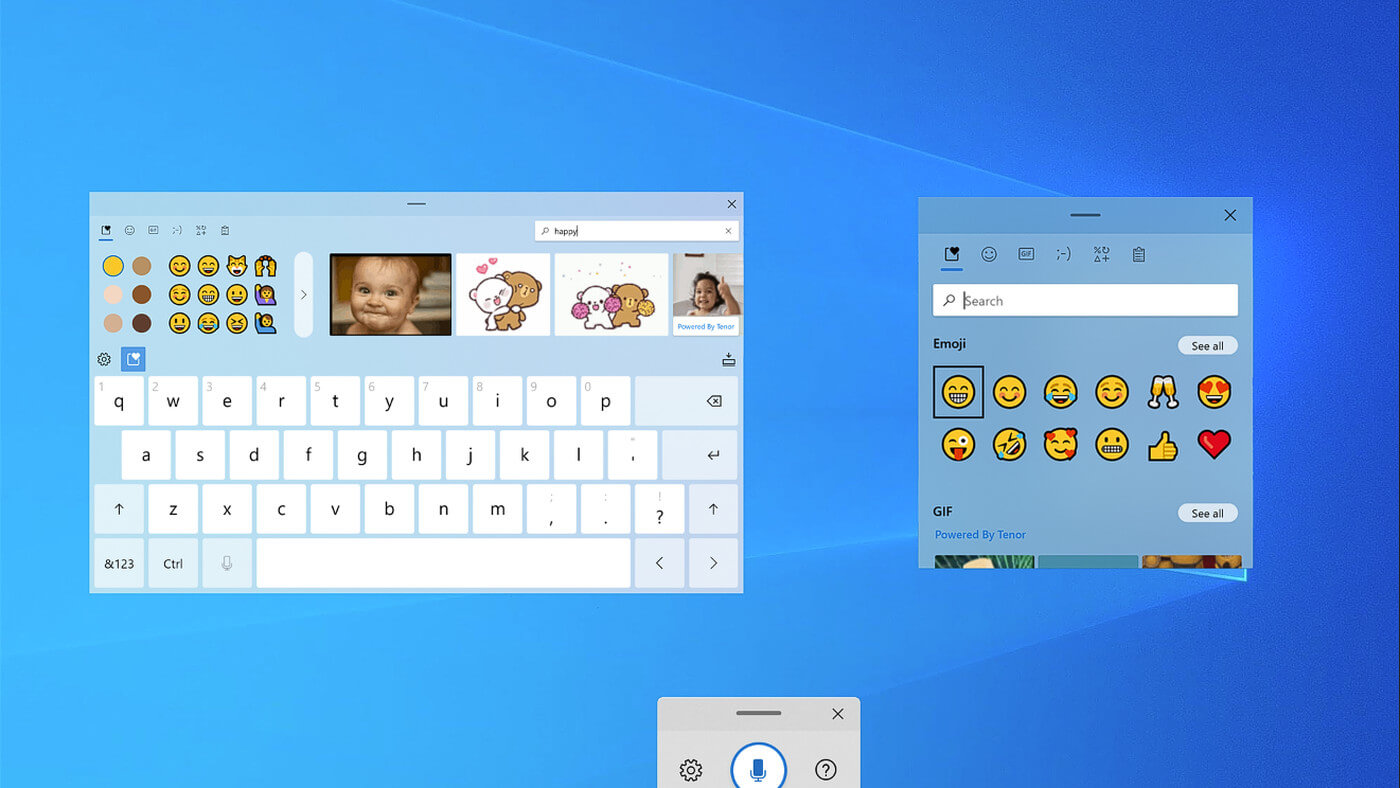 If by any chance you are working on a touchscreen PC, tablet, or any similar device and have no access to a hardware keyboard there is a way to place Touch Keyboard on your screen for easy typing, and you can enable icon on the taskbar for easy access.