Entry.dll Error - What is it?
Entry.Dll is a type of Dynamic Link Library file. This file consists of small programs that are called to load and run desired applications.
Just like any other dll file, the entry.dll file is also a shared file. It supports and is compatible with multiple applications.
You may experience entry.dll error message on your PC, when the Windows cannot properly load the entry.dll file. This error most often occurs during PC startup, application startup or while trying to use a specific function in your program.
The enrty.dll error message is often displayed in either of the following formats:
- “Entry.dll not found.”
- “The file Entry.dll is missing."
- “Cannot register Entry.dll."
- “Cannot find C:WindowsSystem32\Entry.dll."
- “Cannot start YAPC: Europe. A required component is missing: Entry.dll. Please install YAPC: Europe again."
- “Entry.dll Access Violation."
Solution
 Error Causes
The entry.dll file error may occur due to multiple reasons including but not limited to:
- Corrupt entry.dll registry entry
- Entry Dll file is not registered properly
- Open source hardware failure for example a bad hard drive
- Virus or malware infection
No matter what the underlying reason may be, it is advisable to repair and resolve the dll file error on your PC to ensure the program is accessible without any inconvenience.
Further Information and Manual Repair
Here are different ways to fix and resolve the Entry.dll error on your PC:
1. Re-Register Entry.dll File
When you install software that uses the Entry.dll, the software automatically registers that file for you.
However, in some cases the dill file may not register properly and as a result you may experience the error Entry.dll not registered. In such situations it is advisable to use ‘Microsoft Register Server’ built-in utility to re-register the entry.dll file.
This utility can be accessible in Windows XP, Vista, 7 and 8 through the command prompt.
To get started, here’s what you need to do:-
- Go to the start menu and type command in the search box.
- Now press Ctrl and Shift together and hit the Enter key.
- After that you will be prompted with a permission dialog box; click yes to continue.
- Now type the following command: regsvr32 /u Entry.dll. Press enter to un-register the file.
- Type the following command: regsvr32 /i Entry.dll and press enter again. This will re-register the file.
- Close the command prompt window and try accessing the desired program supported my entry.dll file. If the program is accessible and you don’t encounter the error message, this means the error is resolved.
2. Update Outdated and Corrupt Device Drivers
Another method to fix this error is to update the device drivers that are incompatible, corrupt or outdated. Download the latest versions of the corrupt drivers and re-install them on your PC.
3. Clean the Registry to Remove Invalid Entry Files
The entry.dll file error can be related to problems in the Windows registry. The registry gets damaged when it gets overloaded with too many unnecessary and obsolete files such as junk files, bad registry keys, invalid entries and cookies.
These files not only take up great deal of disk space but also damage the registry, system and dll files.
You can clean the registry manually but it is time consuming and needs technical expertise. However, to repair the error right away in seconds download Restoro.
This is a powerful Registry Cleaner integrated with an intuitive algorithm that detects and removes all types of registry issues on your entire PC in no time. It wipes out the unnecessary files and invalid entries, repairs dll files including the entry.dll file and restores the registry.
4. Scan for Malware and Viruses
Another cause of the entry.dll error can be malware and viruses. These malicious programs can also corrupt dll files.
It is important to remove all of them from your PC to resolve the issue. For this you need to scan your PC with an antivirus. If you download Restoro, you don’t need to download an antivirus program.
This is because Restoro includes multiple utilities including an antivirus too.
You can run it to scan and remove all types of malicious programs like malware, viruses, spyware and Trojans on your system.
Restoro also features a system optimizer. This utility boosts your system’s speed significantly ensuring your PC performs at its optimum level.
It is safe, user-friendly and can be installed on any Windows versions. It has easy navigations making it quite simple to use by all levels of users. It is bug free and efficient. In just a few clicks you can resolve practically all PC related issues.
To resolve entry.dll error on your PC,
click here to download Restoro today!

 Check cables
 Razer is a well-known brand among PC gamers and users, it started as a peripheral manufacturer focused on keyboards and mouse but after years passed Razer expanded its inventory offerings. It soon started offering headphones and lately has branched into wider product lines like gaming chairs and protection masks.
It is not a big surprise that Razer is expanding into other branches of the PC industry. This time, however, it has revealed not one but three new hardware for your PC. Case fans, all in one liquid cooler and power supply.
There are not many details about the products themselves but one thing is one hundred percent confirmed, they come with Razer Chroma, all of them, even the fans.
Razer is a well-known brand among PC gamers and users, it started as a peripheral manufacturer focused on keyboards and mouse but after years passed Razer expanded its inventory offerings. It soon started offering headphones and lately has branched into wider product lines like gaming chairs and protection masks.
It is not a big surprise that Razer is expanding into other branches of the PC industry. This time, however, it has revealed not one but three new hardware for your PC. Case fans, all in one liquid cooler and power supply.
There are not many details about the products themselves but one thing is one hundred percent confirmed, they come with Razer Chroma, all of them, even the fans.
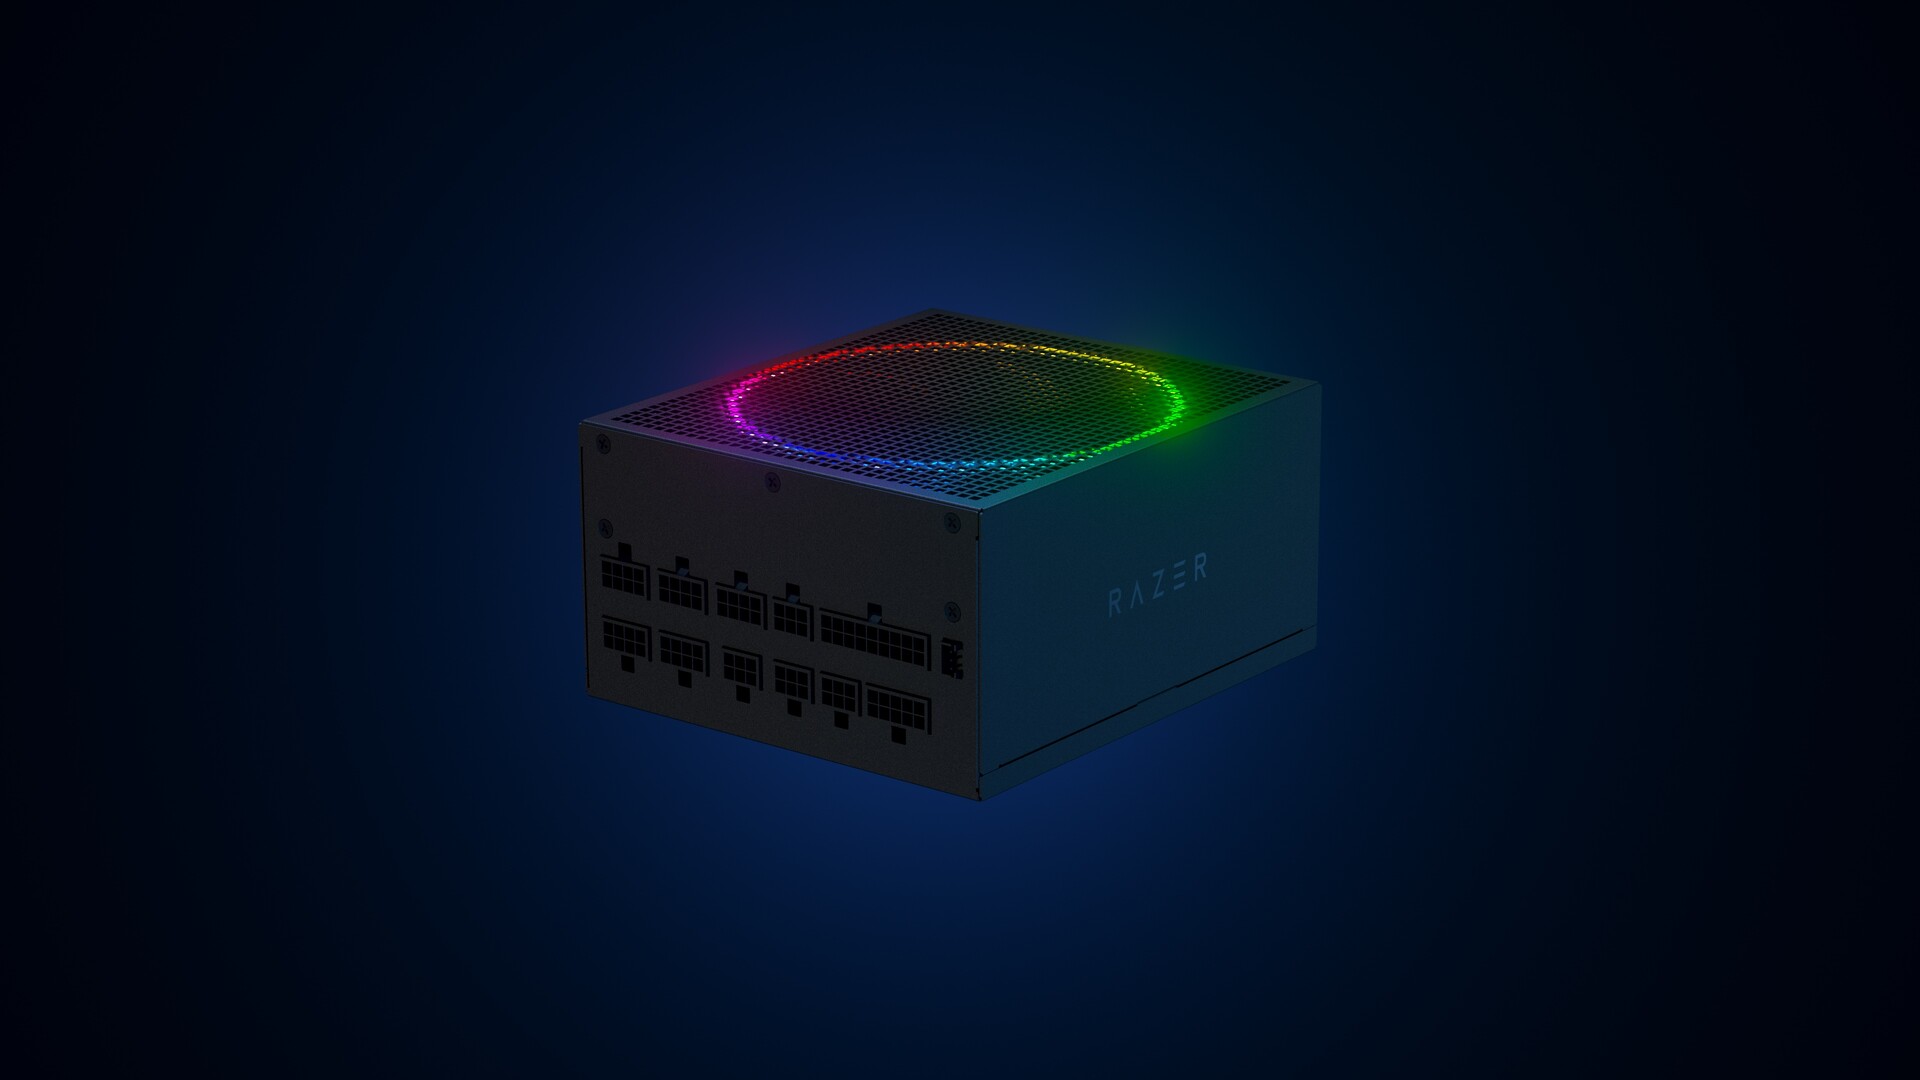 Most interesting for me personally is Razers Katana, the power supply unit. It is a modular power supply ranging from 750W to 1200W with the additional option of Titanium rated one with an impressive 1600W of power. Power supply will start shipping in early 2022 and at the time of writing this article no price range has been released.
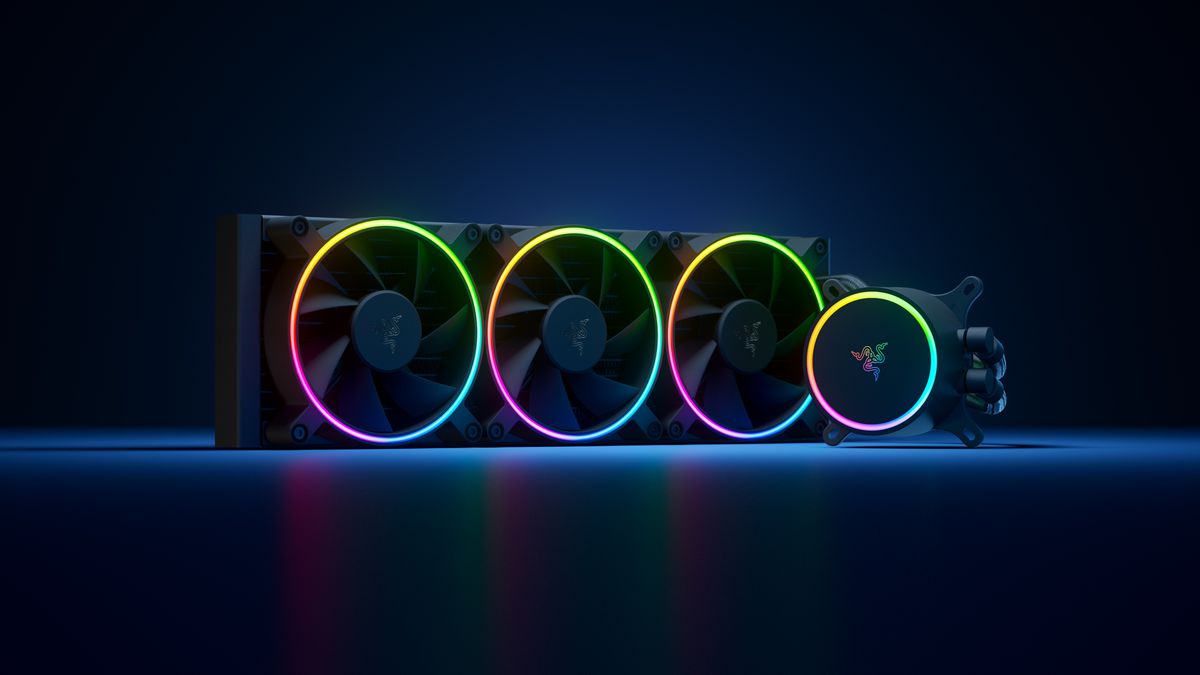 Hanbo liquid cooler will feature an optimized intake design so it can ensure greater heat transfer and fluid dynamic for improved reliability and silent operation. Radiator comes in 240mm size with two fans and a larger one of 360mm with three fans. The pump will be able to rotate in any direction of full 360 degrees so it can fit in any case. Hanbo will be released in November this year but no pricing has been released so far.
 Kunai fans will boast high static pressure performance with lowered noise. They will go as far as 2200rpm for the 120mm version where the 140mm version will go up to 1600rpm. They will come with addressable LEDs and up to eight fans will be able to be connected to Razer’s PWM fan controller that will come with a magnet at the back for easy attachment to any steel part of PC casing.
PWM will use Razer’s Synapse software to customize pulse width modulation in order to improve airflow and noise. PWM will be priced at $49.99 in the Razer Store and it is available for preorder. Fans are priced at $44.99 for one 120mm or $129.99 for a three-pack of 120mm. One 140mm will go for $49.99 and a three-pack will be $129.99.
Kunai fans will boast high static pressure performance with lowered noise. They will go as far as 2200rpm for the 120mm version where the 140mm version will go up to 1600rpm. They will come with addressable LEDs and up to eight fans will be able to be connected to Razer’s PWM fan controller that will come with a magnet at the back for easy attachment to any steel part of PC casing.
PWM will use Razer’s Synapse software to customize pulse width modulation in order to improve airflow and noise. PWM will be priced at $49.99 in the Razer Store and it is available for preorder. Fans are priced at $44.99 for one 120mm or $129.99 for a three-pack of 120mm. One 140mm will go for $49.99 and a three-pack will be $129.99.