Video Download Converter is a potentially unwanted toolbar distributed by Mindspark Interactive network. This toolbar offers users the ability to download and convert youtube and other online videos.
While this may seem useful at the start, this toolbar monitors user browsing activity and records visited websites, clicked links, and even personal data, that it later uses to display injected ads through your browsing session.
When the toolbar is installed, it will automatically hijack your home page and search engine setting them to MyWay.com. This search engine uses google to display your search results, however, it injects ads into the search results to generate ad revenue.
Several anti-virus scanners have detected VideoDownloadManager as a Browser Hijacker, and are therefore not recommended to keep on your computer.
About Browser Hijackers
Browser hijacking is actually a form of unwanted software, commonly a browser add-on or extension, which then causes modifications in the browser’s settings. There are lots of reasons why you might experience a browser hijack; however commercial, marketing, and advertising are definitely the key purposes for their creation. Usually, it will force users to predetermined sites which are looking to increase their advertising campaign earnings. It may seem naive, but the majority of these sites are not legitimate and can pose a major threat to your online safety. Browser hijackers can also allow other harmful programs without your knowledge to further damage the computer.
How to determine if your browser has been hijacked
There are many symptoms that indicate the internet browser has been hijacked: the home page of your browser is changed suddenly; you find yourself constantly directed to a different web page than the one you intended; the main web browser settings are modified and unwanted or insecure resources are added to the trusted websites listing; unsolicited new toolbars are added to your web browser; you may find numerous pop-up adverts on your computer screen; your browser has instability issues or exhibits frequent errors; you can’t navigate to certain websites, such as computer security software related websites.
So how does a PC get infected with a browser hijacker?
Browser hijackers can enter a PC by some means or other, for example via file sharing, downloads, and e-mail too. Many web browser hijackings originate from add-on applications, i.e., toolbars, browser helper objects (BHO), or extensions added to browsers to provide them additional features. Some browser hijackers spread in user’s computers using a deceptive software distribution method called “bundling” (commonly through freeware and shareware). Some of the popular hijackers are VideoDownload Converter, Babylon Toolbar, Conduit Search, OneWebSearch, Sweet Page, and CoolWebSearch.
Browser hijackers might record user keystrokes to gather potentially invaluable information leading to privacy concerns, cause instability on computers, drastically disrupt user’s browsing experience, and eventually slow down the PC to a point where it becomes unusable.
The best ways to remove browser hijackers
Certain kinds of browser hijackers can be easily removed from your PC by uninstalling malicious software programs or any other recently added shareware. However, many hijacking codes are not very easy to get rid of manually, since they go deeper into the operating system. Moreover, manual removal demands you to do many time-consuming and complex procedures which are very difficult to carry out for beginner computer users.
You can go for automatic browser hijacker removal by simply installing and running reliable anti-malware software. Safebytes Anti-Malware has a cutting-edge anti-malware engine to help you prevent browser hijacker infection in the first place, and clean up any pre-existing issues. Together with anti-malware, a PC optimizer tool, similar to Total System Care, could help you resolve registry errors, remove unwanted toolbars, secure online privacy, and improve overall system performance.
What to Do if Malware Stops You From Downloading Or Installing Anything?
Every malware is detrimental and the magnitude of the damage will vary greatly depending on the type of malware. Some malware sits in between your PC and the internet connection and blocks a few or all internet sites which you want to visit. It would also block you from adding anything to your system, particularly anti-malware software. If you are reading this article, chances are you’re stuck with a malware infection that is preventing you to download and install the Safebytes Anti-Malware program on your computer. There are a few steps you can take to circumvent this problem.
Eliminate viruses in Safe Mode
In the event the malware is set to load at Windows startup, then booting in safe mode should prevent it. Just bare minimum required programs and services are loaded when you boot your computer into Safe Mode. Here are the steps you need to follow to take out viruses in Safemode.
1) After switching on the computer, press the F8 key before the Windows splash screen begins to load. This would invoke the “Advanced Boot Options” menu.
2) Make use of the arrow keys to select Safe Mode with Networking and hit ENTER.
3) When you are into this mode, you should have an internet connection once again. Now, utilize your web browser to download and install Safebytes Anti-malware.
4) Right after installation, run a complete scan and let the software remove the threats it detects.
Obtain the security program using a different browser
Some malware mainly targets particular browsers. If this sounds like your situation, employ another web browser as it could circumvent the virus. If you appear to have a trojan attached to Internet Explorer, then switch over to a different browser with built-in security features, such as Firefox or Chrome, to download your favorite anti-malware program – Safebytes.
Install security software on a USB drive
Here’s yet another solution which is utilizing portable USB anti-malware software that can scan your computer for viruses without the need for installation. Adopt these measures to use a USB drive to fix your corrupted computer system.
1) Download Safebytes Anti-Malware or Windows Defender Offline onto a clean PC.
2) Mount the pen drive on the same PC.
3) Double click on the downloaded file to run the installation wizard.
4) Choose a thumb drive as the location when the wizard asks you where you wish to install the application. Follow the on-screen instructions to complete the installation.
5) Transfer the pen drive from the uninfected computer to the infected computer.
6) Double-click the EXE file to run the Safebytes program from the thumb drive.
7) Click on the “Scan” button to run a full system scan and remove viruses automatically.
Detect And Remove Viruses With SafeBytes Anti-Malware
If you’re looking to purchase anti-malware for your computer system, there are lots of brands and applications for you to consider. Some of them are good and some are scamware applications that pretend as legit anti-malware programs waiting around to wreak havoc on your personal computer. Make sure you choose a company that builds industry-best anti-malware and it has attained a reputation as reliable. One of the recommended software by industry analysts is SafeBytes Anti-Malware, the most dependable program for Windows computers.
SafeBytes anti-malware is really a powerful, highly effective protection tool made to help users of all levels of IT literacy in detecting and removing harmful threats from their PC. Using its cutting-edge technology, this application will assist you to remove several types of malware including computer viruses, trojans, PUPs, worms, ransomware, adware, and browser hijackers.
SafeBytes has got a plethora of amazing features which can help you protect your computer from malware attack and damage. Here are some of the features you will like in SafeBytes.
Active Protection: SafeBytes offers a completely hands-free real-time protection that is set to monitor, block and kill all computer threats at its very first encounter. It will continuously monitor your computer for hacker activity and also provides end-users with sophisticated firewall protection.
World-class AntiMalware Protection: This deep-cleaning anti-malware application goes much deeper than most antivirus tools to clean out your computer system. Its critically acclaimed virus engine locates and disables hard-to-remove malware that conceals deep inside your personal computer.
Fast Scan: SafeBytes Anti-Malware possesses a multi-thread scan algorithm that works up to 5 times faster than any other antivirus software.
Web Protection: Through its unique safety ranking, SafeBytes tells you whether a website is safe or not to visit it. This will make sure that you’re always certain of your safety when browsing the web.
Light-weight: This software is not “heavy” on the computer’s resources, so you’ll not find any performance troubles when SafeBytes is working in the background.
24/7 Support: You could get high levels of support around the clock if you are using their paid software.
To sum it up, SafeBytes Anti-Malware is pretty great for securing your computer against all sorts of malware threats. There is no doubt that your PC will be protected in real-time once you put this software program to use. So if you’re looking for the best anti-malware subscription for your Windows-based PC, we suggest the SafeBytes Anti-Malware software program.
Technical Details and Manual Removal (Advanced Users)
If you do not want to use malware removal software and like to remove VideoDownload Converter manually, you may do so by going to the Add/Remove Programs menu in the control panel and deleting the offending software; in cases of web browser extensions, you could uninstall it by going to the browsers Add-on/Extension manager. You may even want to reset your internet browser settings, and also delete temporary files, browsing history, and cookies.
Finally, examine your hard disk for all of the following and clean your registry manually to remove leftover application entries following an uninstallation. Please keep in mind that this is for advanced users only and could be difficult, with wrong file removal causing additional PC errors. Furthermore, certain malware is capable of replicating or preventing removal. Doing this malware-removal process in Safe Mode is recommended.
Files:
LOCALAPPDATA\VideoDownloadConverterTooltab\TooltabExtension.dll
Folders:
LOCALAPPDATA\Google\Chrome\User Data\Default\Extensions\ikgjglmlehllifdekcggaapkaplbdpje
LOCALAPPDATA\Google\Chrome\User Data\Default\Local Extension Settings\ikgjglmlehllifdekcggaapkaplbdpje
LOCALAPPDATA\Google\Chrome\User Data\Default\Sync Extension Settings\ikgjglmlehllifdekcggaapkaplbdpje
LOCALAPPDATA\VideoDownloadConverterTooltab
Registry:
key VideoDownloadConverter at HKEY_CURRENT_USER\Software\
key VideoDownloadConverterTooltab Uninstall Internet Explorer at HKEY_LOCAL_MACHINE\Software\Microsoft\Windows\CurrentVersion\Uninstall\


 Many times we were talking and writing here on Errortools.com about security, privacy, hacking, identity theft, etc. We tried to raise important security questions and I hope I have managed to at least shed some light and change maybe some bad behaviors for some, helping them embrace better routines about their security on their PC.
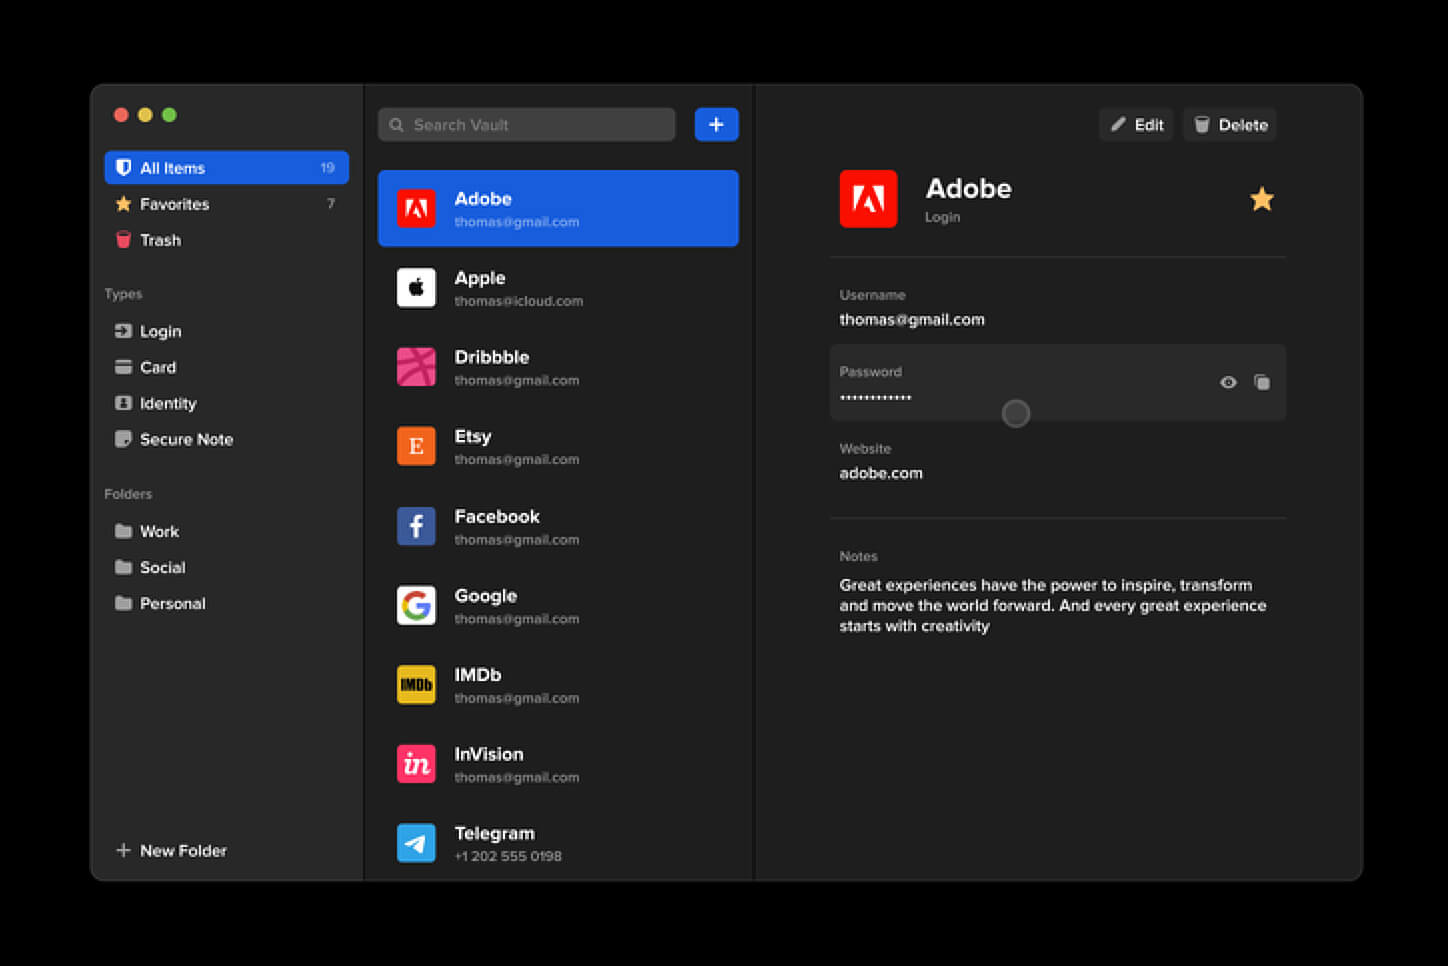
In this light, I will today present you with one neat and awesome piece of software, a password manager worth your time and money (if you want premium features): BitWarden.
Many times we were talking and writing here on Errortools.com about security, privacy, hacking, identity theft, etc. We tried to raise important security questions and I hope I have managed to at least shed some light and change maybe some bad behaviors for some, helping them embrace better routines about their security on their PC.
In this light, I will today present you with one neat and awesome piece of software, a password manager worth your time and money (if you want premium features): BitWarden.
 Keeping your PC clean is not rocket science and you can do it with things you already and probably have in your house. One thing that I would recommend tho to purchase is antistatic gloves since they could prevent any kind of electrostatic discharges thus protecting your electric components.
If you have the option to disconnect your PC and get it outdoors, I would highly recommend this approach since all the dust will be dusted outside and not in the room where your computer is. If you can not it is still ok, but since some portion of dust will be set in the room, you might need to dust your room after cleaning your computer.
Keeping your PC clean is not rocket science and you can do it with things you already and probably have in your house. One thing that I would recommend tho to purchase is antistatic gloves since they could prevent any kind of electrostatic discharges thus protecting your electric components.
If you have the option to disconnect your PC and get it outdoors, I would highly recommend this approach since all the dust will be dusted outside and not in the room where your computer is. If you can not it is still ok, but since some portion of dust will be set in the room, you might need to dust your room after cleaning your computer.


