 This is a very interesting decision by Microsoft and I fully support it, this time users will be able to pay less and to choose only applications that they need instead of paying for the whole package and not using it.
 Ms-Outlook is the widely used and most favored program to get and to send e-mails within workplaces.
In addition, it eases customers' business execution through additional features like producing schedule records to retaining track of important dates and sessions, preserving details on addresses, producing several files for handling significant e-mails and accessories, and additionally preserving drafts of emails individuals intend to send in future.
Ms-Outlook helps individuals handle functions and organize with each other effectively and economically.
Nevertheless, everything may suddenly halt when the problem code information screen is experienced by the Outlook user, you.
This is time-consuming and annoying as it prevents you from getting into your account and could lock you away from your view e-mail account.
Error code 0x80040116 is a familiar Outlook error that jumps up with no caution on the display.
Besides restricting your capacity to utilize your Outlook account, it presents a critical risk to the private data you've stored inside. Additionally, there is the chance of losing parts and information preserved in your e-mail account.
Finding and determining error code 0x80040116 cause isn't fairly easy. The truth is that there are several distinct causes that could activate this error
A few of the major causes of this error include:-
The error 0x80040116 is displayed in just one of these types:
When you have this error, it is advisable to correct it promptly to ensure it doesn't interfere with your productivity and work.
You do not require to contact an IT expert, to solve this issue. It's graded as an error signal that's easy to repair. So you do not want need deep IT knowledge to fix it.
There are two methods to remove this problem signal. Erase some memory if the error is created by excessive data.
This technique functions in the event the error's cause is PST size. However, that is not likely the best method to repair it if dropping the data that is outdated is no alternative.
Maybe the one that is greatest and the 2nd alternative is to install and to obtain Stellar Phoenix Outlook PST Repair.
Why is this the solution that is most effective to repair and solve the problem code 0x80040116 out there is that the software can fix the malfunction no matter the trigger?
What this means is you do not have to understand the nitty-gritty of determining a problem signal and then locate a unique option to fix its cause.
Wait there is a lot more! Stellar Phoenix Outlook PST fix tool is compatible with all versions of Windows.
Therefore, whether you've got 2007, the 2000 version, or 2010 Outlook editions, you do not have to be concerned about the compatibility like with several other repair resources out there.
Also, it solves the issue in a short while as well as re-establishes each of the e-mails, contact records, and diary info. That means that if you had lost the info as a result of error code 0x80040116, it is possible to heave a sigh of relief as everything is going to be regained right back.
What you need to do is click here, Download, and run Stellar Phoenix Outlook PST on your computer to recover your ms-outlook accounts now and fix error code 0x80040116.
 This is a very interesting decision by Microsoft and I fully support it, this time users will be able to pay less and to choose only applications that they need instead of paying for the whole package and not using it.
 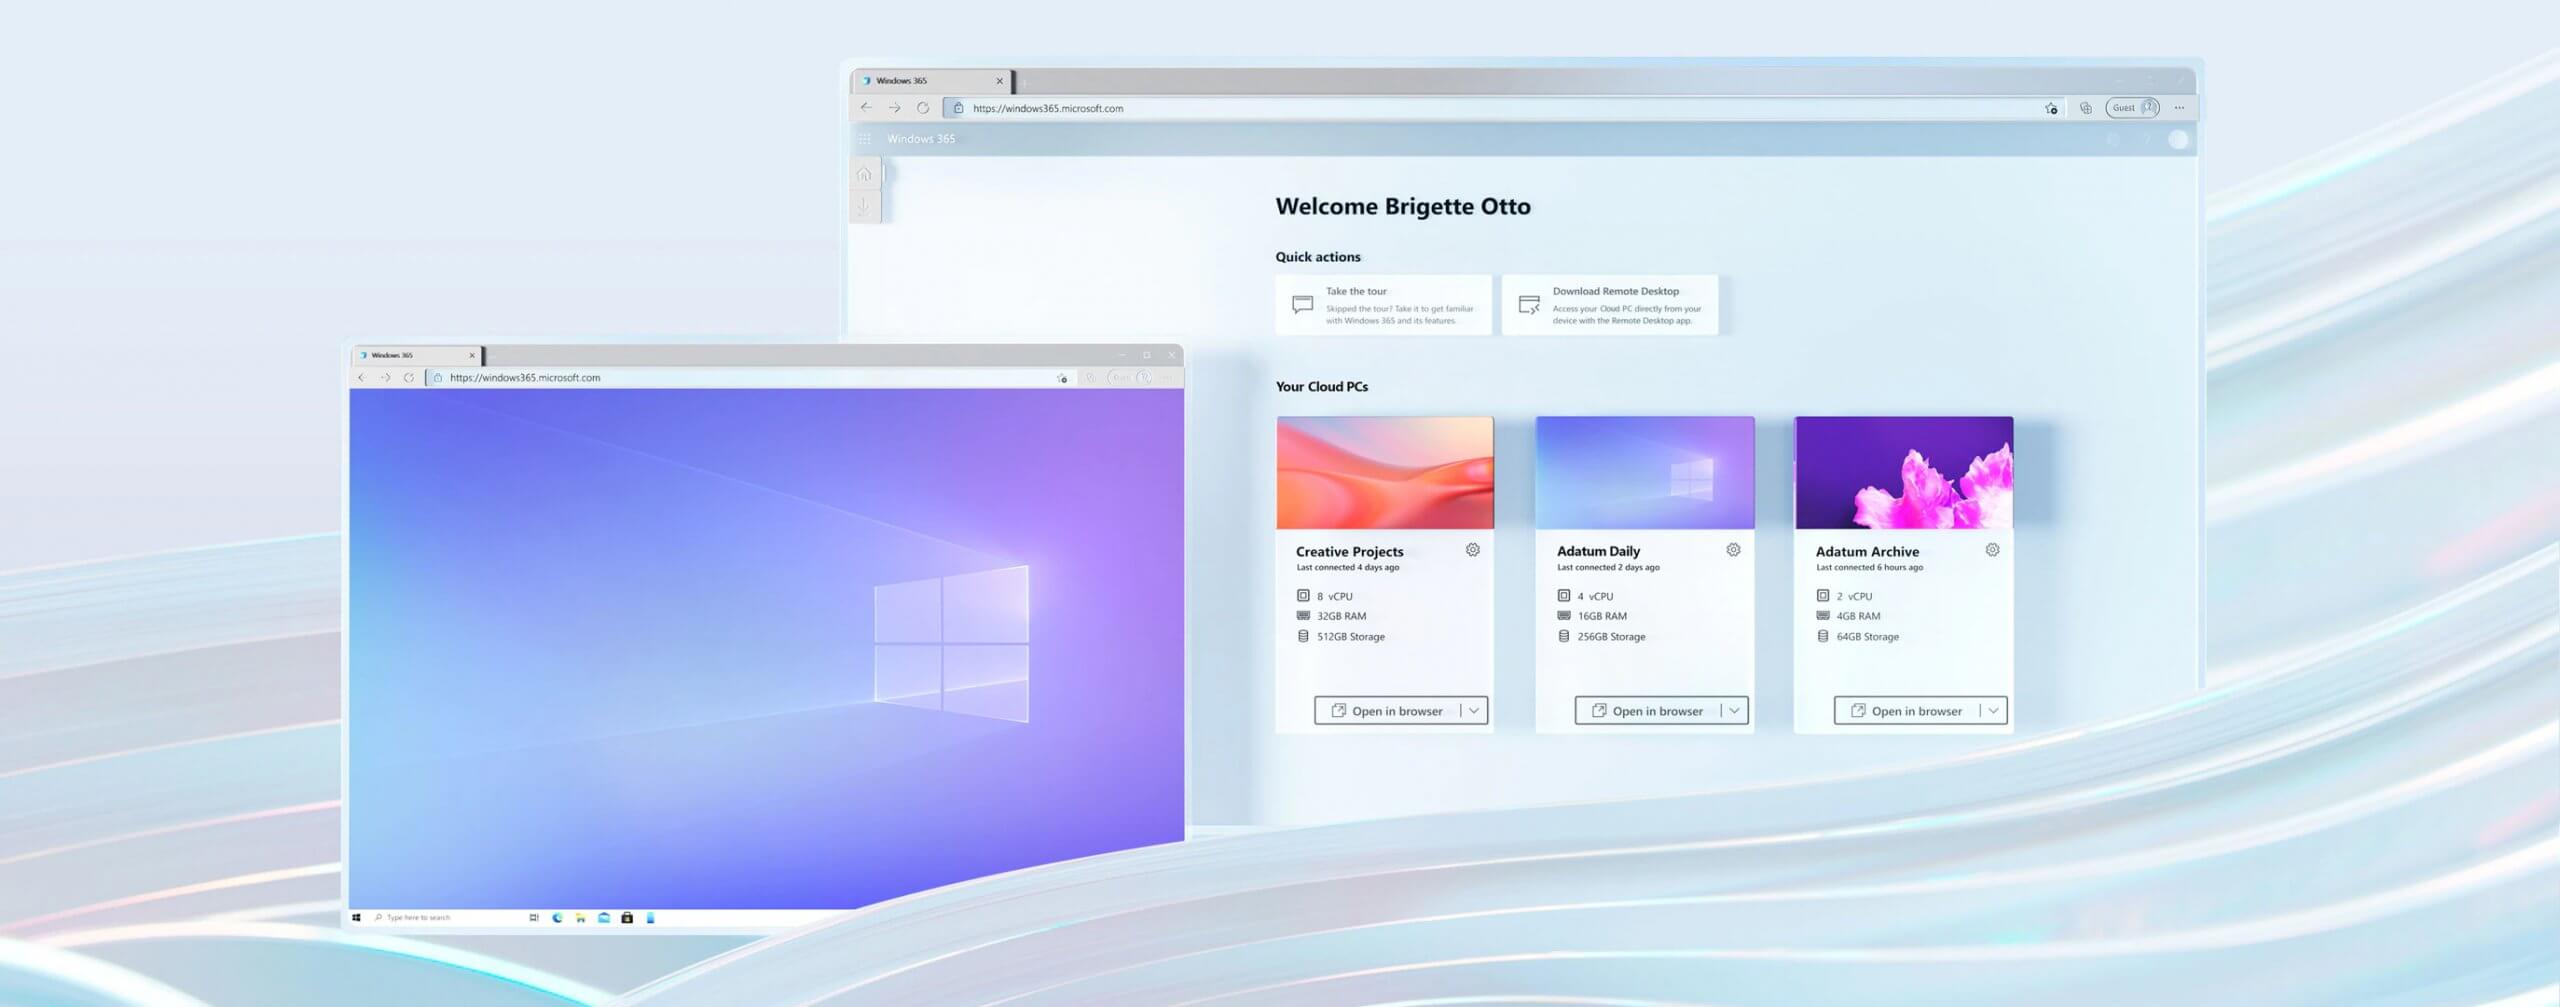 Microsoft has announced Windows 365, a new cloud-based operating system aimed mainly at businesses of all sizes.
Just after Windows 11 announcement and presentation, we are seeing another Windows announcement from Microsoft. Dive into the following text in order to find out what exactly is new Windows 365, its role in today's IT world, and do you need it?
Microsoft has announced Windows 365, a new cloud-based operating system aimed mainly at businesses of all sizes.
Just after Windows 11 announcement and presentation, we are seeing another Windows announcement from Microsoft. Dive into the following text in order to find out what exactly is new Windows 365, its role in today's IT world, and do you need it?
“Windows is unable to reach your company’s activation service. Please connect to your corporate network. If you are connected and continue to see the error, contact your system administrator. You can also click on the error detail to find the exact error. Error code: 0xC004F074.” “Activating Windows(R), (Key hash)… Error: 0xC004F074 The Software Licensing Service reported that the computer could not be activated. No Key Management Service (KMS) could be contacted. Please see the Application Event Log for additional information.” “Error 0xC004F074, SL_E_AUTHN_MISMATCHED_KEY, The Software Licensing Service reported that the key is mismatched.”To fix the Windows 10 Activation error 0xC004F078, you have to use the correct key for your type of Windows copy or use Command Prompt to reinstall the key or you could also try running the Activation troubleshooter.
Code 43, Device Manager Error, is reported when Windows doesn’t recognize a hardware device such as the video card, USB, printer, or any other piece of external hardware attached to your PC.
The Device Manager stops the hardware if it reports some kind of unspecified problem. It is mostly displayed in the following format:
“Windows has stopped this device because it has reported problems. Code 43”
 Error Causes
Code 43 can be triggered due to several reasons. However, 95% of the times it is related to the device driver problems such as:
Driver problems pop up when either new driver versions are available or drivers become damaged due to some underlying reasons like viral infections.
Other than driver problems, code 43 can also pop up when you install and remove the software. This can cause hardware conflict in the registry, altering driver communication.
Code 43 can hamper your ability to use your desired device smoothly. Although Code 43 is not a fatal error code like Runtime and BSoD errors, it is still advisable to resolve it immediately to avoid inconvenience.
You can sometimes bypass error code 43 temporarily by a simple PC reboot but this will not fix the problem permanently. For a permanent fix, try the methods given below.
To help you repair code 43 permanently from your PC, below are some of the best, easy perform, and effective solutions. Simply follow the steps to get rid of code 43 from your PC.
This is one way to find the exact nature of the problem that spurred error code 43 to pop up. To launch and run the Troubleshoot Wizard, here’s what you need to do:
The Wizard will diagnose the problem and provide you a solution to resolve it, all you have to do from there is to follow the Wizard’s instructions
If for some reason Method 1 doesn’t work, another solution would be to check the hardware documentation for more information about diagnosing the problem.
If the underlying reason for code 43 is related to driver problems, then the best way to resolve it is to uninstall faulty drivers and then reinstall new drivers. One of the many ways to uninstall drivers is:
Identifying and updating new driver versions manually can be both frustrating and time-consuming especially if you are in a rush and no computer whiz.
Also, after you update the drivers, you need to keep checking them time and again to ensure they don’t become outdated. You need to update them every time new versions are available which can be stressful.
To avoid this hassle by repairing code 43 permanently, download DriverFIX. This is an innovative and user-friendly device driver software program exclusively designed to resolve all kinds of driver problems.
Whether code 43 occurs on your PC due to missing or outdated drivers, DriverFIX can resolve the problem easily.
The intelligent programming system embedded in this software enables it to detect problematic and outdated drivers in seconds.
It matches new and compatible versions and updates the drivers immediately, automatically, and on a regular basis in just a few clicks. This resolves code 43 and also ensures that all your drivers remain up to date.
DriverFIX is compatible with all Windows versions.
Click here to download DriverFIX to repair and resolve code 43 right away.
“Something went wrong, We weren’t able to set up your PIN. Sometimes it helps to try again or you can skip for now and do this later.”On the other hand, here’s the error message you get for the Microsoft Store-related error:
“Try that again, Something happened on our end and we couldn’t sign you in.”Here are some potential fixes you can try to fix the Error Code 0x80090016 in the Microsoft Store:
powershell -ExecutionPolicy Unrestricted Add-AppxPackage -DisableDevelopmentMode -Register $Env:SystemRootWinStoreAppxManifest.xml
“This policy setting allows you to control whether a domain user can sign in using a convenience PIN. If you enable this policy setting, a domain user can set up and sign in with a convenience PIN. If you disable or don’t configure this policy setting, a domain user can’t set up and use a convenience PIN. Note: The user’s domain password will be cached in the system vault when using this feature. To configure Windows Hello for Business, use the Administrative Template policies under Windows Hello for Business.”
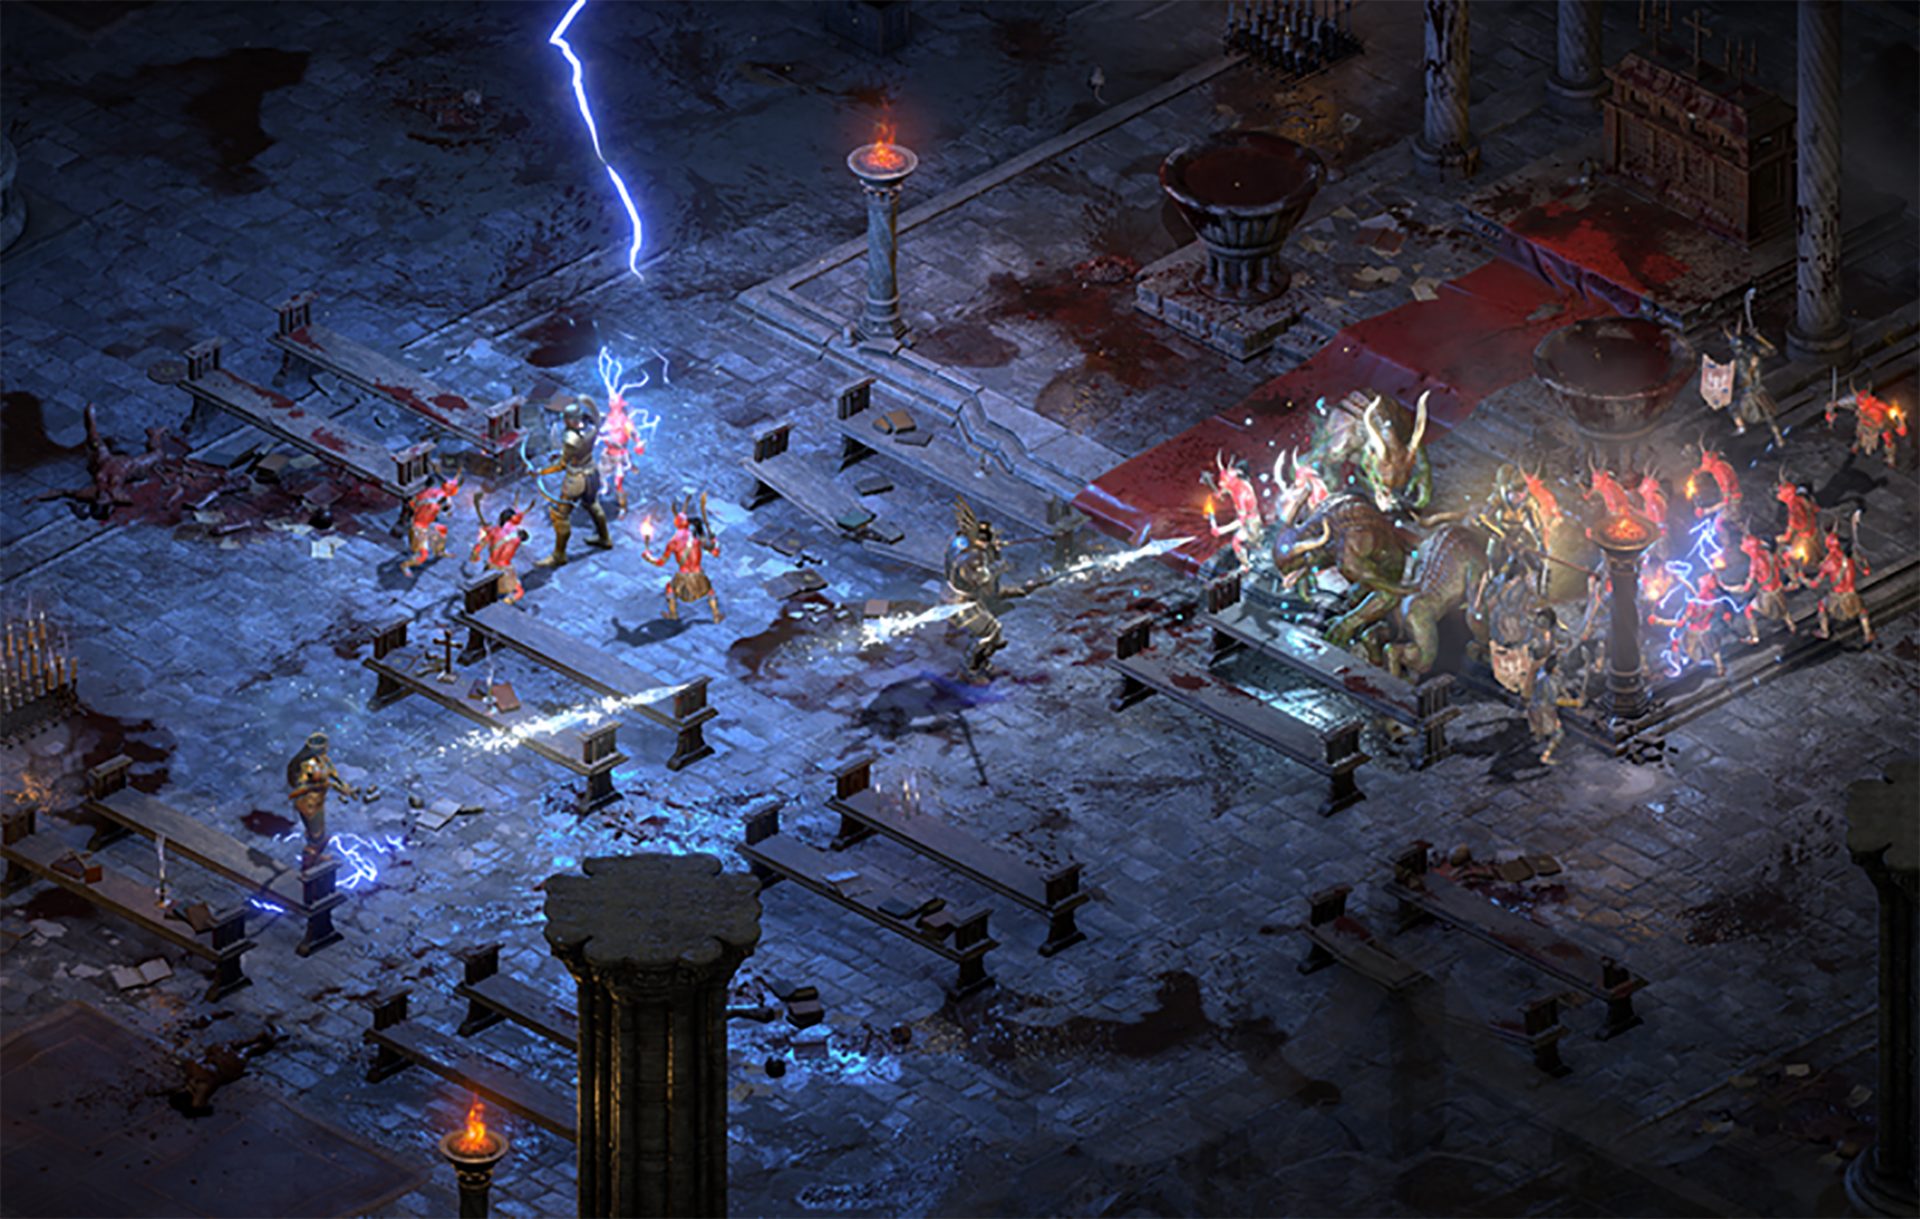 Speaking of old players of old Diablo 2, they can transfer their old characters into remaster and continue playing them within this new great HD environment. There are some steps and requirements but we are here to help and transferred characters will bring full stash, inventory, and equipped items with them.
net stop wuauserv net stop bits
net start wuauserv net start bitsSince the folder has already been flushed, it will be populated afresh the instant your restart your computer and open Windows Update.
DISM.exe /Online /Cleanup-Image /RestoreHealth /Source:C:RepairSourceWindows /LimitAccessNote: The Windows Upgrade error, with error code 80240020 is an expected error message that happens when the upgrade requires customer user action. Thus, you need to do the following steps to resolve this particular Windows Upgrade error.
“Error code: 0x80070035. The network path was not found.”One of the common causes of this error is the antivirus program or the Firewall installed on your computer. It could also be that the drive is not shared in the first place or there are some issues with your network drivers. Whichever the case is, here are some potential fixes you need to check out to fix the Error code: 0x80070035.
iWin is a self-published games platform that offers users to download and play free games. It is classified as potentially unwanted, primarily because it often comes bundled with the iWin Toolbar, which is an adware supported browser extension by Conduit. The iWin Toolbar is heavily flagged as malware or unwanted by numerous Antiviruses. iWin Games is not malicious in itself, though due to its bundling and common inclusion of the toolbar, many users wish to remove it.