Finally, some good news for Blizzard entertainment after tons of bad stuff happening around it regarding lawsuits and people layoffs. Diablo 2 has become the most-watched game on Twitch after its official release and sold copies are on a satisfactory level.
 For people not familiar with recent events, the state of California has sued Blizzard for various things including discrimination and offensive behavior. Later Blizzard executives were caught shredding some evidence and things just started to go to worse from there.
After much drama, many people believed that this is the end for Blizzard entertainment and that they would not be able to recover from this since the community has sided with California and Blizzard has received a large punch as many subscribed WOW players have left the game.
Things are not so grim as they were looking as their Diablo 2 remake has made moderate success despite being released in these troubling times and there are rumors of Overwatch 2 planned release date as of the first quarter of 2022.


 GPU shortage and its cause
ComputerHKEY_LOCAL_MACHINESYSTEMCurrentControlSetControlStorageDevicePolicies
“Something went wrong Couldn’t download Windows 10, please check your network settings and try again. You can contact Microsoft support for help with this error. Here’s the error code 0x80190001”. Or: “An unexpected error was encountered while attempting to download files required for the upgrade”.Here are some fixes that could help you resolve the error 0x80190001. Follow them carefully.
net stop wuauserv net stop bits
net start wuauserv net start bitsSince the folder has already been flushed, it will be populated afresh the instant your restart your computer and open Windows Update.
“Error 651: The Modem (or other connecting device) has reported an error.”
 Error Causes
 Originally Microsoft has imagined its widgets menu as Microsoft-only widgets but it seems that they have changed their mind.
Due to the latest leak, it seems that Microsoft will open the widgets menu to 3rd party developers as well but at launch, it will be only official widgets. It was hinted that later widgets menu will be open to developers who want to bring their own stuff into it.
Distribution, date, and technology that will need to be used in order to create your widget have not been discussed nor leaked at a given time but in some way, I am very glad that at least some customization will be in Windows 11.
It is funny and amusing how some things that were in Windows Vista are getting back like glass design, round corners, and widgets. Let’s just hope Windows 11 will be a better Windows than Vista was.
Originally Microsoft has imagined its widgets menu as Microsoft-only widgets but it seems that they have changed their mind.
Due to the latest leak, it seems that Microsoft will open the widgets menu to 3rd party developers as well but at launch, it will be only official widgets. It was hinted that later widgets menu will be open to developers who want to bring their own stuff into it.
Distribution, date, and technology that will need to be used in order to create your widget have not been discussed nor leaked at a given time but in some way, I am very glad that at least some customization will be in Windows 11.
It is funny and amusing how some things that were in Windows Vista are getting back like glass design, round corners, and widgets. Let’s just hope Windows 11 will be a better Windows than Vista was. 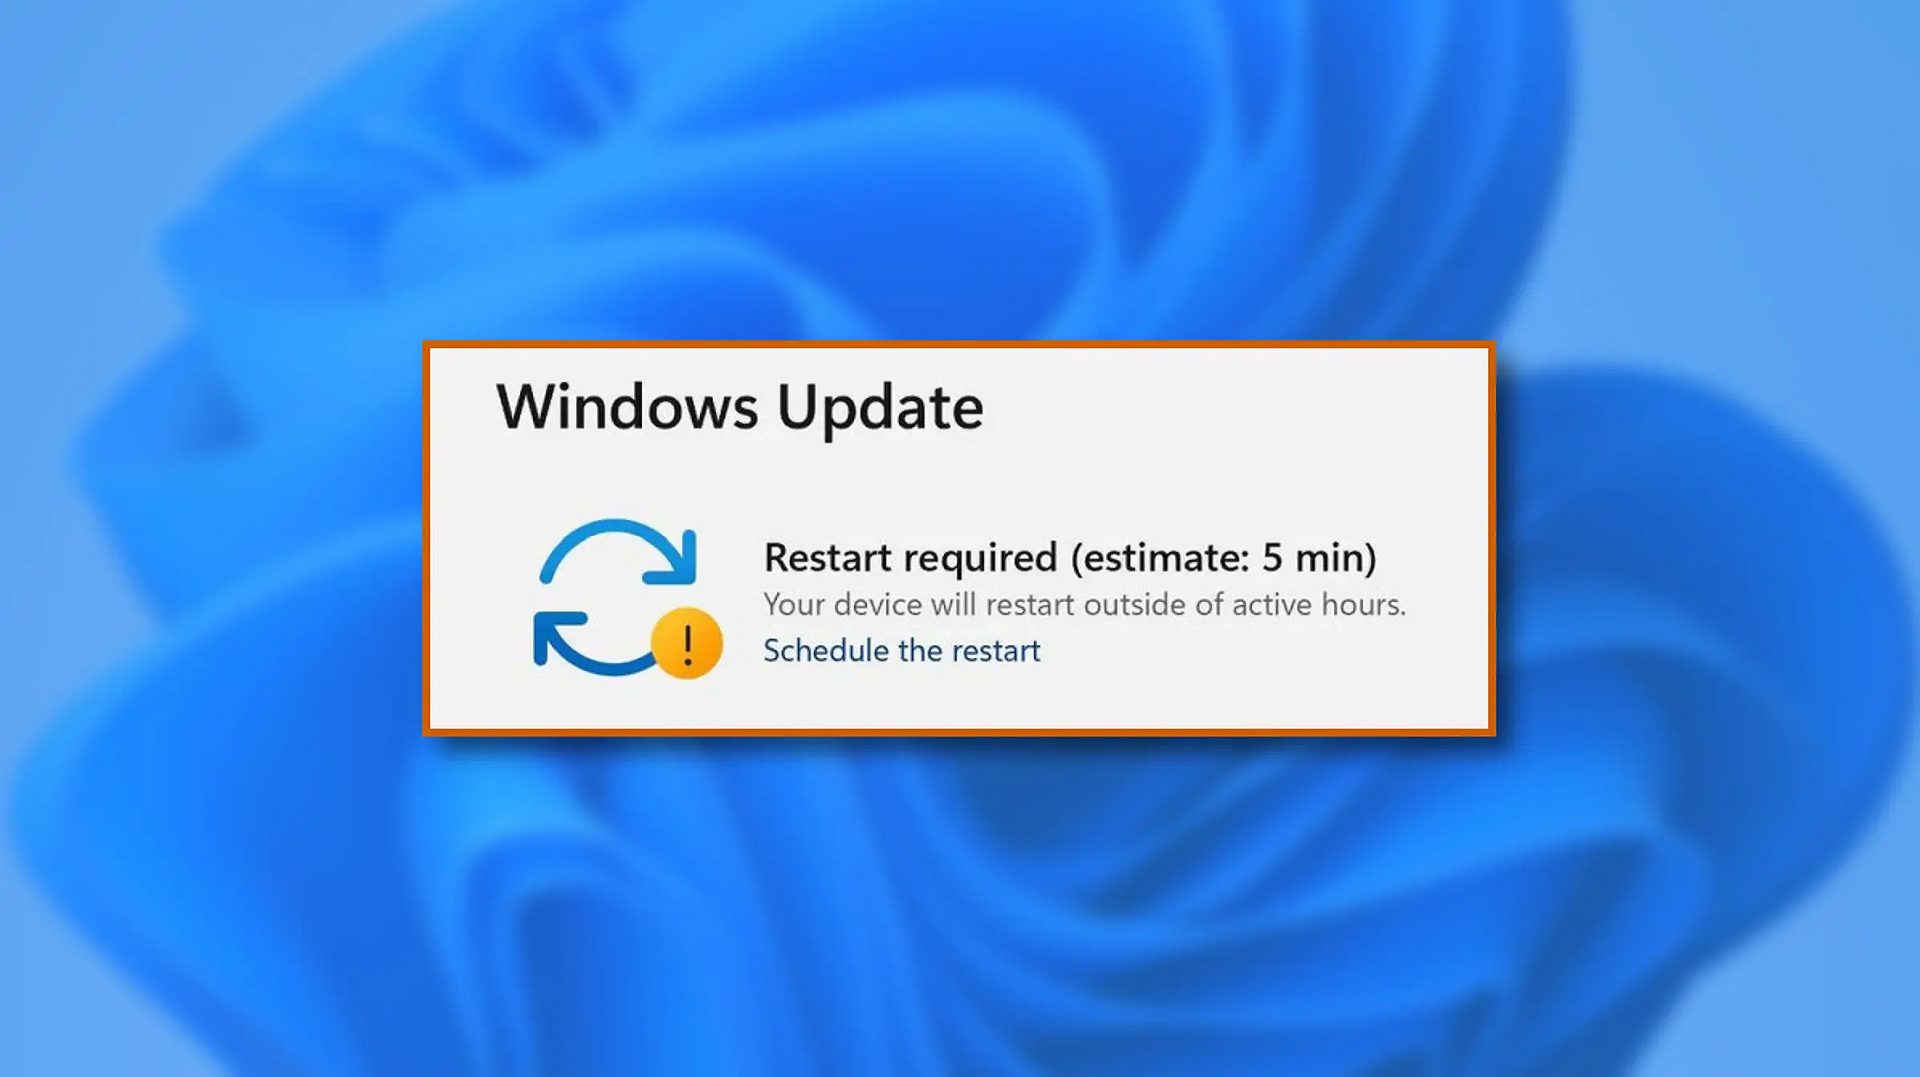 When Windows 11 update is available but you do not wish to restart right away because you are in the middle of using a computer, you can schedule a restart for up to 7 days. It is very easy and we will show you how to do it.
 The table itself looks very basic and it comes with a very large OLED screen between two different sizes depending on your table choice. You can choose between 65” or 77” screen sizes and OLED is mounted on the table itself so you cannot move it or adjust the angle of it that I somewhat find annoying but that comes from th4e fact I am used to adjusting my screens, but for this large screen maybe you do not need to adjust its rotation in order to get best viewing angle.
Modules themselves will offer some on-the-fly information and quick settings for the PC itself while being modular in a sense they could be mounted in different positions on the table itself providing some customization and order to suit users needs. Modules, for now, are: THX Spatial Surround Sound Controls, system monitoring, programmable hotkey module, Thunderbolt™ Powered eGPU, RAID Controller, Network Performance Module, 15W Wireless Charger, Thunderbolt™ 4 Hub, Media Controls.
Of course table, itself will have Razer chroma RGB on its surface and Razer says it will have a total of 13 different modules available on launch for a true level of personalization.
The table itself looks very basic and it comes with a very large OLED screen between two different sizes depending on your table choice. You can choose between 65” or 77” screen sizes and OLED is mounted on the table itself so you cannot move it or adjust the angle of it that I somewhat find annoying but that comes from th4e fact I am used to adjusting my screens, but for this large screen maybe you do not need to adjust its rotation in order to get best viewing angle.
Modules themselves will offer some on-the-fly information and quick settings for the PC itself while being modular in a sense they could be mounted in different positions on the table itself providing some customization and order to suit users needs. Modules, for now, are: THX Spatial Surround Sound Controls, system monitoring, programmable hotkey module, Thunderbolt™ Powered eGPU, RAID Controller, Network Performance Module, 15W Wireless Charger, Thunderbolt™ 4 Hub, Media Controls.
Of course table, itself will have Razer chroma RGB on its surface and Razer says it will have a total of 13 different modules available on launch for a true level of personalization.