
Error Code 36 – What is it?
This is a common Device Manager Error Code that users encounter. It is commonly found on all Windows 2000 and later versions of Windows operating systems. Error Code 36 is usually prompted by the following message:
"This device is requesting a PCI interrupt but is configured for an ISA interrupt (or vice versa). Please use the computer's system setup program to reconfigure the interrupt for this device. (Code 36)"
Solution
 Error Causes
Error Code 36 occurs when there is a failure in IRQ translation due to your Windows operating system getting corrupted. This is caused due to a number of triggers, such as:
- An excess of startup entries
- Errors in registries
- RAM or hardware failure
- Excessive unnecessary installed programs
- Malware or spyware
When programs are removed excessively, some programs are not removed completely and create problems in your computer’s registry.
Also, due to the presence of malware and spyware and other causes mentioned above, your computer registry builds up errors with the time that leads to slowing your PC, time lags, and even result in crashes and freezes.
Error Code 36 can cause internal and external components to malfunction or experience time lags such as DVD drive or printer and hence can severely affect your entire PC.
Further Information and Manual Repair
Error Code 36 is a severe PC error and any attempt at fixing the error must be approached with extreme caution for your PC to start functioning properly again. Here are two methods to fixing your PC.
Method 1 – Change IRQ reservation settings
Changing the IRQ reservation settings is the best way you can rely on to fix the error code. You can do this by changing the BIOS settings of your PC.
The BIOS stands for ‘Basic Input/Output System’ and is the program of your PC’s microprocessor that allows your PC to boot after you switch it on.
Caution needs to be exercised before changing the BIOS settings of your PC. This is because every PC’s BIOS version differs from another and any wrong attempt to change the settings may make matters worse.
It is therefore recommended to refer to hardware documentation that you received with your PC or motherboard and check for the model number and details of your PC’s motherboard.
Only after you have checked and confirmed all the details, should you use the specific BIOS settings required to configure your IRQ reservations?
Method 2 – Install DriverFIX
Error Code 36 isn’t an easy error to remove.
While changing the BIOS settings can work to restore your PC, it may create a whole lot of inconvenience for finding the time and effort to check the hardware documentation details and attempting to change the specific settings and especially, if your PC does not support the options to change IRQ reservations.
Given the high risks of fixing such an error, you can also install software that enables you to fix your slow PC at the click of a few buttons.
Programs such as DriverFIX can enable you to download and replace your outdated drivers with new updated ones without you having to look for them. It will detect which drivers to download based on your PC’s motherboard version from the program’s database and can get rid of error code 36.
Click here to download DriverFIX and remove error code 36 and any other type of Device Manager error from your PC.

 Microsoft wants to escalate the situation from Australia to the EU, what a surprise.
Hello all and welcome to another news article, this time we are focusing on Microsoft pushing the EU to accept law proposition from Australia.
For all of you who are not familiar with the given situation let me quickly explain. The feud began when the Australian government proposed a new law that targeted Facebook and Google specifically. The government said that it believed that both of the tech giants were using content from news outlets without paying.
Have you ever seen the little news snippets that Google or Facebook sometimes show its users to keep them up to date? These are lifted directly from news websites, and the Australian government claimed that this practice meant that people didn't bother visiting the news website. This then staved news websites of revenue.
As such, the government put forward a new law that would mean Google and Facebook would have to pay the source website for every time they displayed a news snippet. Facebook responded by removing its Australian news coverage in light of the law.
Google, however, put up a fight. It argued that its snippets encouraged people to click on it to read more, thus driving more traffic to the news website. It also said that such a law would be too expensive to maintain in the long run.
As such, Google threatened to remove itself from Australia if the law passed. This was likely a scare tactic, as 95 percent of Australian web users use Google; however, it actually opened the door for its rival, Microsoft.
Microsoft saw how it could push its own search engine BING to replace google. It of course went and reached the Australian government to assure them that BING is more than capable to fulfill its needs and fully abide by the proposed law.
Now Microsoft knows that if this law passes it could see a similar situation happening in Europe and it is pushing it. US News reported on how Microsoft plans to encourage EU countries to adopt this new law too. The company has teamed up with the European Publishers Council and News Media Europe to make the following statement:
Publishers might not have the economic strength to negotiate fair and balanced agreements with these gatekeeper tech companies, who might otherwise threaten to walk away from negotiations or exit markets entirely
Microsoft wants to escalate the situation from Australia to the EU, what a surprise.
Hello all and welcome to another news article, this time we are focusing on Microsoft pushing the EU to accept law proposition from Australia.
For all of you who are not familiar with the given situation let me quickly explain. The feud began when the Australian government proposed a new law that targeted Facebook and Google specifically. The government said that it believed that both of the tech giants were using content from news outlets without paying.
Have you ever seen the little news snippets that Google or Facebook sometimes show its users to keep them up to date? These are lifted directly from news websites, and the Australian government claimed that this practice meant that people didn't bother visiting the news website. This then staved news websites of revenue.
As such, the government put forward a new law that would mean Google and Facebook would have to pay the source website for every time they displayed a news snippet. Facebook responded by removing its Australian news coverage in light of the law.
Google, however, put up a fight. It argued that its snippets encouraged people to click on it to read more, thus driving more traffic to the news website. It also said that such a law would be too expensive to maintain in the long run.
As such, Google threatened to remove itself from Australia if the law passed. This was likely a scare tactic, as 95 percent of Australian web users use Google; however, it actually opened the door for its rival, Microsoft.
Microsoft saw how it could push its own search engine BING to replace google. It of course went and reached the Australian government to assure them that BING is more than capable to fulfill its needs and fully abide by the proposed law.
Now Microsoft knows that if this law passes it could see a similar situation happening in Europe and it is pushing it. US News reported on how Microsoft plans to encourage EU countries to adopt this new law too. The company has teamed up with the European Publishers Council and News Media Europe to make the following statement:
Publishers might not have the economic strength to negotiate fair and balanced agreements with these gatekeeper tech companies, who might otherwise threaten to walk away from negotiations or exit markets entirely 
 Lately, Microsoft has trying to fix Print Nightmare with various methods and patches. The last patch has seemingly fixed Print Nightmare but it has broken the Alt-tab key combination.
It has been reported that the latest patch has broken famous key combinations for quickly switching from window to window. It seems that combination is not working or it is switching to desktop, even going to blank screen if switching from the full-screen game.
Lately, Microsoft has trying to fix Print Nightmare with various methods and patches. The last patch has seemingly fixed Print Nightmare but it has broken the Alt-tab key combination.
It has been reported that the latest patch has broken famous key combinations for quickly switching from window to window. It seems that combination is not working or it is switching to desktop, even going to blank screen if switching from the full-screen game.
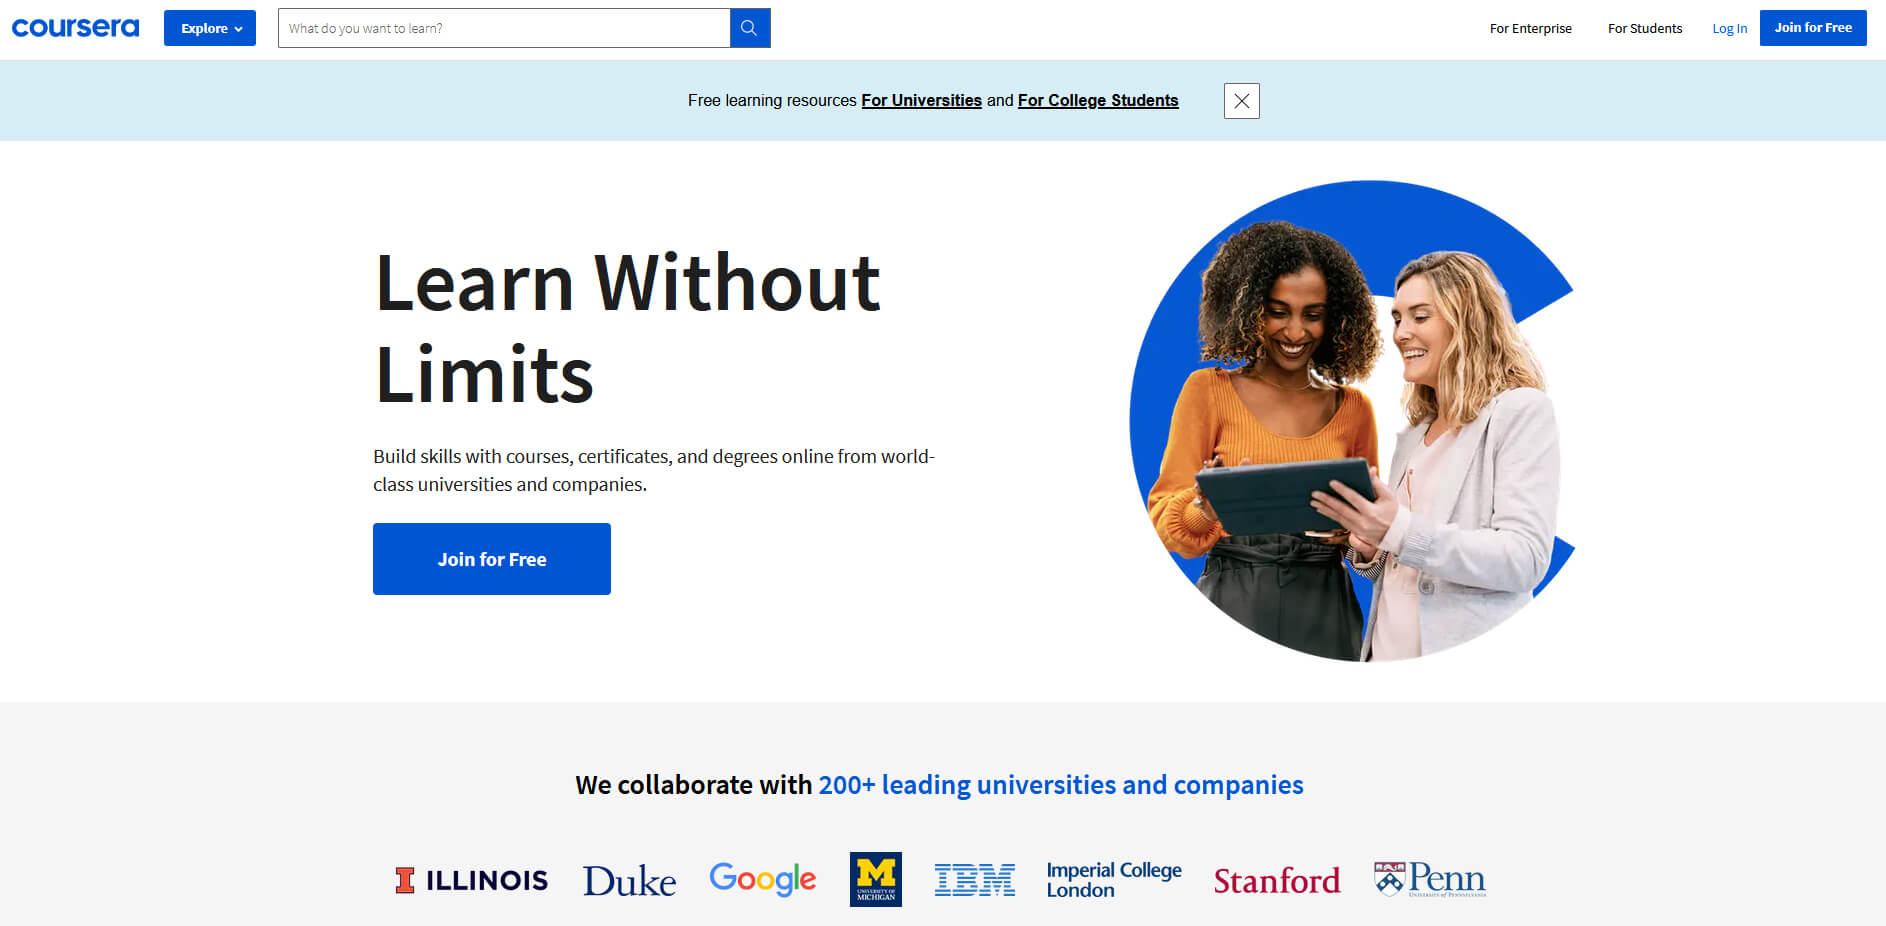 Coursera was one of the pioneers when it comes to college education online. When it started all courses were free and offered certificates if the taker has done tasks with a passing grade. Today not everything is free but still, there are tons of free courses that can help you to learn something new and to advance in your work or hobby.
Google is using the Coursera platform to deliver its courses to the audience and besides google a lot of academic professors from Princeton, Stanford, John Hopkins and many more are presently offering their course material.
Coursera was one of the pioneers when it comes to college education online. When it started all courses were free and offered certificates if the taker has done tasks with a passing grade. Today not everything is free but still, there are tons of free courses that can help you to learn something new and to advance in your work or hobby.
Google is using the Coursera platform to deliver its courses to the audience and besides google a lot of academic professors from Princeton, Stanford, John Hopkins and many more are presently offering their course material.
 edX has evolved from MITx, MIT’s free initiative to place some free academic lectures from its classrooms free into the world. Since it was rebranded into edX it started including other big university names like Berkeley, University of Texas System, Harvard, and many more.
Since its infant days, edX has expanded and included many areas that it offers coursework from arts to science. Certificated today are mostly not free but course videos are, so if you care to learn and not wave certificates around this is a great place to do it.
edX has evolved from MITx, MIT’s free initiative to place some free academic lectures from its classrooms free into the world. Since it was rebranded into edX it started including other big university names like Berkeley, University of Texas System, Harvard, and many more.
Since its infant days, edX has expanded and included many areas that it offers coursework from arts to science. Certificated today are mostly not free but course videos are, so if you care to learn and not wave certificates around this is a great place to do it.
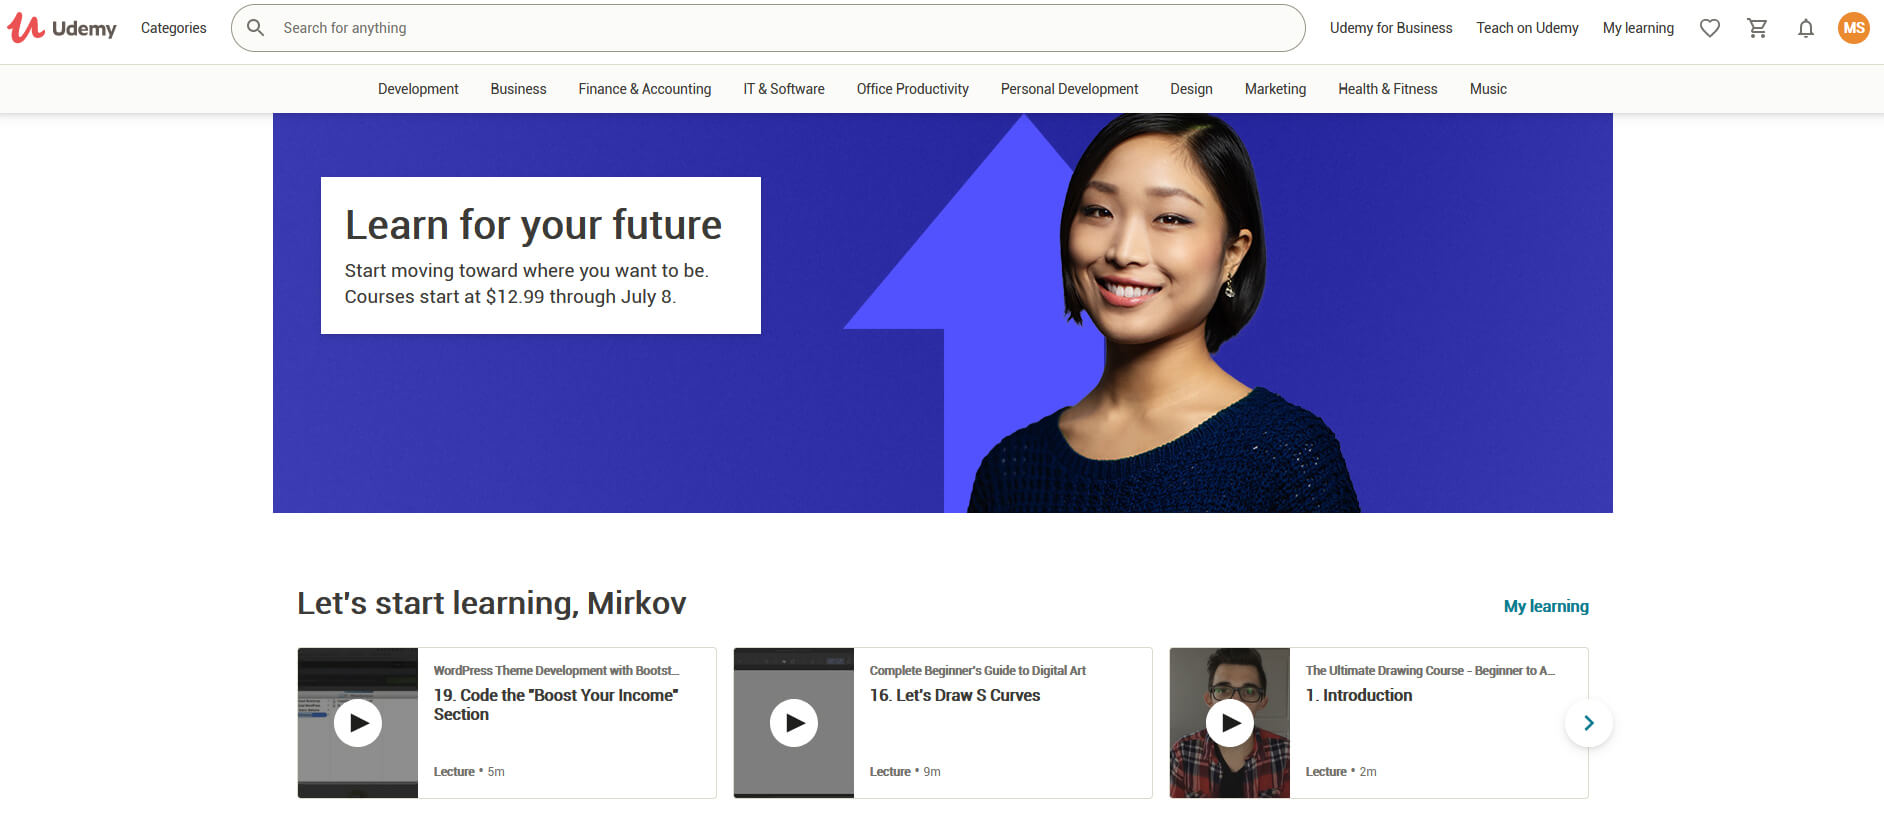 Udemy has a little different approach to course material than previously mentioned websites. Teachers on Udemy are mostly people that are working in a given field. Programmers will teach programming, fitness instructors will teach training, etc.
There are vas variety of topics even on lifestyle, hobbies even gaming to more serious ones like software developing hardware, etc.
There are free courses but mostly are one-time purchases with unlimited access to course material and with frequent discounts udemy might be a good place to look if you can find anything interesting.
Udemy has a little different approach to course material than previously mentioned websites. Teachers on Udemy are mostly people that are working in a given field. Programmers will teach programming, fitness instructors will teach training, etc.
There are vas variety of topics even on lifestyle, hobbies even gaming to more serious ones like software developing hardware, etc.
There are free courses but mostly are one-time purchases with unlimited access to course material and with frequent discounts udemy might be a good place to look if you can find anything interesting.
 Alison is kind of Udemy if we are talking about course material and who is teaching, the difference however is that it has more free content and it is one of the rare websites on this list that has Language courses.
Courses vary from beginner level to more advanced ones.
Alison is kind of Udemy if we are talking about course material and who is teaching, the difference however is that it has more free content and it is one of the rare websites on this list that has Language courses.
Courses vary from beginner level to more advanced ones.
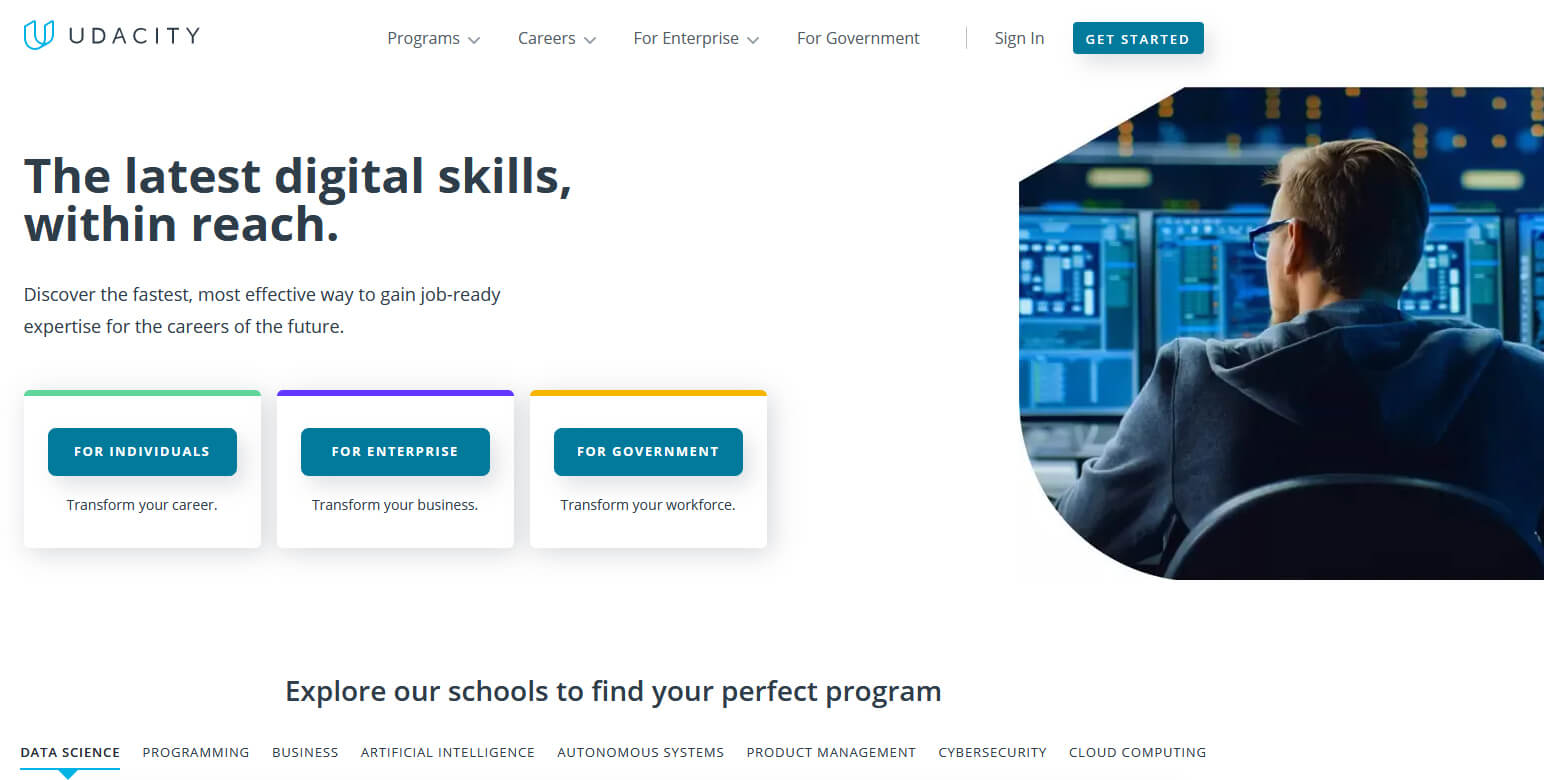 Udacity was also one of the earlier websites to offer free courses, in today’s world it still has free material but there is also paying one.
The big difference from other competitors is that Udacity focuses mostly on programming, data science, and web development and it is very strong in this field. There are no courses about art. Music or similar, mostly IT stuff is covered here.
If this is something that interests you, make a free account and give it a go.
Udacity was also one of the earlier websites to offer free courses, in today’s world it still has free material but there is also paying one.
The big difference from other competitors is that Udacity focuses mostly on programming, data science, and web development and it is very strong in this field. There are no courses about art. Music or similar, mostly IT stuff is covered here.
If this is something that interests you, make a free account and give it a go.
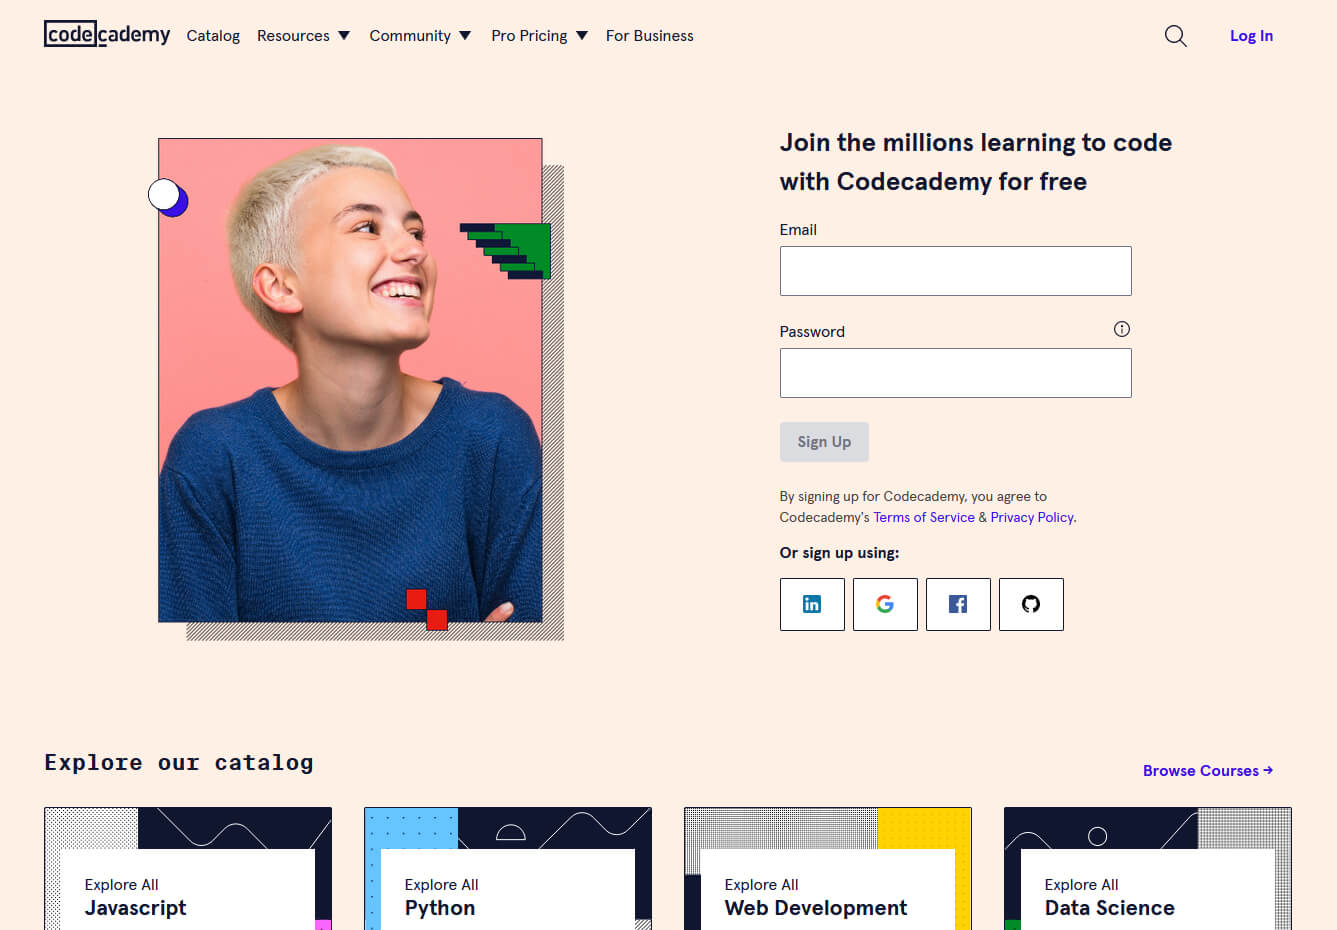 Codecademy is a website mainly focused on teaching you how to code. Pro plan is there but there are a lot of basic and free courses on the mentioned subject.
The curriculum is really wide covering Python, R, Java, JavaScript, SQL, Ruby, C#, C++, Swift, PHP, HTML, CSS and more so I am sure that if you are interested in coding this would be a pretty good place to find things.
Besides pure language coding courses site offers also, Cybersecurity, Web design, Data science, web development, Game Development, Mobile Development, and many more courses on provided subjects.
Codecademy is a website mainly focused on teaching you how to code. Pro plan is there but there are a lot of basic and free courses on the mentioned subject.
The curriculum is really wide covering Python, R, Java, JavaScript, SQL, Ruby, C#, C++, Swift, PHP, HTML, CSS and more so I am sure that if you are interested in coding this would be a pretty good place to find things.
Besides pure language coding courses site offers also, Cybersecurity, Web design, Data science, web development, Game Development, Mobile Development, and many more courses on provided subjects.
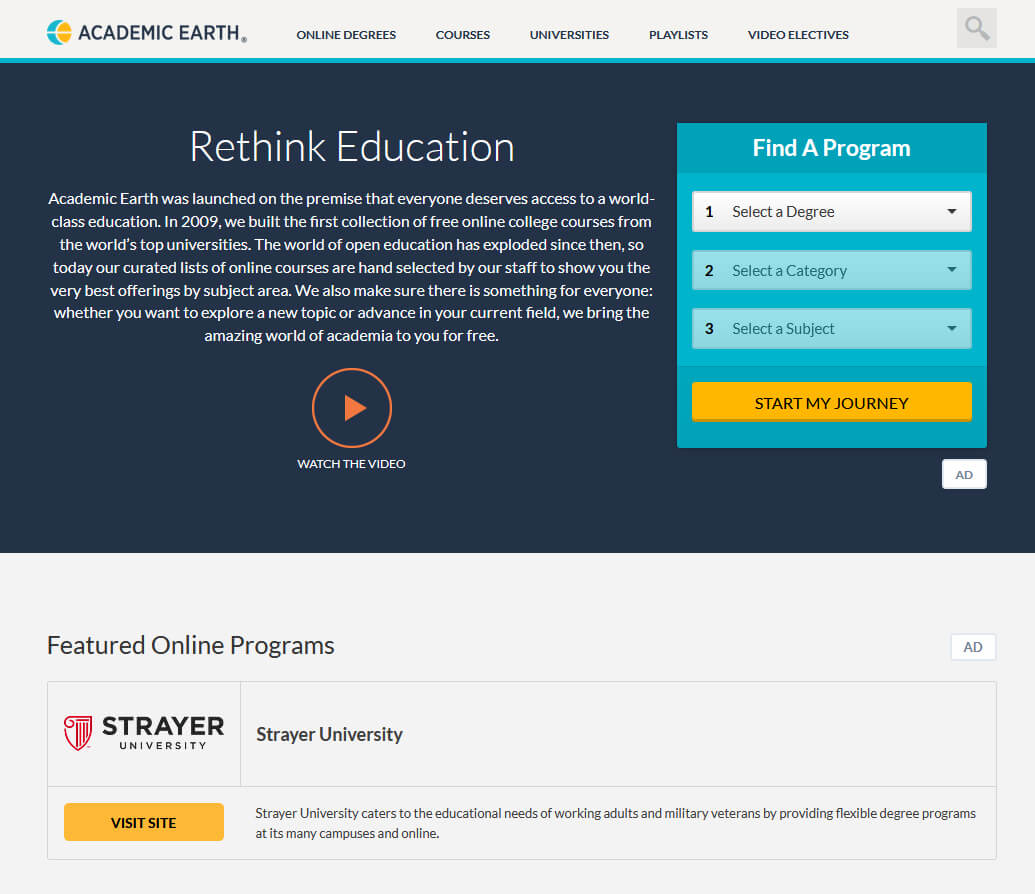 Academic Earth has been built with one simple premise: Everyone deserves access to education.
Lead by this kind of mindset on Academic Earth you will find well, academic courses similar to ones found on edX and Coursera, but from mentioned sites here all courses are free and you will find only academic ones, there are no entrepreneur or expert courses here, just pure academic ones.
If you wish to see and learn something the way it is taught in Harvard, Berkeley, MIT, etc this is the place for you.
Academic Earth has been built with one simple premise: Everyone deserves access to education.
Lead by this kind of mindset on Academic Earth you will find well, academic courses similar to ones found on edX and Coursera, but from mentioned sites here all courses are free and you will find only academic ones, there are no entrepreneur or expert courses here, just pure academic ones.
If you wish to see and learn something the way it is taught in Harvard, Berkeley, MIT, etc this is the place for you.
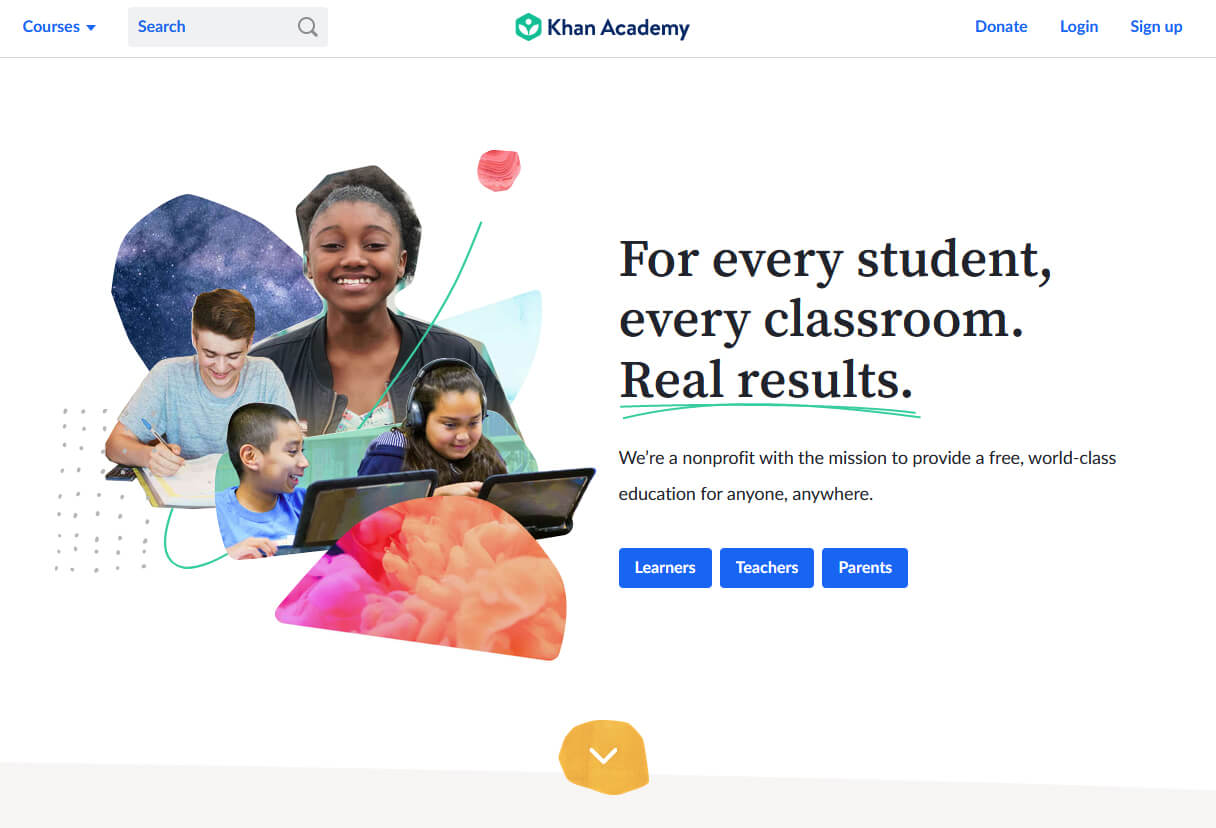 Khan academy is completely free and it is offering courses matching certain grades for children. It is offering courses for all 8 years of elementary school, math courses for high school and college with some coursework on topics like science, arts & humanities, reading, life skills, etc.
Despite not being on the same level as some university courses presented on other mentioned websites Khan Academy is a good place to learn a lot of basic skills that you could build upon later.
Khan academy is completely free and it is offering courses matching certain grades for children. It is offering courses for all 8 years of elementary school, math courses for high school and college with some coursework on topics like science, arts & humanities, reading, life skills, etc.
Despite not being on the same level as some university courses presented on other mentioned websites Khan Academy is a good place to learn a lot of basic skills that you could build upon later.
