What is Chkdsk Error?
Chkdsk (Check Disk) is a built-in Microsoft Windows O/S utility tool.
This tool is designed to verify the integrity of data stored on the hard drive. In addition to this, it resolves and finds errors that may corrupt and damage stored data on your system and affect your PC’s performance.
This tool is intended to keep your PC’s Windows database clean.
However, this tool has certain limitations. It prevents the hard disk from getting damaged but if it gets damaged and corrupt then this tool is no good. It fails to disk check and repair. As a result, you may come across Chkdsk error pop-ups.
In such an event, it is not advisable to run the malfunctioned Chkdsk utility on your PC as it may damage your system beyond repair making you lose all your valuable data saved on your system.
Solution
 Error Causes
Chkdsk errors are triggered by multiple reasons:
- Viruses
- Hard Drive failure
- Registry Corruption Due to Data Overload
- Poor PC Maintenance
Chkdsk errors may cause PC to freeze and lag and also result in data loss as we discussed above.
Further Information and Manual Repair
To avoid serious damages that the Chkdsk error code can cause to your system, it is advisable to fix it. You can either hire a professional or install Restoro. The latter is not just the best way but also a time and money-saving option. It is fast, user-friendly and you can download it for free thus saving hundreds of dollars that you would be paying for professional services.
Why Use Restoro?
Restoro is an advanced PC repair tool embedded with multiple features such as a registry cleaner, anti-virus, system optimizer, and Active X and Class error scanner. It helps resolve practically all types and kinds of PC-related errors including the most notorious ones like the Chkdsk errors.
It has an automated and intuitive interface smoothly integrated with the latest technology that enables this software to scan your entire PC and detect errors in seconds.
With the help of its super functional registry cleaner, Restoro detects errors registry issues triggering Chkdsk errors on your system.
It cleans all the unnecessary files like junk files, bad and invalid registry entries, and internet files that are stored in your hard disk and taking a lot of space. It removes the clutter and frees up your disk space and repairs the damaged registry.
It boosts the speed of your system and ensures that programs run smoothly on your PC and there are no hang-ups or system freezes.
The privacy error detector functions as a powerful anti-virus. With the help of this feature, Restoro identifies and scans for viruses and malware infecting your system. These are removed right away.
Restoro is 100% safe and efficient. It has a backup feature that enables users to create backup copies. This is carried for safety purposes. In case you lose your data during the repair of the Chkdsk error, you can always recover and restore the lost files without any hassle.
With some registry cleaners and repair tools you may often have to struggle with compatibility issues but not with this PC Fixer.
Restoro is compatible with all Windows versions.
It is simple and very easy to use. From beginners, intermediate to experienced, all levels of users can use it with ease.
Here are the steps to get started:
- Click here to install Restoro on your computer
- Once the installation is complete, run the fixer for a scan. You have the option to either scan some portions of the PC or the entire PC.
- Scanning will take a few seconds
- Once the scanning is complete, Restoro will display the scan results. This is presented in a comprehensive report showing you errors found including the Chkdsk error and errors related to it.
- After that, all you need to do is press the repair button to resolve the error(s) promptly.
- Once the error is resolved, try running the Chkdsk utility again.

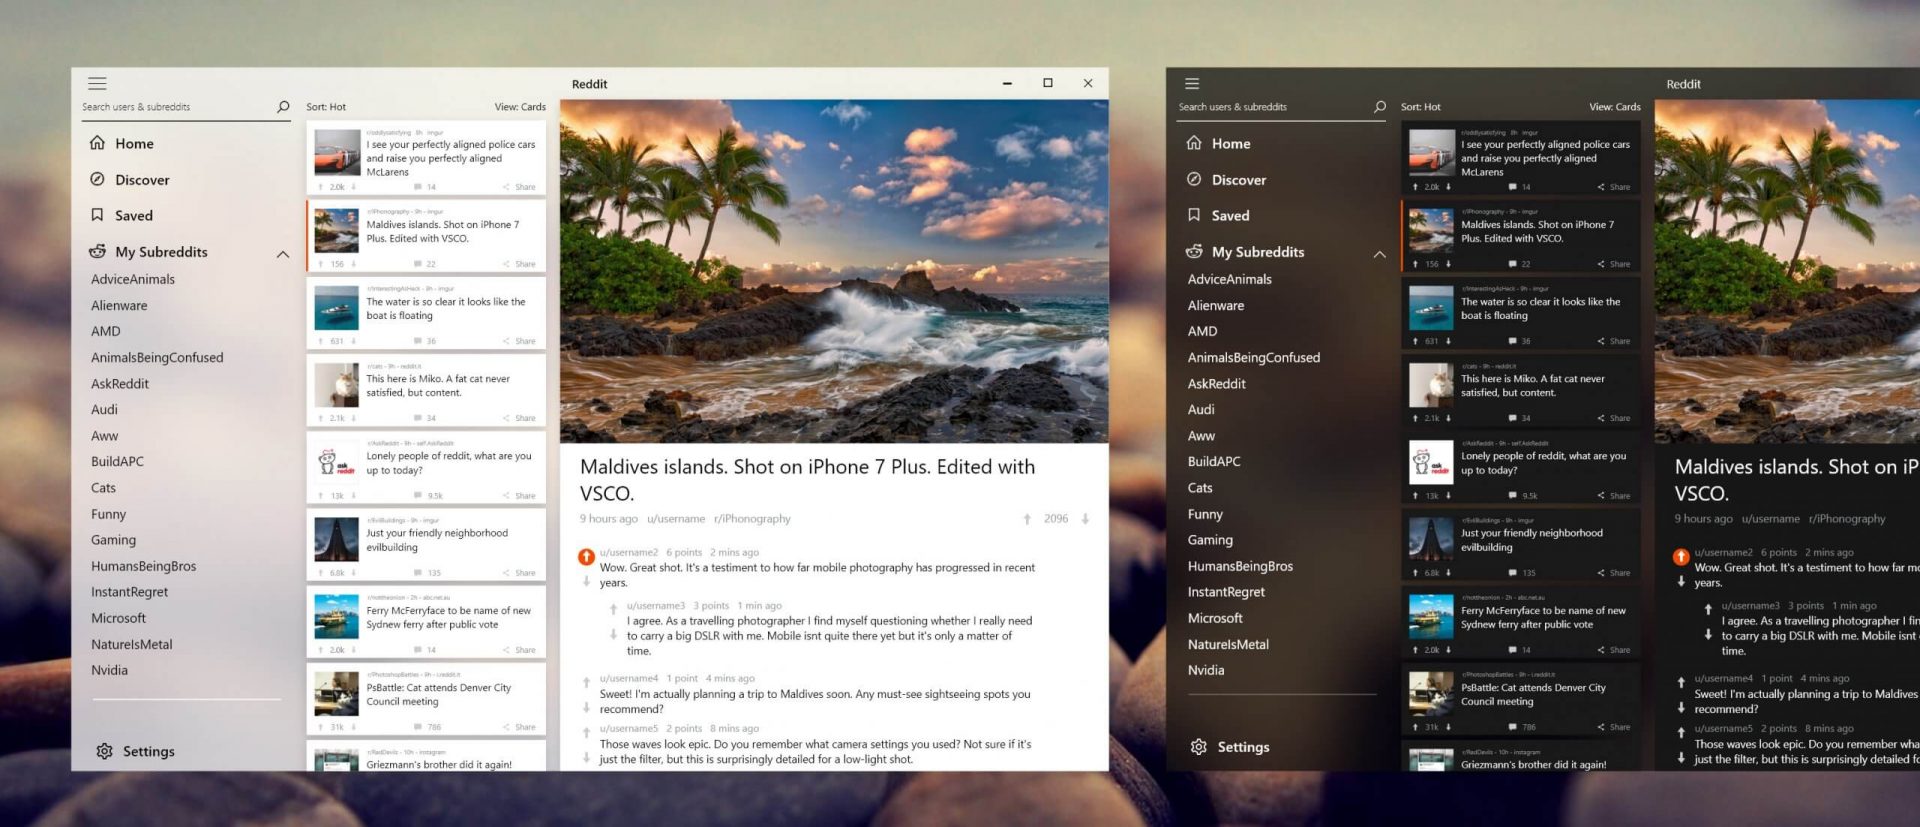 Reddit is one of the most popular websites in the world and how Microsoft is opening doors to everyone in its new store Reddit took a logical step and made a Progressive web application and placed it in it.
Being a Progressive web app makes it more familiar and feels like a home experience using it for a lot of Reddit users.
Reddit itself has a large community and active topics discussions all the time about anything. Bringing it to Windows as an application is, in my opinion, a great move since as an application it is independent, more light-weighted, and offering some other advantages specifically tied to being a standalone windows application.
Everyone familiar with and using the Reddit website will feel right at home in this app and you can start using it right away.
Reddit is one of the most popular websites in the world and how Microsoft is opening doors to everyone in its new store Reddit took a logical step and made a Progressive web application and placed it in it.
Being a Progressive web app makes it more familiar and feels like a home experience using it for a lot of Reddit users.
Reddit itself has a large community and active topics discussions all the time about anything. Bringing it to Windows as an application is, in my opinion, a great move since as an application it is independent, more light-weighted, and offering some other advantages specifically tied to being a standalone windows application.
Everyone familiar with and using the Reddit website will feel right at home in this app and you can start using it right away.  Jokes aside, I truly believe that choosing to upgrade your System to Windows 11 at this point in time is a bad decision and I will explain why I do believe it.