800b0100 is a typical Windows Update error. This error message occurs when you try to install the latest updates from Microsoft Updates and Windows Updates. The error message is displayed in the following format:
“Code 800B0100 Windows Update encountered an unknown error.”
 Error Causes
Error code 800b0100 may pop up on your computer screen due to different reasons. However, some of the common causes include:
To resolve error code 800b0100 on your system, you don’t have to hire a professional. This error is quite easy to repair and requires no technical expertise. In other words, you don’t need to be a computer programmer or technically sound to repair this issue.
Here are some of the easy and effective DIY methods that you can try to resolve error code 800b0100 on your system:
Download System Update Readiness Tool from Microsoft’s website on your PC. This tool can help you fix this problem that might prevent Windows Updates from installing.
Typically it will take 15 minutes or less to scan your entire PC. The System Update Readiness Tool will scan your computer for inconsistencies that may cause errors to occur.
Disable Security Software on your PC for example if you use Windows Vista then you will have Firewall already built in.
Disable it to resolve error 800b0100. To do this, simply go to the start menu and open the control panel and then select security. Now locate the option Windows Firewall and upon finding, simply choose the option Turn Windows Firewall on or off. Select off (not recommended) option, then click Apply and OK to reset and confirm changes.
After that, go back to the Windows Update screen and then click the try again button. The download and installation would start.
After the installation is complete, restart your PC to activate changes. Once the updates are successfully installed, not re-enable the Firewall, to ensure your PC is not exposed to potential security threats or viruses.
Remove Invalid Keys from the Registry by downloading Restoro.
This is a PC Fixer deployed with a registry cleaner. It scans your entire PC and removes all the obsolete and unnecessary files like cookies, bad and invalid registry keys. It cleans and repairs the registry in a few clicks.
Click here to download Restoro.

PC Optimizer Pro is a PC optimizer utility developed by Xportsoft Technologies. It is classified as a potentially unwanted program, due to its aggressive scan and registration reminders, and that it is often distributed bundled with other programs in a manner that leads many users to not know how it got on their computer. While not inherently malicious, PC Optimizer Pro adds numerous registry keys, startup entries and while running consumes a relatively high amount of system resources, especially during its scans. The software installs from a .exe file that is around 5.20 MB or 5.453.240 Bytes (depending on the version). As of the publication of these videos, the current version of PC Optimizer Pro was detected as malicious or potentially unwanted by at least 21 AntiViruses.
Gables is a browser extension developed by MindSpark Inc. This browser extension lets you create gifs and memes with a few simple clicks. This extension usually comes bundled up with the ASK toolbar.
While active this extension monitors your browser activity and records website visits, clicked links, and potentially personal data. This data is later forwarded to MindSparks ad servers where it is used to better target ads.
This extension hijacks your browser home screen, as well as your default search provider, and changes them to MyWay.com. This extension has been marked as a Browser Hijacker by several anti-virus scanners, and due to its behavior, it is not recommended to keep it on your computer for security reasons.
GoodShopLanding is a browser extension for Google Chrome, Mozilla Firefox, and Safari. This extension offers the latest coupons from a range of variety stores. While this may seem useful, this extension only offers coupons from sponsored stores, not all coupons available, so the only coupons that you will get are from the Extensions Ad network. You may see additional new tabs opening randomly while browsing the internet, these tabs are opened by GoodShopLanding and usually contain last-minute store deals.
As it is often distributed via potentially unwanted advertising, and impacts browser performance in a way that many users do not want, it is classified as a Browser Hijacker and thus flagged for optional removal. From the Author:Shop online? Here’s your free automatic coupon finder, Gumdrop. Never miss a coupon again Gumdrop automatically applies the best coupons for you at checkout. Get the best deals anywhere With over 500,000 coupons, Gumdrop finds deals for thousands of stores, including Amazon, Expedia, and Papa John’s.
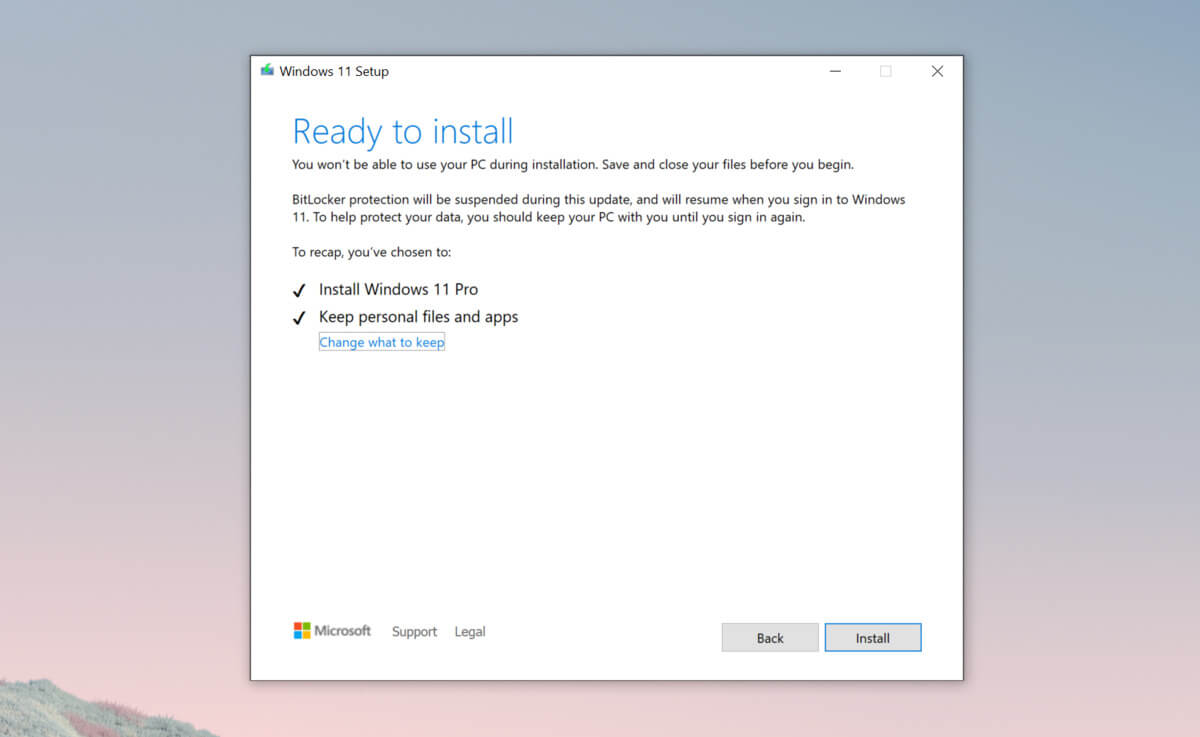 Bypass TPM with changing installation media
MovieMode is a Potentially Unwanted Program developed by GenTechnologies Apps that allegedly ads a “Lights Off” function to video streaming websites like Youtube. This feature allows a user to dim the entire background around the video, allowing for better video focus. Although this sounds interesting and useful, upon further inspection it was discovered that this program does not work with modern browsers.
While installed, MovieMode may modify your browser settings, changing your home page, displaying additional ads, and other suspicious behavior. From the Terms Of Use: “Applications may be automatically enabled on your web browsers following installation. Applications or advertisements may require changing your web browser’s default home page, default page, or set of pages on startup, default search provider, and other browser settings. So that Applications can function most efficiently and with the least annoyance, Applications may modify or disable certain web browser or operating system features including, but limited to load time alerts, accelerator features, and Content Security Policy functionality. Applications may also include features to notify you when you are launching an application or visiting a web domain that may interfere with your installed Applications. “