Error Code 0x8007041d - What is It?
Error Code 0x8007041d is an error that arises during the Windows 10 Update process. In some cases, this error code can also arise during the Windows 10 Activation process. It is an error code that has been present in multiple versions of the software but usually arises when antivirus or registry issues interfere with the Windows Update or Activation software.
Common symptoms include:
- Inability to download the needed Windows 10 updates
- Inability to complete the Windows 10 Update process
If you are experiencing the Error Code 0x8007041d on your machine, there are several methods that you can use to attempt to resolve the problem. Several of the steps that are most successful for the resolution of this error require familiarity with registry and antivirus tools, so if you are unsure of your ability to complete these steps on your own, contact a qualified computer repair technician to assist you.
Solution
 Error Causes
In most cases, Error Code 0x8007041d arises when there is a conflict between multiple antivirus or malware tools on the computer, if there is an issue in the Windows registry, or if your Windows Defender software is out of date. During the Windows Update process, the system checks to ensure that there are not any factors that are present that could introduce viruses to the system, so if there are any indicators that could present issues to the software, Error Code 0x8007041d will often arise.
Further Information and Manual Repair
For users who experience Error Code 0x8007041d, there are several steps that can be taken to resolve the issue. If the following methods are not successful for you or if you are unsure of your ability to undertake them on your own, contact a qualified Windows 10 computer technician.
Here are the best ways to attempt to fix Error Code 0x8007041d on your computer:
Method 1: Remove Additional Security Software Apart from Windows Defender
In some cases, having multiple versions of malware or antivirus software installed on your computer can cause the Windows system to create conflicts between them, which can interfere with your ability to update. During the update process, the system may attempt to determine if there is any malware present, and having multiple kinds of antivirus software present on the same machine may return mixed results.
If you currently are running antivirus software that is separate from Windows Defender, consider removing it from your computer prior to running the update software. This may allow you to successfully complete your update process without conflict. Additional software can be reinstalled after the update is complete, but make sure to keep both sets of software up to date in order to lessen the chances of encountering this error code again during future updates.
Method 2: Update Your Windows Defender Software
If you currently have Windows Defender as your primary antivirus software, check to see whether it is fully up to date. Out of date antivirus software can cause conflicts with the Windows Update process since the update to Windows 10 will not be able to be completed unless the system is free from viruses or malware.
If you are unsure of whether or not your Windows Defender is up to date, open it and run the process to check for updates, then re-attempt to run Windows Update. In some cases, you may want to restart your computer before running the Windows 10 Update process a second time.
Method 3: Run the Registry Repair Tool
Another issue that could cause Error Code 0x8007041d is a problem in the system registry. If you believe that this may be the case, run the Windows Registry Repair Tool on your machine to check for and resolve any issues. This is a fairly simple and straightforward tool to use, but it can help you to resolve any number of problems that may interfere with your ability to update your Windows 10 software.
If you have taken the steps listed above, restart your computer before attempting to proceed with the Windows Update process. If the three methods listed above are not successful in completely resolving Error Code 0x8007041d on your machine or if you are not comfortable in your ability to implement these steps on your own, contact a qualified Windows repair technician who is familiar with the Windows Update process to assist you.
If you wish to always have at your disposal a utility tool to fix these Windows 10 and other related issues when they do arise, download and install a powerful automated tool.
 Microsoft office has two major packages, an online one, and an offline version. The online version of the course is Office 365 that requires a monthly subscription and it is always regularly updated and maintained. Another version is more of a typical old school application, install it and use it, no constant internet connection is required and no monthly subscription is required, buy once and use it.
 Razer is a well-known brand among PC gamers and users, it started as a peripheral manufacturer focused on keyboards and mouse but after years passed Razer expanded its inventory offerings. It soon started offering headphones and lately has branched into wider product lines like gaming chairs and protection masks.
It is not a big surprise that Razer is expanding into other branches of the PC industry. This time, however, it has revealed not one but three new hardware for your PC. Case fans, all in one liquid cooler and power supply.
There are not many details about the products themselves but one thing is one hundred percent confirmed, they come with Razer Chroma, all of them, even the fans.
Razer is a well-known brand among PC gamers and users, it started as a peripheral manufacturer focused on keyboards and mouse but after years passed Razer expanded its inventory offerings. It soon started offering headphones and lately has branched into wider product lines like gaming chairs and protection masks.
It is not a big surprise that Razer is expanding into other branches of the PC industry. This time, however, it has revealed not one but three new hardware for your PC. Case fans, all in one liquid cooler and power supply.
There are not many details about the products themselves but one thing is one hundred percent confirmed, they come with Razer Chroma, all of them, even the fans.
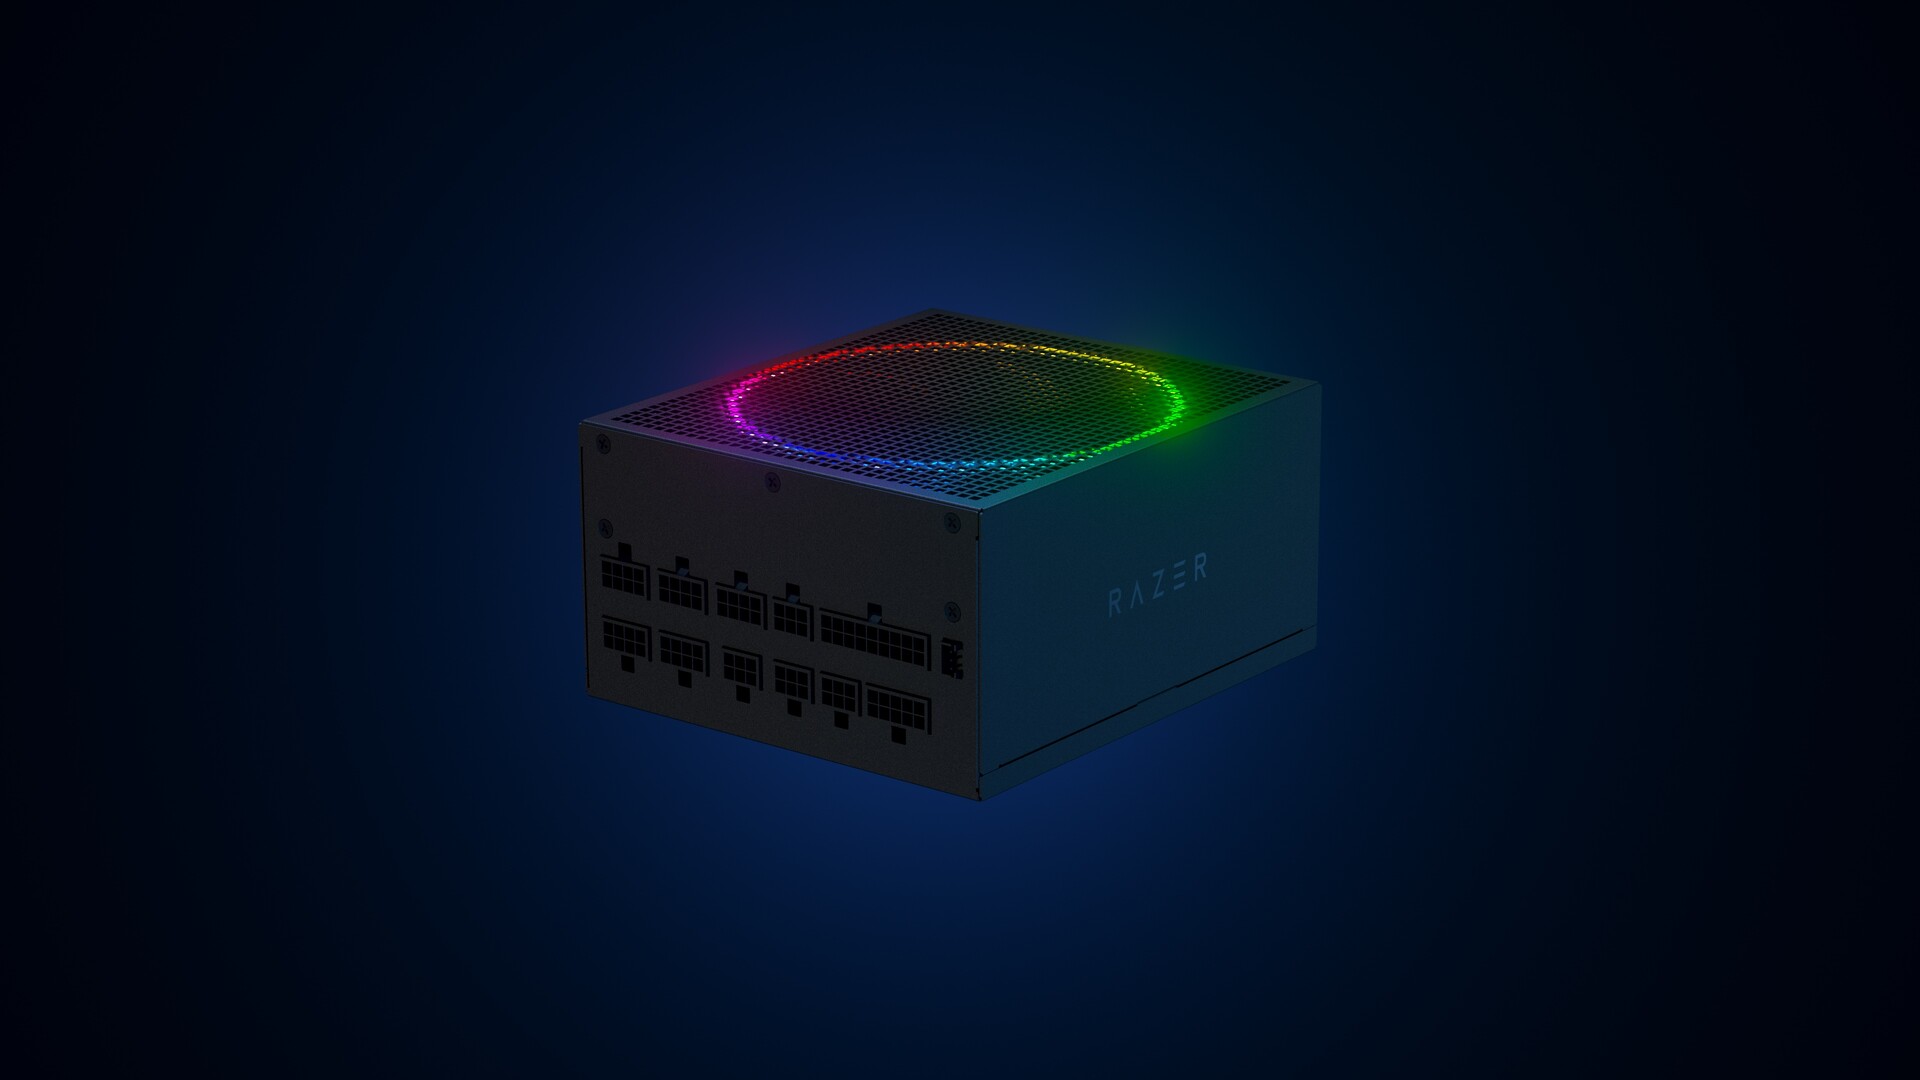 Most interesting for me personally is Razers Katana, the power supply unit. It is a modular power supply ranging from 750W to 1200W with the additional option of Titanium rated one with an impressive 1600W of power. Power supply will start shipping in early 2022 and at the time of writing this article no price range has been released.
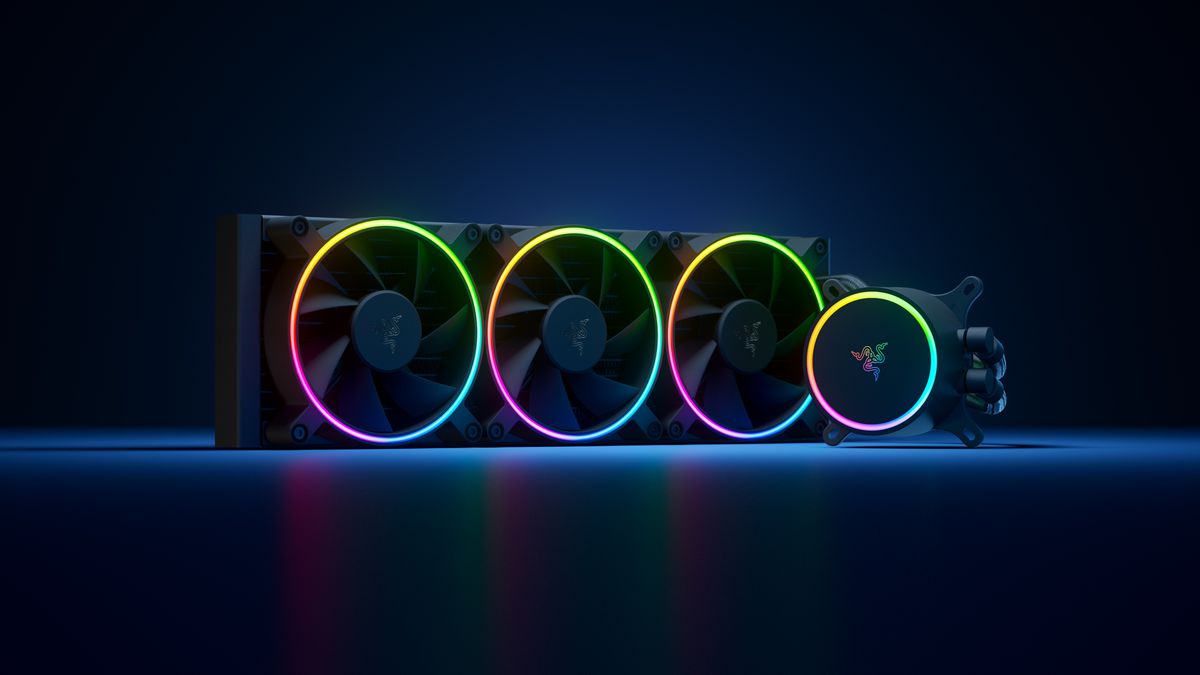 Hanbo liquid cooler will feature an optimized intake design so it can ensure greater heat transfer and fluid dynamic for improved reliability and silent operation. Radiator comes in 240mm size with two fans and a larger one of 360mm with three fans. The pump will be able to rotate in any direction of full 360 degrees so it can fit in any case. Hanbo will be released in November this year but no pricing has been released so far.
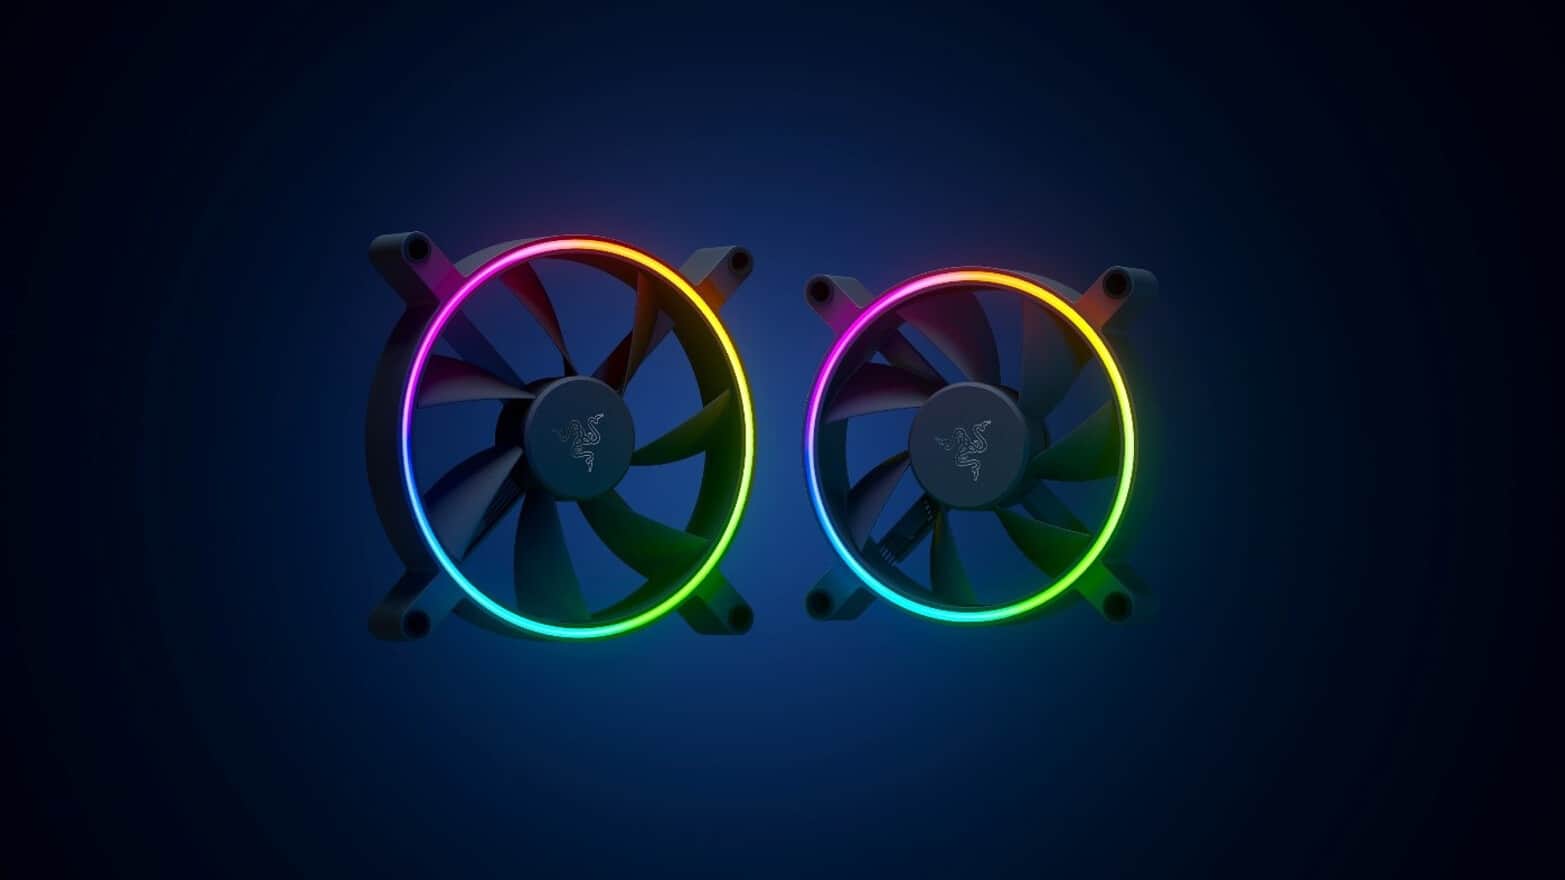 Kunai fans will boast high static pressure performance with lowered noise. They will go as far as 2200rpm for the 120mm version where the 140mm version will go up to 1600rpm. They will come with addressable LEDs and up to eight fans will be able to be connected to Razer’s PWM fan controller that will come with a magnet at the back for easy attachment to any steel part of PC casing.
PWM will use Razer’s Synapse software to customize pulse width modulation in order to improve airflow and noise. PWM will be priced at $49.99 in the Razer Store and it is available for preorder. Fans are priced at $44.99 for one 120mm or $129.99 for a three-pack of 120mm. One 140mm will go for $49.99 and a three-pack will be $129.99.
Kunai fans will boast high static pressure performance with lowered noise. They will go as far as 2200rpm for the 120mm version where the 140mm version will go up to 1600rpm. They will come with addressable LEDs and up to eight fans will be able to be connected to Razer’s PWM fan controller that will come with a magnet at the back for easy attachment to any steel part of PC casing.
PWM will use Razer’s Synapse software to customize pulse width modulation in order to improve airflow and noise. PWM will be priced at $49.99 in the Razer Store and it is available for preorder. Fans are priced at $44.99 for one 120mm or $129.99 for a three-pack of 120mm. One 140mm will go for $49.99 and a three-pack will be $129.99. 