 Under personalization options click on START.
 And then on the right part click on the button under Use Start full screen to turn it ON
 That's it, your start menu is now full screen.
 A runtime error is commonly an error that's created after the PC is operating software and encounters a problem of some form. For instance, a runtime error like run-time error code 7 reveals an "out of memory" dilemma.
Run-time errors are normally brought on by clashes with TSR (Terminate and Stay Resident) applications or additional operating applications, software problems, storage problems, or pc viruses.
First, enter the run-time error signal into a search engine to see what info you will get about the precise runtime issue you are receiving. Next, end - job all running applications and TSRs to make sure these aren't the origin of the issue. You can certainly do so by obtaining the job manager by striking Control Alt Delete.
In case your issue is regularly occurring with a unique program, go to that system programmer's site and obtain any upgrades and patches. If unavailable, try uninstalling the application involved and reinstalling it.
In the event the issue is occurring with the os, you may consider reinstalling it although it is a huge commitment. A much better idea would be to try a fix for both Windows XP or Windows 2,000. It is possible to fix and scan files by typing : sfc / scannow, heading to the Begin switch, Run, and then pushing enter. Make certain to put an area between sfc and the reduce.
You might have an equipment or storage dilemma if these measures have not resolved your run-time errors. If that is the situation, contact the support of the application under consideration for potential support accompanied by the pc or motherboard manufacturer.
Many run-time problems can be solved by upgrading the application that's creating the problem. This is only because the programmer's frequently releasing patches and improvements for their applications as insects are found and repaired.
Storage problems may frequently be fixed by rebooting the pc. Consider a reboot a short-term repair. Rebooting clears the memory but in case your COMPUTER does not have adequate memory for your applications you're operating, or sufficient hard-drive space you'll immediately run out of memory again. Something less than this sum may cause memory issues since the computer's swap file isn't in a position to expand in dimension as required.
To assess the quantity of free area, available My Computer and right-click on the HDD, generally the D: drive. Select Attributes in the menu and see the disc's ability. Perform the disk clean-up function by following prompts and pressing the Disk Clean-up button, if the room is reduced.
You may be getting run-time errors, in case your storage chip is really failing. Eliminating and changing the awful memory chip will solve the difficulty. If you're encountering other runtime-related errors, like an install runtime issue, try cleaning away the portions of the registry with some software solution.
 Under personalization options click on START.
And then on the right part click on the button under Use Start full screen to turn it ON
That's it, your start menu is now full screen.
Under personalization options click on START.
And then on the right part click on the button under Use Start full screen to turn it ON
That's it, your start menu is now full screen.  The greatest lag and server crashes are pinpointed to game-creating events. When a player creates a new online game, the server needs to pull a lot of details from the database and make a game, due to some legacy code present this process takes some time and it is demanding a bit on the server-side, and although code was optimized to cater to more modern approach some legacy code still remains.
Another thing that was spotted to affect performance itself is player behavior, to be more specific, modern gamer behavior. Where players find good builds and runs on the internet and then go to farm-specific areas or bosses for loot or experience points, which in return boils down to making plenty and short runs that are made by creating games and after run eliminating them. Now pair that with the previous statement about legacy server and database code and you can add 1 and 1 and see how this might be an issue.
A lot of short games over legacy code are placing games in a state it was not designed for back in 2001 and therefore we have issues. Sadly solutions without completely rewriting the whole code are not very promising and they include rate limiting, which will prevent players to create many games in succession in a short period of time and maybe even login queues to drop a load on servers.
Blizzard reached to people in the whole company, even old diablo 2 developers to ask for advice and they say that they are working on solutions so they could lift limitations and have everything running fine.
The greatest lag and server crashes are pinpointed to game-creating events. When a player creates a new online game, the server needs to pull a lot of details from the database and make a game, due to some legacy code present this process takes some time and it is demanding a bit on the server-side, and although code was optimized to cater to more modern approach some legacy code still remains.
Another thing that was spotted to affect performance itself is player behavior, to be more specific, modern gamer behavior. Where players find good builds and runs on the internet and then go to farm-specific areas or bosses for loot or experience points, which in return boils down to making plenty and short runs that are made by creating games and after run eliminating them. Now pair that with the previous statement about legacy server and database code and you can add 1 and 1 and see how this might be an issue.
A lot of short games over legacy code are placing games in a state it was not designed for back in 2001 and therefore we have issues. Sadly solutions without completely rewriting the whole code are not very promising and they include rate limiting, which will prevent players to create many games in succession in a short period of time and maybe even login queues to drop a load on servers.
Blizzard reached to people in the whole company, even old diablo 2 developers to ask for advice and they say that they are working on solutions so they could lift limitations and have everything running fine. In the Windows ecosystem, MS Surface laptops are among the best laptops on the market, they are regarded as equivalent to Apple MAC laptops but for Windows. Microsoft Fall 2022 Event will be held on October 12th at 10 AM. The event itself will be held right before it kicks off its annual, developer-focused Ignite event in Seattle from that same day through October 14.

This event is the first in-person event that Microsoft has held since the beginning of the pandemic. We expect the launch of the Surface Pro 9 and the Surface Laptop 5, and maybe Surface Studio 3 as well. There are also some rumors about products themselves like choices between an ARM or x86 CPU but nothing is confirmed so far, we can just wait and see.
The GifsGalore Toolbar from Mindspark Interactive Network, Inc. is proposed to active Web users who like to embed GIFs into their emails and share entertaining GIFs with friends via social media services. The GifsGalore software can be added to your Internet client for free but you need to be using Google Chrome, Internet Explorer or Mozilla Firefox for the GifsGalore Toolbar to be activated.
When installed it hijacks your New tab page and default search engine changing them to search.myway.com. This extension also monitors user browsing activity recording information such as: visited websites, clicked links, viewed products, etc. This information is later used to better target ads. While browsing the internet with this extension enabled you will see additional pop-up ads, as well as sponsored links and injected ads throughout your browsing session, especially in search results.
Error Code 0x80070643 or Windows Update error code affects various versions of the Windows operating system, including Windows 10. Error code 0x80070643 usually occurs due to corruption within the .Net Framework. When this occurs, users will be unable to install updates they have downloaded on their PC.
 Error Causes
Error codes within Windows occur for many reasons including corrupt system files, viruses, and lack of space on your PC. In terms of error code 0x80070643 in Windows 10, the cause usually relates to a problem with the .NET framework or errors within one’s registry.
To solve error code 0x80070643 in Windows 10, users will need to employ various manual repair methods. These methods seek to fix core problems that result in the error being present on your device in the first place. Thus, the methods include the use of the .Net Framework Repair tool, resetting Windows Update components, or running a clean boot.
Note that the instructions provided in this article must be followed correctly, as making changes to your computer via these manual repair methods can result in serious problems if mistakes are made. Consider a Windows repair technician if you are unable to complete the steps mentioned in the manual repair methods below. Note, failure to rectify this error might result in other error messages, such as error code 0xc004fc03
As error code 0x80070643 may be triggered by issues related to the .Net Framework on your machine, it’s important that you download the .Net Framework Repair tool. This tool, as the name suggests, helps to repair errors it detects within the setup or updates associated with the framework.
The tool is available on the official Windows site. Download the tool and follow the instructions provided. Once you’ve downloaded the .Net Framework Repair tool, run it and wait until it fixes all problems detected within the framework.
Afterward, reboot your computer and check to see if Windows Update is functioning properly. If the error code reoccurs, proceed to another solution by implementing the second manual repair method listed in this article.
This method is the most technical of all the methods mentioned in this article. It will require that Windows 10 user access Command Prompt and make modifications to the Windows registry – an area of the operating system which stores important information, settings and other details regarding hardware and programs installed on your machine. Follow the steps carefully and be sure to back up the registry before proceeding with this manual repair method.
Step one: Type Command Prompt in the search box near Start, then select Command Prompt (Admin).
Step two: Select Yes as soon as the User Account Control box appears.
Step three: Stop Windows Update service, the BITS service, and Cryptographic service by typing the following commands:
net stop bits
net stop wuauserv
net stop appidsvc
net stop cryptsvc
Step four: Be sure to press Enter after typing each command.
Step five: Type the following command, then Enter to delete qmgr*.dat files:
Del "%ALLUSERSPROFILE%Application DataMicrosoftNetworkDownloaderqmgr*.dat"
Step six: Press enter after typing the following command:
cd /d %windir%system32
Step seven: Reregister the files for BITS and Windows Update that you stopped in step three. To do this, type the following commands, selecting Enter after each command:
regsvr32.exe atl.dll
regsvr32.exe urlmon.dll
regsvr32.exe mshtml.dll
regsvr32.exe shdocvw.dll
regsvr32.exe browseui.dll
regsvr32.exe jscript.dll
regsvr32.exe vbscript.dll
regsvr32.exe scrrun.dll
regsvr32.exe msxml.dll
regsvr32.exe msxml3.dll
regsvr32.exe msxml6.dll
regsvr32.exe actxprxy.dll
regsvr32.exe softpub.dll
regsvr32.exe wintrust.dll
regsvr32.exe dssenh.dll
regsvr32.exe rsaenh.dll
regsvr32.exe gpkcsp.dll
regsvr32.exe sccbase.dll
regsvr32.exe slbcsp.dll
regsvr32.exe cryptdlg.dll
regsvr32.exe oleaut32.dll
regsvr32.exe ole32.dll
regsvr32.exe shell32.dll
regsvr32.exe initpki.dll
regsvr32.exe wuapi.dll
regsvr32.exe wuaueng.dll
regsvr32.exe wuaueng1.dll
regsvr32.exe wucltui.dll
regsvr32.exe wups.dll
regsvr32.exe wups2.dll
regsvr32.exe wuweb.dll
regsvr32.exe qmgr.dll
regsvr32.exe qmgrprxy.dll
regsvr32.exe wucltux.dll
regsvr32.exe muweb.dll
regsvr32.exe wuwebv.dll
Step eight: Reset Winsock in Command Prompt by typing the following command, then selecting Enter:
netsh winsock reset
Step nine: Configure proxy settings in Windows 10 with the following command, then press Enter:
netsh winhttp reset proxy
Step ten: To restart the BITS, Windows Update, and Cryptographic service, type the following commands, then press Enter:
net start bits
net start wuauserv
net start appidsvc
net start cryptsvc
Step eleven: Install the latest Windows Update Agent.
Step twelve: Restart your machine.
Once you’ve restarted your PC, check Windows Update to verify if the error code is resolved. You should now be able to access the latest updates on your device. However, if a problem has arisen and the error code reoccurs, you will need to proceed with a Clean Boot.
If you wish to always have at your disposal a utility tool to fix these Windows 8 and other related issues when they do arise, download and install a powerful automated tool.
Error Causes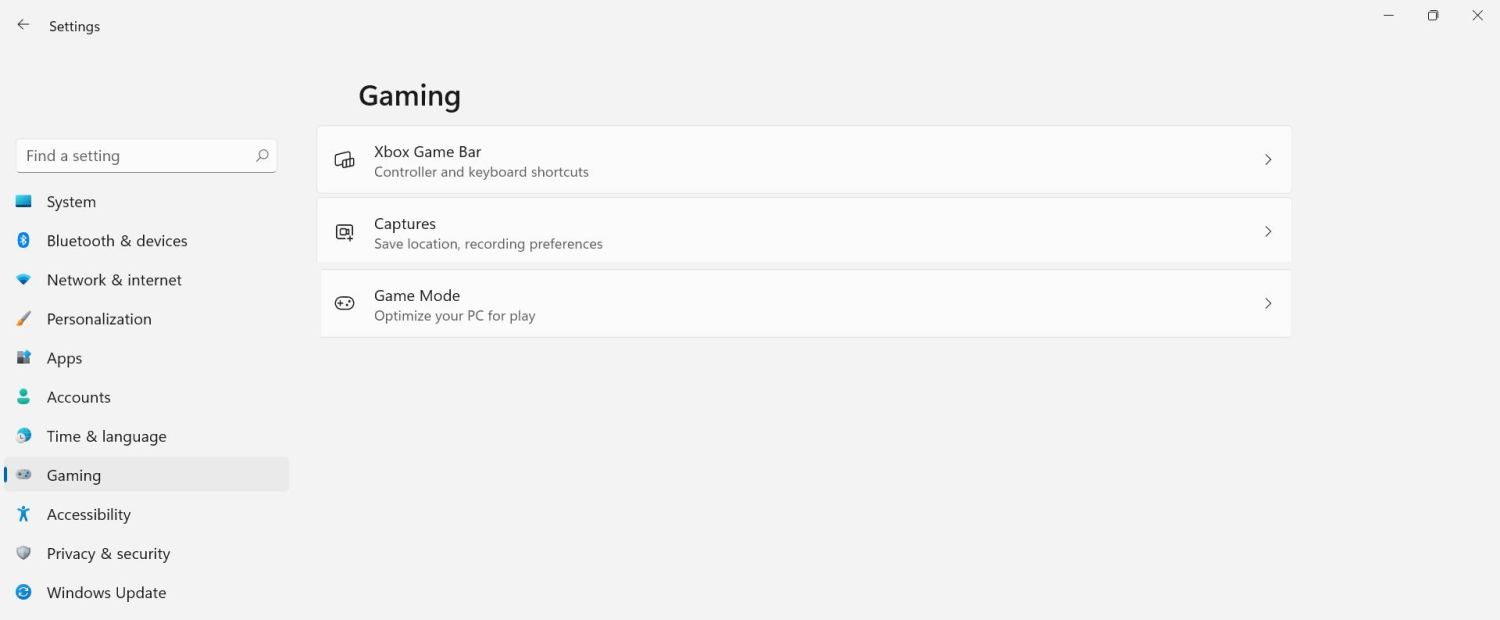 The game mode is active at all times and usually, everything works great but in some instances, it can sadly cause some performance issues. If you are one of these unlucky people where game mode is not working as supposed to do, don’t panic, we have a quick guide for you on how to turn it off.