What is the Ieframe dll Error?
Ieframe.dll is a Dynamic Link Library, a collection of small programs. It is stored in C:\WINDOWS\SYSTEM32. The function of this dll file is to convert Html code into web pages on IE (Internet Explorer). When this file gets corrupt, you start experiencing ieframe.dll errors on your system.
Ieframe.dll error is displayed in either of the following formats:
- "Res://ieframe.dll/dnserror.htm#"
- "Cannot find the file ieframe.dll"
- "File Not Found C:WINDOWSSYSTEM32IEFRAME.DLL"
Solution
 Error Causes
The Ieframe dll error code may occur due to multiple reasons. These include:
- Incorrect Firewall settings
- Ieframe.dll corruption and damage
- Missing Ieframe.dll file
- Internet Explorer issues
- Viruses and malware attack
- Outdated security software applications
If you wish to continue browsing on Internet Explorer, then it is important for you to resolve this error right away.
Further Information and Manual Repair
Here are some of the best solutions to resolve the Ieframe dll error on your PC:
Cause: Missing Ieframe.dll file
Solution: If Ieframe dll error file is missing, this means you have either accidentally deleted it while uninstalling a certain program that also shared this file.
Therefore the best way to resolve the issue is to restore the missing Ieframe.dll file. To do this check the recycle bin. If you find the file, simply restore it in the following path C:\Windows\System32.
However, if you are unable to find it, then download it from a reliable website.
Cause: Incorrect Firewall Settings
Solution: In case the error is generated due to incorrect Firewall settings, then try disabling this software. See if this works and resolves the error.
Cause: Internet Explorer Issues
Solution: Sometimes the Ieframe dll error can occur due to Internet Explorer issues. Here it is recommended to reinstall and update the latest version of IE on your system. This can be done by removing the program from the system.
Go to the Control Panel, click Add/remove programs, and uninstall the program. After uninstalling the old version, install a new and updated version of IE on your system and try running it again.
If it works, great the error is resolved. However, if it persists, then this means the problem is deeper and bigger than you think. The reason can be severe viral infection and malware attack not just damaging Ieframe.dll file but also exposing your system to privacy errors and threats.
Cause: Damaged and Corrupt Ieframe.dll files
Solution: The files can get corrupt when the registry overloads with data. It stores important and unnecessary files like junk files, cookies, internet history, temporary files, and invalid registry entries.
Such files take up a lot of disk space and damages dll files. To resolve this issue it is advisable to download Restoro. This is a powerful registry cleaner, that detects and resolves all registry issues in seconds. It wipes out unnecessary and obsolete files cluttering the registry and restores the damaged Ieframe.dll files.
It is efficient, safe, and compatible with all Windows versions. It has an intuitive interface and easy navigation which makes it simple and easy to use.
Cause: Viral Infection
Solution: If the underlying cause is a viral infection, Restoro takes care of that too. It is more than a registry cleaner.
It is embedded with a powerful antivirus that removes all malicious software from your PC including viruses, Trojans, spyware, malware, and adware. And unlike a typical antivirus, it does not reduce the speed of your system. Its system optimizer utility boosts your PC speed dramatically.
Click here to download Restoro on your PC today and resolve Ieframe dll error today!


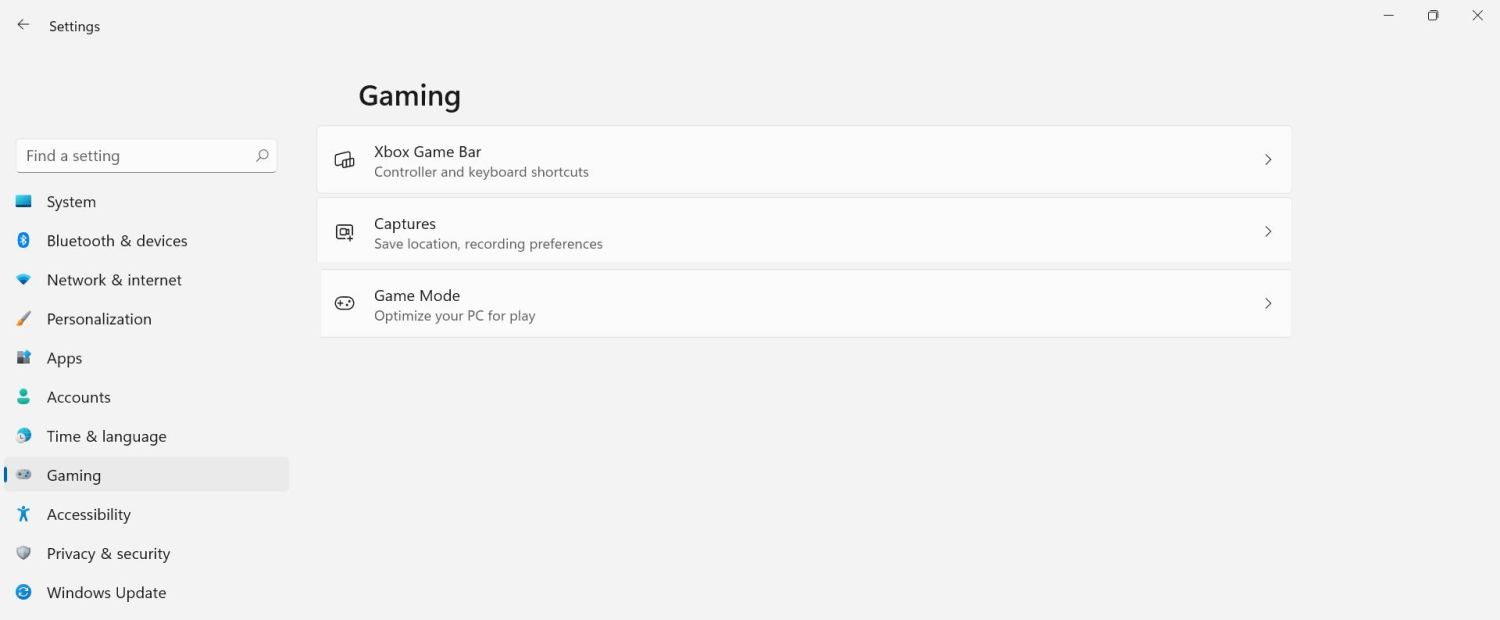 The game mode is active at all times and usually, everything works great but in some instances, it can sadly cause some performance issues. If you are one of these unlucky people where game mode is not working as supposed to do, don’t panic, we have a quick guide for you on how to turn it off.
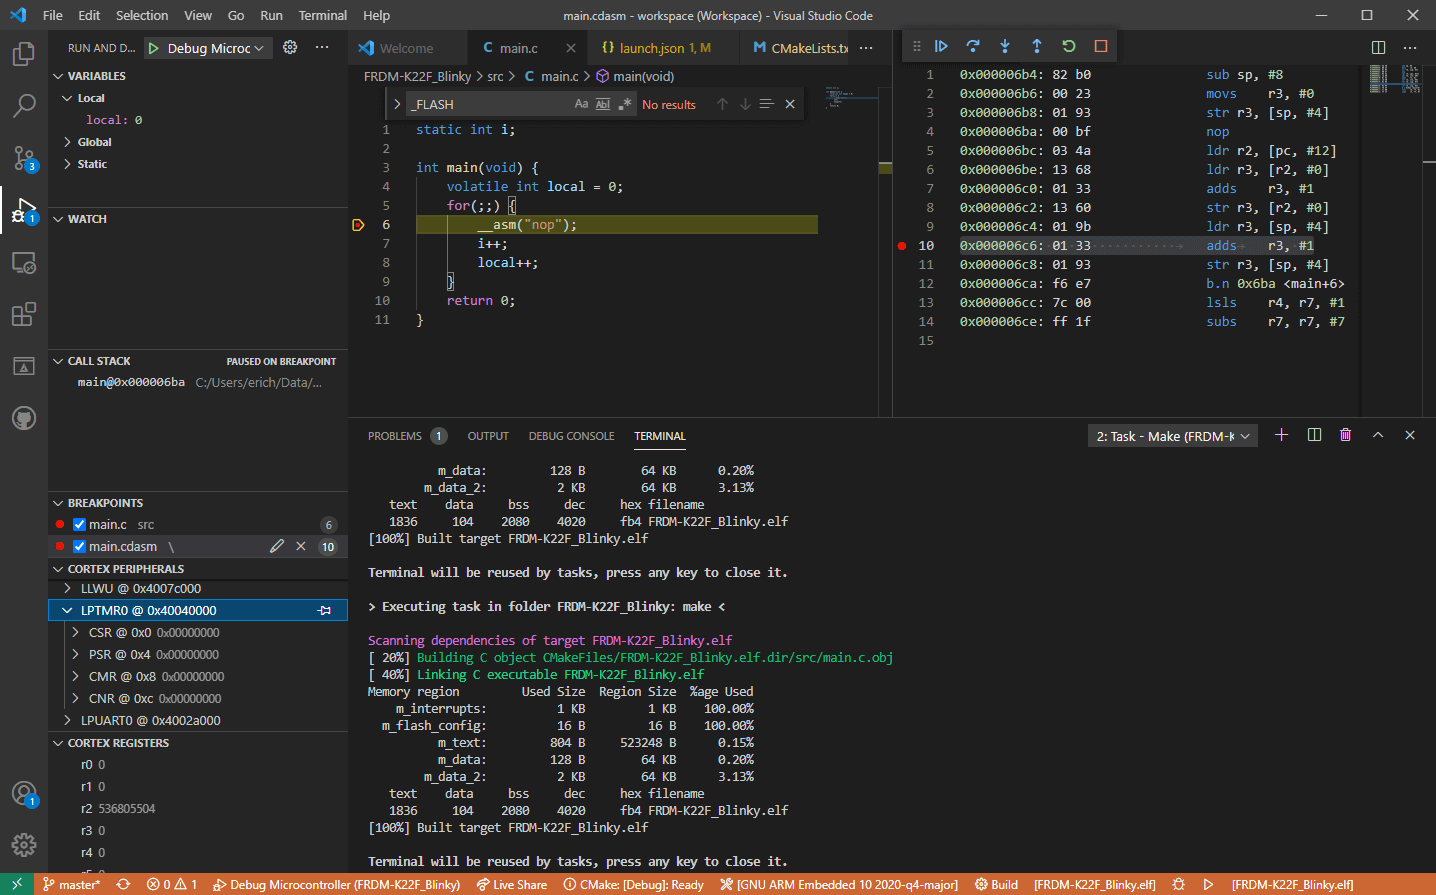 Visual studio code is a code editor available for Windows, Linux, and macOS. It is a completely free tool offering you to code in any language without the need to switch to another editor.
Visual Studio Code is part of Microsoft Visual Studio which is a complete integrated development environment (IDE). Take notice that Visual studio itself has more advanced tools for developing and testing, it has 24/7 support, training, and Azure for WEB apps.
Visual Studio Code is an editor lacking in some advanced features Visual Studio offers.
Visual studio code is a code editor available for Windows, Linux, and macOS. It is a completely free tool offering you to code in any language without the need to switch to another editor.
Visual Studio Code is part of Microsoft Visual Studio which is a complete integrated development environment (IDE). Take notice that Visual studio itself has more advanced tools for developing and testing, it has 24/7 support, training, and Azure for WEB apps.
Visual Studio Code is an editor lacking in some advanced features Visual Studio offers.