The System32 folder contains vital configuration and information that are essential to the operating system. It is located inside the “Windows” folder and it consists of important DLL files as well as executable files. You probably have noticed some errors that have the “System32” word in them but that does not necessarily mean that the System32 folder is the one that triggers them as these kinds of errors have only occurred when some important files are corrupted or missing. Some users recently reported that each time they start their computers, the System32 folder will automatically open up in the File Explorer. If you encounter the same problem, read on as this post will guide you on what to do to fix it.
This kind of issue is most likely caused by service or application interference – it is possible that there is a third-party application installed in your computer or a Windows service that triggers the System32 to pop up during startup. It is also possible that this is a result of system modification. Thus, you need to identify the third-party program or restore your computer to its previous state.
Option 1 – Put your computer in a Clean Boot State
As pointed out, it is possible that some third-party program or service is the one that’s behind the problem. To isolate this possibility and to identify the culprit, you have to put your computer into a Clean Boot State. To do so, follow the steps below.
Log onto your PC as an administrator.
Type in MSConfig in the Start Search to open the System Configuration utility.
From there, go to the General tab and click “Selective startup”.
Clear the “Load Startup items” check box and make sure that the “Load System Services” and “Use Original boot configuration” options are checked.
Next, click the Services tab and select the “Hide All Microsoft Services” check box.
Click Disable all.
Click on Apply/OK and restart your PC. (This will put your PC into a Clean Boot State. And configure Windows to use the usual startup, just simply undo the changes.)
After putting your PC in a Clean Boot State, try creating a system restore point and see if the problem still occurs. Clean Boot troubleshooting is designed to help you isolate the problem. For you to execute a clean boot troubleshooting, you must do a couple of actions (the steps given above) and then restart your PC after every action. You might have to disable one third-party app after the other to really isolate the issue. And once you’ve narrowed down the problem, you can either disable the third-party app that’s causing the problem or remove it. Note that you must switch your PC back into the Normal Startup mode after you’re done troubleshooting the problem. Here’s how you can do it:
From the “Start” menu, go to System Configuration.
After that, switch to the General tab and click the option for “Normal Startup”.
Next, go to the Services tab and clear the checkbox for “Hide all Microsoft services”.
Then find and click “Enable all” and if prompted, you have to confirm.
Afterward, go to the Task Manager and enable all the Startup programs and confirm the action.
Restart your PC when prompted.
Option 2 – Perform System Restore
First, press the Win + R keys to open the Run dialog box.
After that, type in “sysdm.cpl” in the field and tap Enter.
Next, go to the System Protection tab then click the System Restore button. This will open a new window where you have to select your preferred System Restore point.
After that, follow the on-screen instructions to finish the process and then restart your computer and check if the problem is fixed or not.
Option 3 – Run System File Checker scan
You might also try running the System File Checker or SFC scan to fix the issue. System File Checker is a command utility built into your computer that helps restore corrupted files and missing files. Refer to the following steps to run it:
Hit the Win + R keys to launch Run.
Type in cmd in the field and tap Enter.
After opening Command Prompt, type in sfc /scannow
The command will start a system scan which will take a few whiles before it finishes. Once it’s done, you could get the following results:
Windows Resource Protection did not find any integrity violations.
Windows Resource Protection found corrupt files and successfully repaired them.
Windows Resource Protection found corrupt files but was unable to fix some of them.
Restart your computer and see if the System32 folder still pops up at startup or not.
Mapi32.dll is a Windows Messaging Application Programming Interface that enables Windows to perform various email functions and launch messaging programs like Microsoft Outlook and Microsoft Office. The inability of the interface to execute email functions properly results in the Mapi32.dll Outlook Error.
This error occurs mostly when you are attempting to upgrade the operating system to a new version.
Solution
Error Causes
The common causes of the Mapi32.dll Outlook Error during the OS upgrade are:
Damaged or Corrupt Outlook user profile
The software is overwritten by some other program
Outlook PST file corruption
The Mapi32.dll Outlook Error message is displayed in either of the following forms:
Mapi32.dll is missing
Cannot start Microsoft Office Outlook. Mapi32.dll is corrupt or the wrong version.
Mapi32.dll was not found
Mail is not installed
Further Information and Manual Repair
So, what if you experience this issue and how do you fix it? Well, first there is no need to panic as Microsoft has recognized this issue and provided adequate solutions to fix this problem in no time.
However, to ensure the Mapi32.dll Outlook error is a quick fix, you must first understand the cause of the issue and the message displayed on the screen.
Let’s say the errors occur because your Outlook profile is corrupt. In this scenario, the best solution is to create a new Outlook profile. Regardless of whether you have Windows Vista or XP, to create your new Outlook profile, first, you will have to click on the Control Panel, then User Account, and then Mail. Once you click on the Mail tab, the mail set up dialog box will open. In this dialog box there will be a ‘Show Profiles’ tab, click and then click the Add tab that appears next. Now type the name for your new Outlook profile and then click ‘OK’. After that, add an email account to go with the profile.
If Mapi32.dll is missing or corrupt, you will have to run ‘Fixmapi.exe’ to resolve the problem. It is located in the System32 folder inside the Windows directory in Windows Explorer.
Therefore, first start Windows Explorer and then locate the following folder on your computer: C: /Program Files/Common Files/System/Msmapi1033
Now find Fixmapi.exe and double click it
After that locate the Mapi32.dll file and rename it to MSmapi32.old and press enter.
Restart your computer when finished.
A word of advice for computer users is to scan for viruses with an antivirus program or a registry cleaner regularly to prevent the Mapi32.dll Outlook error from occurring in the first place. Viruses often latch onto .dll files and corrupt them.
It’s always best to have a forward-looking approach.
This is a typical Windows Media Player error code. Developed by Microsoft, Window Media Player is a media player and media library application that is used for playing audios and videos on the computer.
Error C00D1199 appears when Windows Media Player is unable to play the file requested by you. The error code is displayed in the following format:
C00D1199: Cannot play the file
Solution
Error Causes
You might encounter an error C00D1199 message on your PC for one of the following reasons:
The file type you requested is not supported by the Windows Media Player
The file type was not compressed by using a codec that is not supported by the Player
Your sound card or controller is not configured properly or outdated
Registry corruption
The good news is that error C00D1199 is not fatal. But if this error code is generated due to registry problems, then it can lead to serious issues.
Therefore it is advisable to fix it immediately.
Further Information and Manual Repair
Here are some of the best and easy do-it-yourself methods to resolve the error C00D1199 right away.
Method 1 - Ensure File Type is Supported by Windows Media Player.
If it is supported then make sure the codec used to compress the file is installed on your system.
There are hundreds of audio and video Codecs in use today but the most popular Codecs used on Windows Media Player are Windows Media Audio, Windows Media Video, and MP3.
If these Codecs are not installed on your PC, then it is advisable to download them from the web. But make sure you download these codecs from a reliable and a trusted website.
Method 2 - Check Sound Card Settings
Another method to resolve error C00D1199 is to check Sound card settings. Make sure it is configured properly. Improper configuration can also trigger the error.
Nonetheless, if it is configured the right way but the error still persists then it is advisable to change update the driver. To do this, go to the Device Manager. Here use the Driver update wizard to make updates.
Method 3 - Check the Windows Registry
The registry is an important part of the PC. It stores all the activities performed on the PC and all files including both junk and important files.
If unnecessary files like junk files, cookies, and bad registry entries are not removed frequently from the registry, it can corrupt and damage it and generate error codes like C00D1199.
To clean the registry and resolve the error it is advisable to download Restoro. This is a user-friendly PC Fixer embedded with a registry cleaner. The registry cleaner wipes away all the clutter from the registry and cleans it instantly. It also repairs the damaged files and restores the registry.
Click here to download Restoro and resolve error C00D1199 on your PC.
Hello everyone and welcome to another tutorial on errortools.com, Windows itself when it is installed has a general idea about certain file types and how to open them, for example, image files would be opened with application photos, web links with the edge, etc. So when we double click on the known file type, Windows will start the default application for that type and open the file in it. But what if we do not want to open files in applications Microsoft thinks we should? What if we want to open the website in firefox or images in photoshop, or whatever.
Luckily we can easily change which application Windows uses for which file type.
Click on ⊞ WINDOWS to open the start menu and choose settings.On the settings screen, choose Apps.
When the Apps screen opens on the left click on Default apps.
On right, you will get a list of Windows default applications for certain types of files. Click on any application you would like to change and choose from the drop-down list a new one. Click on it and you are done.
As you know, the Windows Media Creation Tool is a great utility in Windows that helps lots of users in installing Windows on their PCs. However, just like any other program in Windows, it also experiences a couple of issues every now and then. So in this post, you will be guided on how you can resolve a particular issue in the Media Creation Tool which is the error 0x80042405-0xA001A. You can encounter this error while creating a USB installation media used in installing Windows 10.
When getting this kind of error in the Windows Media Creation Tool, you will see the following error message on your screen:
“We’re not sure what happened, but we’re unable to run this tool on your PC, Error code 0x80042405 – 0xA001A”
The error 0x80042405 – 0xA001A occurs while creating a bootable USB installation drive. This is a common error faced by many users and it has something to do with the USB hardware. To get this issue fixed, here are some suggestions you could check out.
Option 1 – Try to reformat the USB drive
Reformatting your USB drive might help in fixing error 0x80042405 – 0xA001A.
Open This PC and right-click your USB drive from there then select Format.
Next, select FAT32 as the drive type and uncheck the “Quick Format” option.
After that, try to run the Windows Media Creation Tool again and check if the error is fixed or not. But hopefully, it should work since formatting the drive as FAT32 will give the driver a proper type and would resolve any minor issues in the drive.
Option 2 – Copy the Windows Media Creation Tool to the USB drive
If the first option didn’t work, you might want to copy the latest version of the Media Creation Tool to the USB drive. After you do that, you can run it from inside the drive. This is actually a working fix and can definitely get the USB drive to run with Windows inside it so it should resolve the error 0x80042405 – 0xA001A on the Windows Media Creation Tool.
Option 3 – Run CHKDSK to check the drive for errors
When it comes to some issues concerning the hard drive or removable devices, there is a utility in Windows that might help which is called “chkdsk”. This error check utility can help with several issues in the system including the “Diskpart failed to clear disk attributes” error.
Tap the Win + S keys to open the Search box.
Then type “command prompt” in the field and from the search results that appear, right-click on Command Prompt and select “Run as administrator”.
After opening an elevated command prompt, copy and paste the following command and hit Enter:
Note: In the command given above, “[/F]” will try to fix the system errors while “[/R]” will be the one to fix the bad sectors.
Now if you are prompted to run CHKDSK after your reboot your PC, just tap Y and reboot your PC.
If CHKDSK is not able to find any errors, tap the Win + E keys and navigate the access window. From there, right-click on the concerned drive and click on Properties.
After opening Properties, click on the tab Tools and then click on the “Check” button under the Error-checking section.
Wait until the process is completed and then restart your computer.
Option 4 – Try checking the hardware components
On the other hand, it is also possible that the issue has something to do with a hardware problem and so you need to check the hardware components on your computer to determine that.
Most scrollbars are hidden by default if they are not used in Windows 11. If you are not ok with this feature and want scrollbars to be always visible and available do not worry, turning them ON is very easy.
Press ⊞ WINDOWS + I to open Windows settings
Click on Accessibility in the sidebar
Select Visual Effects
Inside visual effects settings find Always show scrollbars and switch it ON
Windows 11 will save settings automatically and apply setting right away. Close settings and continue with work.
Windows 10 setup is a bit complicated which is why it’s uncommon to encounter errors along the way. One of these errors you can encounter when running Windows Setup is the error code 0x80070006. If you are trying to fix this error, you’ve come to the right place as this post will guide you on how to do so.
When you get the error code 0x80070006, you will see the following error message:
“Windows cannot install required files. Network problems may be preventing Windows from accessing the file. Make sure the computer is connected to the network and restart the installation. Error code: 0x80070006.”
As stated in the error message, this kind of error in Windows Setup is due to an unstable or unreliable network connection. Such problems can also be triggered by network hardware which includes the network adapters and the network routers. To fix this error, you need to check your internet connection and router or run the built-in network troubleshooter. You could also try using a different USB port or recreate a bootable USB drive as well as get a new Windows image file.
Option 1 – Try checking your internet connection and router
As mentioned, this Windows 10 setup error could be due to an unstable internet connection. To fix it, the first thing you have to do is to check the status of your internet connection and see if it is stable and has enough speed to run the setup. If it’s slow, then it’s no wonder that the setup process failed. To fix that, you can try to reboot your router from its admin panel or you can just turn it off manually and then turn it back on after a couple of seconds. In addition, you also have to check if it’s plugged in properly.
Option 2 – Try to run the Network Adapter troubleshooter
The next thing you can do is to run the Network Adapter troubleshooter. This built-in troubleshooter can help resolve any network issues. It can reset the adapters, remove cached settings, and many more. To run it, follow these steps:
Go to Settings > Update & security and from there select Troubleshoot.
Next, scroll down and select the “Network Adapter” option from the right pane.
Then click on the Run Troubleshooter” button.
After that, your computer will check for any possible errors and will pinpoint the root cause of the problem if possible.
Option 3 – Try to use a different USB port
You might want to check the integrity of the USB port where connected the device if you are using a bootable USB storage device to run the setup for Windows 10. All you have to do is switch the USB port or try to use another bootable USB device and see if it fixes the problem.
Option 4 – Try recreating the Windows 10 installation USB
Recreating the Windows 10 installation USB might help in fixing the problem. You can use a USB drive to do so but make sure that it has a great read-write speed. Follow the steps below to recreate Windows 10 installation USB”
Click this link and then click the Download Tool Now button.
Next, click the “Use the tool to create installation media (USB flash drive, DVD, or ISO file)…” option and follow the next given instructions on the screen.
Now select the ISO file option in step 5.
After that, you should now have an ISO file.
Next, go to the location where you’ve downloaded the ISO file.
Then right-click on the Windows 10 ISO file and select the Open with option and then select File Explorer.
Now click on “setup.exe” and follow the next instructions that appear on the screen. When asked, you have to select either Nothing (clean install) or Keep personal files only option. Take note that you must not select the “Keep personal files, apps, and Windows settings since it doesn’t really work.
Option 5 – Try getting a new Windows image file
If none of the four given options above worked, you might want to get a newer installation image using the Windows Media Creation tool. After that, create the bootable USB drive and once completed and then try to run the Windows 10 setup again.
If you are using a Windows Update Standalone Installer to install Windows Updates in your Windows 10 computer but you suddenly encounter an error saying, “Installer encountered an error: 0x80096002, The certificate for the signer of the message is invalid or not found”, read on as this post will guide you on how you can fix it.
This kind of error could be due to the vendor’s certificate that might have become invalid, compromised, or pulled. Aside from that, it is also possible that the update is not targeted at your OS version. You could get this error when you try to install an incompatible update or software on your computer. This error can also appear due to misconfigured system files or when you try to install BitLocker To Go Drive Encryption or BitLocker Drive Preparation Tool. To fix this error, you can try to run the standalone installer in Compatibility mode or enable the Windows Identity Foundation or run the Windows Update troubleshooter.
Make sure to check if the error was resolved after every suggestion. It will help you learn what fixed the problem.
Option 1 – Try to run the installer in Compatibility mode
Look for the setup file.
Once you find it, right-click on it and select Properties from the context menu.
After that, go to the Compatibility tab and mark the checkbox for “Run this program in compatibility mode for:” and from the drop-down list, select the Windows OS version you want the installer to run on.
You also have to check the “Run as administrator” option.
Now click the Apply button and then click OK to save the changes made and check if it has resolved the issue or not.
Option 2 – Try to troubleshoot compatibility
This option is almost the same as the first one except it is an alternative way of fixing the error 0x80096002 in case the first one didn’t work. In this option, you will troubleshoot the compatibility issue.
Look for the setup file.
Then right-click on it and select the “Troubleshoot compatibility” from the context menu.
After that, click on the “Try recommended setting” option. Once the process is done, the error message should be gone.
Option 3 – Try to enable the Windows Identity Foundation
You might also want to enable the Windows Identity Foundation as some users reported that it helped in resolving the error for them. To do so, follow these steps:
In the Windows Start Search, type “Turn Windows features on or off” and click on the matching result.
This will open a list of Windows Features and from there, look for the Windows Identity Foundation.
Once you found it, click on its checkbox and click OK to enable it and save the changes made.
Now see if it has fixed the error or not. If not, you have to disable the feature.
Option 4 – Run the Windows Update Troubleshooter
Running the built-in Windows Update troubleshooter is one of the things you can first check out as it is known to automatically resolve any Windows Update errors like error 0x80096002. To run it, go to Settings and then select Troubleshoot from the options. From there, click on Windows Update and then click the “Run the troubleshooter” button. After that, follow the next on-screen instructions and you should be good to go.
In the last article, we have covered various advantages of Apple hardware over Windows PC, however, PC has their own strengths and advantages over MACs as well. Join us as we explore why would you choose Windows PC over MAC.
Hardware customization
If you like to customize and build your own hardware and customize your existing computer then MACs are out of the picture, on other hand, computers based on Windows operating system are much more flexible in terms of customization.
While Apple hardware is locked and only allows small changes to it, computers running on Windows are free and open to various upgrades and modifications so if you like to play with hardware Windows is your platform.
Gaming
There are games on MAC true but their numbers can not compare to games available for the Windows platform. On top of that, most latest and best gaming hardware is not even available on Apple platforms so if you plan to game in high resolutions and play the latest games there really is no option other than Windows.
Windows Platforms also has multiple emulators that you can use to play games from other older platforms and Microsoft since it owns Xbox has some great plans for both PC and Xbox gaming.
Software back compatibility
Since the introduction of the new MAC OS X, apple really lost a lot of application back compatibility, and a lot of old legacy software can not be run on modern Apple computers. Windows on the other hand have always tried and succeeded in keeping maximum compatibility with older and legacy software.
Also on the Windows platform, there is a lot of community support for old and legacy software so even if it is not officially supported it is backed up by the community.
Software variability
In terms of where can you find the most different software, you need to look no further than the Windows platform. How Windows itself has great backward compatibility and a lot of developers are using it to create new software thanks to Visual Studio and .NET Windows has cemented itself as a platform with the most available software.
The popularity of Windows as the home operating system and as a gaming platform has made it quite interesting in eyes of various developers and tons of small applications are made daily for it. Windows 11 has also brought native android support to it and that has just expanded its already impressive catalog of applications.
Freedom of choice
Overall Windows PC is most appealing for users that like to be able to choose everything, from hardware components to software they would like to use. No other platform will give you larger freedom of choice and better personalization options.
When you have to connect to a drive that’s on a different computer or on external storage, that’s where the mapped network drives come in. Mapped network drives make accessing files a lot easier. However, there are times when it won’t work for some reason.
Windows will notify you about the unavailability of mapped network drives in several ways. For one, Windows might display a red X on the network drives or it could be that its status will be unavailable when you try to use it from the Command Prompt or via a notification.
It is recommended that you run a few scripts when you log in to your PC as it may so happen that the network drive takes more than usual to connect. Before you start troubleshooting the problem using the given options below, keep in mind that some workouts might only work under certain scenarios. You might need some network access at logon or you might need access to the Group Policy settings. So you need to choose what you prefer more.
You can try the given workarounds below if the mapped network drives are not showing or connecting or working on your Windows 10 computer. These workarounds use scripts to make sure that you are connected to them as soon as you start to use your PC.
As mentioned, before you can troubleshoot, you need to create scripts first. There are two scripts here namely MapDrives.ps1 which is executed by the second script named MapDrives.cmd and is done at a regular and non-elevated Command Prompt. Follow the steps below to get started.
You have to create a script file named “MapDrives.cmd” first and then save it on a place where the files are safe. To do that, open a text editor like Notepad and then copy and paste the following script:
After that, save the file and name it “MapDrives.cmd”.
Next, create a script file named “MapDrives.ps1” and then copy and paste the following content. Just make sure to save both scripts in the same folder.
$i=3while($True){ $error.clear() $MappedDrives = Get-SmbMapping |where -property Status -Value Unavailable -EQ | select LocalPath,RemotePath foreach( $MappedDrive in $MappedDrives) { try { New-SmbMapping -LocalPath $MappedDrive.LocalPath -RemotePath $MappedDrive.RemotePath -Persistent $True } catch { Write-Host "There was an error mapping $MappedDrive.RemotePath to $MappedDrive.LocalPath" } } $i = $i - 1 if($error.Count -eq 0 -Or $i -eq 0) {break} Start-Sleep -Seconds 30}Note: Now that you’ve created the script files, it’s time for you to proceed to the options given below.
Option 1 – Try creating a startup item
Note that this option only works on devices that have network access at login. So if it’s not there, the script will fail to reconnect the network drivers automatically. To create a startup item, here’s what you have to do:
Open the Startup folder located at %ProgramData%MicrosoftWindowsStart MenuProgramsStartUp.
From there, copy and paste the MapDrives.cmd.
After that, open the Scripts folder located at %SystemDrive%Scripts copy-paste MapDrives.ps1 and then copy and paste MapDrives.ps1 in there.
Note: After you complete the steps above, a log file named “StartupLog.txt” will be created in the %TEMP% folder. Now all that’s left for you to do is to log out of your computer and then log back in. This will ensure that the mapped drives are open.
Option 2 – Create a scheduled task
It is possible to create a scheduled task that runs as soon as you log in to your computer. To create a scheduled task, follow the steps below.
You have to copy the MapDrives.ps1 script file to the scripts folder of Windows located at %SystemDrive%Scripts.
After that, open the Task Scheduler and select Action > Create Task.
Next, type a name and description of the task in the General tab.
Then click on the Change User or Group button and select a local user group and click OK.
Now check the box labeled “Run with highest privileges” and switch to the Triggers tab.
From there, create a new trigger with the “At Logon” option in the Begin the task drop-down menu and then click OK.
After that, switch to the Actions tab and create a new action then choose to Start a program.
Next, type “Powershell.exe” in the Program/Script field, and in the Add arguments (optional) field, type the following:
And in the Start in the (optional) field, type “%SystemDrive%Scripts” as the location of the script file.
Now under the Conditions tab, select the “Start only if the following network connection is available” option and then select Any connection and click OK.
Restart your computer or log off from your account and then log back in so that the task will be executed.
Option 3 – Use the Group Policy settings
You need this option if the mapped network drives are defined via Group Policy settings. You have to update the action of the drive maps to Replace. As a result, it will delete the existing mapped drive and create the mapping on each logon again. However, any settings on the mapped drive that are changed from the Group Policy settings will be gone on each logon. So if the changes don’t work, you need to run the gpupdate command together with the /force parameter in order to refresh the Group Policy setting quickly.
Runtime Error 216 is not a common error message like Runtime Error 339. However, it may sometimes occur when starting up the computer if you are using a Windows-based application or using Internet Explorer.
Solution
Download Available to Completely Repair Runtime Error 216
Error Causes
The runtime error 216 error occurs when your computer gets infected with one or more viruses.
The most common virus, in this case, is the SubSeven Trojan virus. Once your computer gets infected with a virus(es) it creates a backdoor on your Windows system. This might give hackers access to monitor your PC remotely.
This poses a great risk to confidential information and personal data stored on your PC. The hackers can easily monitor your PC, access your private information and misuse it.
Further Information and Manual Repair
If you experience this error message, it is advisable to repair it immediately without any delays; Runtime Error 216 can make your system vulnerable.
Here’s what you must do:
First things first, disconnect the internet connection so that the hacker can’t access your PC.
Now perform a boot scan through a powerful antivirus. The antivirus will scan your system for viruses. After the scan is complete, all the disinfected files will appear in the scan report results. You are advised to delete them and click repair to fix the error.
Remember the antivirus will not scan infected Windows Registry entries, therefore to remove SubSeven.exe Windows Registry entries go to the start menu and type REGEDIT in the search box.
Click on REGEDIT and select Run as Administrator. Now type the following registry path HKEY_LOCAL_MACHINESoftware. This will help locate SubSeven.exe infected files. Once located, delete all of them and close Windows Registry Editor.
To ensure your computer is completely free from SubSeven Trojan Virus and other possible viruses, it is advisable to remove all the recently installed programs and downloaded applications.
This is recommended because sometimes while downloading programs, we tend to download corrupted programs which include viruses. It’s, therefore, best to delete all the programs you’ve installed recently.
Secondly, to prevent virus and hacker attacks, you must frequently update your security program by installing a powerful antivirus program.
Following the repair guide steps will protect your system from malware. It will also help fix runtime error 216 and ensure your PC is protected from similar threats.

 Error Causes
 When the Apps screen opens on the left click on Default apps.
 On right, you will get a list of Windows default applications for certain types of files. Click on any application you would like to change and choose from the drop-down list a new one. Click on it and you are done.
 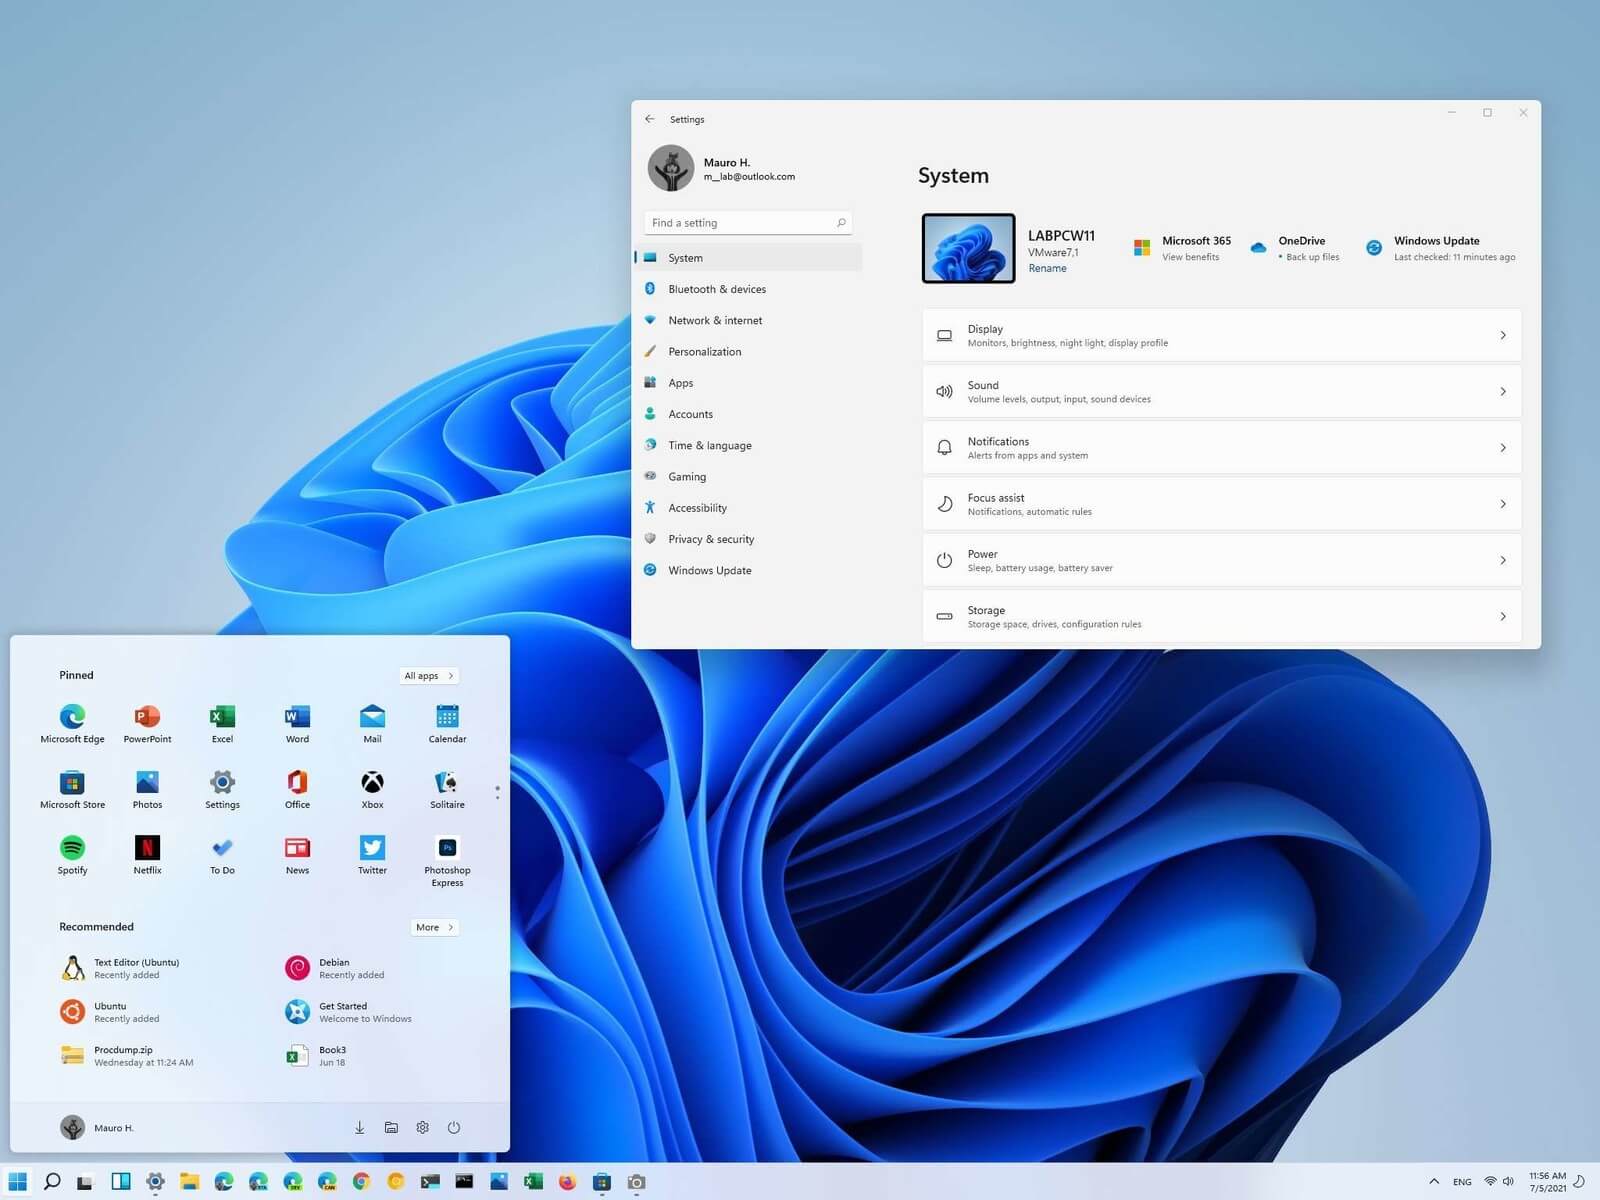 Most scrollbars are hidden by default if they are not used in Windows 11. If you are not ok with this feature and want scrollbars to be always visible and available do not worry, turning them ON is very easy.