
Error Code 80070103 –What is it?
Error code 80070103 affects Windows users who attempt to access the latest updates for hardware drivers using Windows Update. Windows 10 users who are affected by this error code will be unable to complete the upgrade process. This error code usually occurs due to the Windows Update attempts to download an incompatible version of a driver or a driver that is already downloaded on one’s device.
Solution
 Error Causes
The cause of error code 80070103 in Windows 10 is usually easy to determine. This is due to the fact that the error code only affects users who attempt to access updates related to hardware drivers. In such cases, the error code will only occur if the Windows Update website or tool on your machine attempts to install a driver that is already present on one’s machine or the version of the driver is unsuitable for one’s machine due to lower compatibility.
Further Information and Manual Repair
Manual repair methods are very effective in helping Windows users fix problems related to error code 80070103 as well as other errors. These repair methods can usually be implemented by users with very limited technical skills. In some cases, however, you may need to contact a Windows repair technician, i.e. if you have problems following the manual repair method instructions provided or if the repair methods prove unsuccessful.
In the case of error code 80070103, the problem can be rectified by either hiding the update or reinstalling the hardware driver. Windows users can hide an update on the Windows Update website or via Windows Update within their machine’s Settings. However, users will need to contact their device manufacturer to reinstall hardware drivers in most instances. See below for further details regarding these manual repair methods.
Method One: Hide the Update
In the case where you are informed via an error message box that a driver, for instance, your graphics driver, is incompatible you may need to consider hiding the update to prevent error code 80070103 from reoccurring on your machine.
The incompatible issues will come about when the Windows Update website attempts to download a driver that is already on the device or one with a lower compatibility. When you hide the update, it is in essence, preventing Windows Update from offering this driver in the future. To complete this manual repair method, follow the steps below:
- Step one: Visit the Microsoft Update site
- Step two: Select Custom on the Welcome page after completing the scan for the updates process
- Step three: Select Hardware, Optional.
- Step four: Open the second update for the graphics card, then select Don't show this update again check box.
- Step five: Review and install updates.
You may also complete this process by opening Windows Update within your computer’s settings, then selecting the Optional update or available link. Once you’ve done this, you may then select the updates you would like to install and hide the update that has resulted in the occurrence of error code 80070103.
Method Two: Reinstall Hardware Driver
In the case where you need to install a hardware driver, you will need to contact the manufacturer of your device. Once you’ve contacted the manufacturer or visit the manufacturer’s official website, you can then install the latest device drivers manually. Read the instructions for the installation of the latest drivers carefully. This will ensure you avoid any problems and improve your chances of successfully fixing error code 80070103.
After you’ve contacted your device manufacturer and completed the process of reinstalling the hardware driver, check Windows Update to see whether or not error code 80070103 has been rectified. If the problem was related to your hardware driver and you successfully reinstalled the driver, the error code will not reoccur when you attempt to download the latest updates for your hardware drivers.
However, you may need to take another approach if this manual repair method fails to fix error code 80070103. For instance, consider getting help from a Windows repair technician who is equipped with the skills and expertise necessary to offer a detailed inspection of your machine. Though the error code is related to one’s drivers, the fact that a Windows error code occurred may mean that your system needs a thorough evaluation as other issues may be present.
Method Three: Download an Automated Tool
If you wish to always have at your disposal a utility tool to fix these Windows 10 and other related issues when they do arise, download and install a powerful automated tool.
 Well if anyone told me just a few years ago that I will see the day when Microsoft releases a new OS based on Linux I would be very amused, but that day has come. Mariner is the newest OS out of nowhere.
Microsoft’s new Linux Distro, dubbed Common Base Linux (CBL)-Mariner, isn’t the type of distro you’d want to install directly on any old machine. It’s primarily meant for cloud infrastructure and edge products. Specifically Microsoft’s Cloud and Edge products.
But if you are curious, it’s possible to run. Juan Manuel Rey, a Microsoft Senior Program Manager for Azure VMware, recently published a guide to ISO CBL-Mariner image. With that, you can easily get it up and running. And you can build CBL-Mariner on an Ubuntu 18.04 desktop. So you can try it out since it is free.
You can get it from here:
Well if anyone told me just a few years ago that I will see the day when Microsoft releases a new OS based on Linux I would be very amused, but that day has come. Mariner is the newest OS out of nowhere.
Microsoft’s new Linux Distro, dubbed Common Base Linux (CBL)-Mariner, isn’t the type of distro you’d want to install directly on any old machine. It’s primarily meant for cloud infrastructure and edge products. Specifically Microsoft’s Cloud and Edge products.
But if you are curious, it’s possible to run. Juan Manuel Rey, a Microsoft Senior Program Manager for Azure VMware, recently published a guide to ISO CBL-Mariner image. With that, you can easily get it up and running. And you can build CBL-Mariner on an Ubuntu 18.04 desktop. So you can try it out since it is free.
You can get it from here: 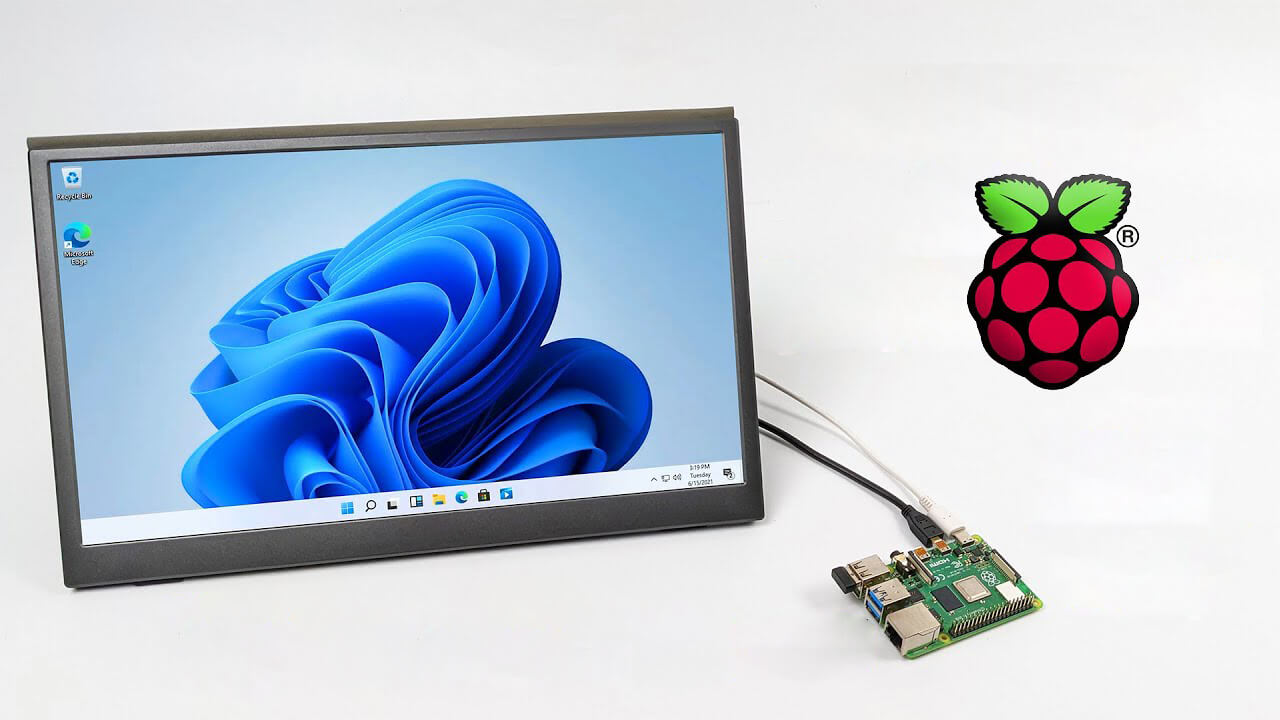 Raspberry Pi 4 and things you need for Windows 11 installation
 Microsoft office has two major packages, an online one, and an offline version. The online version of the course is Office 365 that requires a monthly subscription and it is always regularly updated and maintained. Another version is more of a typical old school application, install it and use it, no constant internet connection is required and no monthly subscription is required, buy once and use it.
The last version of buying it once and use it was Office 2019 and after two years we are going to receive a new version soon. Microsoft has set its release date for October 5th of this year and as always it will feature the current latest version of office applications and one-time purchase.
The new office will support dark mode and other improvements tied to the new Windows 11 and some specific features tied to Office itself.
Microsoft office has two major packages, an online one, and an offline version. The online version of the course is Office 365 that requires a monthly subscription and it is always regularly updated and maintained. Another version is more of a typical old school application, install it and use it, no constant internet connection is required and no monthly subscription is required, buy once and use it.
The last version of buying it once and use it was Office 2019 and after two years we are going to receive a new version soon. Microsoft has set its release date for October 5th of this year and as always it will feature the current latest version of office applications and one-time purchase.
The new office will support dark mode and other improvements tied to the new Windows 11 and some specific features tied to Office itself.  Sadly receiving this blue screen does not really explain which of the three cases is the correct one and causing the unwanted issue.
That being said, this article will not offer you a direct solution this time, it will be more like a guide on what to check and to do in order to remove this error, reason for this is the nature of the error itself.
If your computer is booting properly and you can enter Windows without issues the first thing you can try is going into power options and set it to high performance, if you are on a laptop set high performance both ways, when plugged and when on battery. Power performance settings can reflect on some hardware and can cause mayhem. After setting reboot the computer and see if the error repeats itself.
If the error persists go to the device manager and see if there is hardware that has any kind of warning beside it. If there is, update the driver or remove the driver of the device to see if this fixes the issue.
If all of the previous two things fail there is another thing you could try. Turn off your computer and disconnect all hardware except the most basic one. Now, this may take a long period of time but boot your computer and then repeat this process but each time add a new piece of hardware to eliminate and find which one is causing the issue. When found try to see if it is repairable through driver updates or get a new device.
Sadly receiving this blue screen does not really explain which of the three cases is the correct one and causing the unwanted issue.
That being said, this article will not offer you a direct solution this time, it will be more like a guide on what to check and to do in order to remove this error, reason for this is the nature of the error itself.
If your computer is booting properly and you can enter Windows without issues the first thing you can try is going into power options and set it to high performance, if you are on a laptop set high performance both ways, when plugged and when on battery. Power performance settings can reflect on some hardware and can cause mayhem. After setting reboot the computer and see if the error repeats itself.
If the error persists go to the device manager and see if there is hardware that has any kind of warning beside it. If there is, update the driver or remove the driver of the device to see if this fixes the issue.
If all of the previous two things fail there is another thing you could try. Turn off your computer and disconnect all hardware except the most basic one. Now, this may take a long period of time but boot your computer and then repeat this process but each time add a new piece of hardware to eliminate and find which one is causing the issue. When found try to see if it is repairable through driver updates or get a new device.