Recently, a lot of users reported to Microsoft about getting an error code 0x80096004 while trying to update their Windows 10 computers. This kind of Windows Update error occurs during the initial download and verification process. It also affects the Windows features (FODs) and when you encounter this error, you will also see this error code, “TRUST_E_CERT_SIGNATURE”. This error code indicates that the signature of the certificate could not be confirmed. This is caused by a broken certificate store or a corrupt copy of the Windows operating system is installed.
Here’s the complete error message:
“There were some problems installing updates, but we’ll try again later. If you keep seeing this and want to search the web or contact support for information, this may help: (0x80096004).”
To fix Windows Update error 0x80096004, you can check out the options provided below.
net stop wuauserv
net start cryptSvc
net start bits
net start msiserver
After resetting the SoftwareDistribution folder, you need to reset the Catroot2 folder to restart the services you just stopped. To do that, follow these steps:
net start wuauserv
net start cryptSvc
net start bits
net start msiserver
Running the built-in Windows Update troubleshooter is one of the things you can first check out as it is known to automatically resolve any Windows Update errors like error code 0x80096004. To run it, Refer to these steps:
As mentioned, the error could be due to the antivirus program or the Windows Defender Firewall installed on your computer. Thus, disabling them or any security software installed in your computer is always a good idea you can try when you’re not able to access the shared drive on your computer. There are times when you encounter problems like Error Code 0x80096004 due to interference of antivirus or security programs. Thus, you have to disable both your antivirus program and Windows Defender Firewall for the meantime and check if it fixes the error or not.
You can also try to replace the crypt32.dll file as it could help in fixing the Windows Update error. Just make sure that you get one from a trusted source.
Error Code 0x80096004 might be due to a Windows Update that has failed. So if it is not a feature update and only a cumulative update, you can download the Windows Update and install it manually. But first, you need to find out which update has failed, and to do so, refer to the following steps:
Note: You can also use the Microsoft Update Catalog, a service from Microsoft that provides a list of software updates that can be distributed over a corporate network. With the help of this service, it can be easier for you to find Microsoft software updates, drivers as well as fixes.
System File Checker or SFC is a built-in command utility that helps in restoring corrupted files as well as missing files. It replaces bad and corrupted system files to good system files. To run the SFC command, follow the steps given below.
The command will start a system scan which will take a few whiles before it finishes. Once it’s done, you could get the following results:
Reboot your PC.
There are some instances that some conflicting programs installed in your computer might be the one that’s causing Windows Update error. To identify which program is causing the problem, you need to put your computer in a Clean Boot State. To do so, follow the steps below.

net stop vss net start vssOnce the commands execute successfully, try the system image backup again. The operation should complete successfully. You need to also check if the Software Protection Service is disabled. If it is, then Start it and ensure that it is set to default which is Automatic (Delayed Started).
MovieGoat is a browser extension that allegedly lets you search for your favorite videos using its simple search engine. From the author:
MovieGoat hijacks your browser, replacing your default search engine, displaying sponsored videos when you use its search and will display pop-up ads during your browsing experience. This extension has been detected as a Browser Hijacker by several anti-virus scanners and is not recommended to keep on your computer, especially because it serves no other purpose than to display pop-up ads and negatively impact your browsing experience.Search for your favorite movies online, stay updated with the latest news and trends, and keep an eye on what’s up and coming in the world of cinema.
Simply type goat+ SpaceTab + query at the chrome search bar.
 Error Causes
 So, next time when you or your friends encounter this problem, try these quick fixes to repair the error without any hassle.
 “This policy setting allows you to control whether a domain user can sign in using a convenience PIN. If you enable this policy setting, a domain user can set up and sign in with a convenience PIN. If you disable or don’t configure this policy setting, a domain user can’t set up and use a convenience PIN. Note: The user’s domain password will be cached in the system vault when using this feature. To configure Windows Hello for Business, use the Administrative Template policies under Windows Hello for Business.”
net stop wuauserv net stop bits
net start wuauserv net start bitsSince the folder has already been flushed, it will be populated afresh the instant your restart your computer and open Windows Update.
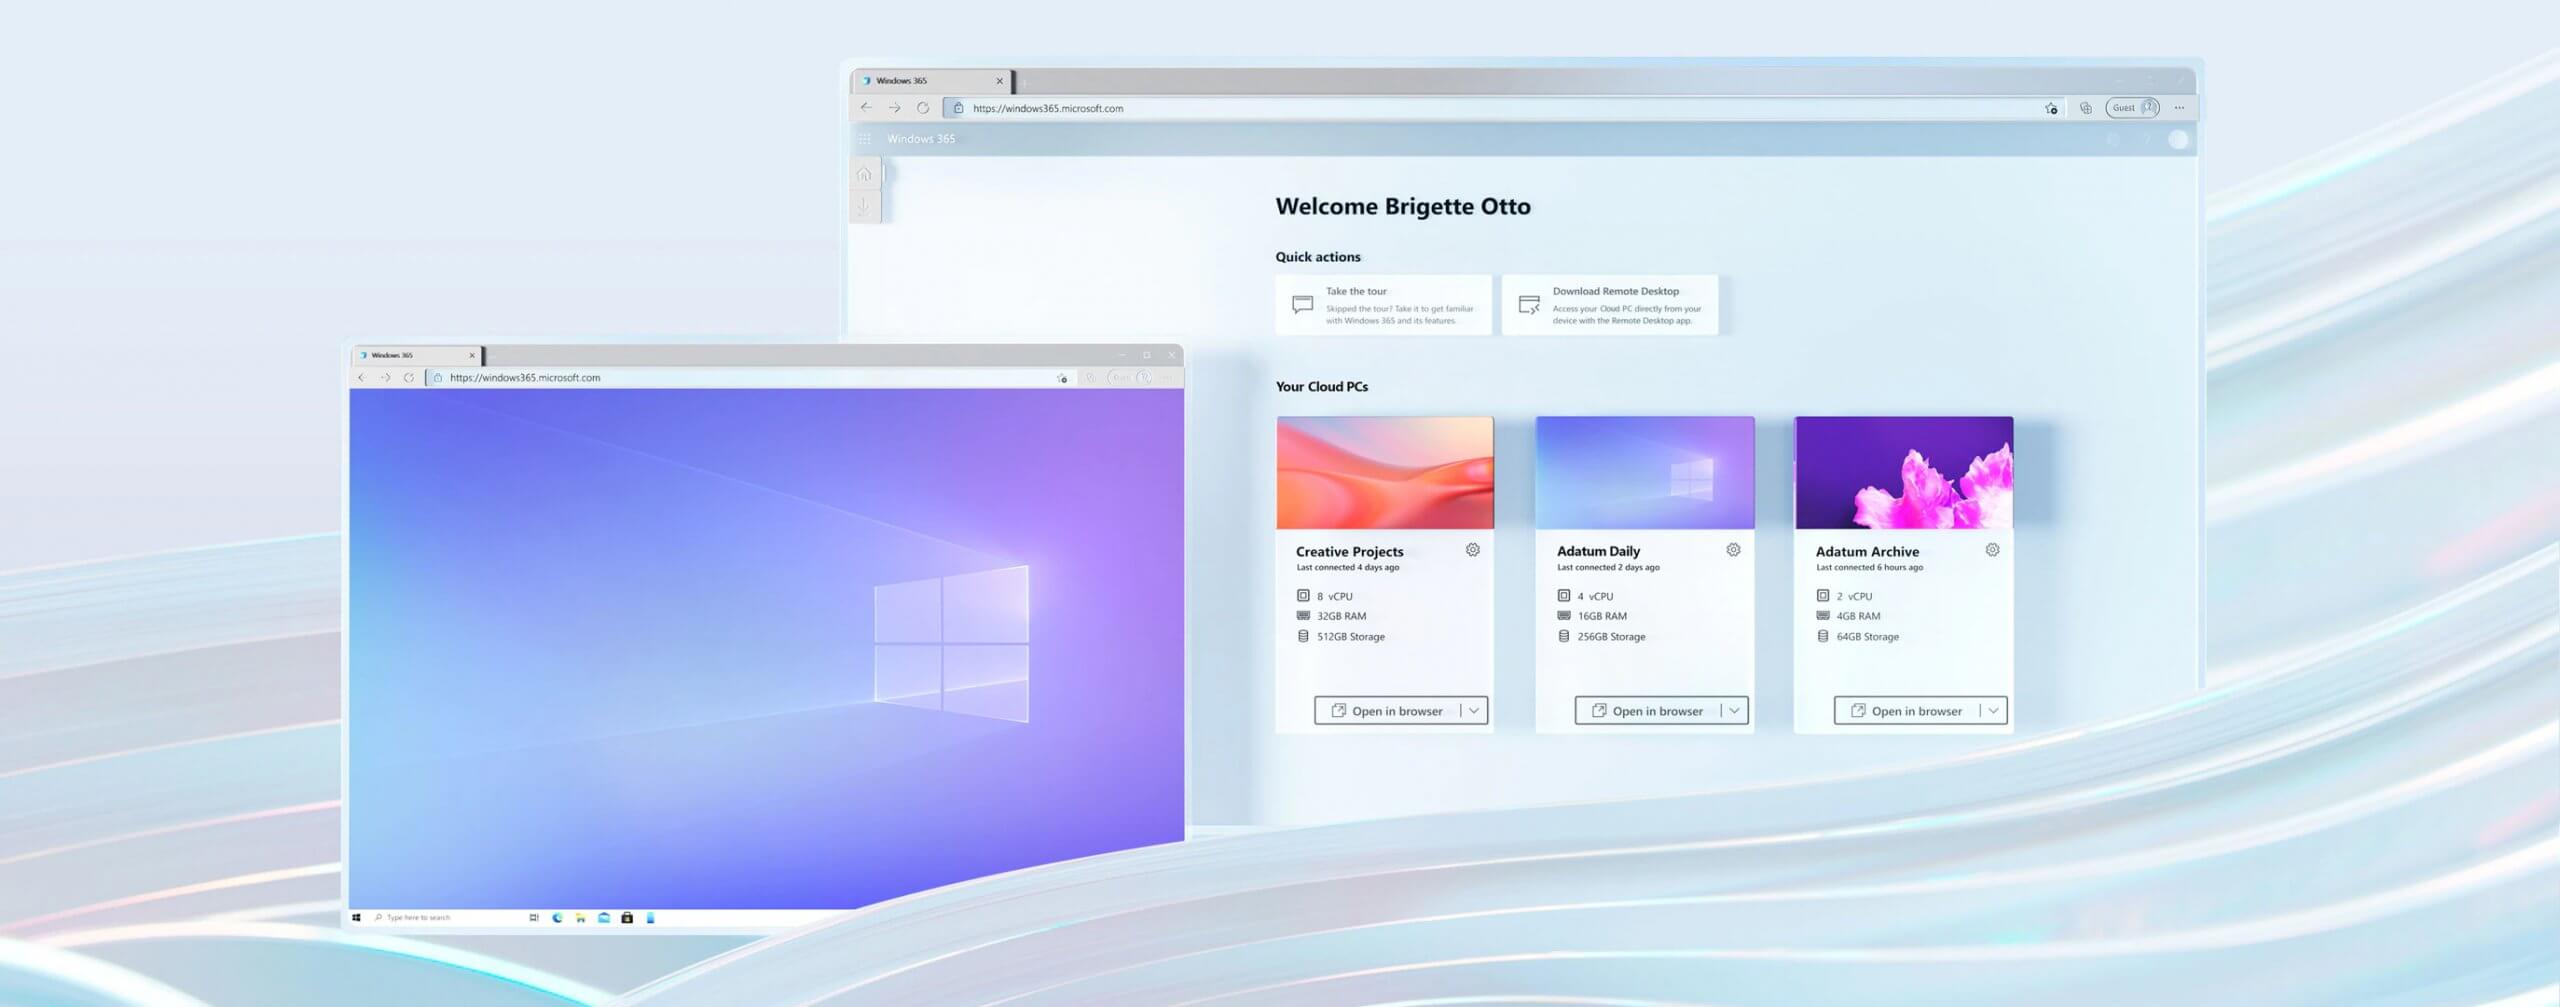 Microsoft has announced Windows 365, a new cloud-based operating system aimed mainly at businesses of all sizes.
Just after Windows 11 announcement and presentation, we are seeing another Windows announcement from Microsoft. Dive into the following text in order to find out what exactly is new Windows 365, its role in today's IT world, and do you need it?
Microsoft has announced Windows 365, a new cloud-based operating system aimed mainly at businesses of all sizes.
Just after Windows 11 announcement and presentation, we are seeing another Windows announcement from Microsoft. Dive into the following text in order to find out what exactly is new Windows 365, its role in today's IT world, and do you need it?
 When the personalization setting opens go-to color tab on left and scroll down until you find 2 checkboxes under "show accent color on the following surfaces:"
 check ones you wish to apply the effect to and you are done. Now your START menu and/or title bars are using the color scheme of your choice.
 DISM.exe /Online /Cleanup-image /Restorehealth
sfc /scannow
findstr /c:"[SR]" %windir%LogsCBSCBS.log >"%userprofile%Desktopsfclogs.txt"The command you entered will open up the logs on your Desktop where you can look for files that are causing the error on your computer manually.
chkdsk /f /r