If you were trying to update your Windows 10 computer and failed due to Error Code 0x80240438, then you’ve come to the right place as this post will give you a couple of suggestions you can check out to resolve this error.
You can encounter Error Code 0x80240438 not just in Windows Updates but also in Microsoft Store. This is due to the fact that the delivery mechanism for both Windows Updates and Microsoft Store is common and interdependent. This is why a lot of Windows Update and Microsoft Store error codes are similar. And so fixing them won’t be that hard as well since most methods are basically the same.
When you encounter this kind of error in Windows Update or Microsoft Store, you will see the following error message on your screen:
“There were some problems installing updates, but we’ll try again later. If you keep seeing this and want to search the web or contact support for information, this may help – (0x80240438).”
To resolve Error Code 0x80240438, here are some potential fixes you need to check out:
Option 1 – Try to run the Windows Update Troubleshooter
The Windows 10 Store Apps Troubleshooter will help you in fixing the Error Code 0x80240438. This is a great built-in tool from Microsoft that helps users fix any app installation issues. So this is worth a try to solve the problem. This built-in tool also helps you fix the Windows 10 Store if it isn’t working.
To use the Windows Store Troubleshooter, follow the steps below.
- Tap Win + I keys again to open the Windows Settings panel.
- Go to Update & Security and then go to Troubleshoot.
- Under the Troubleshoot section, on your left-hand side, scroll down to find Windows Update and then click on Run the troubleshooter option and follow the on-screen instructions and then see if it fixes the problem.
Option 2 – Try to temporarily disable anti-virus and Windows Defender Firewall
As mentioned, the error could be due to the antivirus program or the Windows Defender Firewall installed on your computer. Thus, disabling them or any security software installed in your computer is always a good idea you can try when you’re not able to access the shared drive on your computer. There are times when you encounter problems like Error Code 0x80240438 due to interference of antivirus or security programs. Thus, you have to disable both your antivirus program and Windows Defender Firewall for the meantime and check if it fixes the error or not.
Option 3 – Disable the Proxy server
You can also try to disable the Proxy server for your LAN to fix Error Code 0x80240438 especially if your computer was attacked by some malware or adware recently. In such cases, there is a chance that the malware or adware has changed your network settings in order to generate intrusive advertisements. Thus, you have to disable the proxy server and you can do that by following these steps:
- Tap the Win + R keys to open the Run dialog box.
- Then type “inetcpl.cpl” in the field and hit Enter to pull up the Internet Properties.
- After that, go to the Connections tab and select the LAN settings.
- From there. Uncheck the “Use a Proxy Server” option for your LAN and then make sure that the “Automatically detect settings” option is checked.
- Now click the OK and the Apply buttons.
- Restart your PC.
Note: If you are using a third-party proxy service, you have to disable it.
Option 4 – Try modifying the “Remove access to use all the Windows Update features” Policy
- Start by tapping the Win + R key combination to open the Run utility.
- Then type “gpedit.msc” in the field and tap Enter to open the Group Policy Editor.
- Once you’ve pulled up the Group Policy Editor, navigate to this setting: User Configuration > Administrative Templates > Windows Components > Windows Update
- Next, double click on the “Remove access to use all the Windows Update features” policy and set its radio button to “Not Configured”. As you can see, this policy setting has the following description:
“This setting allows you to remove access to Windows Update. If you enable this setting, all Windows Update features are removed. This includes blocking access to the Windows Update Web site at http://windowsupdate.microsoft.com, from the Windows Update hyperlink on the Start menu, and also on the Tools menu in Internet Explorer. Windows automatic updating is also disabled; you will neither be notified about nor will you receive critical updates from Windows Update. This setting also prevents Device Manager from automatically installing driver updates from the Windows Update Web site.”
If you enable this policy setting, you can configure one of the following notification options:
- 0 = Do not show any notifications: This setting will remove all access to Windows Update features, and no notifications will be shown.
- 1 = Show restart required notifications – This setting will show notifications about restarts that are required to complete an installation.
- Now you need to exit the Group Policy Editor and restart your computer for the changes to take effect.
Option 5 – Try resetting the Windows Update folders
Resetting the Windows Update folders can also help in fixing the error in both Windows Update and Microsoft Store. All you have to do is delete the contents in both the SoftwareDistribution folder and reset the Catroot2 folder as well.
Option 6 – Try downloading and installing the Windows Updates manually
Error Code 0x80240438 might be due to a Windows Update that has failed. So if it is not a feature update and only a cumulative update, you can download the Windows Update and install it manually. But first, you need to find out which update has failed, and to do so, refer to the following steps:
- Go to Settings and from there go to Update and Security > View Update History.
- Next, check which particular update has failed. Note that Updates that have failed to install will be displayed under the Status column which has a label of “Failed”.
- After that, go to the Microsoft Download Center and look for that update using its KB number and once you find it, download and then install it manually.
Note: You can also use the Microsoft Update Catalog, a service from Microsoft that provides a list of software updates that can be distributed over a corporate network. With the help of this service, it can be easier for you to find Microsoft software updates, drivers as well as fixes.

 Error Causes
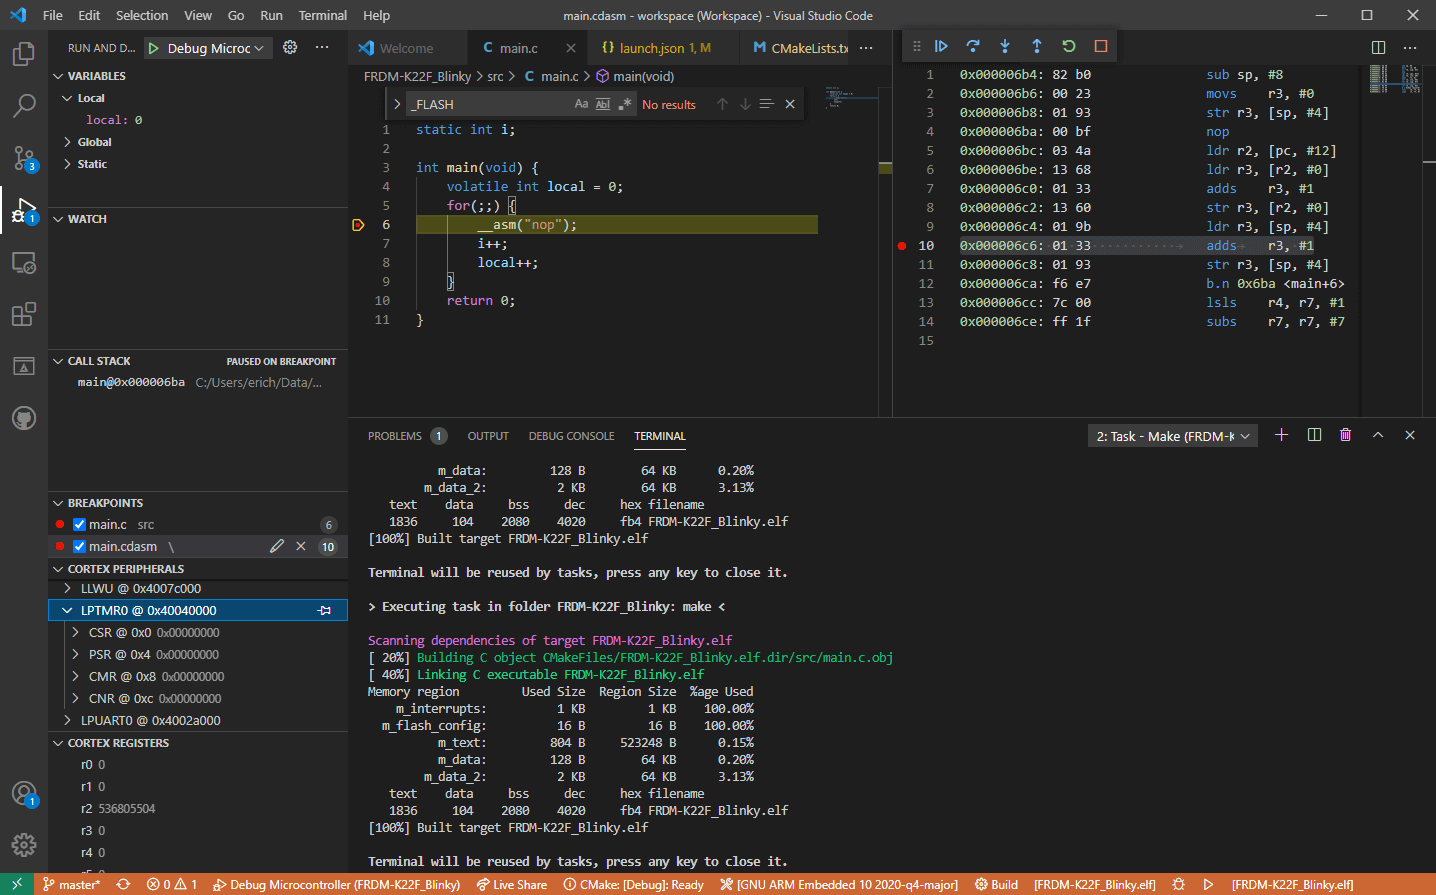 Visual studio code is a code editor available for Windows, Linux, and macOS. It is a completely free tool offering you to code in any language without the need to switch to another editor.
Visual Studio Code is part of Microsoft Visual Studio which is a complete integrated development environment (IDE). Take notice that Visual studio itself has more advanced tools for developing and testing, it has 24/7 support, training, and Azure for WEB apps.
Visual Studio Code is an editor lacking in some advanced features Visual Studio offers.
Visual studio code is a code editor available for Windows, Linux, and macOS. It is a completely free tool offering you to code in any language without the need to switch to another editor.
Visual Studio Code is part of Microsoft Visual Studio which is a complete integrated development environment (IDE). Take notice that Visual studio itself has more advanced tools for developing and testing, it has 24/7 support, training, and Azure for WEB apps.
Visual Studio Code is an editor lacking in some advanced features Visual Studio offers.
 To personalize the lock screen do: