If you encounter an error message saying, “ERR SSL VERSION OR CIPHER MISMATCH” while visiting a website, then it is not primarily your fault as an end-user. In fact, it can happen on any website like Chrome, Edge, Firefox, and even Internet Explorer. Getting this error means that the website you are visiting is using an SSL certificate which your browser seems to be rejected because there is some issue with the certificate. It is also possible that the certificate that’s downloaded on your computer is corrupted or that your computer configuration for TSL/SSL is misconfigured.
Here are the complete details of the error message:
“A secure connection cannot be established because this site uses an unsupported protocol, Error code ERR_SSL_VERSION_OR_CIPHER_MISMATCH”
To resolve the ERR_SSL_VERSION_OR_CIPHER_MISMATCH error, refer to the options given below and see which one works for you.
The first thing you can do is to try accessing the website using HTTP instead of HTTPS. If you can open the website using HTTP then it means that the problem is in the website itself. And if you are the website owner, you can check the following:
On the other hand, you may also check if your CDN also supports SSL since most of the CDN nowadays supports SSL. All you have to do is configure it correctly and it should be good to go.
If you were using Google Chrome when you got the ERR SSL VERSION OR CIPHER MISMATCH error, then you need to follow the protocol fixes for SSL3/TLS and QUIC which are usually some of the reasons that cause the SSL version / Cipher Mismatch. It also has a few fixes for Windows 10 computer where you can clear the certificates and make sure that your computer date and time is in sync with your time zone and so on.
If you were using Edge or Internet Explorer when you got the error, then you have to follow the steps below.
On the other hand, if you were using Firefox when you go the error, here’s what you have to do.

“Your PC can’t project to another screen, Try reinstalling the driver or using a different video card.”This error could be due to loosely connected hardware or the display adapter. It is also possible that a recent Windows Update has messed up its settings. To resolve this issue, you can try several suggestions that will be given in this post. You can try to check the hardware cable connections or run the Hardware and Devices troubleshooter. You could also update or reinstall the display adapters or replace the graphics card.
“Your password may have expired, or the remote PC might not accept blank passwords. Try connecting again. If this keeps happening, ask your admin or tech support for help.”It is unknown what the exact cause of the error message is as it could involve several factors. Even so, there are still various potential fixes you can try to fix this kind of error. You can try to check if your password has expired or troubleshoot any issues with the network. You could also use a remote desktop application or configure the settings of firewall or restart the remote desktop service. For more details, refer to each one of the given options below. But before you proceed, make sure that you have someone to help assist you on the other side to help you troubleshoot the issue.
bootrec /fixboot
ren BCD BCD.bak
bcdboot c:Windows /l en-us /s b: /f ALL
diskpart
list volume
select volume number
assign letter=<LETTER>Note: Make sure to replace “<LETTER>” with the letter you want to allocate to that partition. Afterward, it will assign a letter to the selected volume.
diskpart
list disk
select disk number
list partition
select partition number
active
ListenToTheRadioNow is a Browser Extension that allegedly lets you listen to radio from your browser. However, all this extension does is add links to the popular radio stations on your home page. This extension hijacks your home page and changes your default search provides to MyWay. While running it monitors browsing data from your browser, mining information such as website visits, clicked links, and sometimes even personal information. This information is later used to display targeted ads through your browser. Several anti-virus scanners have marked this extension as a possible Browser Hijackers, and due to its data mining nature, it is not recommended to keep it on your computer.
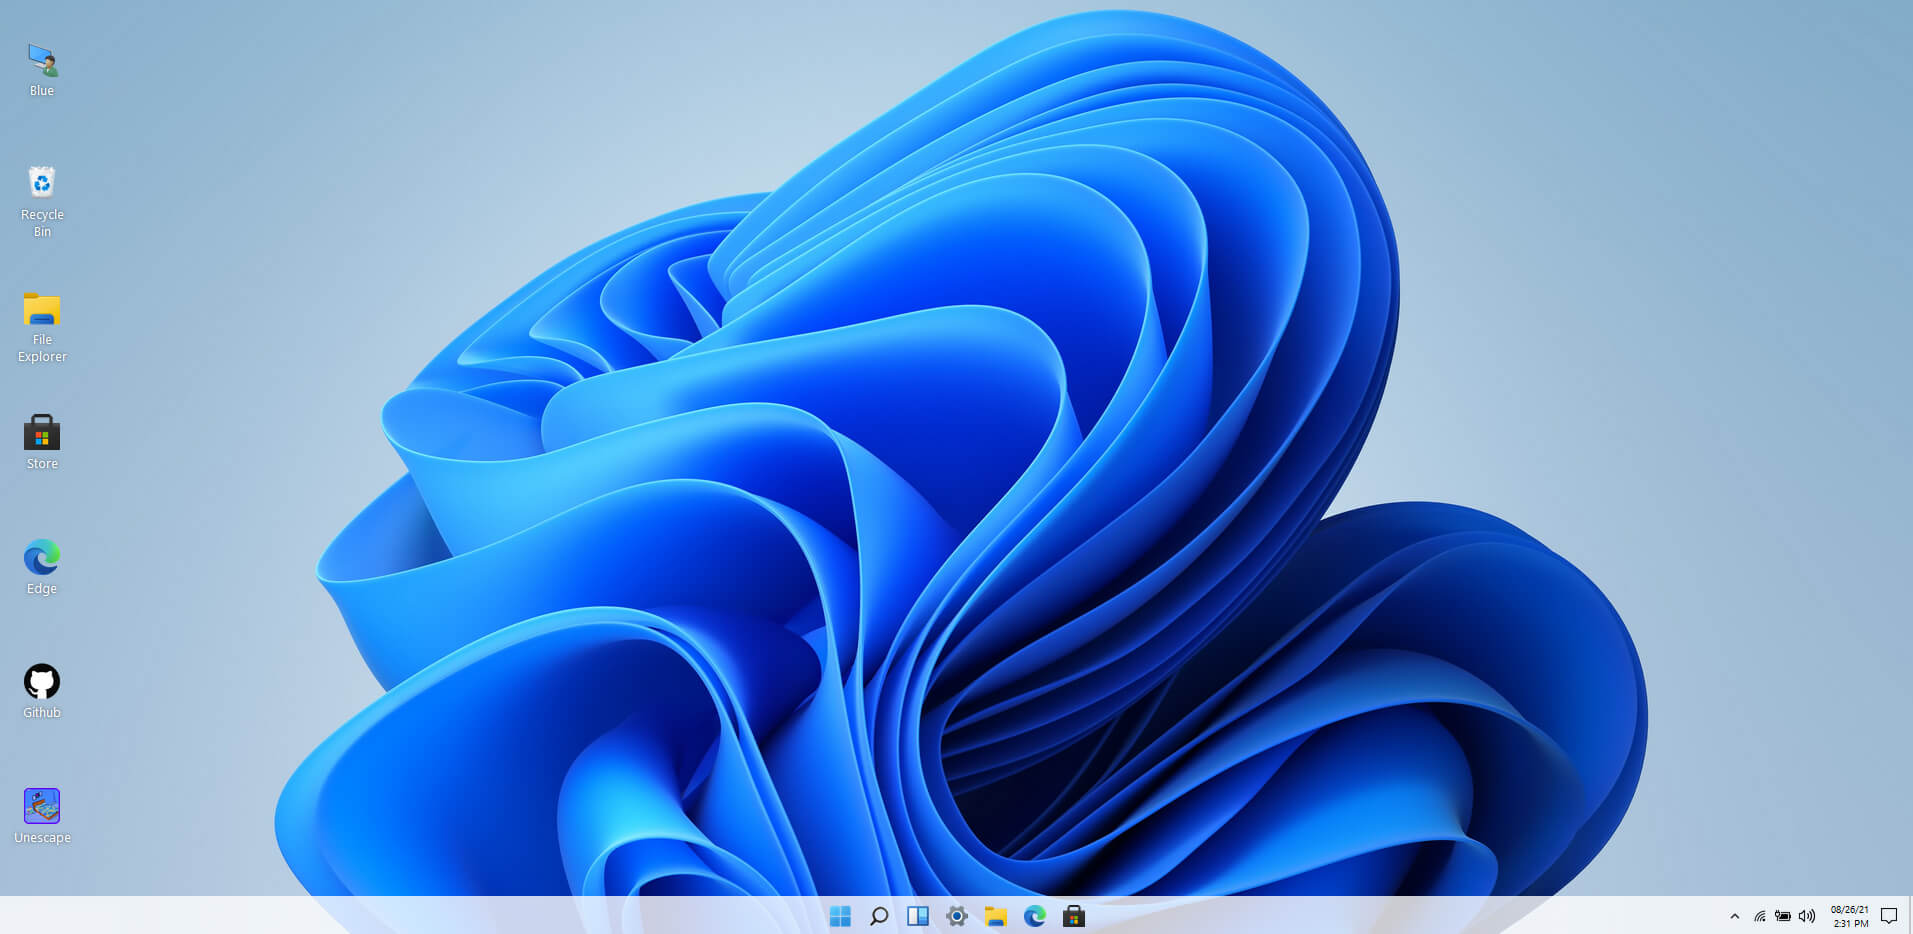 Windows 11 release date is closing in, some people have tried it via insider build, some have decided not to. It has come to our attention that there is a little website made by BlueEdge that offers a virtual Windows 11 desktop.
Opening the Website will put you right inside Windows 11 desktop, now take note that this is not Windows 11, it is a simulation of Microsoft’s newest OS and therefore many things will not work like File Explorer, etc.
One thing you can make sure it is working is UI itself, you can see how you do like the new Taskbar, start menu, widgets, and some other things. You can just pop up on the site and check how you do like the overall new look and feel of Windows 11 UI before installing it or trying it.
We are sure that many more options will come in time but even now you can get a feel of the newest OS.
Windows 11 BlueEdge site: https://win11.blueedge.me/
Windows 11 release date is closing in, some people have tried it via insider build, some have decided not to. It has come to our attention that there is a little website made by BlueEdge that offers a virtual Windows 11 desktop.
Opening the Website will put you right inside Windows 11 desktop, now take note that this is not Windows 11, it is a simulation of Microsoft’s newest OS and therefore many things will not work like File Explorer, etc.
One thing you can make sure it is working is UI itself, you can see how you do like the new Taskbar, start menu, widgets, and some other things. You can just pop up on the site and check how you do like the overall new look and feel of Windows 11 UI before installing it or trying it.
We are sure that many more options will come in time but even now you can get a feel of the newest OS.
Windows 11 BlueEdge site: https://win11.blueedge.me/ “Something went wrong Couldn’t download Windows 10, please check your network settings and try again. You can contact Microsoft support for help with this error. Here’s the error code 0x80190001”. Or: “An unexpected error was encountered while attempting to download files required for the upgrade”.Here are some fixes that could help you resolve the error 0x80190001. Follow them carefully.
net stop wuauserv net stop bits
net start wuauserv net start bitsSince the folder has already been flushed, it will be populated afresh the instant your restart your computer and open Windows Update.
del *.*
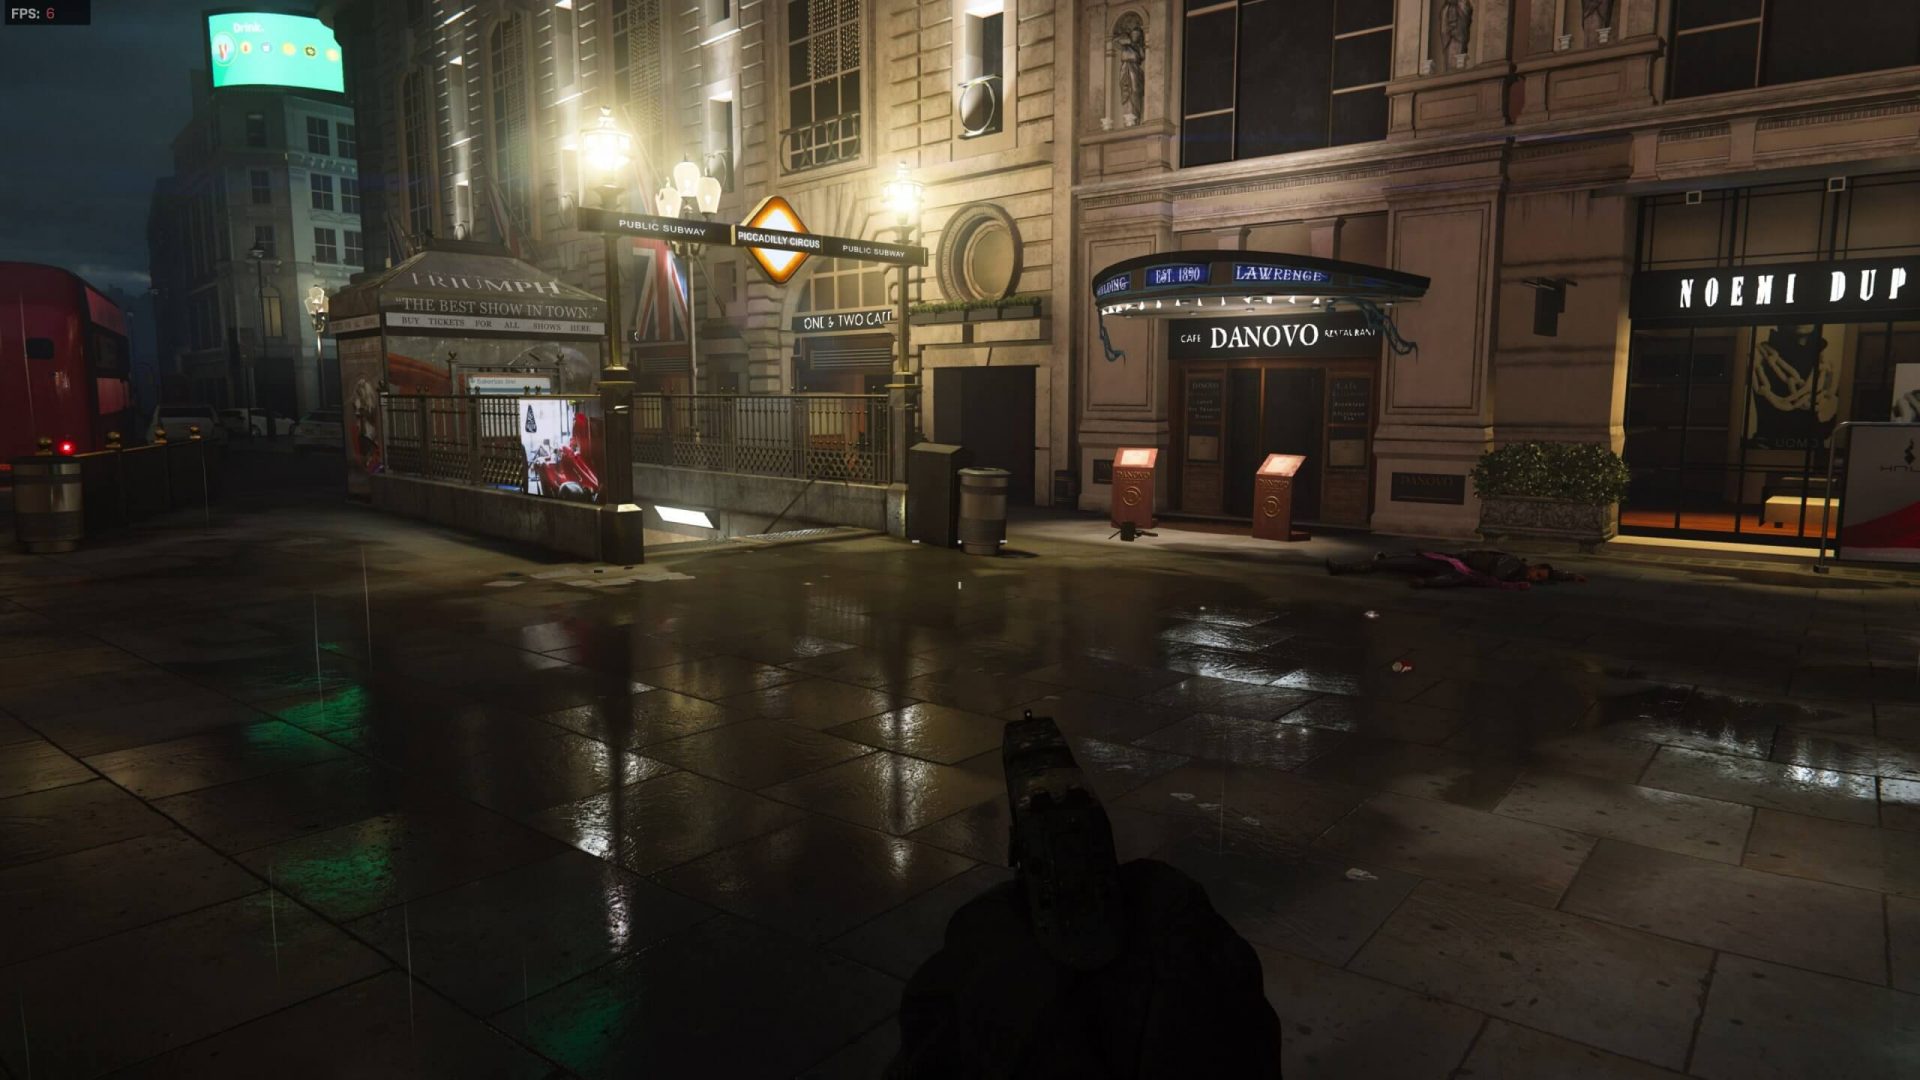 What is RTX