As of late, many users reported getting an error in Windows Sandbox that has an error code of 0x80070015. According to users, they encountered this error when they tried to start Windows Sandbox. Based on the error code, it seems that there are some problems with the supporting services of Windows Sandbox that trigger the error. It is possible that these services are misconfigured or that they are outdated and have to be updated. Here’s the complete message of the error:
“Windows Sandbox failed to start. Error 0x80070015. The device is not ready. Would you like to submit feedback about this issue?”
If you are one of the users who encountered this kind of error in Windows Sandbox, then you’ve come to the right place as this post will help you sort this problem out. All you have to do is follow each one of the options provided below.
If running Windows Sandbox as an administrator didn’t fix the error, you have to ensure that all related processes for Windows Sandbox are running properly. To do that, follow these steps:
If the second option still didn’t work, then you might want to check Windows Updates on your computer and see if there are any pending Windows Updates you have to install. All you have to do is go to the Windows 10 Settings app and then go to the Windows Updates section and click on the “Check for updates” button to check if there are any pending updates that are needed to be installed. This could fix the Windows Sandbox Error 0x80070015.

 Error Causes
WeatherBlink is an extension for google chrome, Mozilla, and internet explorer. It allows users to check out the weather anywhere in the world at any time. This might seem like a convenient feature, however, this toolbar also displays unwanted ads, hijacks your browser home page, collects personal data about your web surfing habits, visits, and clicks. From the author: Access local weather forecasts, weather radar, allergy, and pollen reports, and worldwide weather news – all in one convenient spot! This extension configures your New Tab page to WeatherBlink™ to provide these features.
Be prepared with instant weather forecasts. Access FREE and accurate weather forecasts with one click!nbtstat -R nbtstat -RR netsh int reset all netsh int ip reset netsh winsock reset
“There were some problems installing updates, but we’ll try again later. If you keep seeing this and want to search the web or contact support for information this may help: (0x8024002e)”.Common symptoms include:
Error Causes“Windows Resource Protection did not find any integrity violations.” This means you do not have any missing or damaged system files.OR you may receive a message saying:
“Windows Resource Protection could not perform the requested operation.”To resolve this problem, run the System File Checker in safe mode and make sure that the PendingDeletes and PendingRenames folders exist under %WinDir%WinSxSTemp.
OR you may also receive a message saying, “Windows Resource Protection found corrupt files and successfully repaired them. Details are included in the CBS.Log%WinDir%LogsCBSCBS.log.” OR you may receive a message saying, “Windows Resource Protection found corrupt files but was unable to fix some of them. Details are included in the CBS.Log%WinDir%LogsCBSCBS.log.”
FindWide is a browser add-on for Internet Explorer. This addon Hijacks your home page and internet search provider changing it to search.findwide.com. Alternate versions change the homepage to search.us.com.
This addon monitors your user activity while you are surfing the web. It collects user and browsing data, that it uses to better display targeted ads. While browsing with this addon enabled you will see additional ads, sponsored links, and even sometimes pop-up ads displaying throughout your browsing sessions.
Several anti-virus programs have marked this addon as a Browser Hijacker and is therefore not recommended to keep on your computer.
From the Author: Each search engine has its own method of searching and each will return different results. Findwide.com looks at all of them, decides which are most relevant to your search, eliminates duplicates, and reveals them to you. In the end, you get a list of results more complete than using any one search engine alone.
mountvol /E
mountvol /N
mountvol /R
diskpart
automount
automount enable
automount disable
automount scrub
InternetSpeedTracker is a browser extension developed by MindSpark Inc. This browser add-on offer uses tips on how to boost their “bad” internet connection speed. It displays false internet speed in order to get you to open the sponsored links listed in the toolbar.
This extension also hijacks your browser home page and replaces your default search engine with MyWay. While browsing the internet you will see additional unwanted sponsored ads and links throughout your search results, and sometimes even pop-up ads might appear. While active this extension gathers personal information, website visits, links, and clicks and uses this data to serve ads.
InternetSpeedTracker has been flagged as a Browser Hijacker by several anti-virus scanners, and due to its data mining behavior, it is not recommended to keep it on your computer, especially because it gives false data about your internet speed.
“This Office visual refresh is based on feedback from customers who asked for a more natural and consistent experience within and between your applications, specifically on Windows. With this update, we deliver an intuitive, coherent, and familiar user interface, using the Fluent Design principles, across all your applications: Word, Excel, PowerPoint, OneNote, Outlook, Access, Project, Publisher, and Visio. We aligned this visual refresh with the design of Windows 11 to provide seamless experiences on your PC.”It is always refreshing to hear when a company listens to its user base and actually does what is needed instead of trying to invent the wheel.
 How to switch
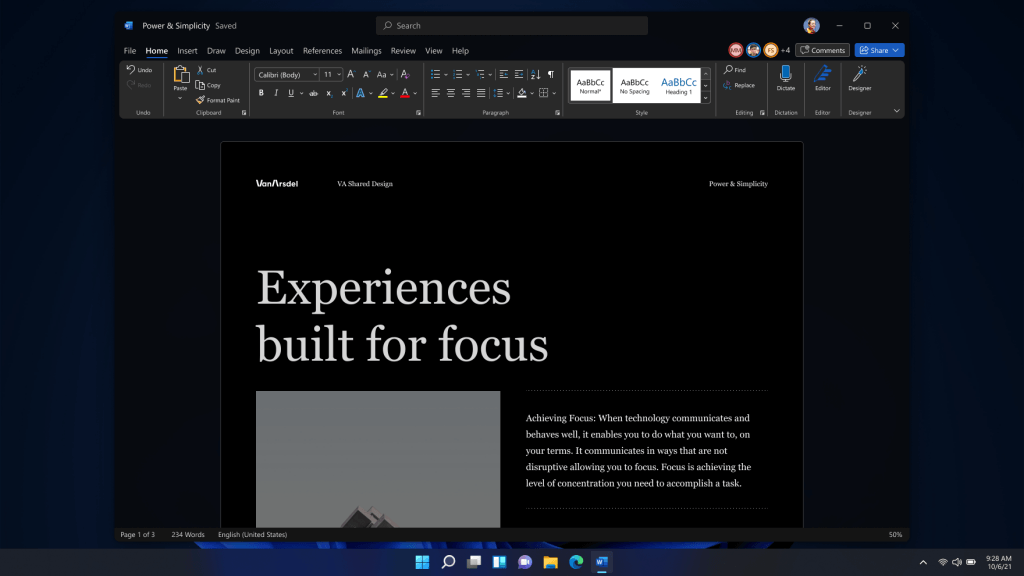 Conclusion