In case you don’t know, a teletype network, also known as Telnet, is a protocol that is meant for internet or LAN communication which is used primarily to control other computers effortlessly. And it is available as a command-line utility in Windows and helps users in opening a command-line interface for the remote computer. However, a lot of users have reported an error that states, “Telnet is not recognized as an internal or external command, operable program, or batch file” when you try to use it. If you are one of these users, then you’ve come to the right place as this post will guide you on how to fix this error in Windows 10.
This kind of error means that the Telnet utility is not installed on your computer but Telnet is a default feature in Windows 10 so the protocol mainly is not enabled yet. The Telnet client is disabled by default in Windows 10 and to fix this error, you can try to enable the Telnet Client via Programs and Features or try to install Telnet using an elevated Command Prompt.
The first thing you can do is to enable the Telnet client using Programs and Features since it is disabled by default. To do that, follow the steps below.
If enabling the Telnet client using Programs and Features didn’t work, then you can try to do it using Command Prompt instead. To get started, follow the steps given below.

 Despite popular belief, there are a lot of users running Linux OS. Linux offers great security and working environment and 96.3% of the world's top 1 million servers run on Linux. 90% of all cloud infrastructure operates on Linux and practically all the best cloud hosts use it. But gaming on Linux is limited, enter Steam proton a Valve’s gaming solution.
netsh winsock reset
 The table itself looks very basic and it comes with a very large OLED screen between two different sizes depending on your table choice. You can choose between 65” or 77” screen sizes and OLED is mounted on the table itself so you cannot move it or adjust the angle of it that I somewhat find annoying but that comes from th4e fact I am used to adjusting my screens, but for this large screen maybe you do not need to adjust its rotation in order to get best viewing angle.
Modules themselves will offer some on-the-fly information and quick settings for the PC itself while being modular in a sense they could be mounted in different positions on the table itself providing some customization and order to suit users needs. Modules, for now, are: THX Spatial Surround Sound Controls, system monitoring, programmable hotkey module, Thunderbolt™ Powered eGPU, RAID Controller, Network Performance Module, 15W Wireless Charger, Thunderbolt™ 4 Hub, Media Controls.
Of course table, itself will have Razer chroma RGB on its surface and Razer says it will have a total of 13 different modules available on launch for a true level of personalization.
The table itself looks very basic and it comes with a very large OLED screen between two different sizes depending on your table choice. You can choose between 65” or 77” screen sizes and OLED is mounted on the table itself so you cannot move it or adjust the angle of it that I somewhat find annoying but that comes from th4e fact I am used to adjusting my screens, but for this large screen maybe you do not need to adjust its rotation in order to get best viewing angle.
Modules themselves will offer some on-the-fly information and quick settings for the PC itself while being modular in a sense they could be mounted in different positions on the table itself providing some customization and order to suit users needs. Modules, for now, are: THX Spatial Surround Sound Controls, system monitoring, programmable hotkey module, Thunderbolt™ Powered eGPU, RAID Controller, Network Performance Module, 15W Wireless Charger, Thunderbolt™ 4 Hub, Media Controls.
Of course table, itself will have Razer chroma RGB on its surface and Razer says it will have a total of 13 different modules available on launch for a true level of personalization.
Disk Write Error in Steam is thrown at you while you try to download or update the game in your library. If you are an unfortunate user of Steam that has encountered this error do not sweat, the error is usually tied to permission in windows or file corruption and not to hardware issues and can be easily resolved.
In this guide, we will go through solutions for this specific error and it is advisable to go through solutions as they are presented since they go from the easiest and most common issues.

The easiest and quickest way of resolving this issue is just a simple restart of the Steam client. Just completely quit Steam and they run it again, if this has not solved the issue try rebooting your PC. In most cases, this can solve the issue since this error is known to be introduced with some communication issues with OS (Windows)
Disk write permissions could also cause this error because if by any chance the Steam library folder has been set or changed to the read-only client would be unable to write anything in it. To easily solve this issue completely exit the Steam client and rerun it as administrator. Just right-click on it and select Run as Administrator. If this has solved your issue run Steam always as an administrator.
To run always as an administrator right click on the steam executable, go to properties, and inside properties go to the compatibility tab. In the compatibility tab check run as administrator and click on OK.
If for any reason cache has become corrupted there is a big chance that this might be an issue why there is a disk drive error in Steam. To clear download, cache goes into your client, and on top drow down menu click on steam. Find and open settings and inside go to the downloads tab. Locate a clear download cache and immediately you will be prompted to restart Steam. After restart, you will be asked to login into steam and the issue with disk write should be gone.
Library folder issues can also be the source of disk write annoyance so let's repair them. Click steam in the top left and go to the settings. Locate and click on Downloads and then go to Steam library folders. You will be here shown all disk drivers you are using for steam games and all of the games that are downloaded.
Select the game you are getting errors with and click on three dots on the far right. From the menu choose the repair folder option. Take note that the more games you have installed, the more time the repair process will need.
Sometimes the issue is not at your end at all, servers can experience problems and outrages and this can directly reflect at your end with a disk write error. If any of the previous solutions have not resolved the issue this is the next logical step to try. If the server is facing issues then changing the download server will resolve the issue at your end.
Click on settings in the top drop-down menu and then click on the Steam library folder. Find the downloads page and then click on download region, Choose another server than one nearest to your location since that's what will Steam choose by default.
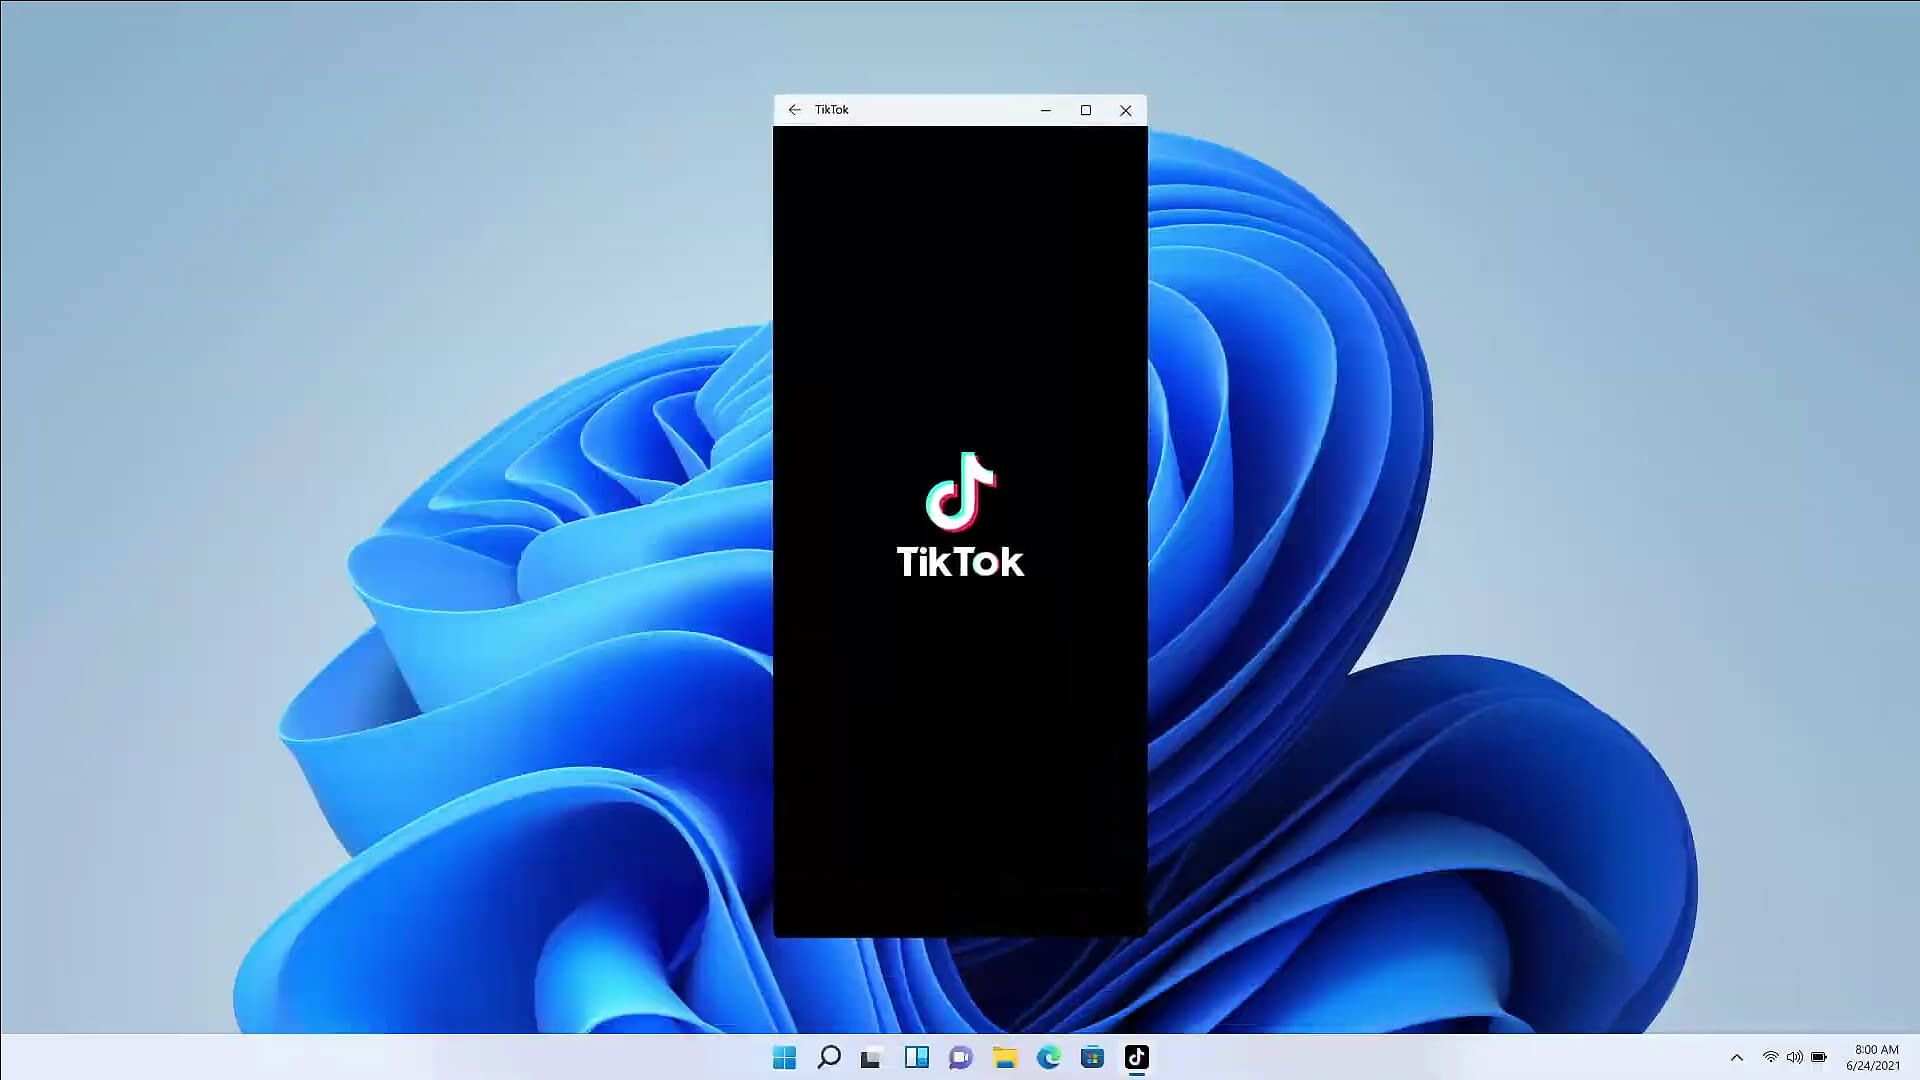 The euphoria around Windows 11 is not dying and reveal that Android apps will work natively inside Windows 11 has raised many emotions and questions.
So, Microsoft has announced that Android apps will run natively inside Windows 11 OS and that they will reside alongside your other installed ones as icons, etc.
It is no secret that many users have been using emulation software to run Android apps inside Windows so far, so what is the difference?
The euphoria around Windows 11 is not dying and reveal that Android apps will work natively inside Windows 11 has raised many emotions and questions.
So, Microsoft has announced that Android apps will run natively inside Windows 11 OS and that they will reside alongside your other installed ones as icons, etc.
It is no secret that many users have been using emulation software to run Android apps inside Windows so far, so what is the difference?
If you would like your computer to be discoverable on your network and use print and file sharing you will have to change your network profile on your computer from public to private.
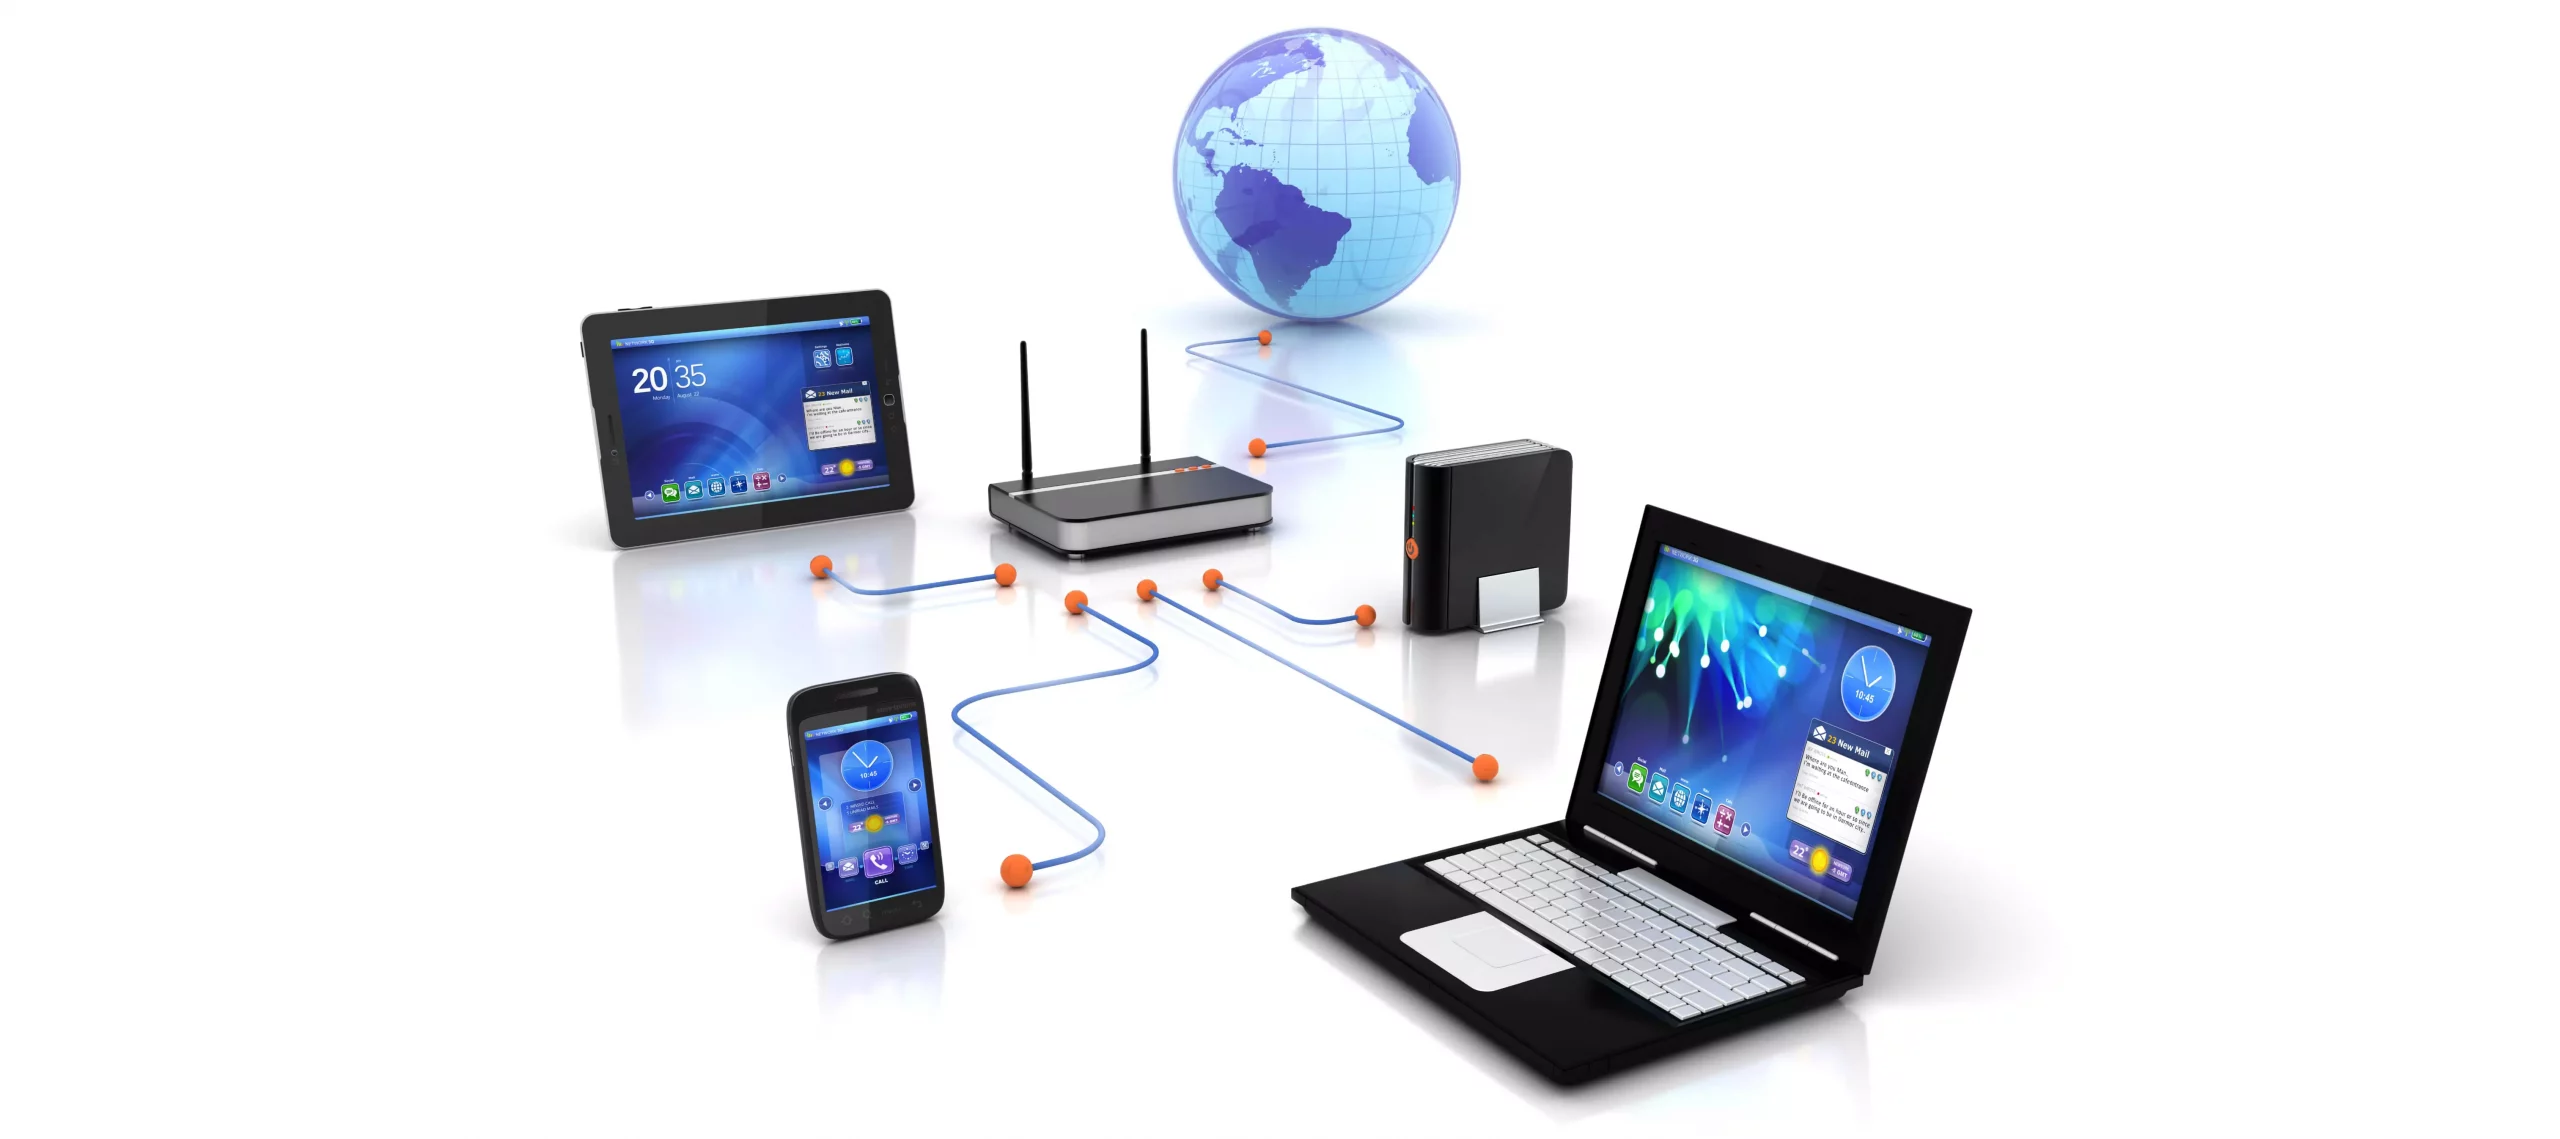
Follow the provided guide step by step to change your network profile setting:
Locate the Wi-Fi icon in your system tray and click on it. Click on properties on your WI-FI network to open the network menu. Inside the menu in the Network profile section enable the Private option.
Your changes will be automatically saved.
Find the WI-FI icon in the system tray and right-click on it, then choose Network and Internet Settings. Network & Internet page with open, find your network name at the top and select properties.
On the WI-FI page, in the Network Profile Type section choose Private. As in Windows 10, your changes will be automatically charged, and you can start using them immediately.
If you want to switch back to a public profile follow provided steps but disable the private option.
 Error Causes