Shortcut virus is an easily spreadable and annoying combination of Worm and Trojan that hides all of your files and folders and then replaces them with shortcuts that look identical to replaced files and folders.
Once disguised it will wait patiently for a user's click and once that happens it will replicate itself and further infect the system. This rapid spread can lead to stolen personal data, some system hick-ups, and other system-related issues.
This malware mainly affects physical file transfer devices like for example and most USB drives, hard drives, and SD memory cards and it can easily transfer itself to the computer.
The advantage of this shortcut virus comparing it to others is that it is mostly undetected by a vast variety of antivirus software. So running just anti-virus software maybe not be enough to remove it from your system. Luckily for all unfortunate users that have caught this annoyance, it can be easily removed fully manually in a short time.
How to Remove Virus from USB and other removable media
Firstly plugin USB, SD, or removable drive. The infection will transfer to your computer when the infected drive is plugged in so before we go to clean the computer itself, clean each removable drive that you have. Also know that infection will spread from computers into removable devices as well if it is not cleaned.
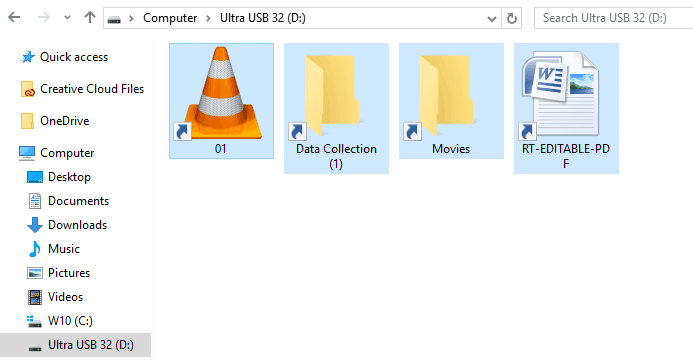
Open the File Explorer and remember under which letter is removable drive registered. Open
Command prompt but with administrator privileges and go to infected rive by typing its letter followed with “
:” (for example
D:) and press
ENTER
Once you have successfully gone to infected drive type in command prompt:
Attrib -s -r -h /s /d *.*
This will unlock all original files back into removable storage, next copy all files to your computer, and format the removable drive. Once the format is complete, unplug the removable device. Continue to clean all devices with the same method.
How to Permanently Remove a Shortcut Virus from Your PC
Now once we have cleaned all removable devices it is time to fully clean the PC
Firstly open the
task manager (
CTRL +
SHIFT +
ESC ), in the process tab find
wscript.exe or
wscript.vbs, right-click on it (or both if present), and select
End Task. Now close the task manager and press
Start. Inside start typing in
registry editor to search for it and once found open it.
Find the following key inside the registry editor:
HKEY_CURRENT_USER/Software/Microsoft/Windows/CurrentVersion/Run
In the right panel, look for any strange-looking key names, such as
odwcamszas, WXCKYz, OUzzckky, etc. For each one, run a
Google search to see if it's related to shortcut viruses.
If any returns a positive match, right-click on them and select
Delete.
!!! Accidentally deleting an important key can cause Windows to become unstable, so double-check everything !!!.
Close the Registry Editor
Now press
⊞ WINDOWS +
R to open the run dialog and type in it
Msconfig followed by
ENTER. Once the
System Configuration window opens go to the
Startup tab. In the Startup tab, look for any strange-looking .EXE or .VBS programs, select each one and click
Disable. Close the Window.
Once again
open the run dialog and type inside
%TEMP% and press
ENTER in order to open the
Windows temp folder. Inside this folder
delete everything.
Next in the
File explorer go to
C:\Users\[username]\AppData\Roaming\Microsoft\Windows\Start Menu\Programs\Startup
Look for any strange-looking
.EXE or .VBS files and delete them.


