MSI.chm error is a common Windows Error code that occurs when the Windows OS becomes overloaded with invalid system references.
Solution
 Error Causes
The MSI.chm error is normally triggered by the following causes:
You may experience the MSI.chm error if you don’t pay attention to its maintenance. This usually happens when you don’t run antivirus software or update programs and drivers frequently.
-
Registry files get corrupt and damaged
This error may also occur when the registry files of your PC get corrupt and damaged. This normally happens due to continuous writing, editing and deleting of information from your PCs registry over time as programs are installed, modified and deleted.
Other causes include: malware and system conflicts.
Further Information and Manual Repair
When you come across the MSI.chm error on your PC, it is advisable to repair it immediately without any delays. If you procrastinate in repairing this error, your PC is likely to be exposed to risks like:
- Slow PC performance
- System failure and crashes
Nonetheless, to resolve this error you don’t have to get the assistance of an IT professional. The MSI.chm is easy to repair and you can resolve it in no time even if you aren’t technically adept.
Here are some of the best ways to repair the MSI.chm error on your PC successfully in the shortest time:-
Cause: Corrupt and Damaged Registry Files
Quick Fix: If you think the MSI.chm Windows error on your system is related to Windows registry issues, then the best way to resolve this error is to download and install a Registry cleaner tool. A word of advice here is to always download such tools from a reliable and a trusted website.
Once you download the Restoro, run it on your PC to scan for errors. The scanning will usually take a couple of minutes. So, it is advisable to be patient. After the scanning is complete, you will see a detailed scanning report highlighting the registry errors on your PC.
Now to resolve the MSI.chm error that has occurred on your PC due to registry issues, click on the ‘Repair’ button to fix the error.
Once the repairing process is complete, restart your PC.
Restoro helps you not only fix the MSI.chm error but it also helps improve the speed of your PC, and protects it from failure and crashes.
Cause: Poor PC Maintenance
Quick Fix: If the cause of the MSI.chm error is poor PC maintenance, then the best way to resolve the error is to update the drivers. You can do this by installing the latest drivers for the devices that you think are now old and need to be updated.
Here’s what you need to do:
First find which devices don’t have drivers installed. For this go to the start menu and then click on the Control Panel. Now open the Device Manager. The Device Manager will list down all the devices that don’t have drivers installed with yellow exclamation point icons next to the device name.
As for the updates, the general rule of thumb if the driver does not support the program you are trying to run, then this means that you probably need to update the driver to ensure compatibility. For example your video card driver does not support a newly launched game, then you definitely need a driver update to play the game on your PC.
To install or update drivers on your PC, you can either get CDs from the market or you can download updated versions of the drivers from the main manufacturer’s website for free.
You can also use automated solution for all of your driver issues:
 So, next time when you or your friends encounter this problem, try these quick fixes to repair the error without any hassle.

 Antivirus software has become the kind of a must-have in every computer in this day and age. When you think about it, our systems are connected to the internet most of the time if not always, and therefore kind placed in from the line of various cyber-attacks. Here antivirus software comes into focus, especially because it has evolved long from just a simple virus removal tool to full security suites.
We will be going through the best of these applications in order to present both their good and bad sides and hope that we will help you in picking the right one for you. Remember, picking either one of the presented solutions is way better than not having one at all. The list is made from best down in our opinion so number one is highly recommended.
Antivirus software has become the kind of a must-have in every computer in this day and age. When you think about it, our systems are connected to the internet most of the time if not always, and therefore kind placed in from the line of various cyber-attacks. Here antivirus software comes into focus, especially because it has evolved long from just a simple virus removal tool to full security suites.
We will be going through the best of these applications in order to present both their good and bad sides and hope that we will help you in picking the right one for you. Remember, picking either one of the presented solutions is way better than not having one at all. The list is made from best down in our opinion so number one is highly recommended.
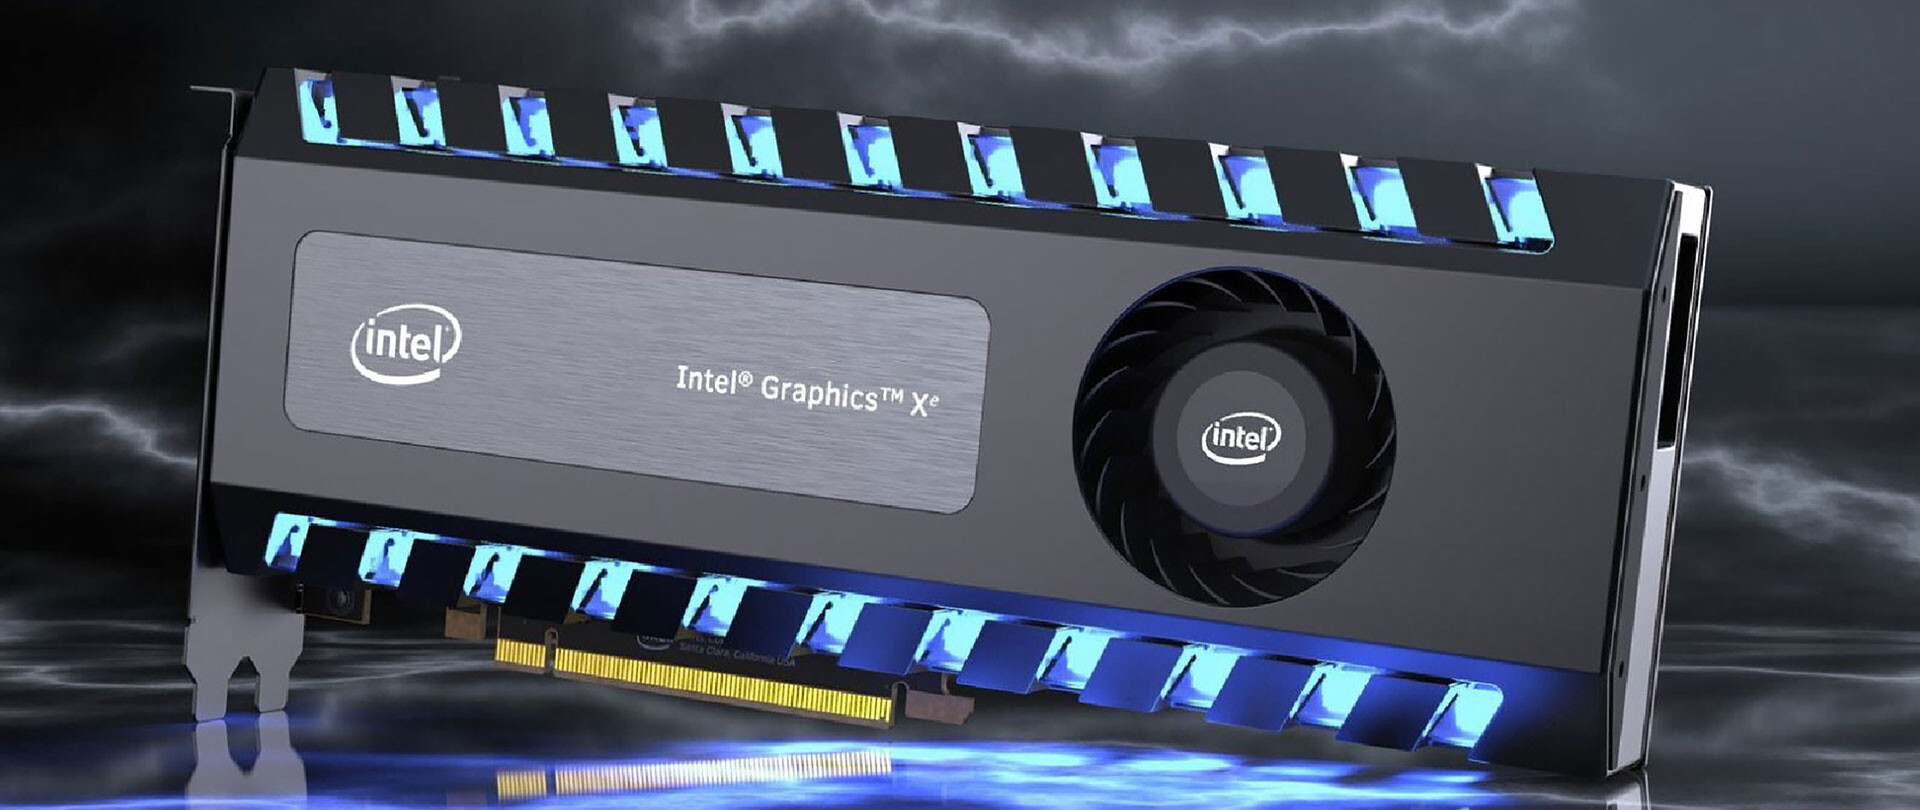 This is not the first time that Intel is trying to enter the GPU field but its adventures so far were, well let us agree not so good. All of that is hoping to be changed with the upcoming ARC GPU. The first generation of Arc graphics, code-named Alchemist and previously known as DG2, will support desktop PCs and laptops and is set to arrive in the first quarter of 2022.
Alchemist will have hardware-based Ray tracing and AI-driven supersampling. This indicates that GPU is aimed to compete in the Hi-end spectrum and battle side by side with Nvidia and AMD on the market. Alchemist will also pack full DirectX 12 Ultimate support.
Intel also released names for the next upcoming future generations of ARC GPUs: Battlemage, Celestial & Druid. More information about ARC products will be released later this year.
“Today marks a key moment in the graphics journey we started just a few years ago. The launch of the Intel Arc brand and the reveal of future hardware generations signifies Intel’s deep and continued commitment to gamers and creators everywhere,” Roger Chandler, Intel vice president, and general manager of client graphics products and solutions.
This is not the first time that Intel is trying to enter the GPU field but its adventures so far were, well let us agree not so good. All of that is hoping to be changed with the upcoming ARC GPU. The first generation of Arc graphics, code-named Alchemist and previously known as DG2, will support desktop PCs and laptops and is set to arrive in the first quarter of 2022.
Alchemist will have hardware-based Ray tracing and AI-driven supersampling. This indicates that GPU is aimed to compete in the Hi-end spectrum and battle side by side with Nvidia and AMD on the market. Alchemist will also pack full DirectX 12 Ultimate support.
Intel also released names for the next upcoming future generations of ARC GPUs: Battlemage, Celestial & Druid. More information about ARC products will be released later this year.
“Today marks a key moment in the graphics journey we started just a few years ago. The launch of the Intel Arc brand and the reveal of future hardware generations signifies Intel’s deep and continued commitment to gamers and creators everywhere,” Roger Chandler, Intel vice president, and general manager of client graphics products and solutions.