Error 0xe06d7363 is displayed when a process or an operation is not launched, or completed by an application.
This error can prevent the user from performing some operations. It might close the application unconditionally. Sometimes a ‘GetLastError()’, a ‘GetExceptionCode()’, or a ‘GetExceptionInformation()’ is displayed with this error.
Error 0xe06d7363 can occur for a number of reasons. Damaged, corrupted, or missing files in the registry database are the main reasons why the error might occur. Another reason is when the system files are not configured correctly, thus they corrupt system files in applications. They can also affect the hardware devices.
All code-generated exceptions in the Microsoft Visual C + + compiler will contain this error. As this error is compiler-generated, the code will not be listed in Win32 API header files. This code is a cryptic device, with ‘e’ for exception while the final 3 bytes represent ‘msc’ ASCII values.
To resolve this error, you will have to debug an application. While using Microsoft Visual Studio, you can stop the program when the error 0xe06d7363 occurs. To start debugging, follow these steps:
Another fix for this issue is reverting back to an earlier copy or the last update of the same Windows. Error 0xe06d7363 can occur is when you try running a client application using Microsoft.SqlServer.Types.dll component on your computer that has Microsoft SQL Server 2008 Server Pack 2 installed. With the error, the following text can be seen:
“unable to load DLL ‘SqlServerSpatial.dll’ Exception from HRESULT 0xe06d7363".
A Cumulative Update 7 was initially released for SQL Server 2008 Service Pack 2 in order to fix this issue. Since the builds are cumulative, every new fix released contains hotfixes and all security fixes which were also included in the previous SQL Server 2008 fix release. This error can be found in all Microsoft products that are listed in the Applies to Category.
Microsoft SQL Server 2008 hotfixes are created to resolve errors like 0xe06d7363 on specific SQL Server service packs. This error is by design and has commonly occurred in the previous versions of Windows before Windows 7.
Congratulations, you have just fixed Error 0xe06d7363 in Windows 10 all by yourself. If you would like to read more helpful articles and tips about various software and hardware visit errortools.com daily.
Now that’s how you fix Error 0xe06d7363 in Windows 10 on a computer. On the other hand, if your computer is going through some system-related issues that have to get fixed, there is a one-click solution known as Restoro you could check out to resolve them. This program is a useful tool that could repair corrupted registries and optimize your PC’s overall performance. Aside from that, it also cleans out your computer for any junk or corrupted files that help you eliminate any unwanted files from your system. This is basically a solution that’s within your grasp with just a click. It’s easy to use as it is user-friendly. For a complete set of instructions in downloading and using it, refer to the steps below
Perform a full system scan using Restoro. To do so, follow the instructions below.


 Error Causes
“This policy setting turns off the Windows Location Provider feature for this computer. If you enable this policy setting, the Windows Location Provider feature will be turned off, and all programs on this computer will not be able to use the Windows Location Provider feature. If you disable or do not configure this policy setting, all programs on this computer can use the Windows Location Provider feature.”
Code 42 Error is referred to as a Device Manager Error code. Before we explain what this code indicates, it is important to understand what ‘Device Manager’ is and its functions.
Device Manager is basically a Windows tool that helps manage devices attached to the system such as the Printer, Scanner and the USB Device. The Device Manager Error code 42 occurs when a duplicate device is detected.
Error Code 42 is displayed in the following format:
“Windows cannot load the device driver for this hardware because there is a duplicate device already running in the system. Code 42”
Error CausesNarrowing down to one particular cause for error code 42 is not virtually possible because it may be triggered due to many underlying reasons. These include:
No matter what the reason for this error code,, to avoid inconvenience and to ensure proper hardware performance, it is advisable to fix it right away without any delay.
If you’re not technically sound, the code 42 message display can panic you. But don’t worry, the error message sounds complex but it is quite easy to fix.
To resolve code 42 in a few minutes, simply try the methods given below. These methods are easy-to-perform, effective and more importantly require no technical expertise.
Code 42 can pop up due to some temporary glitch in the Device Manager. By simply restarting your PC, you can resolve this problem.
Therefore, first things first, restart your system. However, in case it doesn’t work out, try other methods.
Launch the troubleshooting wizard to find the underlying problem and resolve it accordingly. To do this, proceed with the following steps:
Another method to fix code 42 is to use the System Restore tool to restore your PC to its previous working state before the error popped up. To do this,
Creating backup manually can be time-consuming and a painstaking task. The best way to create backup and restore your PC to its normal state is to download DriverFIX.
It is a user-friendly device driver management software that helps create data backup automatically and simultaneously restores your PC back to its normal working state in a few seconds.
This software is compatible with all Windows versions.
Click here to download DriverFIX on your system to resolve error code 42.
PC Performer is a registry cleaner made by PerformerSoft. The purpose of this program is to remove redundant items from the Windows registry. Registry cleaners remove broken links, missing references within the Windows registry. PC performer is designed to automatically optimize your registry and clean it up.
PC Performer adds registry entries for the current user that allow it to run automatically each time the system is rebooted. It adds a scheduled task to Windows Task Scheduler in order to run at various times. The software connects to the internet, therefore it creates a Windows Firewall exception that allows it to connect without interference. Multiple anti-virus programs detected this software as Malware, it typically comes bundled with other software or is distributed through a pay-per-install bundle.
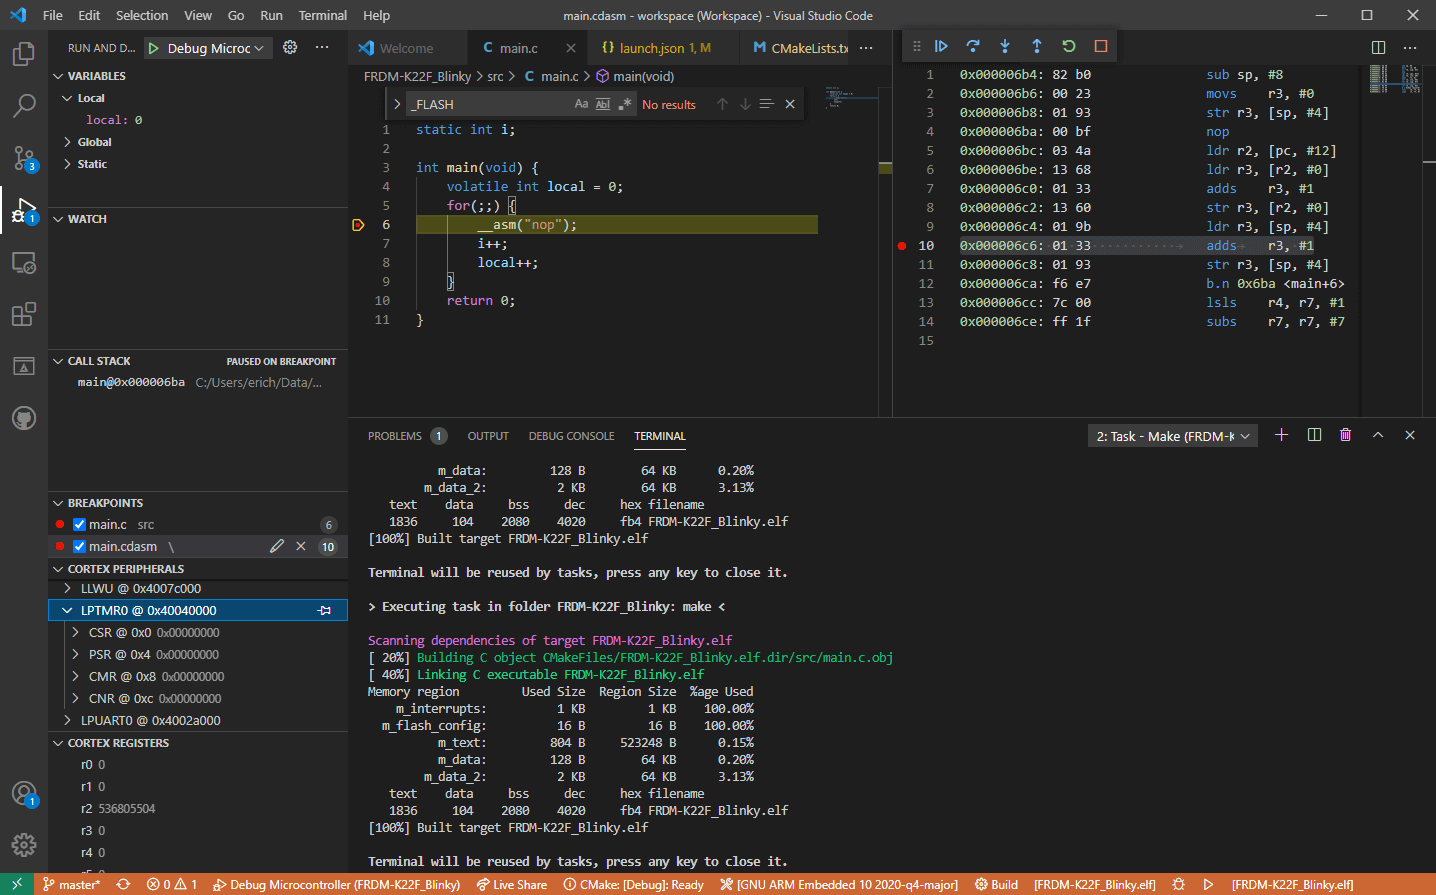 Visual studio code is a code editor available for Windows, Linux, and macOS. It is a completely free tool offering you to code in any language without the need to switch to another editor.
Visual Studio Code is part of Microsoft Visual Studio which is a complete integrated development environment (IDE). Take notice that Visual studio itself has more advanced tools for developing and testing, it has 24/7 support, training, and Azure for WEB apps.
Visual Studio Code is an editor lacking in some advanced features Visual Studio offers.
Visual studio code is a code editor available for Windows, Linux, and macOS. It is a completely free tool offering you to code in any language without the need to switch to another editor.
Visual Studio Code is part of Microsoft Visual Studio which is a complete integrated development environment (IDE). Take notice that Visual studio itself has more advanced tools for developing and testing, it has 24/7 support, training, and Azure for WEB apps.
Visual Studio Code is an editor lacking in some advanced features Visual Studio offers.
Computer Configuration > Windows Settings > Security Settings > Local Policies > Security Options
 Each time when the company is breached data is stolen and that places the company in a bad light usually because its user database has been compromised and people are concerned about their data being misused. This is very rational fear and concern but this time things are a little bit different than usual, why is that, you might ask?
Well, as before mentioned GoDaddy is a hosting company and the vector of attack was aimed at the part where it is hosting WordPress. Attackers were able to get their hands on the sFTP credentials of customers on that server meaning that all of the websites are also been relieved of their user base as well.
This potentially means that there is a high chance that all of the hosted web site's content is also compromised, meaning that your data could also be compromised even if you were not a GoDaddy customer, all you needed to do is to be a member of any site hosted on their platform.
GoDaddy has reset WordPress passwords and private keys, so it’s already taken the steps required to stock the attacker from exploiting anything with the passwords obtained. The company is in the process of generating new SSL certificates for customers.
Bad thing is that the attack used a compromised password to get into systems all the way back around September 6th, 2021, the breach was discovered on November 17th, 2021, which is more than a 2-month active time where the attacker could harvest tons of data. The outcome of this attack will be seen in the upcoming time, until then be safe, and Just in case change your passwords.
Each time when the company is breached data is stolen and that places the company in a bad light usually because its user database has been compromised and people are concerned about their data being misused. This is very rational fear and concern but this time things are a little bit different than usual, why is that, you might ask?
Well, as before mentioned GoDaddy is a hosting company and the vector of attack was aimed at the part where it is hosting WordPress. Attackers were able to get their hands on the sFTP credentials of customers on that server meaning that all of the websites are also been relieved of their user base as well.
This potentially means that there is a high chance that all of the hosted web site's content is also compromised, meaning that your data could also be compromised even if you were not a GoDaddy customer, all you needed to do is to be a member of any site hosted on their platform.
GoDaddy has reset WordPress passwords and private keys, so it’s already taken the steps required to stock the attacker from exploiting anything with the passwords obtained. The company is in the process of generating new SSL certificates for customers.
Bad thing is that the attack used a compromised password to get into systems all the way back around September 6th, 2021, the breach was discovered on November 17th, 2021, which is more than a 2-month active time where the attacker could harvest tons of data. The outcome of this attack will be seen in the upcoming time, until then be safe, and Just in case change your passwords.