Microsoft has announced Windows 365, a new cloud-based operating system aimed mainly at businesses of all sizes.
Just after Windows 11 announcement and presentation, we are seeing another Windows announcement from Microsoft. Dive into the following text in order to find out what exactly is new Windows 365, its role in today's IT world, and do you need it?
What is Windows 365 and when it is coming out?
Windows 365 is planned to be released this year (2021) on August 2
nd. It is the first Microsoft cloud-based operating system meaning that OS itself will be installed on the cloud server and it will be accessed by the user via a web browser.
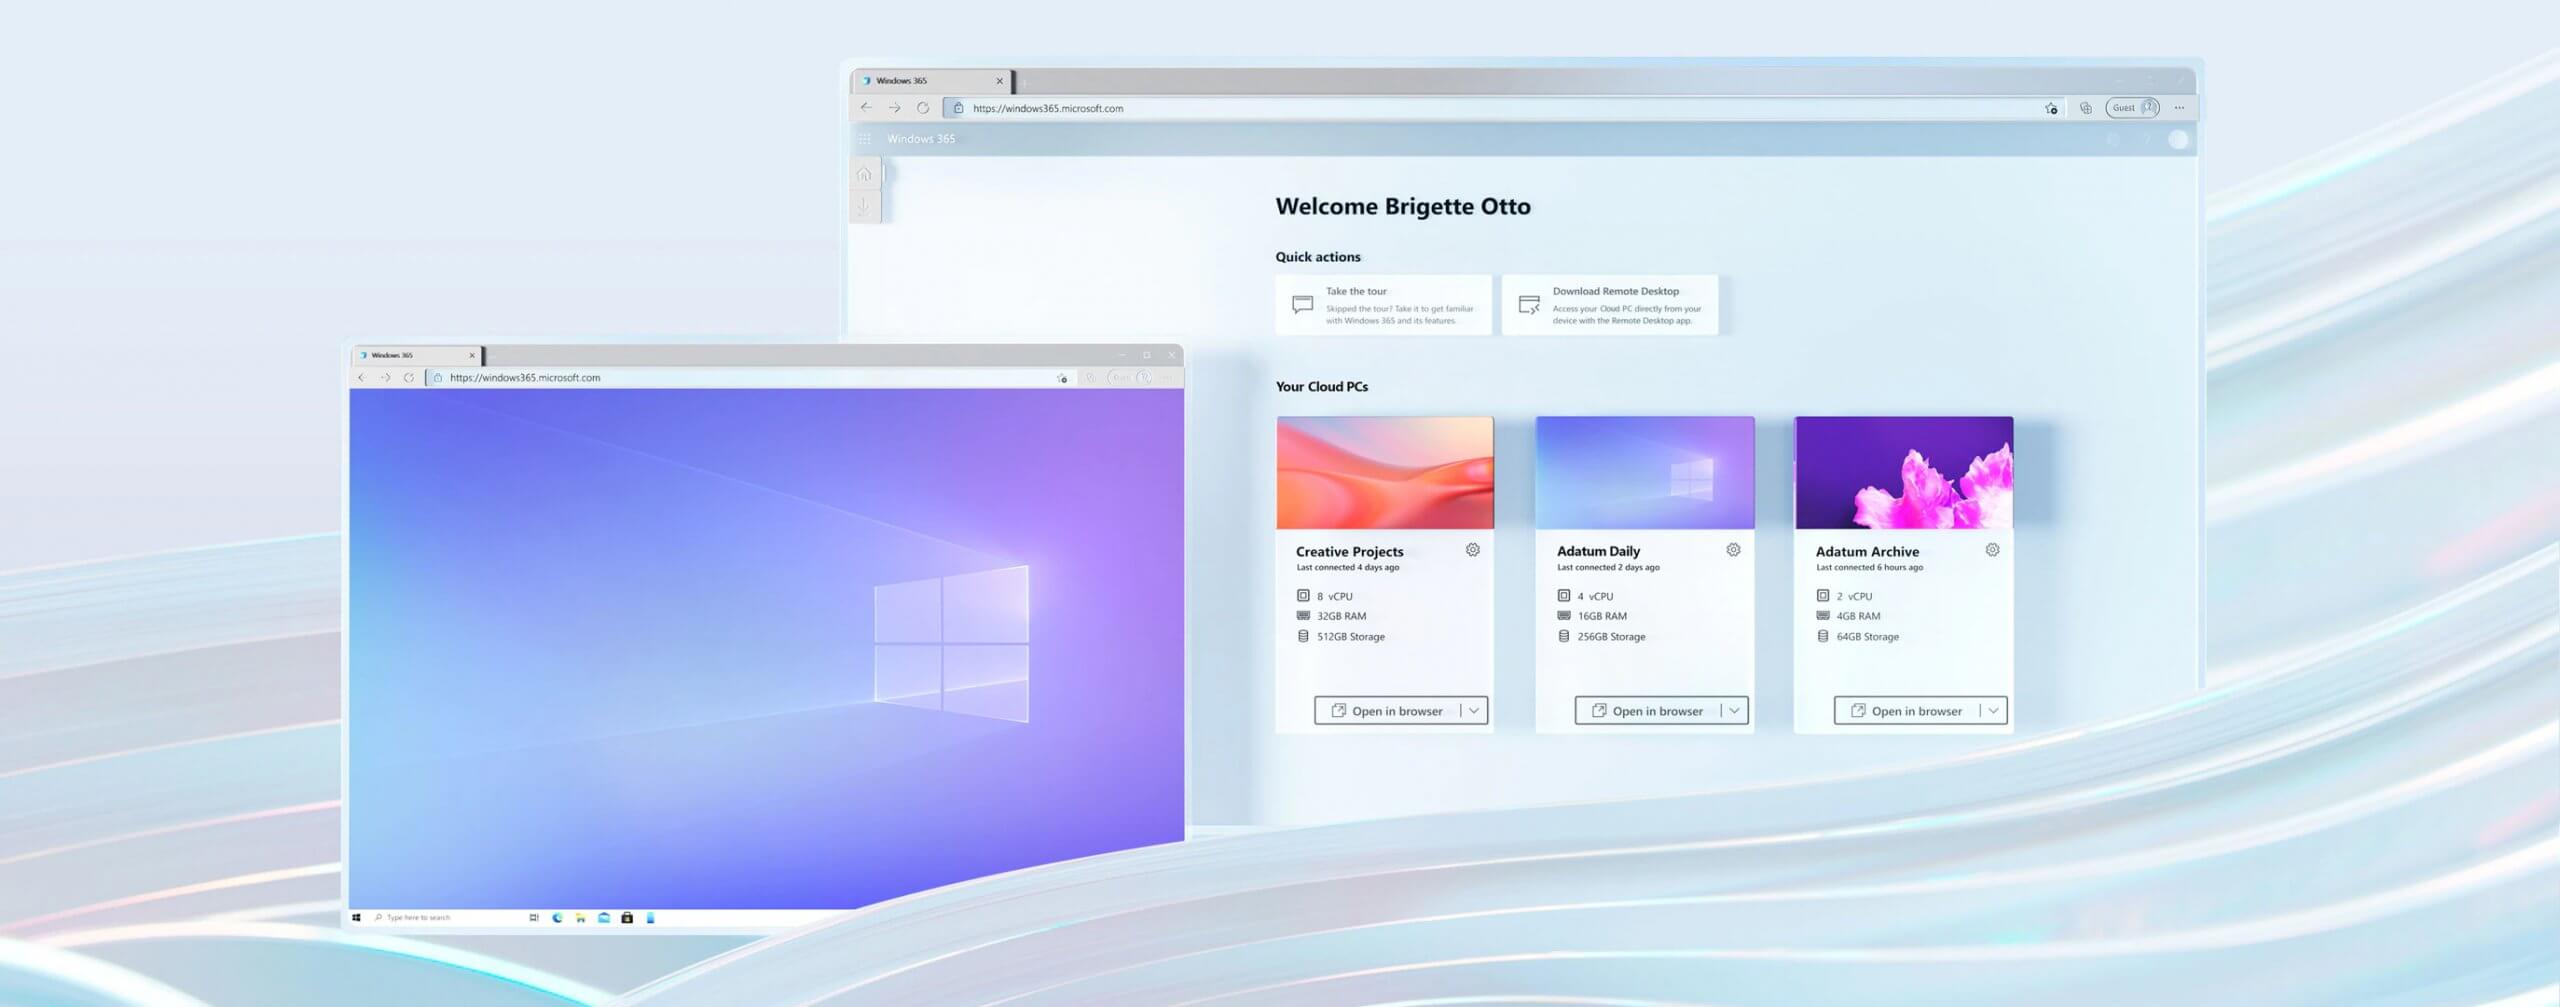
Essentially you are accessing a remote PC with Windows on it, you can install whatever Windows application you want and use it as it was on your computer. When you disconnect from the cloud computing and reconnect again from the same or another device you will continue exactly where you left off.
Cloud PC will remember the state it was left off and will greet you in that same state once it is awakened again. This of course offers some great benefits like moving from laptop to desktop and continuing exactly where you left off.
How can I access Windows 365?
Any device which has a web browser will be able to access Windows 365 making it a really great solution for business on the move or for anyone who switches devices during the day.
That being said it is clear to see that Windows 365 can be accessed via Linux, macOS, iOS, Android, or any other operating system on any computer, tablet or phone.
Who is this OS made for?
Microsoft’s general idea is that Windows 365 is primarily made for business which in their minds can benefit most out of it.
So far it is not made for a single user although there is a possibility that even a one-man business can subscribe and create accounts for it.
Price and technical characteristic
Microsoft will bill Windows 365 on a per-user, per-month basis. In other words, businesses will pay a fixed amount per employee every month.
There will be two tiers: Windows 365 Business and Windows 365 Enterprise. Microsoft also said it will offer different performance tiers. Businesses can choose to pay for more CPU, RAM, and storage resources for certain cloud PCs depending on their needs.
Microsoft told me the smallest configuration would be one CPU, 2GB of RAM, and 64GB of storage. The largest will be eight CPUs, 32GB of RAM, and 512GB of storage.
After a business has chosen its plan tier and performance options, that business will pay a fixed amount every month. This is unlike Azure Virtual Desktop, which Windows 365 is built on. With Azure Virtual Desktop, companies pay on a usage model, depending on how much the remote system is used every month.
Conclusion
Windows 365 is around the corner and if you are a business no matter small or large with the need for software on the go, Windows 365 might be a worthwhile investment and a great asset to your business.

 Error Causes
 This, of course, means that you will be able to have both Proton and Windows on your device letting you play anything that you wish if the hardware is strong enough. Valve also said that you can launch OS from an SD card! This of course will save space available for games themselves, especially for entry models with less than one available.
All of this information really pushes Deck into the territory of a handheld PC and not just another console and I must admit that this announcement left a smile on my face.
This, of course, means that you will be able to have both Proton and Windows on your device letting you play anything that you wish if the hardware is strong enough. Valve also said that you can launch OS from an SD card! This of course will save space available for games themselves, especially for entry models with less than one available.
All of this information really pushes Deck into the territory of a handheld PC and not just another console and I must admit that this announcement left a smile on my face. 
 Storage management Page update
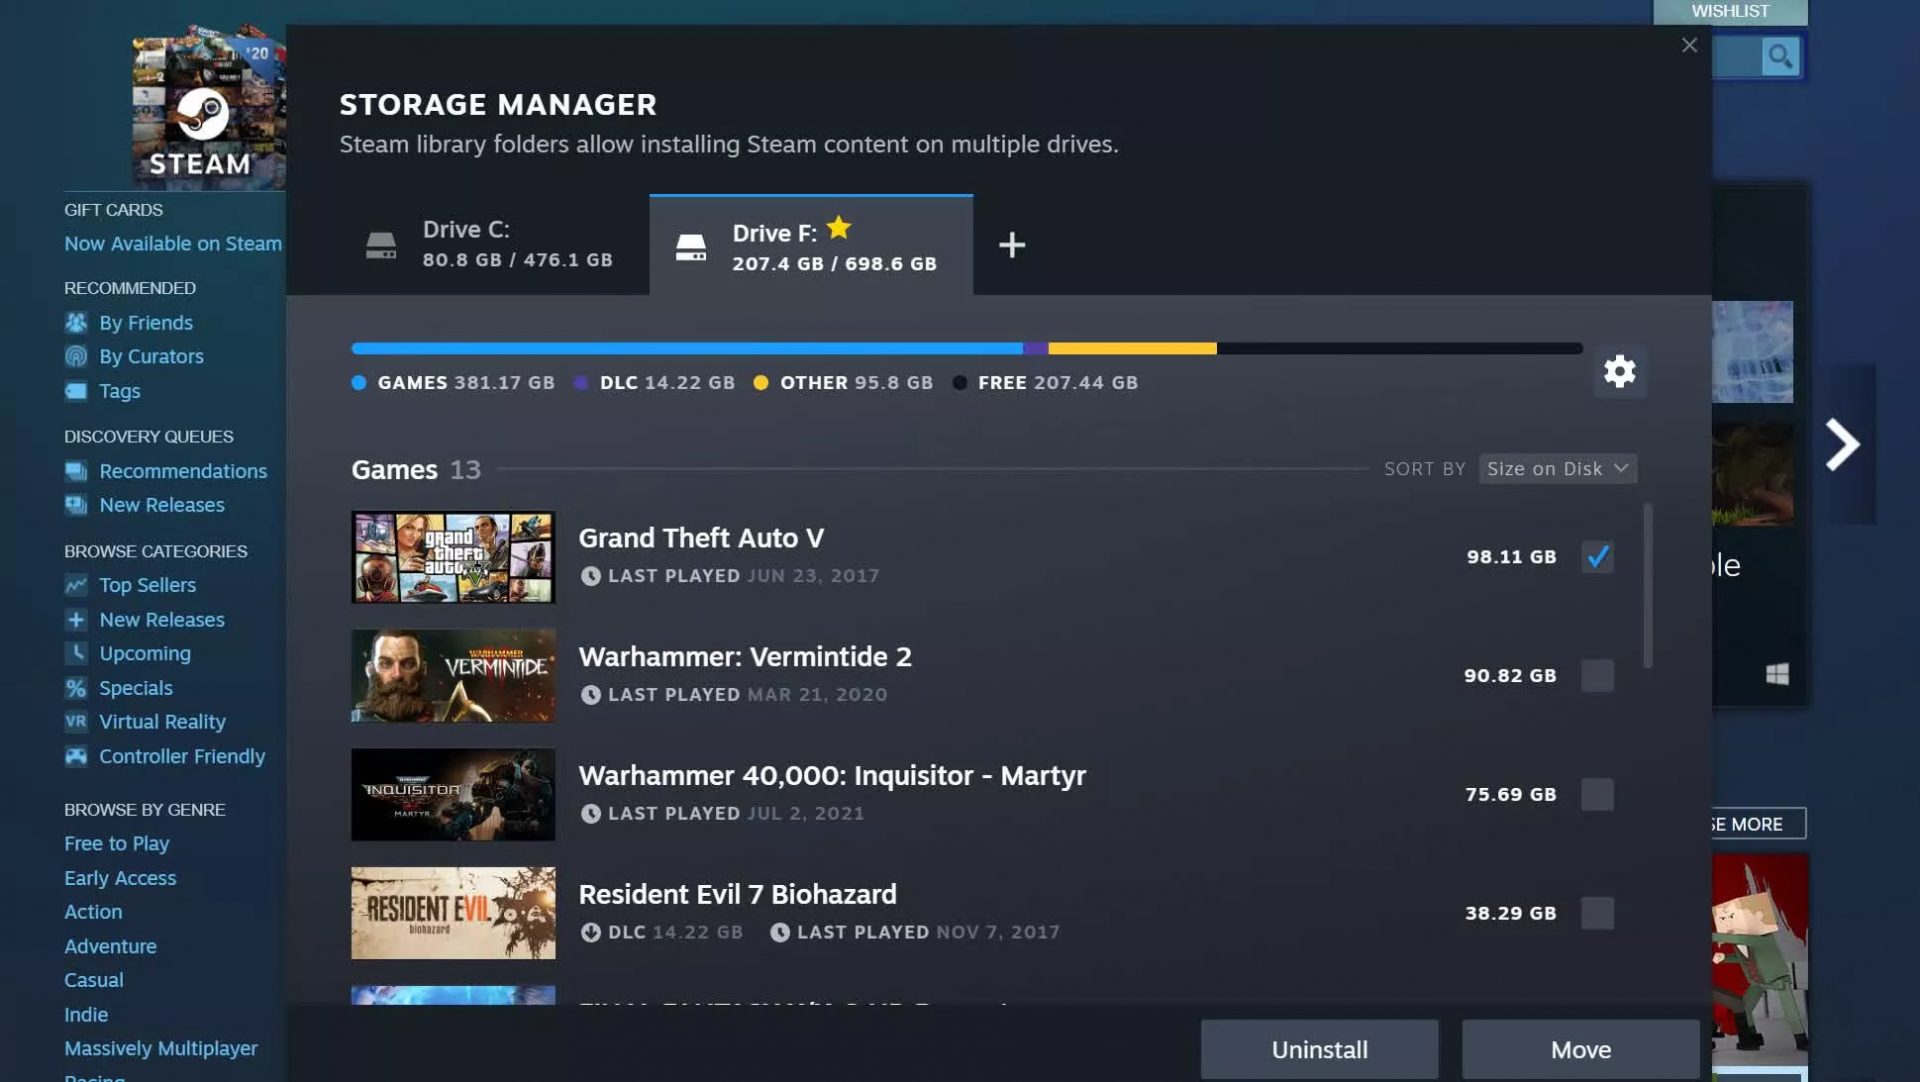 Another thing with the Steam store management page is the ability to move installation files from one location to another. Let’s say that you have two or more hard disk drivers in your machine and that you have SSD that you use for running stuff since it is fast and larger and slower one for storage. Now you can easily and quickly move one installation from one to another in order to take advantage of your faster SSD for quicker LOAD game times without making a new installation.
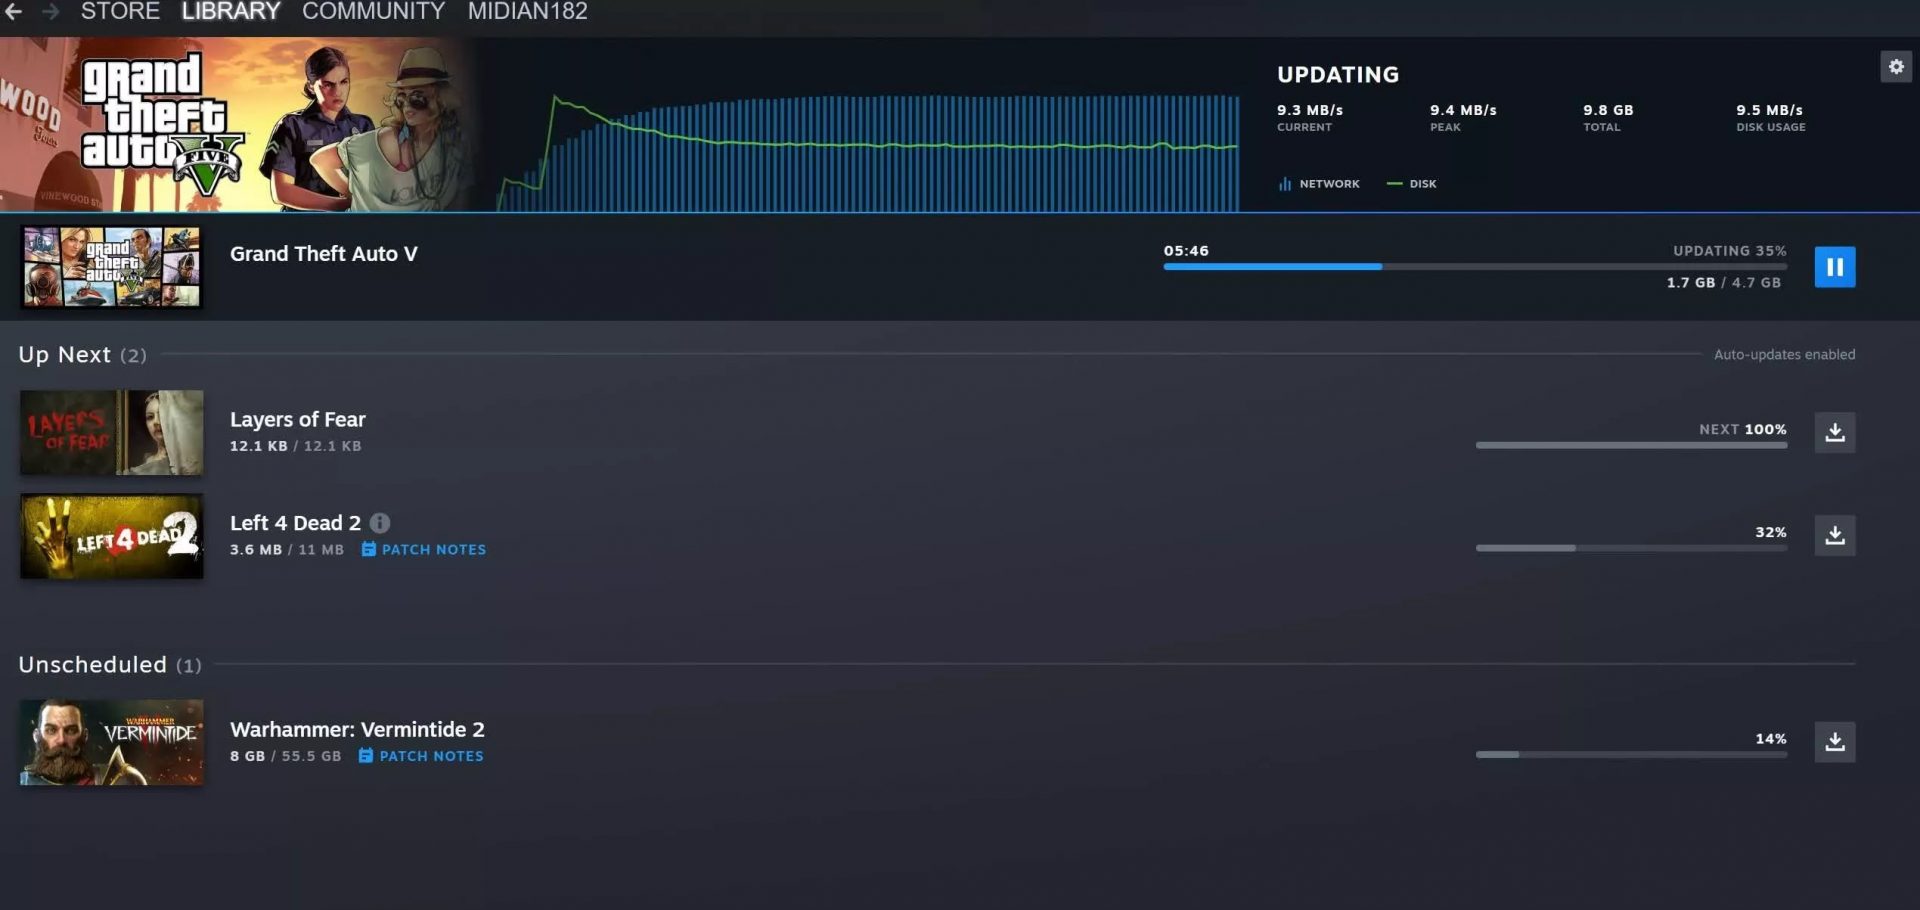 Also, you can now drag and drop items in the download bracket to reorder download orders or place them as active downloads to start downloading right away.
  As previously announced by Google feature to quickly delete the last 15min of browsing history via one button is rolling out now.
For now, only Apple users will be available to use this feature but the Android update is scheduled for later this year, a strange move by Google but it is what it is.
For anyone who is unfamiliar with this feature, basically, Google wants a quick way to remove the last 15min of browsing history as a supposedly stated request to make deleting browsing history much easier.
Google came up with this idea so you can keep the previous history intact but remove just 15min time frame, no additional explanation was given on why 15 but I presume it is some round number that came up as the middle one with research, read telemetry info.
Using quick delete requires being signed into Search with a Google account. Users can access the option by simply tapping on the avatar icon to access the settings then choosing "Delete last 15 minutes."
As previously announced by Google feature to quickly delete the last 15min of browsing history via one button is rolling out now.
For now, only Apple users will be available to use this feature but the Android update is scheduled for later this year, a strange move by Google but it is what it is.
For anyone who is unfamiliar with this feature, basically, Google wants a quick way to remove the last 15min of browsing history as a supposedly stated request to make deleting browsing history much easier.
Google came up with this idea so you can keep the previous history intact but remove just 15min time frame, no additional explanation was given on why 15 but I presume it is some round number that came up as the middle one with research, read telemetry info.
Using quick delete requires being signed into Search with a Google account. Users can access the option by simply tapping on the avatar icon to access the settings then choosing "Delete last 15 minutes."  Well, you can and it is not complicated as well. Follow this easy guide to see how can you get someone’s account up and running with some of your games.