Hello and welcome everyone, today we will be talking about
power toys, a great, completely free, open-source, Microsoft-supported Windows project which aims to provide Windows itself with powerful features not found natively in it.
We will explore power toys completely here and explain each module and its features.
The first thing is of course to
download power toys themselves. You can find them
here. After you download them,
double click on the downloaded file and
install. Start power toys, you will find them at the
bottom of the taskbar, note that power toys need to be active in order to use their features.
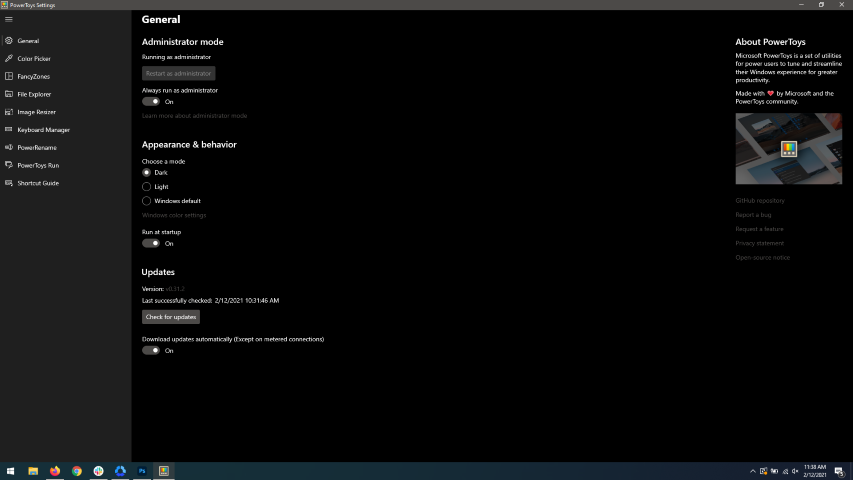
When opened you will be greeted with
general settings window. These are settings for power toys themselves, Here you can check for updates, change the looks of power toys, run it on system startup and run them as administrator. Set them up so they best suit your needs.
Color Picker
Moving down next tab we have is
Color picker.
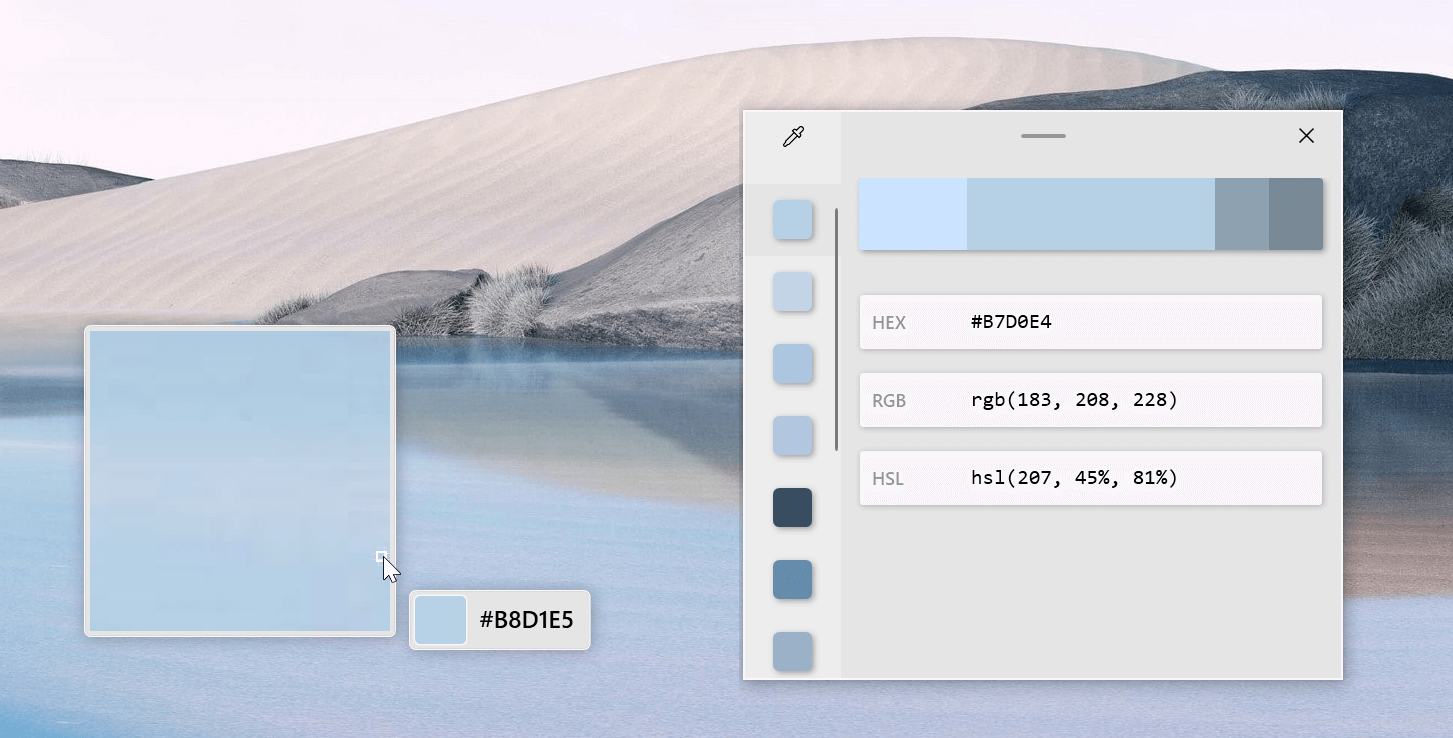
The color picker will let you as the name suggests pick colors, it will sample colors from running applications and windows, snap their values, and place them in the clipboard. A useful application if you are working as a graphic designer, want to create some cool word document, or just want to compare the difference between colors.
After the Color Picker is activated, hover your mouse cursor over the color you would like to copy and left-click the mouse button to select a color. If you want to see the area around your cursor in more detail, scroll up to zoom in. The copied color will be stored in your clipboard in the format that is configured in the settings (HEX by default). The editor lets you see the history of picked colors (up to 20) and copy their representation in any predefined string format. You can configure what color formats are visible in the editor, along with the order that they appear. This configuration can be found in PowerToys settings. The editor also allows you to fine-tune any picked color or get a new similar color. Editor previews different shades of currently selected color - 2 lighter and 2 darker ones. Clicking on any of those alternative color shades will add the selection to the history of picked colors (appears on the top of the colors history list). Color in the middle represents your currently selected color from the history of the colors. By clicking on it, the fine-tuning configuration control will appear, which will let you change the HUE or RGB values of the current color. Pressing OK will add newly configured color into the history of the colors.
Fancy Zones
Moving down, we have
fancy zones.
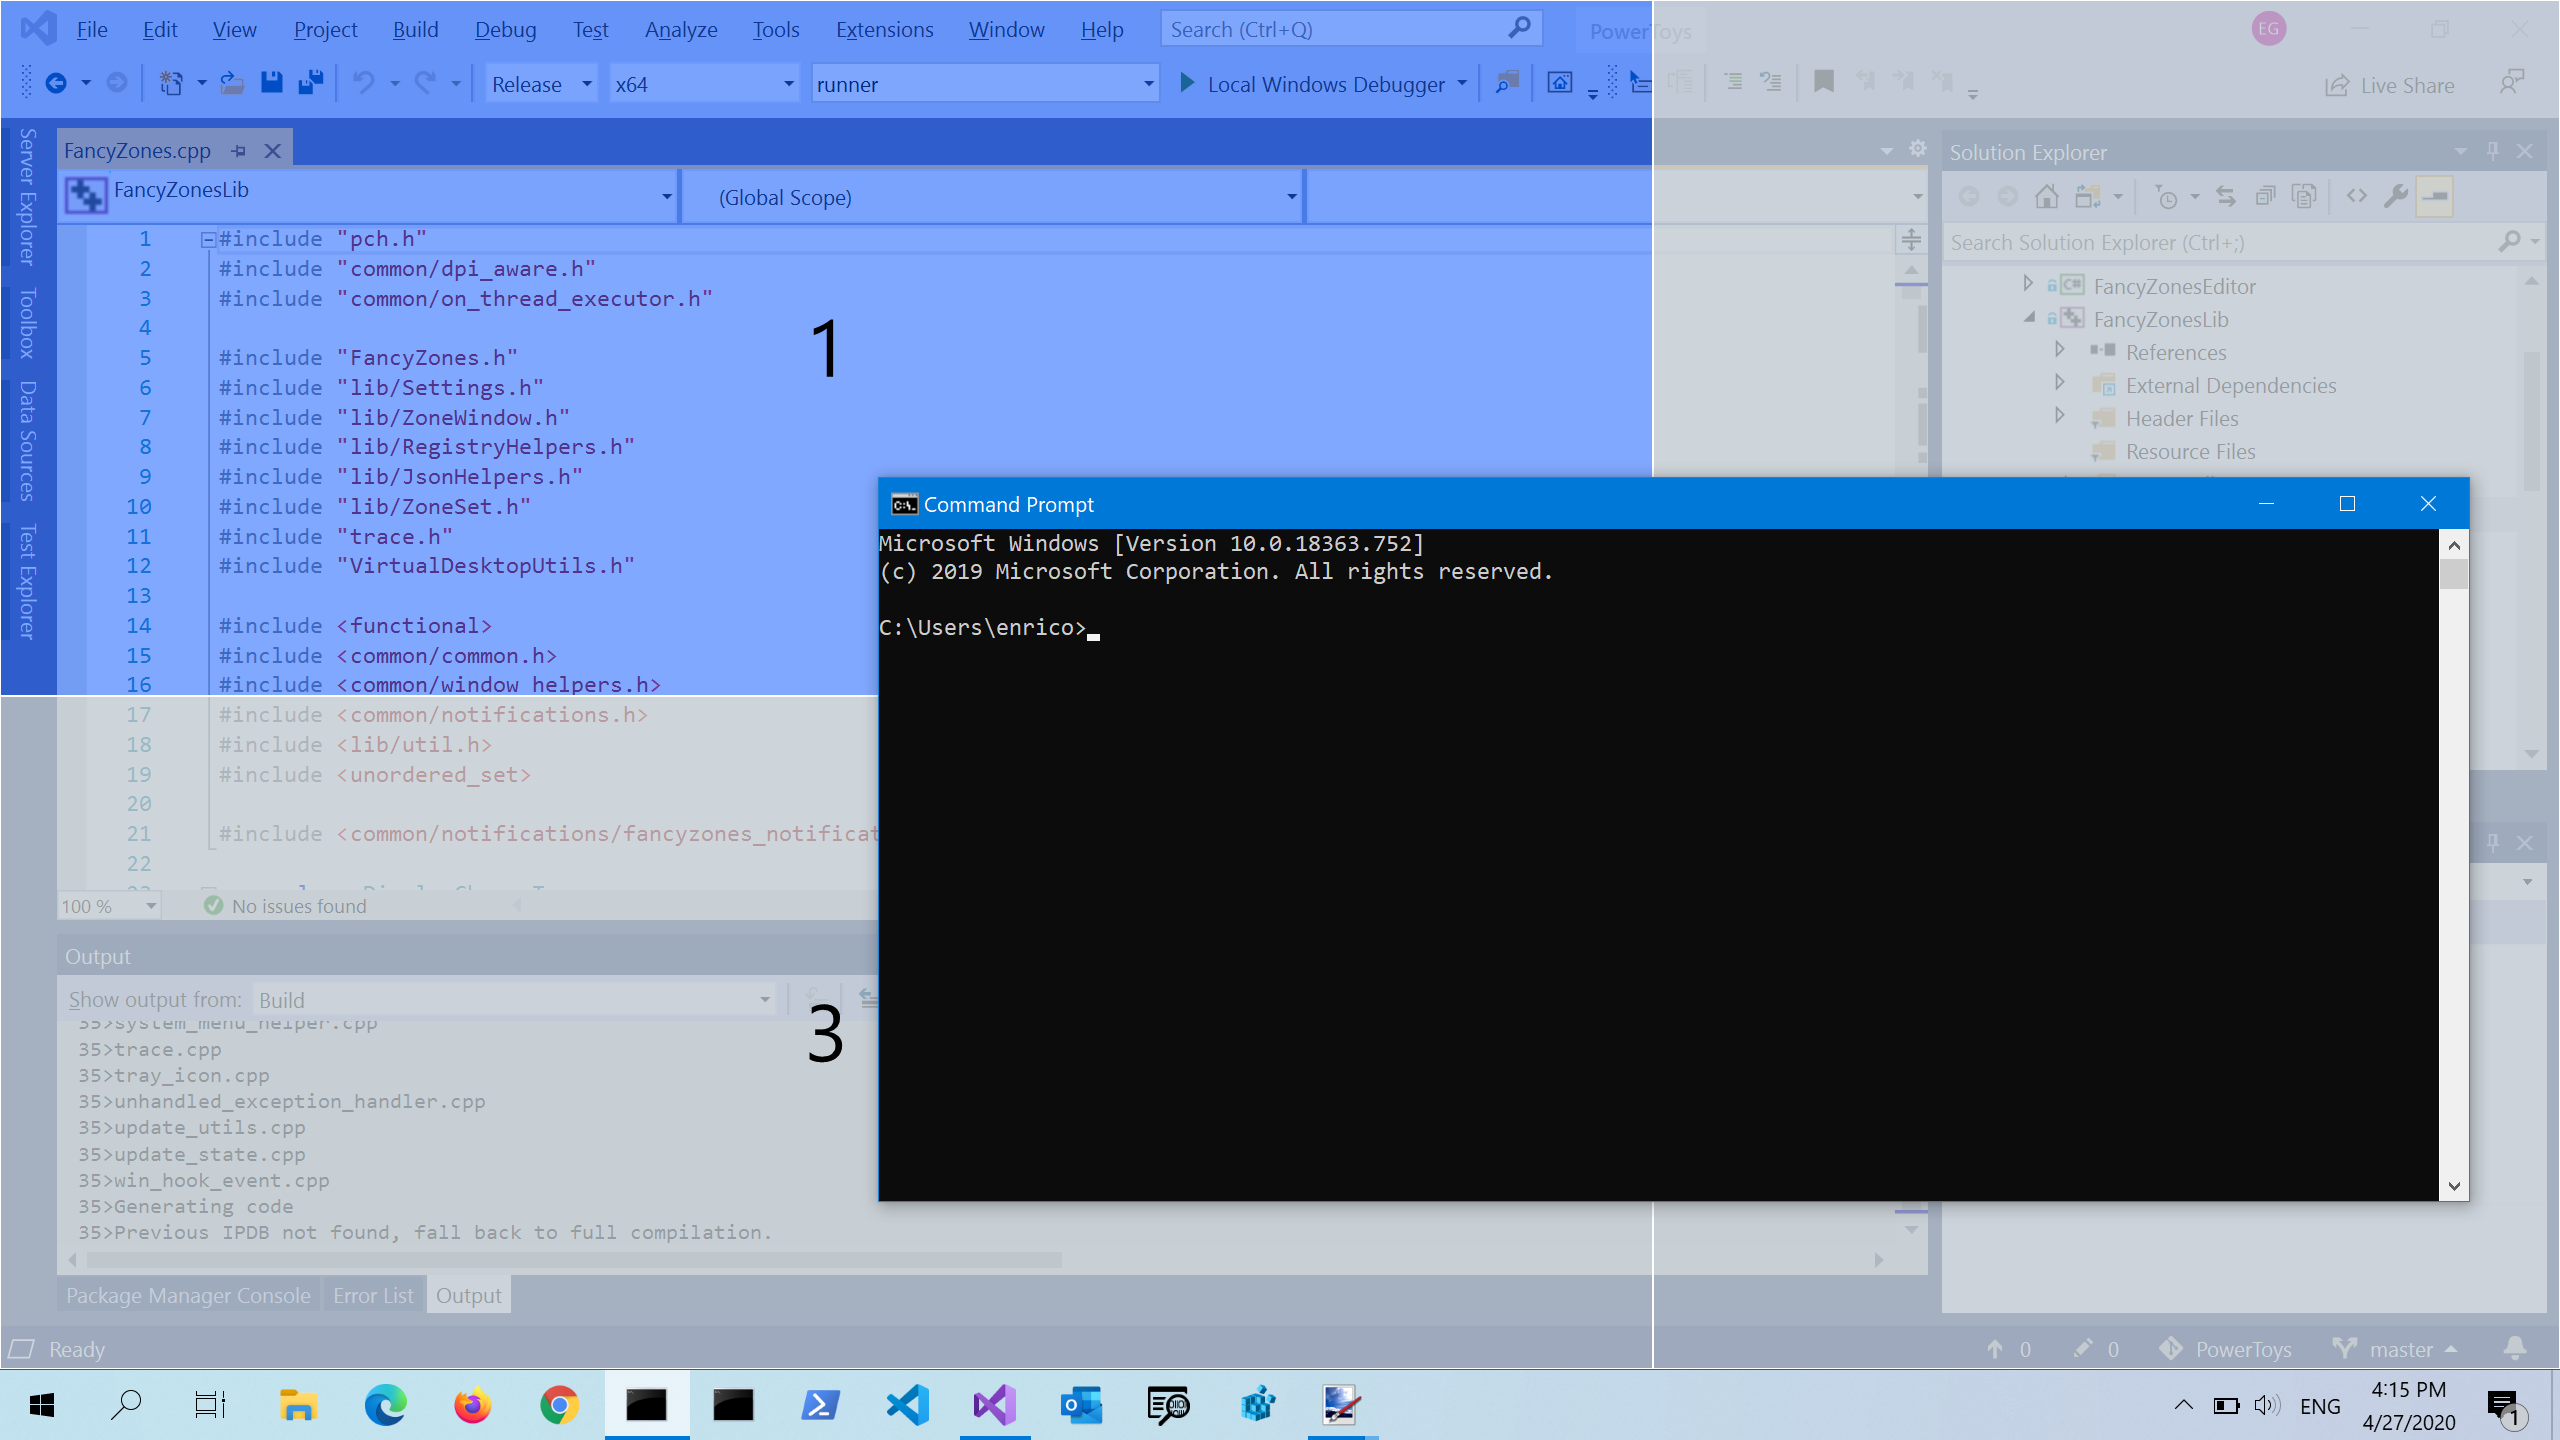
FancyZones is a window manager utility for arranging and snapping windows into efficient layouts to improve the speed of your workflow and restore layouts quickly. FancyZones allows the user to define a set of window locations for a desktop that are drag targets for windows. When the user drags a window into a zone, the window is resized and repositioned to fill that zone. When first launched, the zones editor presents a list of layouts that can be adjusted by how many windows are on the monitor. Choosing a layout shows a preview of that layout on the monitor. The selected layout is applied automatically.
File Explorer
Next,
File Explorer.
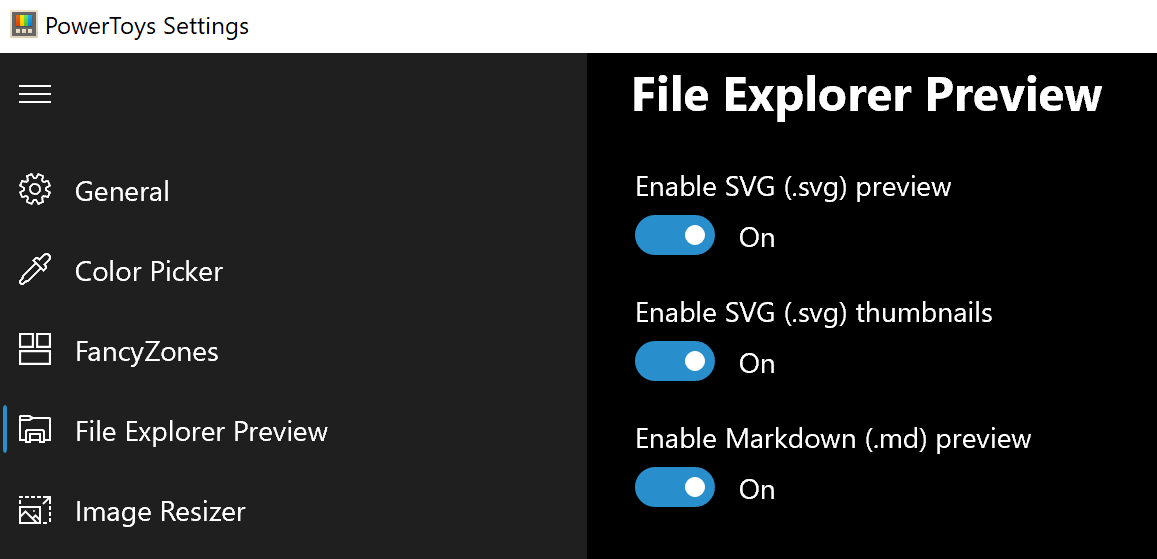
Only 3 options here but maybe some are important to you. This extension lets you enable SVG file preview in File Explorer, enable Markdown preview, and enable SVG thumbnails. Turn on each one you might need.
Image Resize
Next down the line, we have
Image resize.
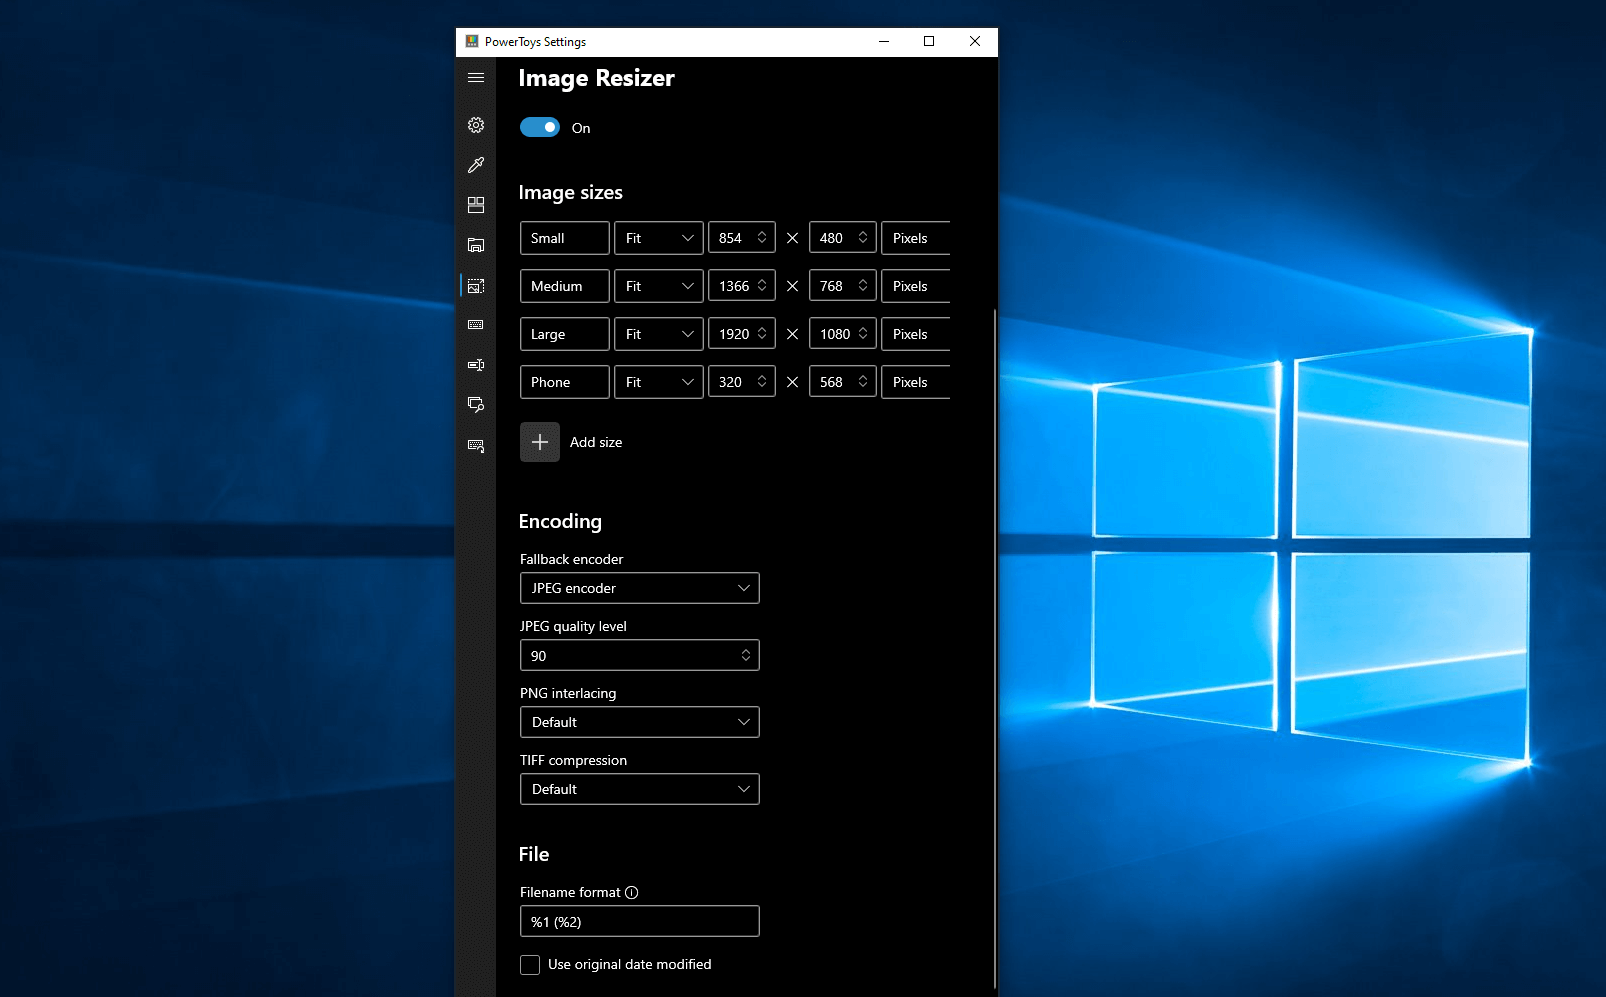
Image Resizer is a Windows shell extension for bulk image-resizing. After installing PowerToys, right-click on one or more selected image files in File Explorer, and then select
Resize pictures from the menu. You can specify your own sizes if you want, you can resize when dragging files, you can overwrite files or make new copies of new sizes, and many more options. A very useful tool I am sure plenty of users can use since this eliminates the need for pictures or any other image application for common resizing tasks.
Keyboard Manager
The
keyboard manager is the next tab in power toys.
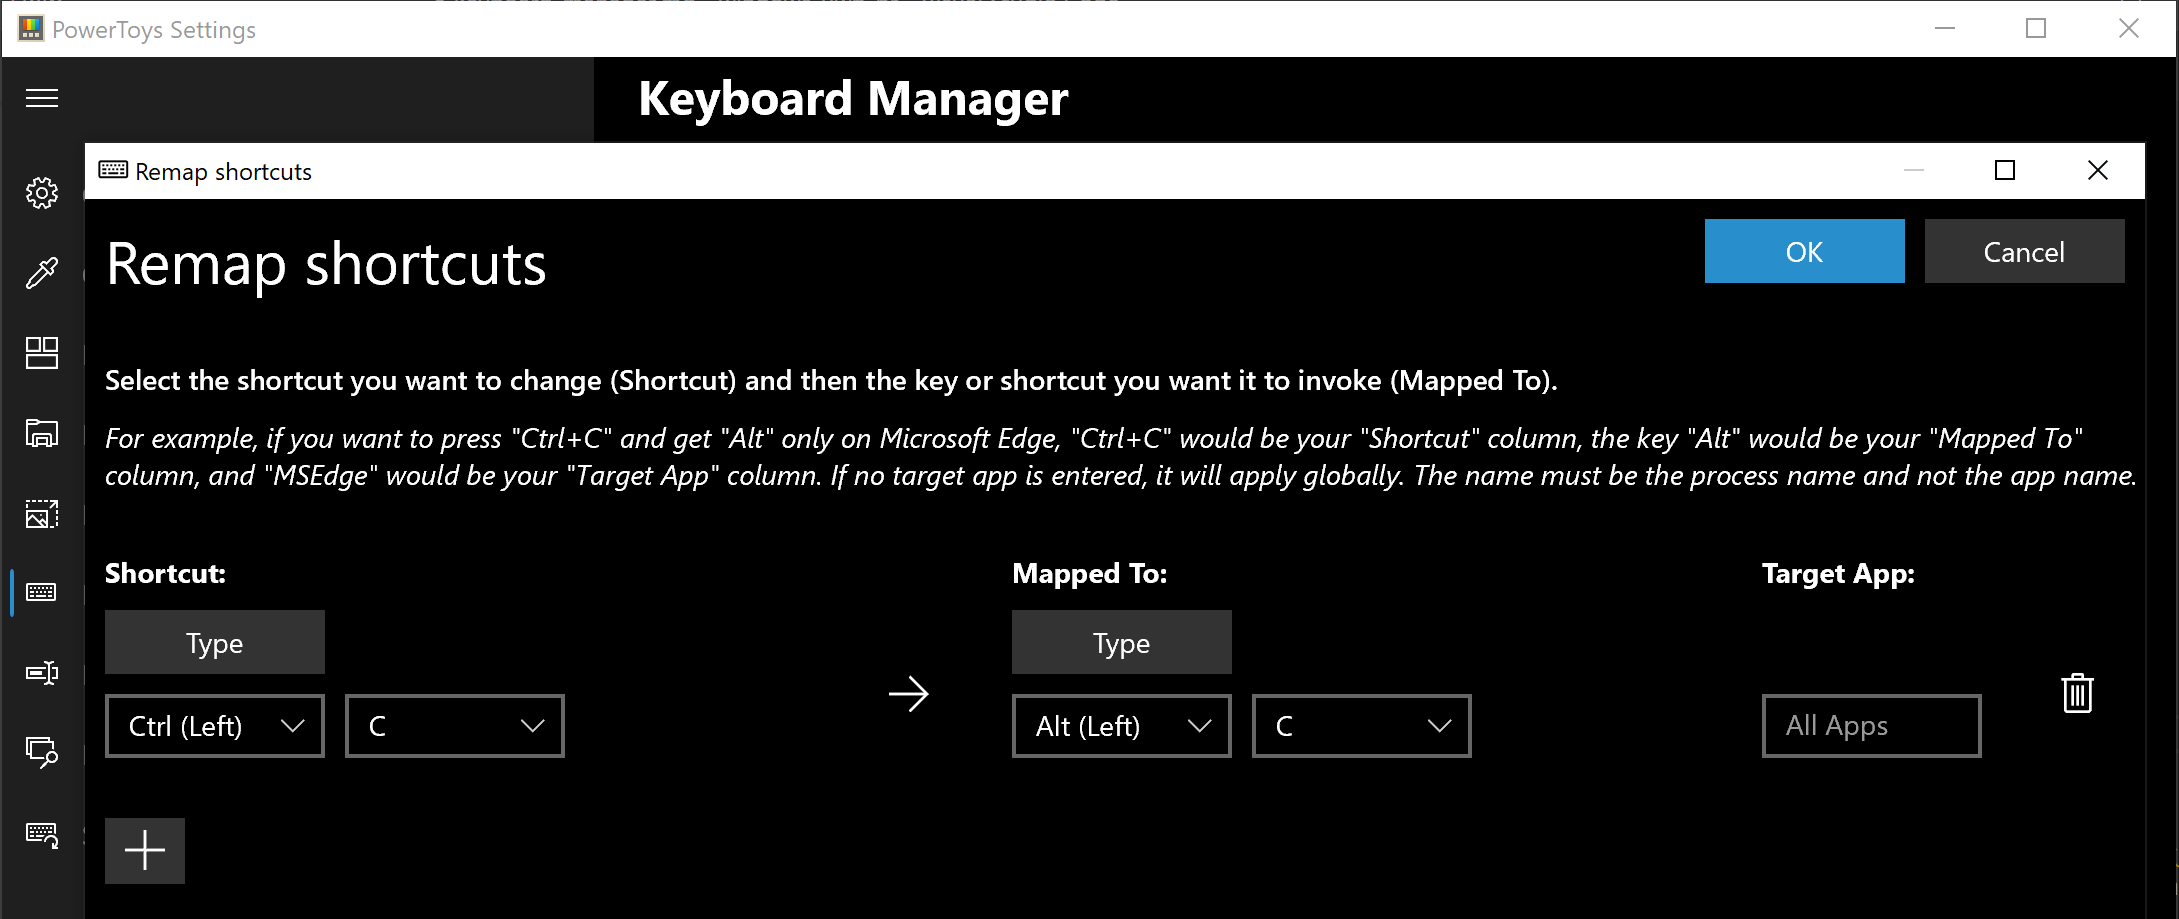
The PowerToys Keyboard Manager enables you to redefine keys on your keyboard. For example, you can exchange the letter
A for the letter
D on your keyboard. When you select the
A key, a
D will display. You can also exchange shortcut key combinations. For example, the shortcut key,
Ctrl+
C, will copy the text in Microsoft Word. With the PowerToys Keyboard Manager utility, you can exchange that shortcut for
⊞ Win+
C). Now,
⊞ Win+
C) will copy text. If you do not specify a targeted application in PowerToys Keyboard Manager, the shortcut exchange will be applied globally across Windows. PowerToys Keyboard Manager must be enabled (with PowerToys running in the background) for remapped keys and shortcuts to be applied. If PowerToys is not running, key remapping will no longer be applied.
Power Rename
Nex we have a very cool and powerful
Power Rename
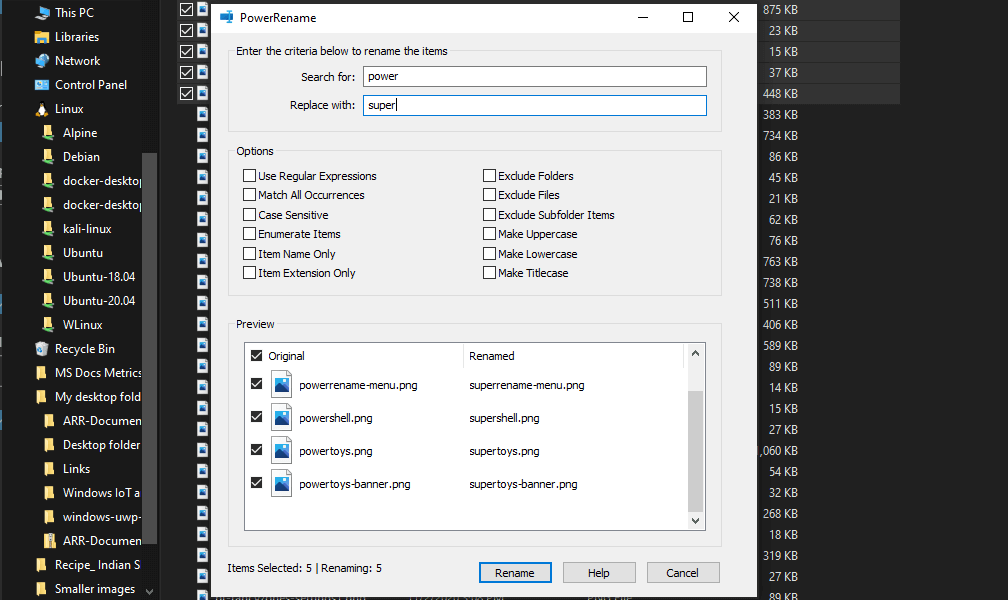
PowerRename is a bulk renaming tool that enables you to:
- Modify the file names of a large number of files (without renaming all of the files with the same name).
- Perform a search and replace on a targeted section of file names.
- Perform a regular expression rename on multiple files.
- Check expected rename results in a preview window before finalizing a bulk rename.
- Undo a rename operation after it is completed.
Run Utility
Power Toys Run utility follows next.
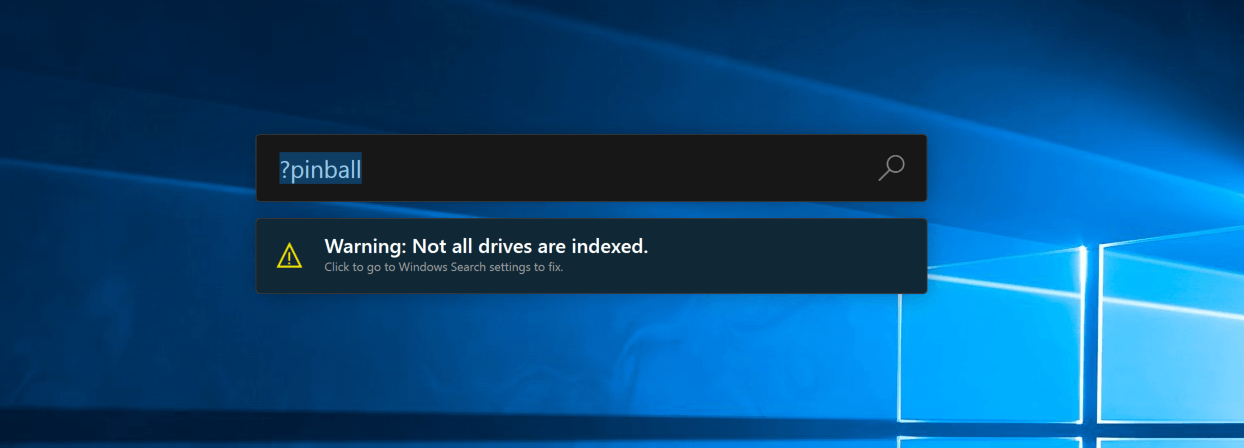
PowerToys Run is a quick launcher for power users that contains some additional features without sacrificing performance.
PowerToys Run features include:
- Search for applications, folders, or files
- Search for running processes (previously known as WindowWalker)
- Clickable buttons with keyboard shortcuts (such as Open as the administrator or Open containing folder)
- Invoke Shell Plugin using
> (for example, > Shell:startup will open the Windows startup folder)
- Do a simple calculation using the calculator
Shortcut Guide
Last but not least we have a
Shortcut guide.
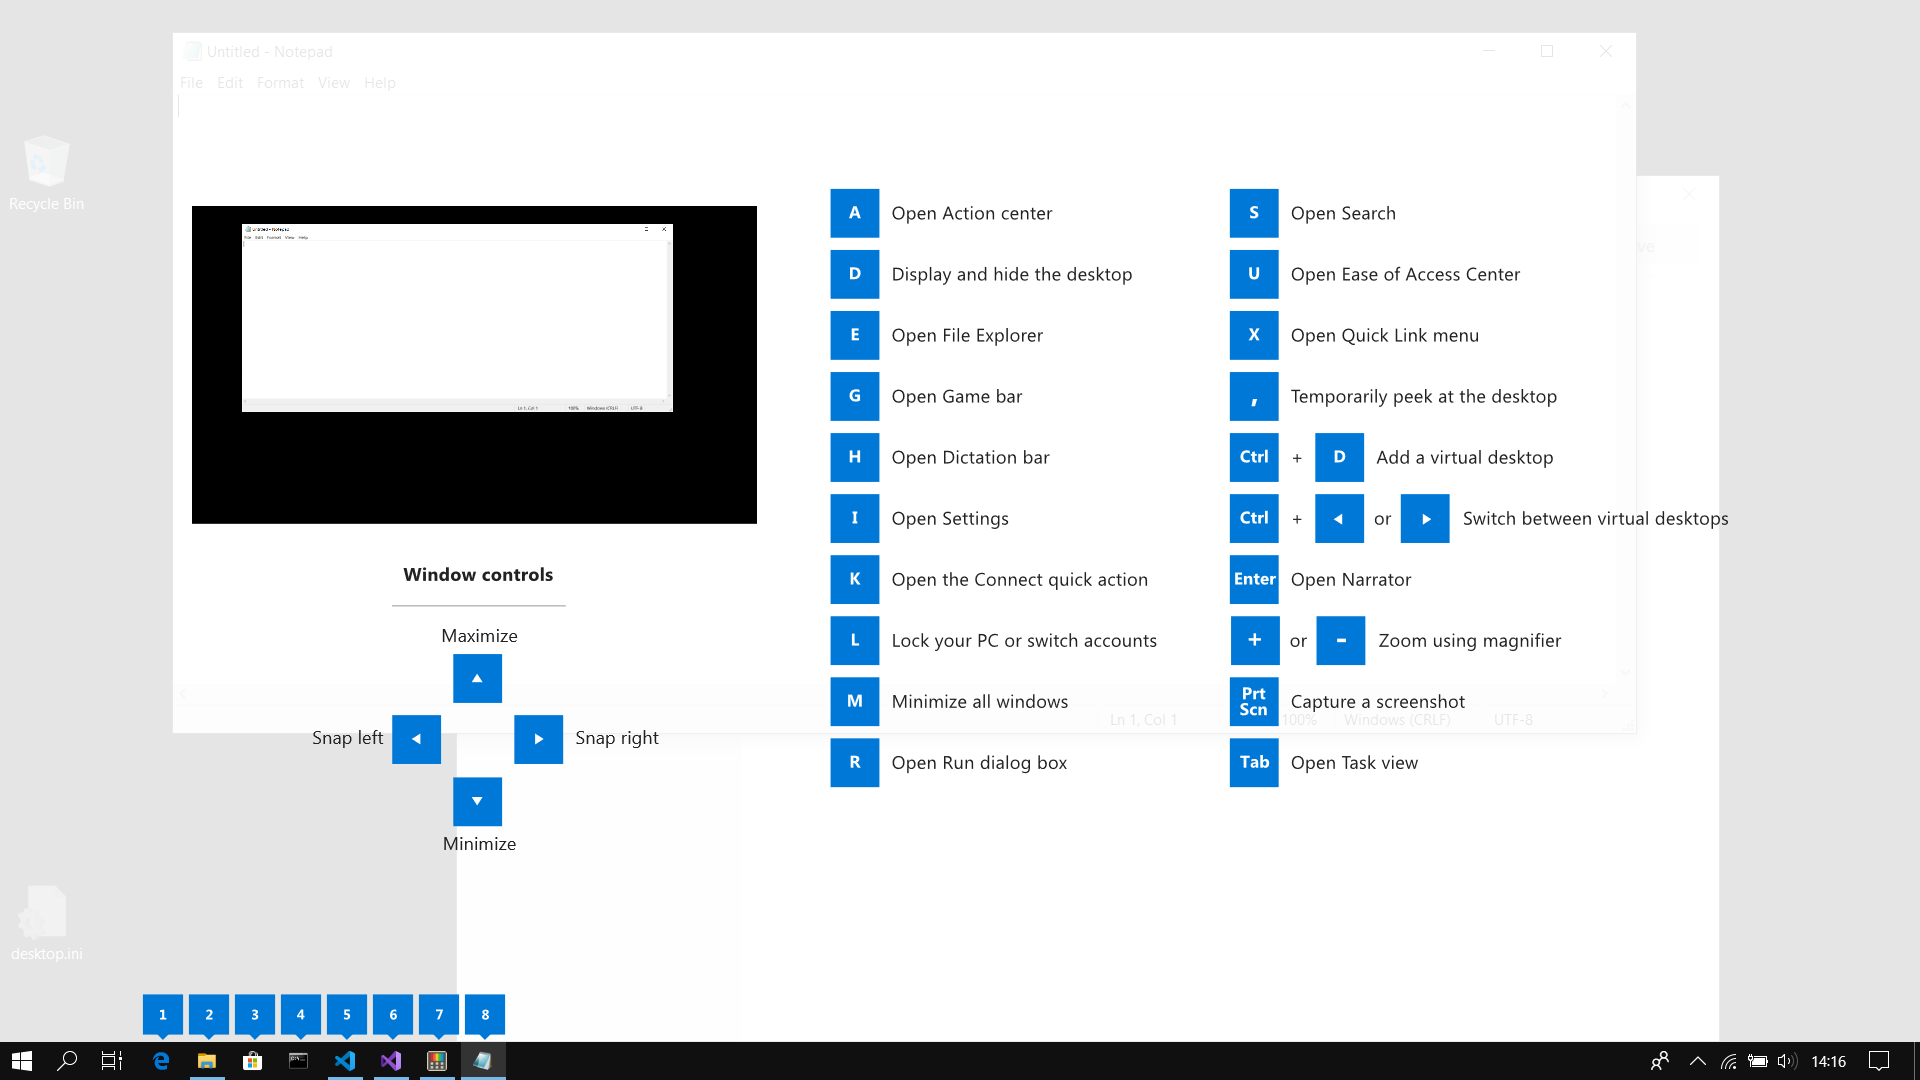
This guide uses PowerToys to display common keyboard shortcuts that use the Windows ⊞ key. Windows key keyboard shortcuts can be used while the guide is being shown and the result of those shortcuts (active window moved, arrow shortcut behavior changes, etc) will be displayed in the guide. Releasing the Windows ⊞ key will make the overlay disappear. Tapping the Windows ⊞ key will display the Windows Start menu.
Hey, you made it till the end, thank you for reading and I hope to see you soon.

