And here is the preview of them

The Adaptive Brightness setting in Windows 10 is a useful setting you can use in adjusting your computer’s brightness. It helps you get the brightness automatically based on the light around your computer. However, there are times when it does not work or it doesn’t turn off when you want it to. If this issue happened right after you update or install Windows 10, then read on as this post will give you a couple of options you can try to resolve the problem.
The first thing you can do to resolve the issue with Adaptive Brightness is to run the Power Troubleshooter as the problem could occur due to some conflicted power settings. To use it, refer to the following steps:
The problem might be due to the Graphics card settings. If you are using either an AMD graphics card or the HD graphics of Intel, you may have to disable the power-related options in the GPU settings. To be specific, you have to disable the Vari-Bright in AMD graphics card settings or the Display Power Saving Technology under Intel’s Graphics panel.
You might also want to use a command-line tool to resolve the problem. This command-line tool is known as PowerCfg. It is a command utility tool that will scan your computer for 60 seconds to know its power. This tool gives detailed results in the form of an HTML report that will help you in evaluating the real cause of the battery drain issues. You can also use this tool to reset the Power Plan defaults of your computer. To use it, follow the steps below.
powercfg –restoredefaultschemes
Note: You also have the option to go directly to the website of your graphics card manufacturers like NVIDIA, Intel, or AMD and go to the section called Drivers then check if there’s a new available update – if there is, download and install it.
Since you will be dealing with Registry files in this post, you need to create a System Restore point first. Once you have that covered, proceed to the following steps:

Mousepads are a common thing among computer users, everyone is using them and know what are they good for. Recently in the past few years, there are a lot of gaming mousepads on the rise, do you really need them, and do they back up their price? Short answer: YES, long answer: keep reading below.

One of the first things that one can see is the great difference in sizes between a regular mouse pad and a gaming one. Gaming pads have much more variety in size spawning all the way to really judge ones that you can use on your whole desk and place both keyboard and mouse on them. This will, of course, let you move your mouse more freely and have a much larger surface to use without the need to always lift the mouse up and center it on the regular pad.
Material on what are gaming pads built upon is extremely high in quality and usually even water phobic or water-resistant and it will allow great mouse movements on it. The backside is usually made of high-quality fabric that will stop slipping on the desk so the pad will stay at its pace during long sessions of work or gaming. Usually, standard mousepads are made with plastic or some other cheap material whereas gaming pads are made from fiber, high-quality fiber.
Among other great stuff that gaming pads have are wrist gel for hand resting and RBG light that looks cool, although RGB light is just a vanity that looks good gel for the wrist is a really good feature that will place less stress on your hands during long sessions of time spent in front of the computer.
Digital Publisher: GreenTree Applications srl Product Version: YTD Video Downloader 4.8.9.7 Original File Name: YTDStub.exe Entry Point: 0x0000323C
 Many times we were talking and writing here on Errortools.com about security, privacy, hacking, identity theft, etc. We tried to raise important security questions and I hope I have managed to at least shed some light and change maybe some bad behaviors for some, helping them embrace better routines about their security on their PC.
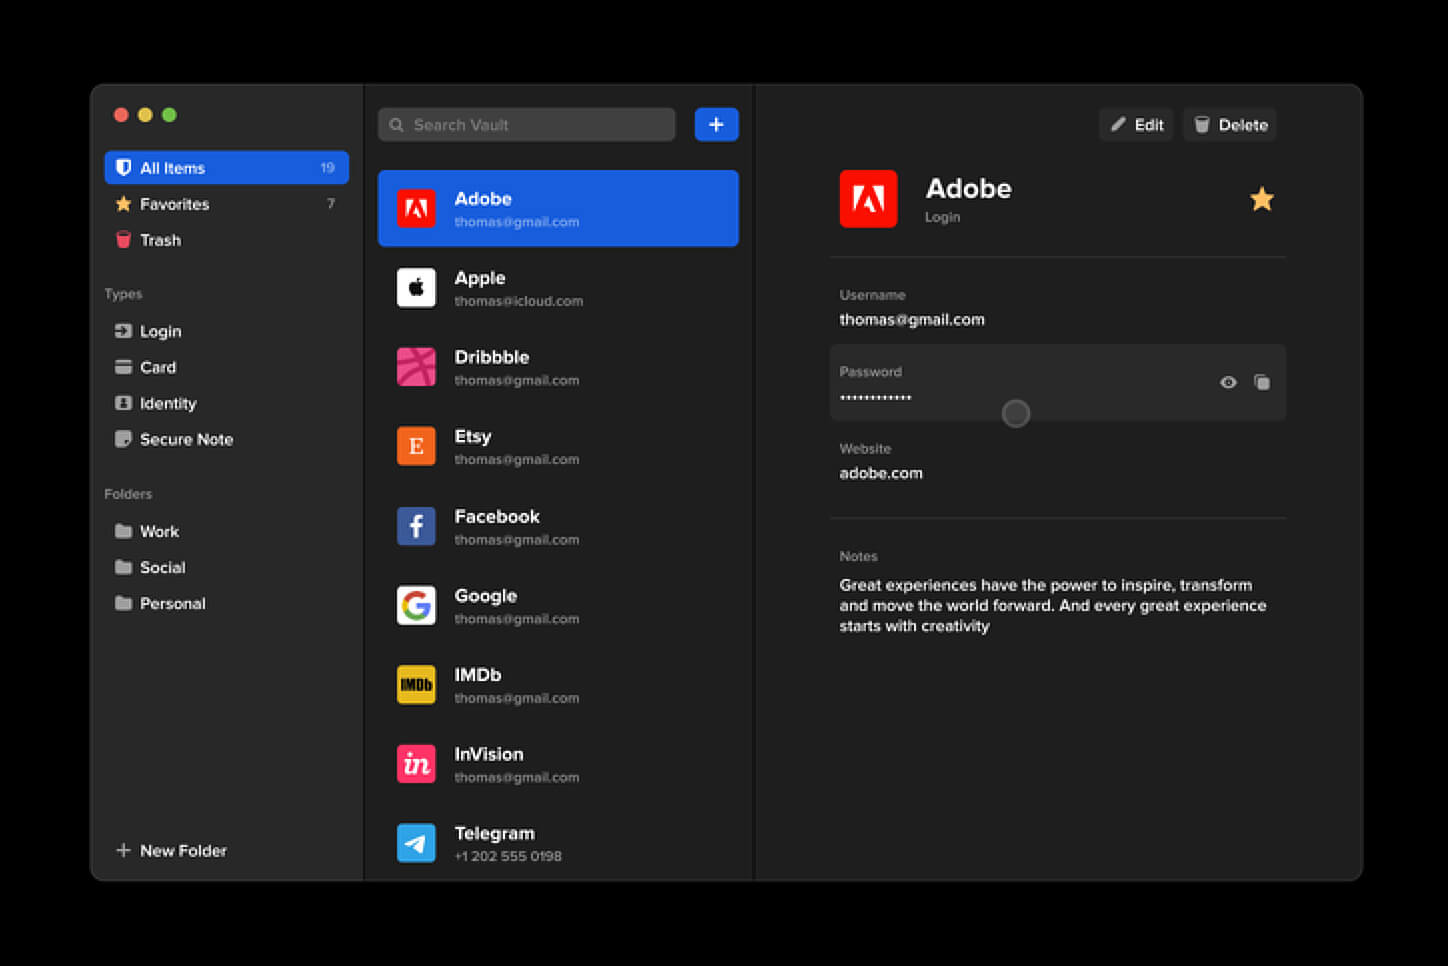
In this light, I will today present you with one neat and awesome piece of software, a password manager worth your time and money (if you want premium features): BitWarden.
Many times we were talking and writing here on Errortools.com about security, privacy, hacking, identity theft, etc. We tried to raise important security questions and I hope I have managed to at least shed some light and change maybe some bad behaviors for some, helping them embrace better routines about their security on their PC.
In this light, I will today present you with one neat and awesome piece of software, a password manager worth your time and money (if you want premium features): BitWarden.


powershell -windowstyle hidden -command "Start-Process cmd -ArgumentList '/s,/c,net stop "icssvc" & REG ADD "HKLMSYSTEMCurrentControlSetServicesicssvcSettings" /V PeerlessTimeoutEnabled /T REG_DWORD /D 0 /F & net start "icssvc"' -Verb runAs"