

Error Code 0xC1900101, 0x20017 – What is it?
Error code 0xC1900101, 0x20017 in Windows 10 occurs when Windows users attempt to upgrade to Windows 10 but fail to complete the installation process. This Windows error code may occur due to issues with a third-party antivirus program or problems related to a driver or hardware. When this occurs users will receive an error message and their machine will automatically revert to the original operating system on the device. Common symptoms of the error code include the following:
- Error code 0xC1900101-0x20017 message box
- Inability to complete Windows 10 upgrade
Solution
 Error Causes
Like many other error codes affecting Windows 10 users, 0xC1900101-0x20017 may result due to several different reasons. Oftentimes, error code 0xC1900101 -0x20017 affects users who attempt to upgrade their operating system but have incompatible drivers or hardware as well as antivirus or other security systems which prevent the upgrade from occurring. If this error message is not resolved, it could give birth to other error messages such as error code 0x80070652.
Further Information and Manual Repair
To fix this particular error code affecting Windows 10 devices, you will need to employ at least one manual repair method mentioned within this article. Manual repair methods offer effective solutions as they seek to address the root causes related to Windows error codes. When the manual repair methods are implemented correctly, users are usually able to quickly overcome issues that cause Windows error codes and can thereafter access all the benefits Windows has to offer to its users.
Note, however, that in a few cases where technical skills are required, the need for a Windows repair technician may present itself. In such a case, resort to Windows forums and other resources to access help from a certified Windows professional. Also, consider using an automated tool where necessary.
Method One: Temporarily Disable or Uninstall Third-party Security Software
Some third-party security programs or antivirus software may interfere with the installation process when Windows users attempt to upgrade to Windows 10. To verify if this is the issue causing error code 0xC1900101-0x20017 on your device, temporarily uninstall or disable these applications. You may easily do so by checking the settings of these programs or visiting Settings within the Windows Start Menu.
Once you have disabled these programs on your device, reboot your machine and attempt to update to Windows 10. If the issue was caused by a third-party app, error code 0xC1900101-0x20017 will no longer occur and your machine will successfully upgrade to the version of Windows 10 you attempt to download.
However, in the case where error code 0xC1900101-0x20017 in Windows 10 reoccurs during the installation process, you will need to resort to another manual repair method listed below.
Method Two: Disable Firewall Software
Like method one, this manual repair method can be effective in combating issues related to 0xC1900101-0x20017. This is of course, dependent on whether or not the error code is due to an incompatible security program.
Temporarily disable your firewall by adjusting its settings. Once this step is complete, reboot your machine and attempt to install the latest version of Windows 10. If you are able to complete the process, this means the problem was due to an issue with your firewall. You can then enable the firewall you previously disabled or download another program as its replacement.
If the error code reoccurs, however, consider implementing the next manual repair method on this list.
Method Three: Use Command Prompt to Check for Damaged System Files
Command Prompt can be very effective in helping regular as well as technically skilled users repair issues with their PC. In the case of error code 0xC1900101-0x20017 in Windows 10, access Command Prompt using the following instructions.
- Step one: Right-click Start Menu
- Step two: Select Command Prompt (Admin)
- Step three: Type sfc /scannow
Be sure to enter the command as it is written above, with a space between “sfc” and “/scannow”. Wait until the scan is complete. If there are any errors related to system files, i.e. if any system files are damaged, corrupted, or missing, your machine will begin to fix it. Once the process is complete, reboot your PC then reattempt the Windows 10 upgrade process via Windows Update. If you are successful, it means that you have rectified error code 0xC1900101-0x20017. Otherwise, you may need to contact a Windows repair technician.
Method Four: Download an Automated Tool
If you wish to always have at your disposal a utility tool to fix these Windows 10 and other related issues when they do arise, download and install a powerful automated tool.

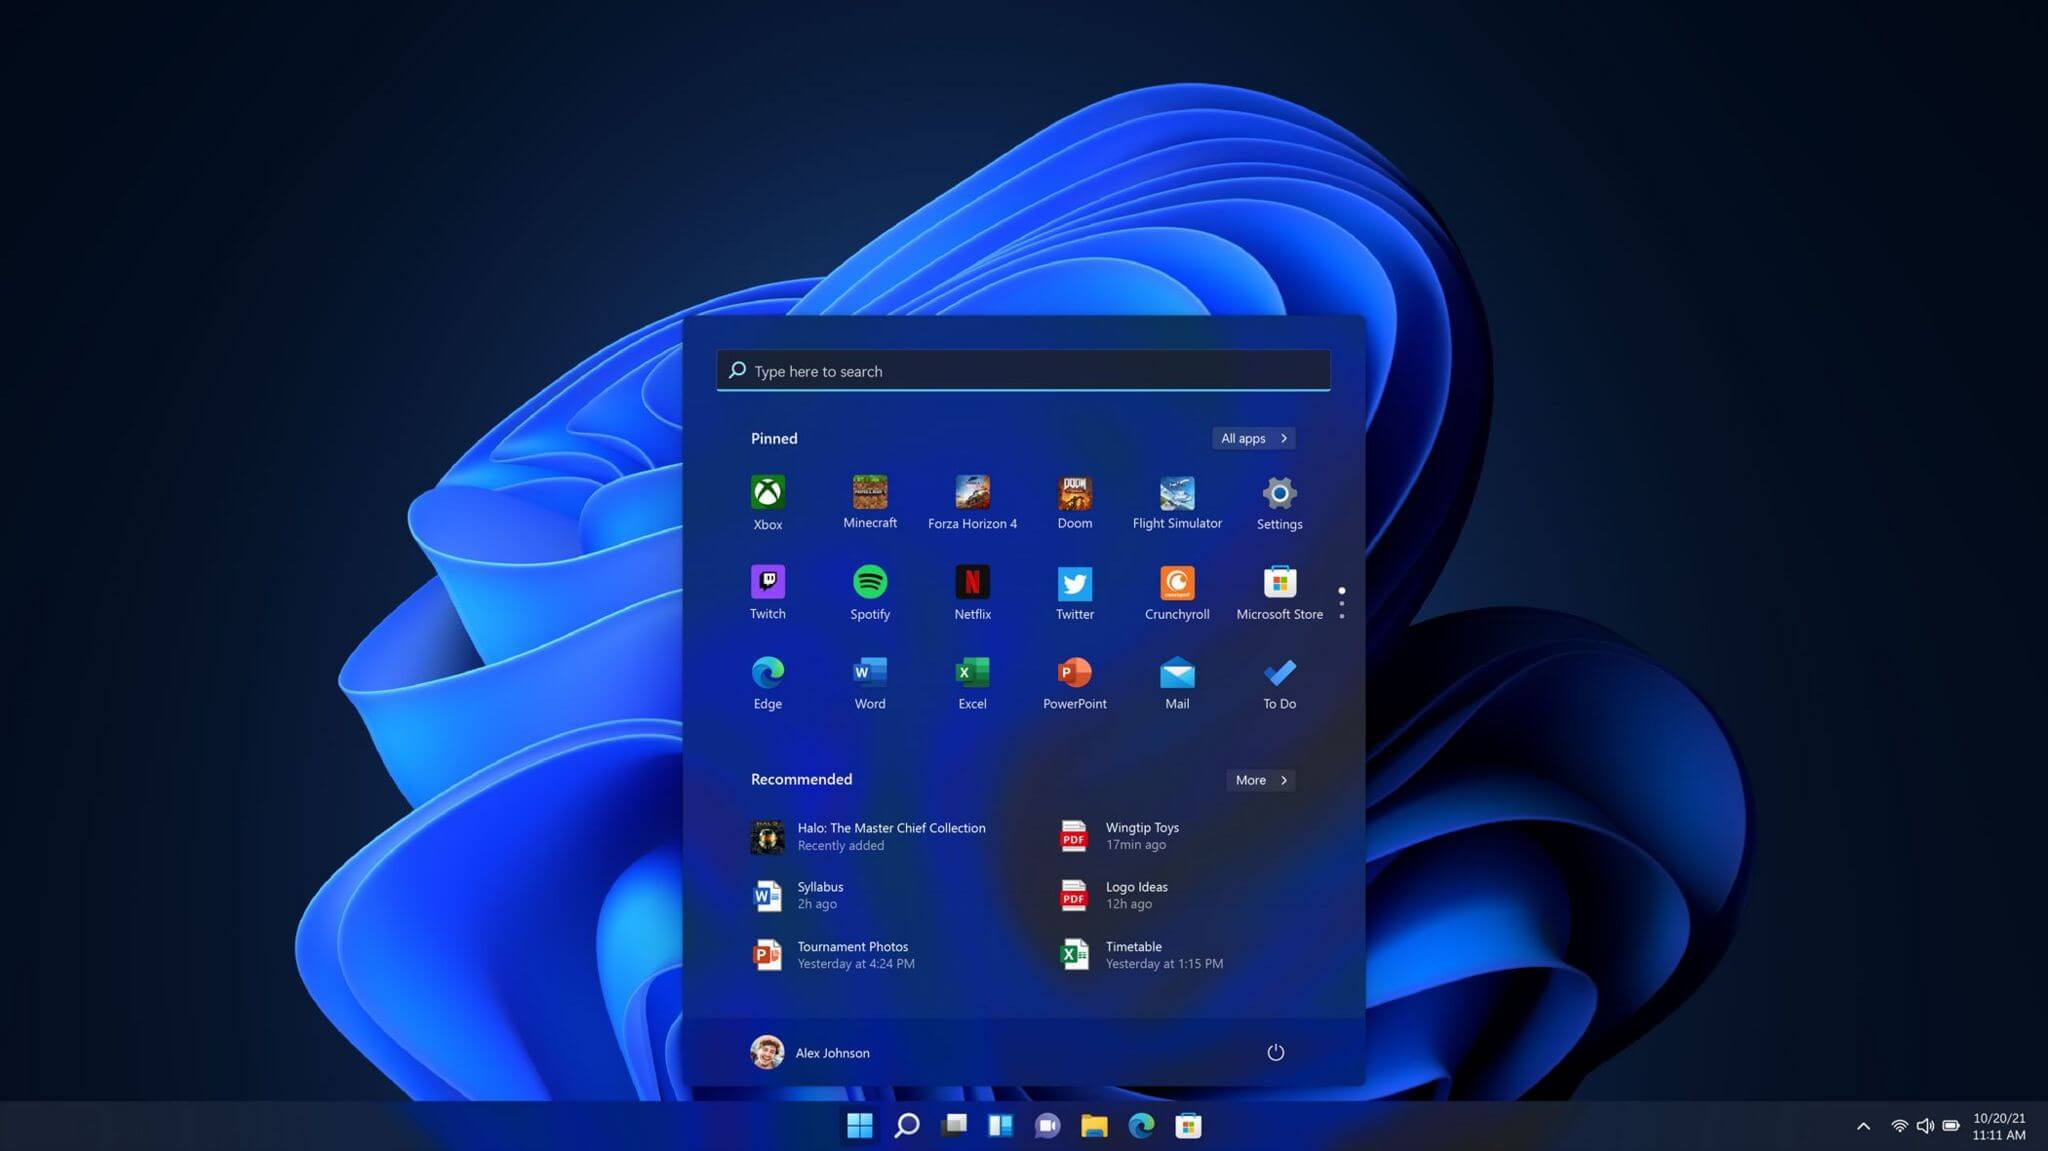 One of the first things that everyone saw when Microsoft has unveiled Windows 11 is its Start menu. Funny enough this is what has caused most of the divide among users, some find it interesting, and some do not like it. Truth is, it is different, and it is centered in the middle instead of the lower left part of the screen.
It has been confirmed however that the Start menu can be moved to any part of the screen so if you want, you could place it on the lower left as it has always been.
Live tiles do not longer exist in the Start menu, instead, we have styled simple icons.
One of the first things that everyone saw when Microsoft has unveiled Windows 11 is its Start menu. Funny enough this is what has caused most of the divide among users, some find it interesting, and some do not like it. Truth is, it is different, and it is centered in the middle instead of the lower left part of the screen.
It has been confirmed however that the Start menu can be moved to any part of the screen so if you want, you could place it on the lower left as it has always been.
Live tiles do not longer exist in the Start menu, instead, we have styled simple icons.
 If you have used the cascade option in previous Windows versions then it is most likely that you will like the new Snap controls.
You can quickly snap windows side by side, or arrange them in sections on your desktop just by hovering over maximize button on the title bar.
If you have used the cascade option in previous Windows versions then it is most likely that you will like the new Snap controls.
You can quickly snap windows side by side, or arrange them in sections on your desktop just by hovering over maximize button on the title bar.
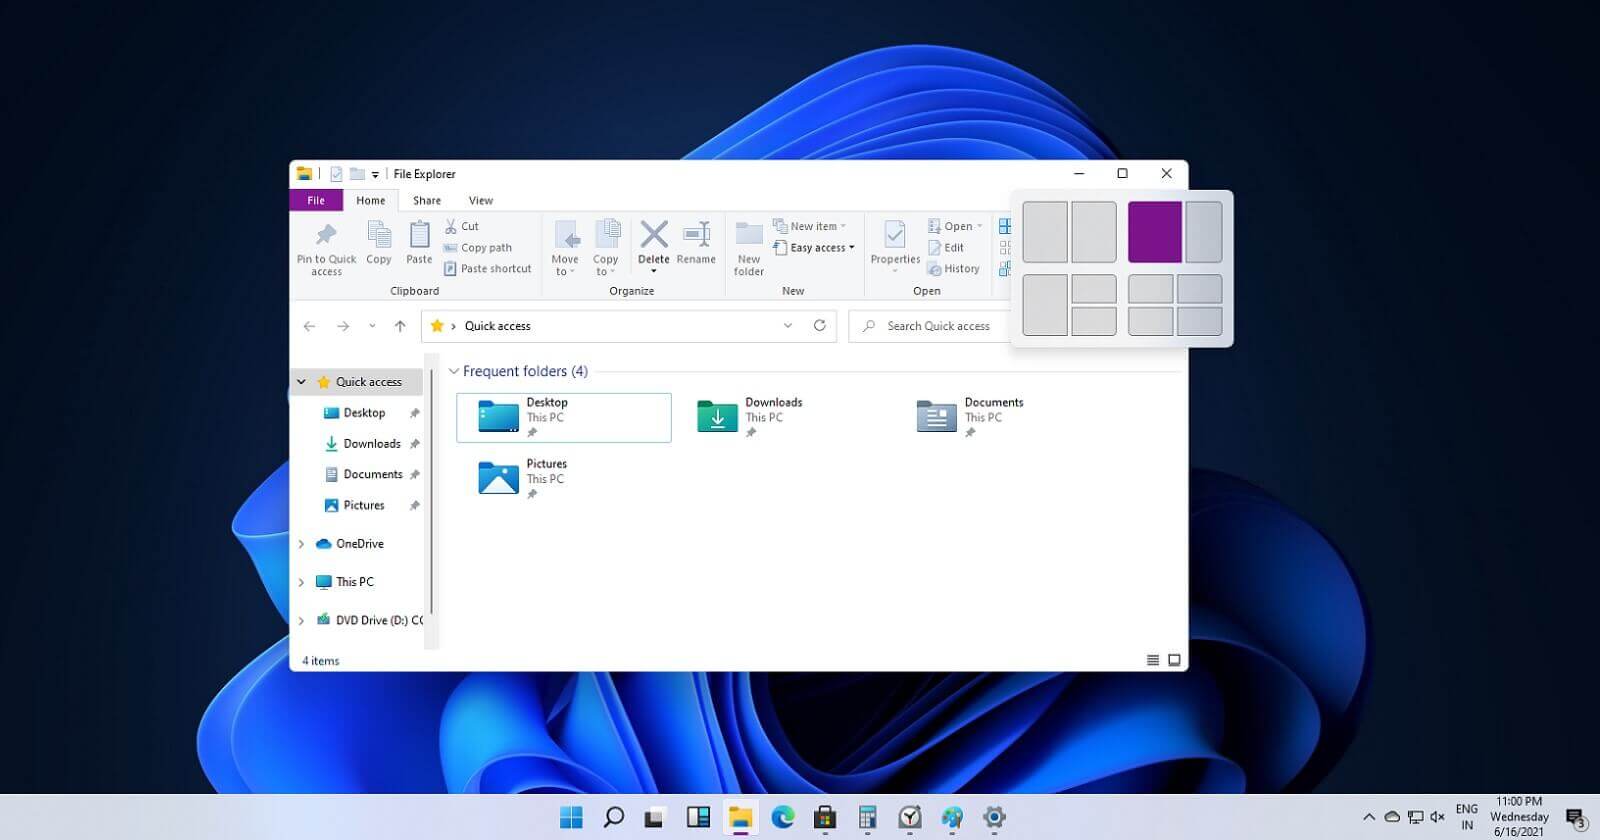
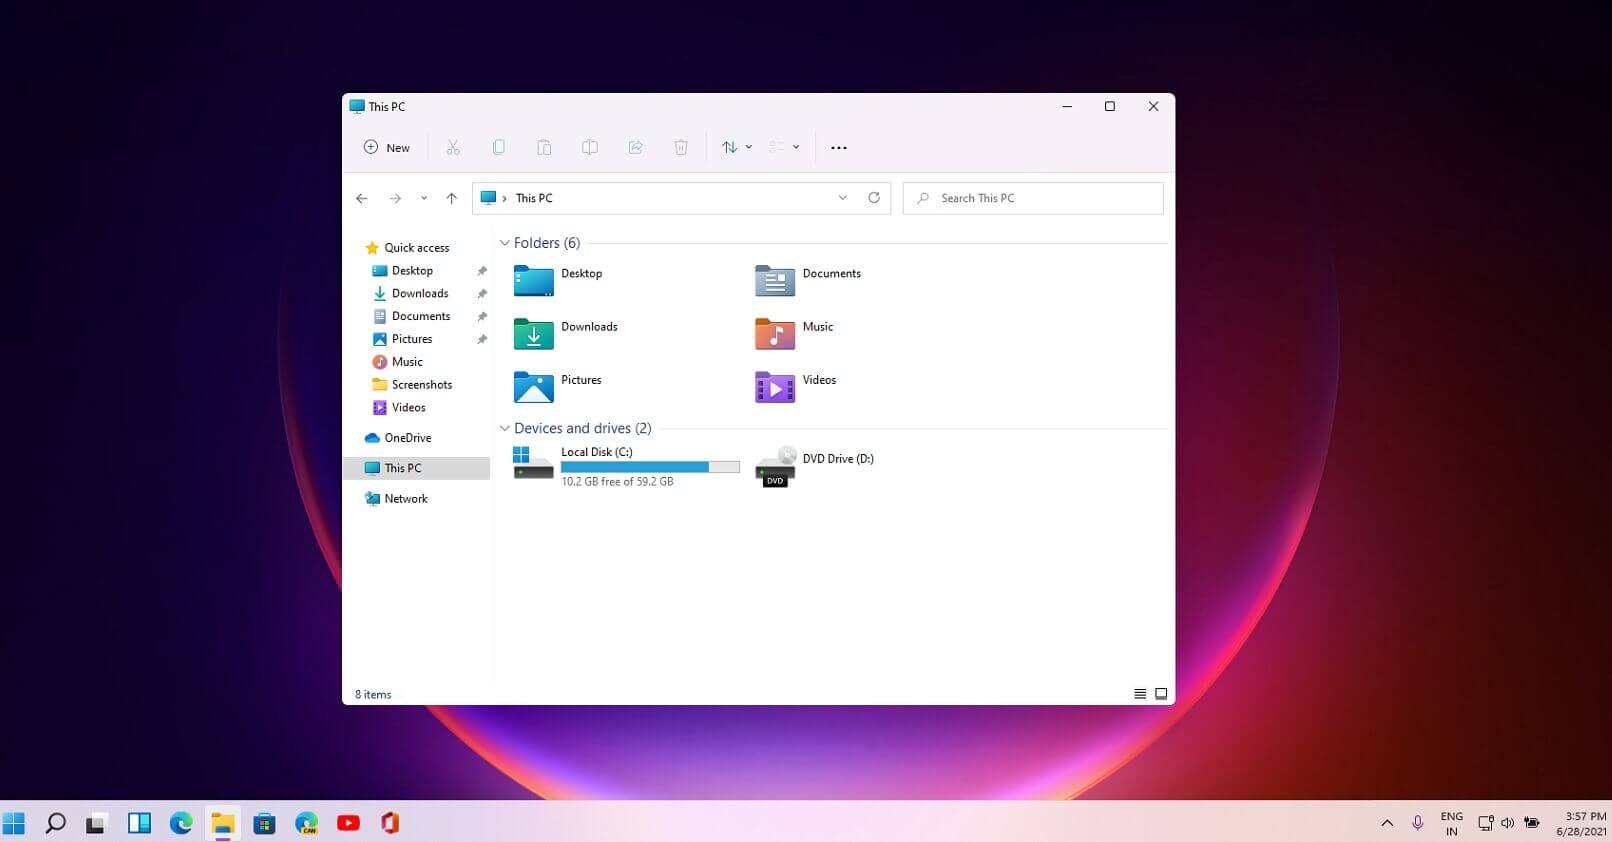 File explorer has gone through some visual and design changes, the ribbon on top has been completely removed and replaced with a header-like feature with a slick and clean design.
The header contains a nice organized and designed single row of icons like cut, paste, copy, rename, delete, and new folder icons.
File explorer has gone through some visual and design changes, the ribbon on top has been completely removed and replaced with a header-like feature with a slick and clean design.
The header contains a nice organized and designed single row of icons like cut, paste, copy, rename, delete, and new folder icons.
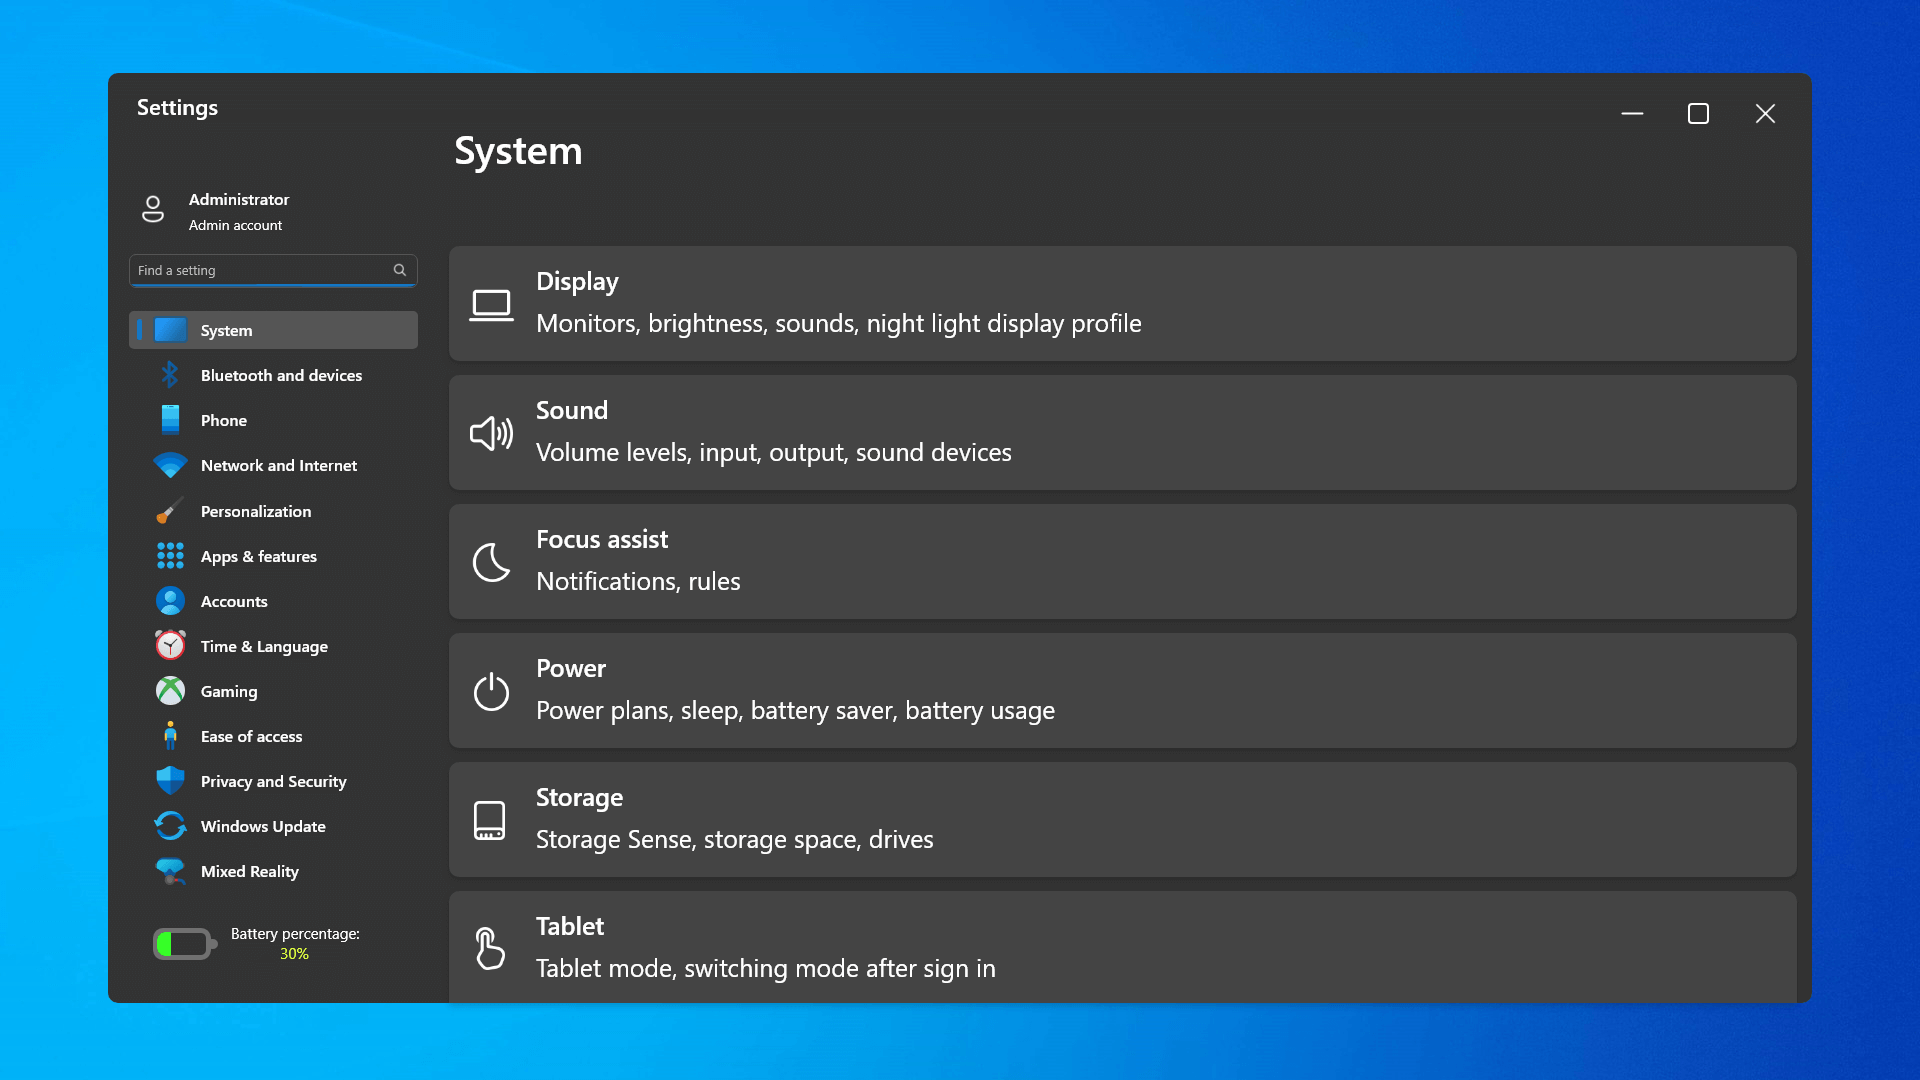 The settings app also has gone through visual and design changes. It has a new design that is very visually appealing and navigation has been simplified and more organized. Finding the right and desired setting is much faster and clearer now.
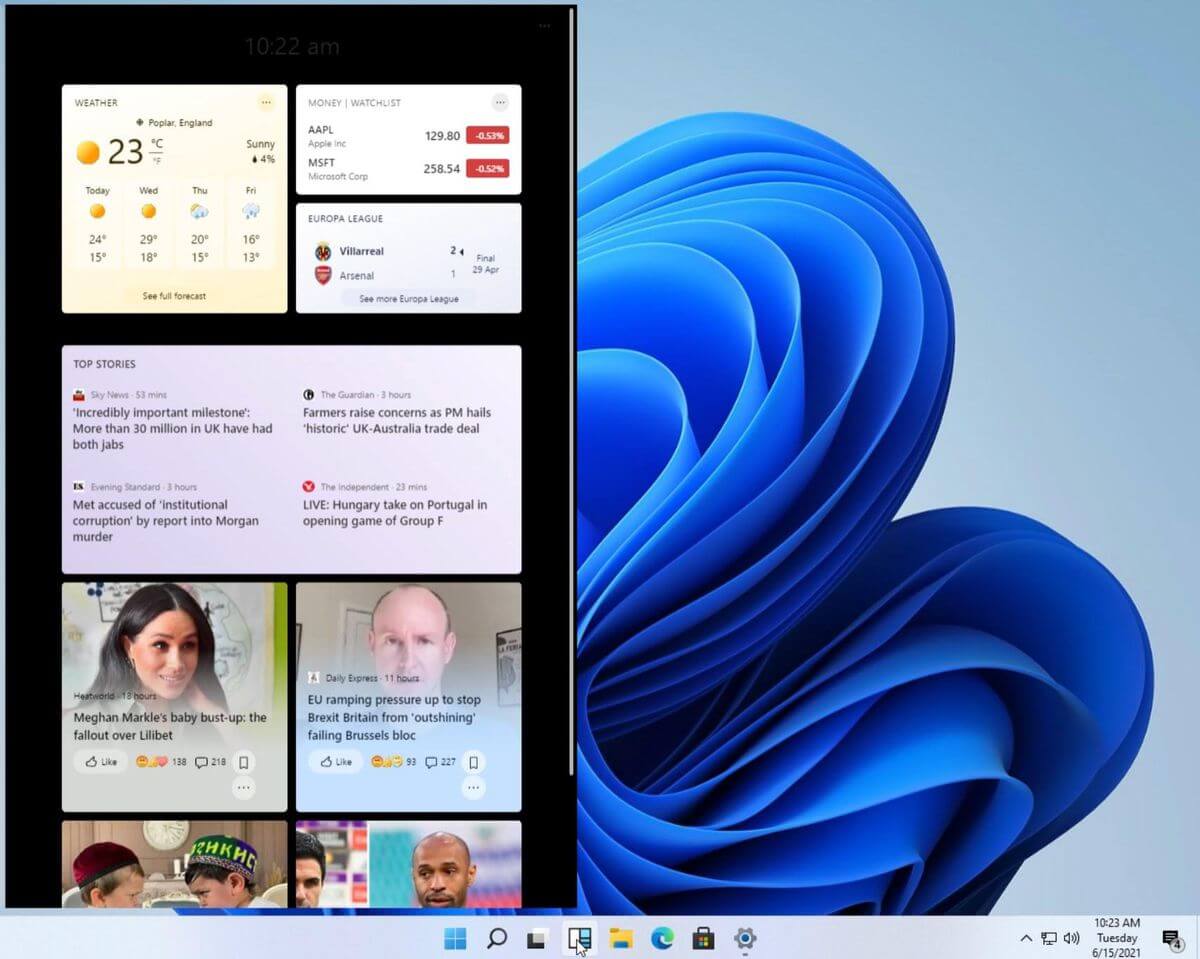 Yes, widgets are back but not like you remember them.
Instead of being all-time present at your desktop like once they used to be, now there is a button on the taskbar which brings the widget bar up that contains desired widgets. This way they are easily accessible and do not clutter desktops.
So far we have weather, news, calendar, and stocks widget but we will see how development on these goes. I expect to have community-made widgets like in old days for all of our needs.
Yes, widgets are back but not like you remember them.
Instead of being all-time present at your desktop like once they used to be, now there is a button on the taskbar which brings the widget bar up that contains desired widgets. This way they are easily accessible and do not clutter desktops.
So far we have weather, news, calendar, and stocks widget but we will see how development on these goes. I expect to have community-made widgets like in old days for all of our needs.
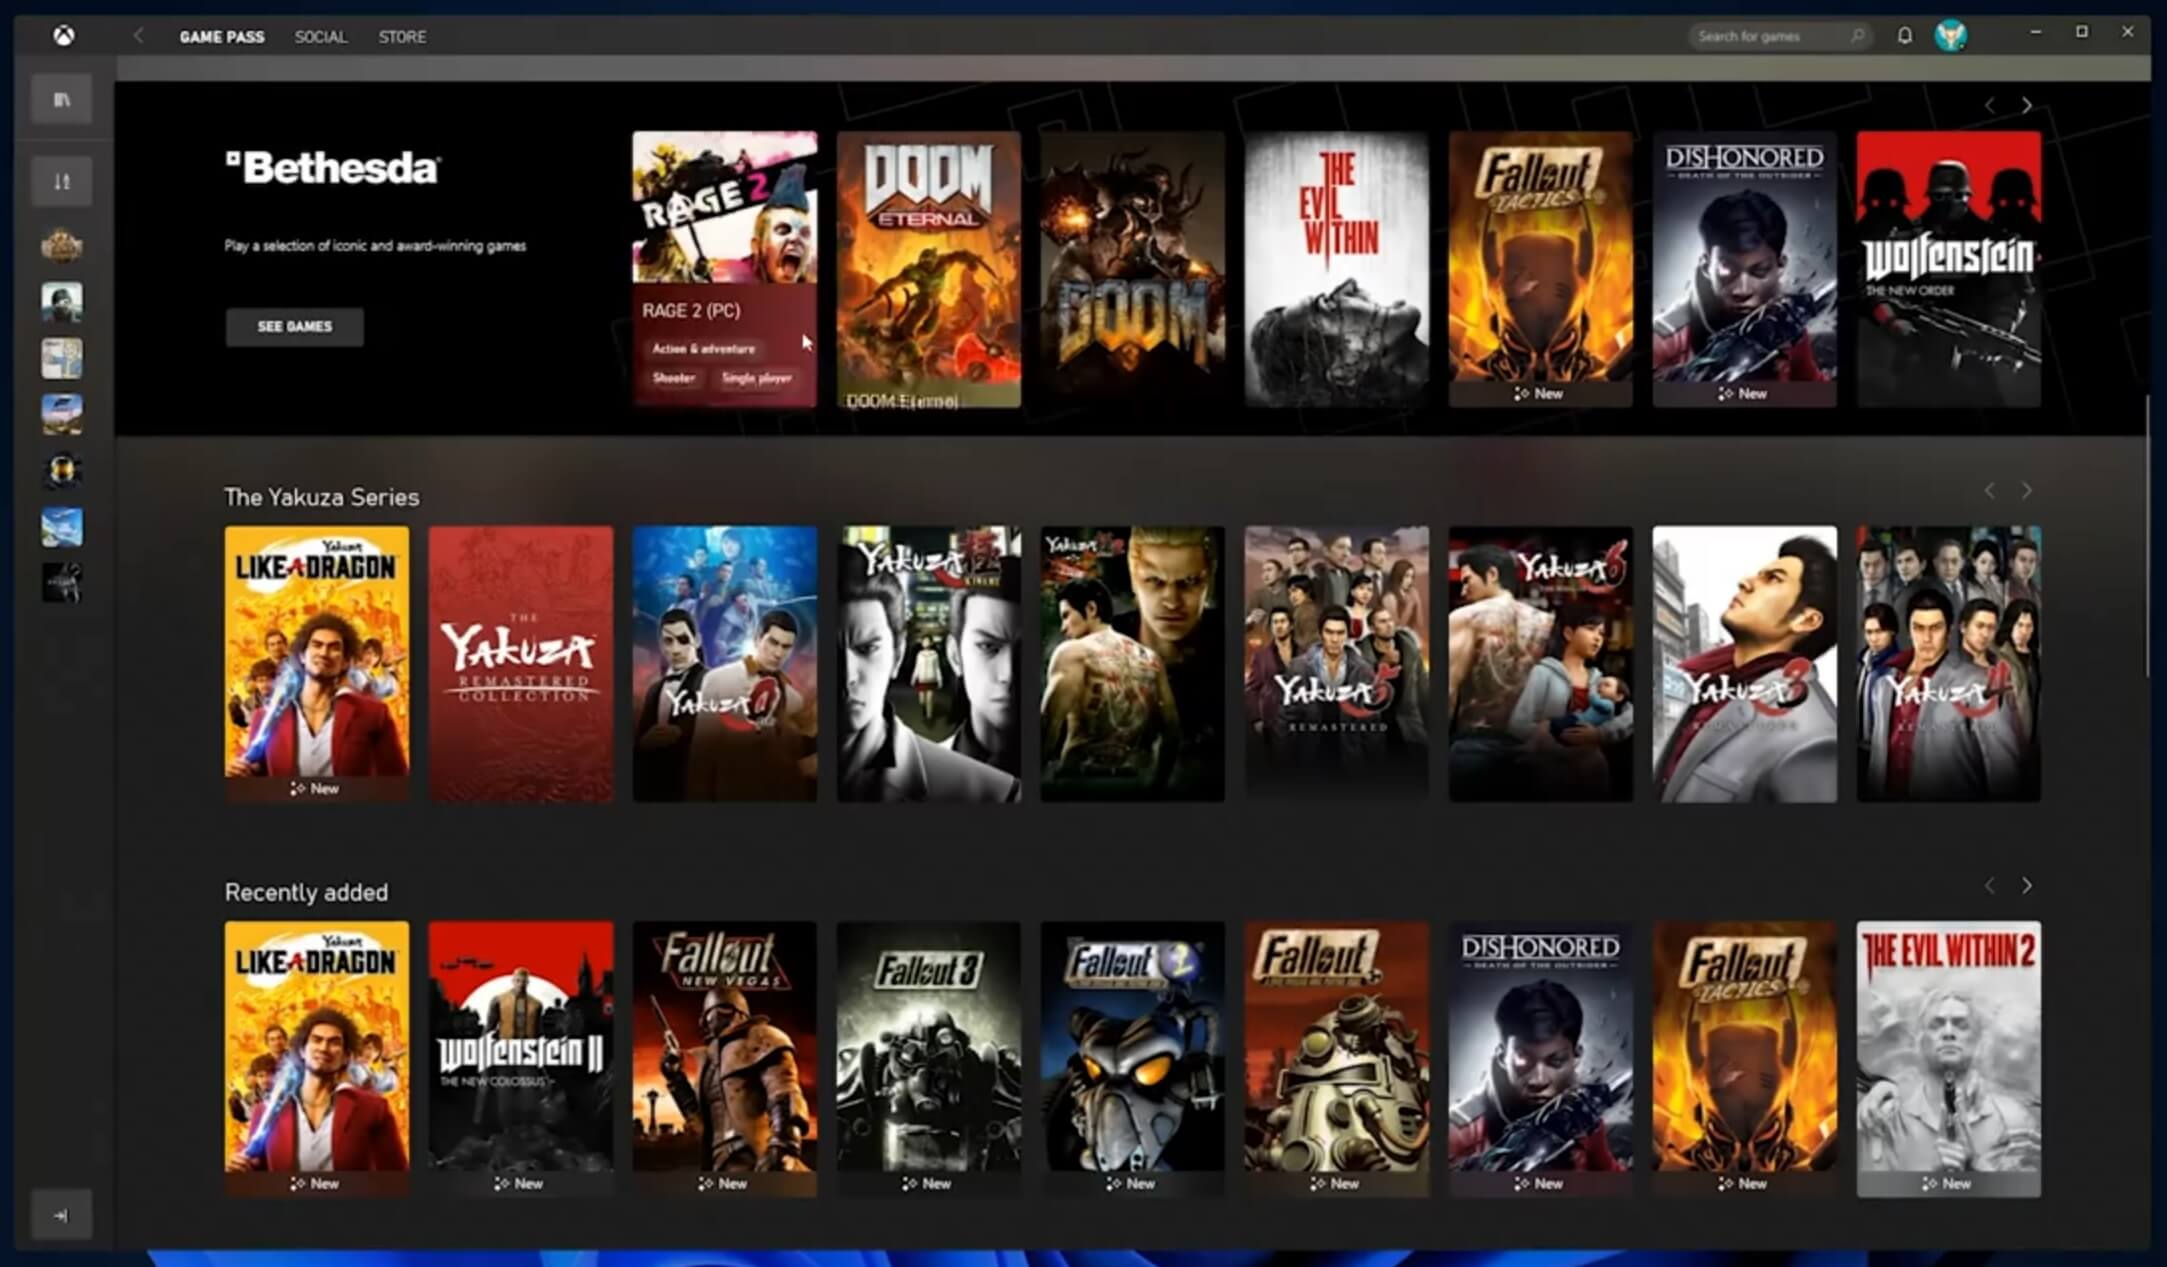 The new Xbox app is now integrated into Windows 11, offering quick access to Xbox Game Pass games, the social parts of the Xbox network, and the Xbox store.
 As widely known by now Windows 11 will require you to have a TPM 2.0 module capable CPU in order to install it.
This system requirement has caused a lot of controversies but essentially it seems that MS's goal is to protect your personal data by using this module.
The upside of course is that your data will be protected much more than in previous Windows versions, the downside, of course, will be that you will need newer hardware to run OS on it.
and that is essentially it, keep on tuned on more Windows 11 information and overall articles tied to PC and technology here at errortools.com
As widely known by now Windows 11 will require you to have a TPM 2.0 module capable CPU in order to install it.
This system requirement has caused a lot of controversies but essentially it seems that MS's goal is to protect your personal data by using this module.
The upside of course is that your data will be protected much more than in previous Windows versions, the downside, of course, will be that you will need newer hardware to run OS on it.
and that is essentially it, keep on tuned on more Windows 11 information and overall articles tied to PC and technology here at errortools.com  Keeping your PC clean is not rocket science and you can do it with things you already and probably have in your house. One thing that I would recommend tho to purchase is antistatic gloves since they could prevent any kind of electrostatic discharges thus protecting your electric components.
If you have the option to disconnect your PC and get it outdoors, I would highly recommend this approach since all the dust will be dusted outside and not in the room where your computer is. If you can not it is still ok, but since some portion of dust will be set in the room, you might need to dust your room after cleaning your computer.
Keeping your PC clean is not rocket science and you can do it with things you already and probably have in your house. One thing that I would recommend tho to purchase is antistatic gloves since they could prevent any kind of electrostatic discharges thus protecting your electric components.
If you have the option to disconnect your PC and get it outdoors, I would highly recommend this approach since all the dust will be dusted outside and not in the room where your computer is. If you can not it is still ok, but since some portion of dust will be set in the room, you might need to dust your room after cleaning your computer.

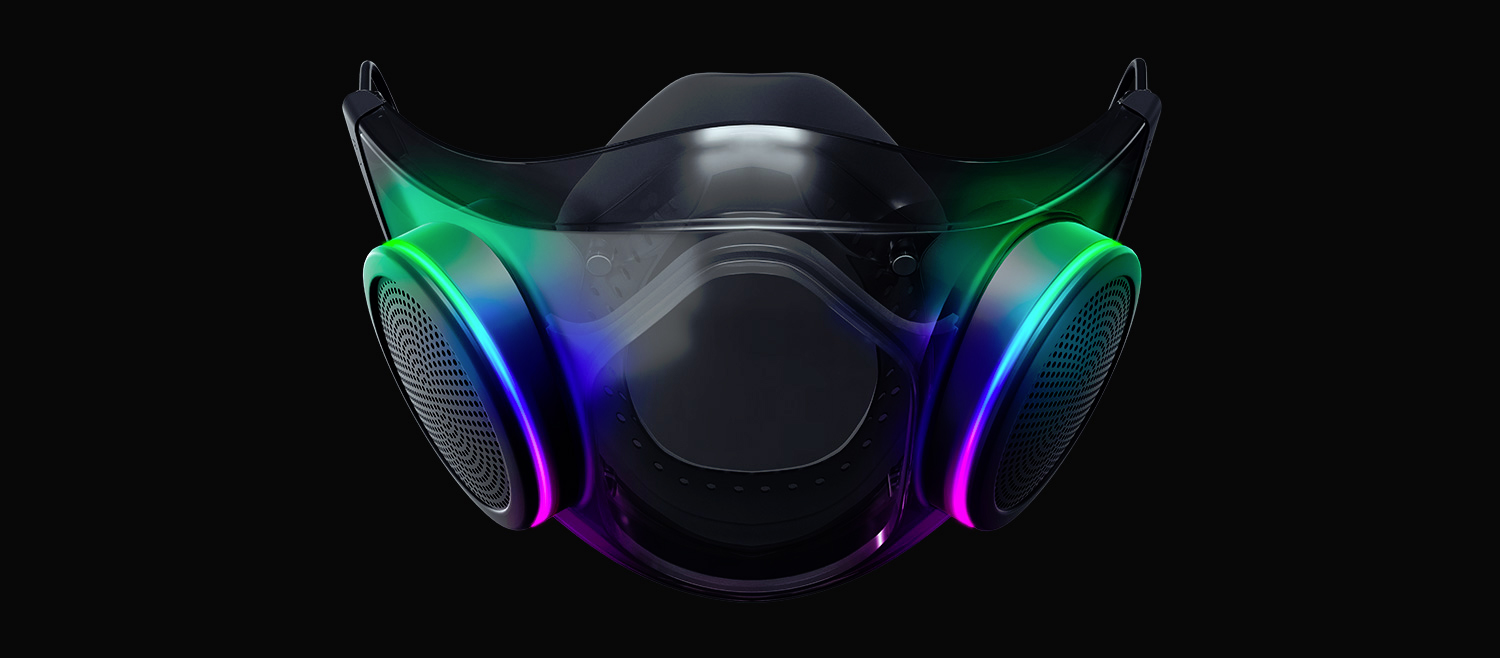 The world today is still sadly under pandemic and by the looks of it, COVID-19 is here to stay, well at least for some time in the near future. Razer seems to think so as well since their upcoming gear is not really what you would expect.
Enter Hazel, a new and upcoming Razer smart mask.
The world today is still sadly under pandemic and by the looks of it, COVID-19 is here to stay, well at least for some time in the near future. Razer seems to think so as well since their upcoming gear is not really what you would expect.
Enter Hazel, a new and upcoming Razer smart mask.