
CPU Not Compatible – What Is It
Some users wanting to upgrade to Windows 10 from Windows 7 or Windows 8.1 experienced errors with installation. One of these errors is CPU Not Compatible. When you click and run the “Get Windows 10” from your system tray bar, you’ll receive the “CPU is not compatible with Windows 10” error. When this happens, it might be good to check if there’s a bug or if your NX feature (a requirement for the Windows 10 installation) is enabled.
Solution
 Error Causes
The “CPU is not compatible with Windows 10” error normally occurs when:
- NX feature is not enabled
- You experienced the Windows 10 bug
Further Information and Manual Repair
To successfully upgrade to Windows 10, your CPU must support Physical Address Extension (PAE), SSE2, and NX features. If any of these features are not activated on your system, it’ll cause the CPU not compatible error. However, some users still reported experiencing this error even though their CPU has these features activated. Normally, this is due to the bug that Windows acknowledged.
If any of these two scenarios apply to your computer, the following methods will help you fix the problem:
Method 1 – Check for bugs
The bug applies to some Windows 7 and Windows 8.1 systems. The bug occurs when the “Get Windows 10” app fails to recognize CPUs as being compatible. This produces a false negative result with a message, “Here’s why Windows 10 cannot be installed on this PC: The CPU isn’t supported”. To fix this bug, Microsoft released an update.
Unfortunately, the patch update (KB2976978 for Windows 8/8.1 and KB2952664 for Windows 7 SP1) to fix the bug may not be automatically downloaded to your computer. If this is the case, you need to verify first if the patch was installed correctly. To do this, follow the steps below:
- Click ‘Start’ and type in View Installed Updates. The “View installed updates” icon should appear. Click the icon.
- Go to the Search bar (Top right portion) then type the patch name for your system. Make sure that you type the correct patch name for your system since Windows 7 and Windows 8/8.1 have different names. If you find the patch, it means it’s already installed. You can now upgrade to Windows 10 without the CPU not-compatible error.
- But, if you can’t find it you need to install the patch manually.
- Go to Windows Update then click the “Check for Updates” button.
- Browse through the available updates and look for KB2976978 for Windows 8/8.1 or KB2952664 for Windows 7 SP1
- Download the right patch. You may need to reboot your system once it’s done.
- The downloaded patch should be applied after a day or two with the Windows Task Scheduler. Once the patch is applied, you can now upgrade to Windows 10.
Method 2 – Check CPU features and activate them if needed
A major requirement for Windows 10 upgrade is for the CPU to have Physical Address Extension (PAE), SSE2, and NX features enabled on your system. If you receive the CPU not compatible error, one possible cause is that any of the mentioned features are not available OR not enabled on your system. Here’s how you can fix this:
- Verify if your CPU supports the three instruction sets. You can use software that provides information like this. If all three are available, proceed to the next step.
- Go to your computer’s BIOS. To do this, reboot your computer. You will need to press a key specific to your computer’s manufacturer (usually it’s F12, F8, F2, or DEL).
- Look for the NX (No Execute Bit) settings. This is normally found in the “Advanced Configuration” menu, or something similar to this. Just take note that the NX setting can be named differently in BIOS. Some other names include EDB (Execute Disabled Bit), EVP (Enhanced Virus Protection), Execute Disabled Memory Protection or No Excuse Memory Protect.
- Once you’re in the NX settings, make sure that it’s enabled.
- Exit the BIOS and SAVE your changes.
- Boot your computer normally, then try upgrading to Windows 10 again through the “Get Windows 10” app found in the system tray.
Method 3 – Force enabling NX Bit
If changing the settings in your BIOS doesn’t do the trick, your final option is to force enable the NX bit in your Windows system. However, this is only applicable IF and ONLY IF your CPU does support it. To force enable NX bit, do the following:
- Click Start and go to command prompt (Type “cmd” – no quotes) and press enter.
- Copy and paste the text below to the command prompt.bcdedit.exe /set {current} nx AlwaysOn
- Execute the command. You will need to reboot your computer once this is done.
- Download and install Windows 10


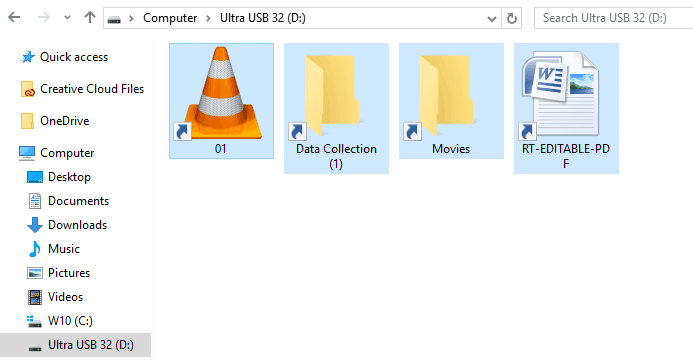 Once disguised it will wait patiently for a user's click and once that happens it will replicate itself and further infect the system. This rapid spread can lead to stolen personal data, some system hick-ups, and other system-related issues.
This malware mainly affects physical file transfer devices like for example and most USB drives, hard drives, and SD memory cards and it can easily transfer itself to the computer.
The advantage of this shortcut virus comparing it to others is that it is mostly undetected by a vast variety of antivirus software. So running just anti-virus software maybe not be enough to remove it from your system. Luckily for all unfortunate users that have caught this annoyance, it can be easily removed fully manually in a short time.
Once disguised it will wait patiently for a user's click and once that happens it will replicate itself and further infect the system. This rapid spread can lead to stolen personal data, some system hick-ups, and other system-related issues.
This malware mainly affects physical file transfer devices like for example and most USB drives, hard drives, and SD memory cards and it can easily transfer itself to the computer.
The advantage of this shortcut virus comparing it to others is that it is mostly undetected by a vast variety of antivirus software. So running just anti-virus software maybe not be enough to remove it from your system. Luckily for all unfortunate users that have caught this annoyance, it can be easily removed fully manually in a short time.
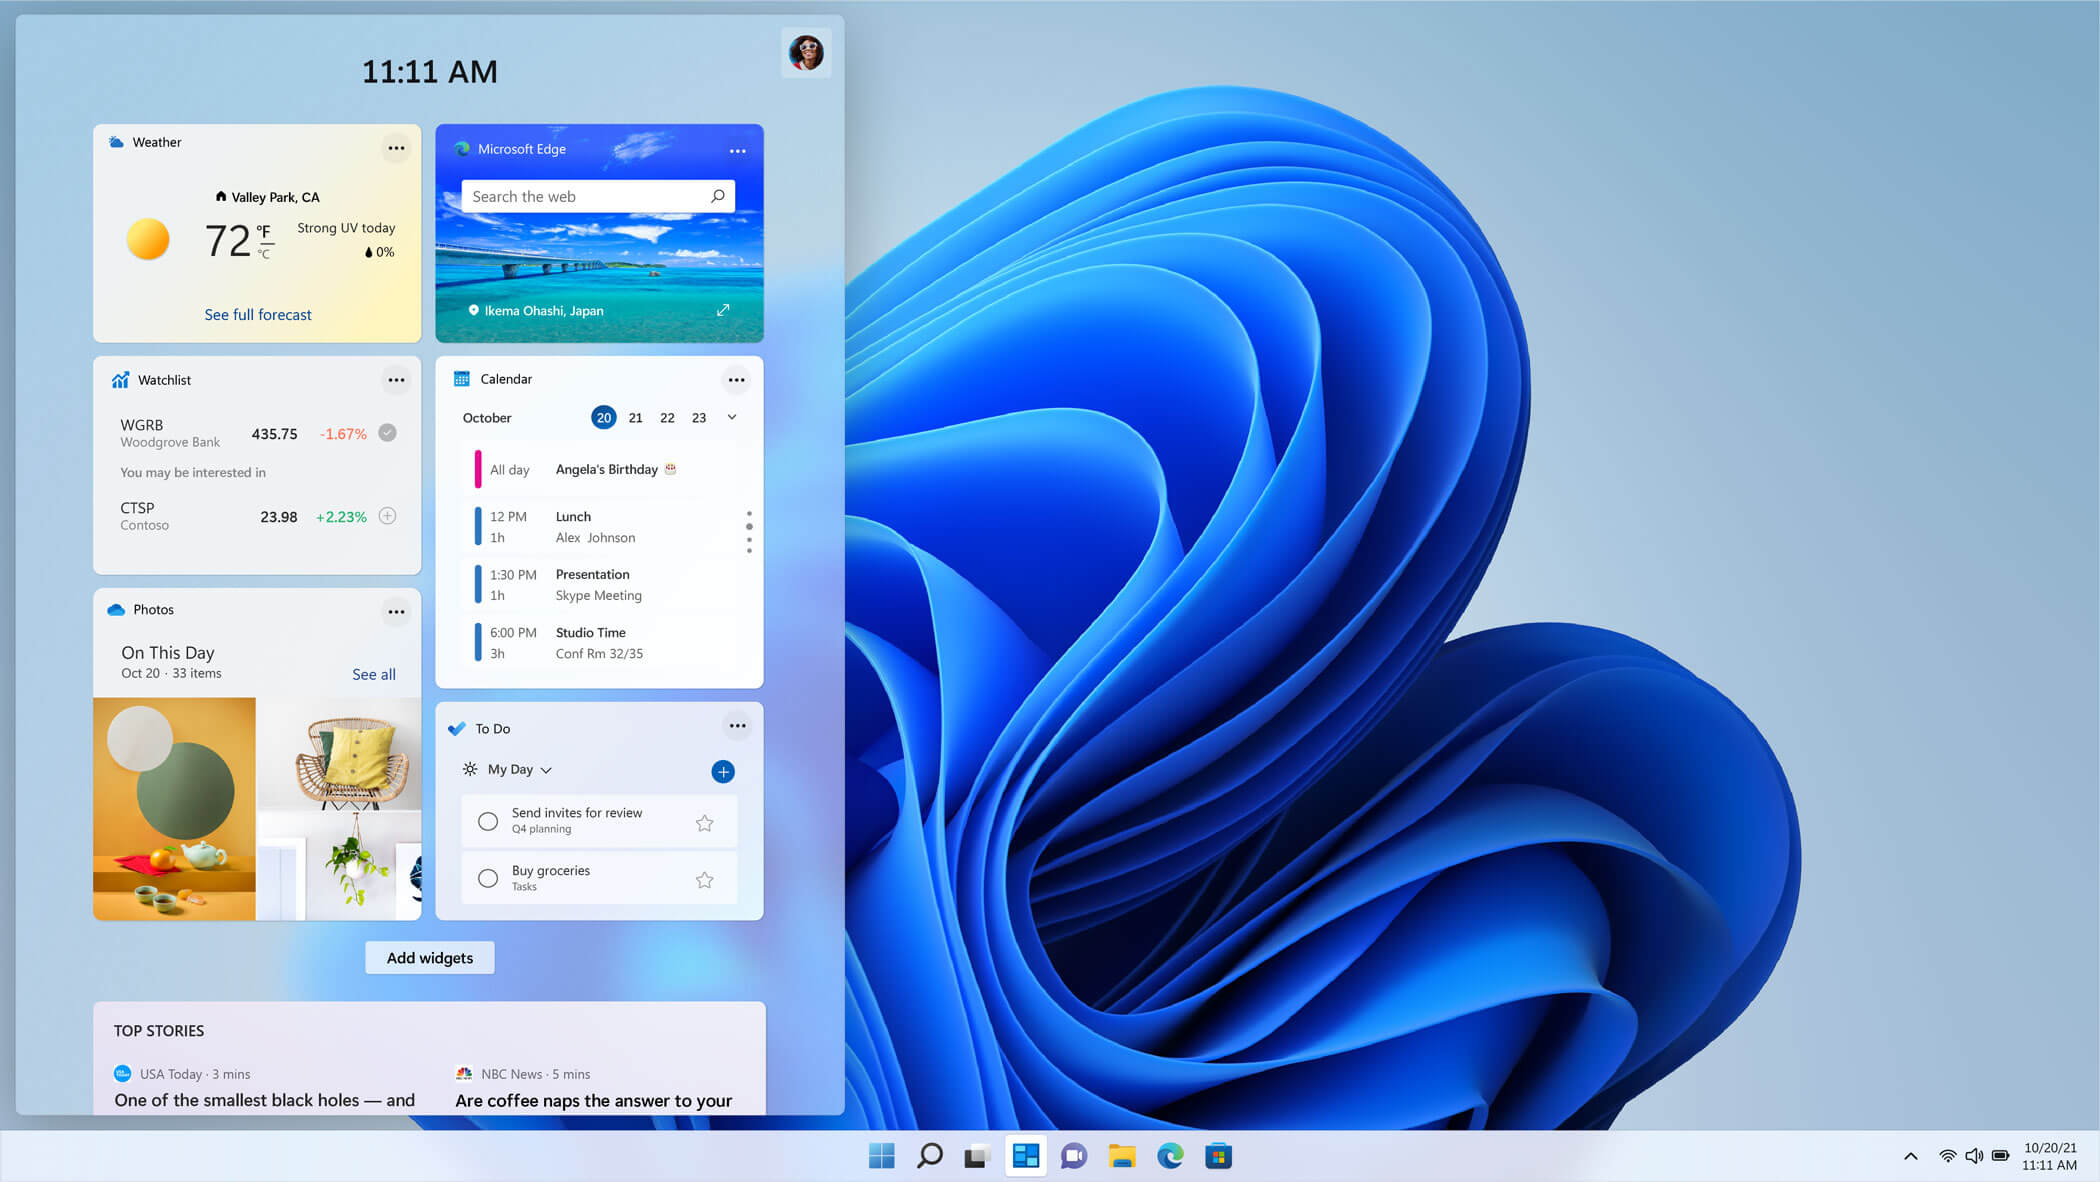 The new widget's menu inside Windows 11 is generally met with a positive attitude but there are still users which prefer not to have it. Luckily for them, Microsoft included a very easy way to turn the widgets menu on or off. Follow this easy guide to see how.
Right-click on the widget button in the taskbar and click on Hide from Taskbar and that’s it
Alternatively, you can also turn it off via the setting app.
Go to the settings app and navigate to Personalization > Taskbar > Taskbar Items and flipping the switch beside Widgets to Off.
Please note that both methods will only hide the button to toggle widgets menu, at the current state there is no really a way to actually turn it off, only hide it and make it not available to bring it up.
The new widget's menu inside Windows 11 is generally met with a positive attitude but there are still users which prefer not to have it. Luckily for them, Microsoft included a very easy way to turn the widgets menu on or off. Follow this easy guide to see how.
Right-click on the widget button in the taskbar and click on Hide from Taskbar and that’s it
Alternatively, you can also turn it off via the setting app.
Go to the settings app and navigate to Personalization > Taskbar > Taskbar Items and flipping the switch beside Widgets to Off.
Please note that both methods will only hide the button to toggle widgets menu, at the current state there is no really a way to actually turn it off, only hide it and make it not available to bring it up.