Error Code 0x80070020 – What is it?
One of the problems encountered by Windows users when upgrading to Windows 10 from Windows 7 or Windows 8/8.1 is the Error Code 0x80070020. This error code normally occurs when users try to download updates from the Windows Update Website or simply by upgrading to Windows 10. Error Code 0x80070020 also occurs when the device already has a Windows 10 installed.
Once this error is encountered, it will cause malfunction of update installs and display the following message:
An error (-5006 : 0x80070020) has occurred while running the setup. Or The process cannot access the file because it is being used by another process”
Solution
Error Causes
In an attempt to fix Error Code 0x80070020, it is important to pinpoint what the cause is. The most probable cause of this error is due to interference. This error code most likely occurs when there is another automatic update running, for instance, an Antivirus scanning in real-time. If you’re scheduled to have an automatic update during real-time scanning, the Windows 10 update might malfunction.
Further Information and Manual Repair
In trying to fix Error Code 0x80070020, you can perform manual repair methods to resolve the issue effectively and efficiently. Most Windows users can easily employ these manual repair methods, even those who do not have technical abilities. However, there are certain instances where a Windows professional’s help is needed. If you don’t want to face any risk in resolving the issue, it would be best to consult a professional Windows technician or you can also make use of a powerful automated tool.
NOTE: It is best to attend immediately to errors encountered since unresolved errors can result in slowing down your computer’s performance. This might also cause other error messages to arise such as Error Code 0x80070057.
Method One: Restart Your Device
Since Error Code 0x80070020 is most likely encountered due to interference during your update, the easiest method you can do is to close all opened programs and restart your device. After restarting, try to start the update process again.
Method Two: Disable Antivirus Temporarily
Another quick and safe way to fix Error Code 0x80070020 is to disable your antivirus. You must take note though that in doing so, your computer will be susceptible to virus attacks. If you want to proceed with this method, follow these steps:
- Locate all programs in process in the notifications area, found in the lower right-hand section of your screen. If in case the antivirus icon is not visible on the taskbar, you may have to click an arrow pointing up to show what programs are currently running.
- Right-click on the antivirus icon then select the disable option.
Method Three: Run the Update Troubleshooter for Windows
The Windows Update Troubleshooter may resolve many of the errors encountered by Windows users when installing updates from Windows Update. To execute the troubleshooter, follow the steps below:
- Access a menu by holding the Windows key and X. Wait for the menu to appear on the bottom left corner of the screen.
- Open the Control Panel.
- Change the appearance of files by selecting large or small icons in the View by option located on the upper right section of your screen.
- Once you change the appearance of the files, choose the troubleshooting
- Run the Windows Update Troubleshooter.
- Restart your device then check if this resolves the problem.
Method Four: Execute A Clean Boot
Executing a clean boot means starting Windows using only a few resources, including startup programs and drivers. This safeguards minimizing conflicts and prevent software clash when an update is received. In performing a clean boot, you will be able to pinpoint what caused the manifestation of error code 0x80070020. Check Microsoft’s Support website to know how to execute a clean boot.
Method Five: Reset Windows Update Components
Performing this method is a bit risky and should be your last option if all methods were unsuccessful. This process will alter your device’s registry so you must ensure to perform accurately the steps. A single mistake can lead to modifying your registry erroneously, which might result in the occurrence of other error messages. Carefully follow the steps found on Microsoft’s Support website to successfully reset Windows Update components.
Resetting Windows Update components can also be done by implementing the following steps:
- Open the Command Prompt by pressing Windows Key + X. Select Command Prompt (Admin) from the menu.
- Stop the BITS, MSI Installer, Cryptographic, and the Windows Update Services.
- Rename both the SoftwareDistribution and Catroot2 folders to <name of folder> old.
- Start now the BITS, MSI Installer, Cryptographic, and the Windows Update Services.
- Exit the Command Prompt then restart your device. After restarting, try installing the updates again.
Method Six: Disable Third-Party Antivirus
A third-party antivirus such as BitDefender may recognize the Windows Update as a threat since the new update of Windows 10 is probably not yet registered with this third-party antivirus vendor. To solve this, you must disable temporarily the antivirus before performing the update. Once the third-party antivirus is disabled, you can now proceed with the updating process. Update as well your third-party antivirus.
Method Seven: Use the DISM Tool for Windows 10
The Deployment Image Servicing and Management (DISM) is a command-line utility that is installed by default in Windows 10 system. This program is used to fix images in Windows. In the case of Error Code 0x80070020, the DISM can repair the recovery image in Windows 10 and can perform as a virtual hard disk as well.
- Scan and check files for errors.
- Open the Command Prompt by pressing Windows Key + X. Select Command Prompt (Admin) from the menu.
- Type sfc /scannow
- You can also use the following commands to check for corrupted files:
/CheckHealth – to check for corrupted files or components
/ScanHealth – to check for corrupted Windows image. This may take up to 10 minutes to finish
/RestoreHealth – to check for corrupted Windows image and do an automatic repair. This may take up to 20 to 30 minutes to finish
NOTE: In an instance where you cannot locate the good files in your computer, the system image files may be corrupted. If this happens, you need to have a copy of install.wim from a computer with good Windows 10 OS or the Windows 10 ISO file. Make sure that the source of the good files has the same language, version, and edition of your OS.
Cleaning corrupted files using DISM utility:
Enter the following commands one by one to perform the /RestoreHealth switch using the source path location of good files you copied:
- DISM /Online /Cleanup-Image /RestoreHealth /Source:repairSource install.wim
- DISM /Online /Cleanup-Image /RestoreHealth /Source:repairSource install.wim /LimitAccess
- DISM /Online /Cleanup-Image /RestoreHealth /Source:repairSource install.wim:1 /LimitAccess
For example purposes, the “repairSource” is the source of the good files.

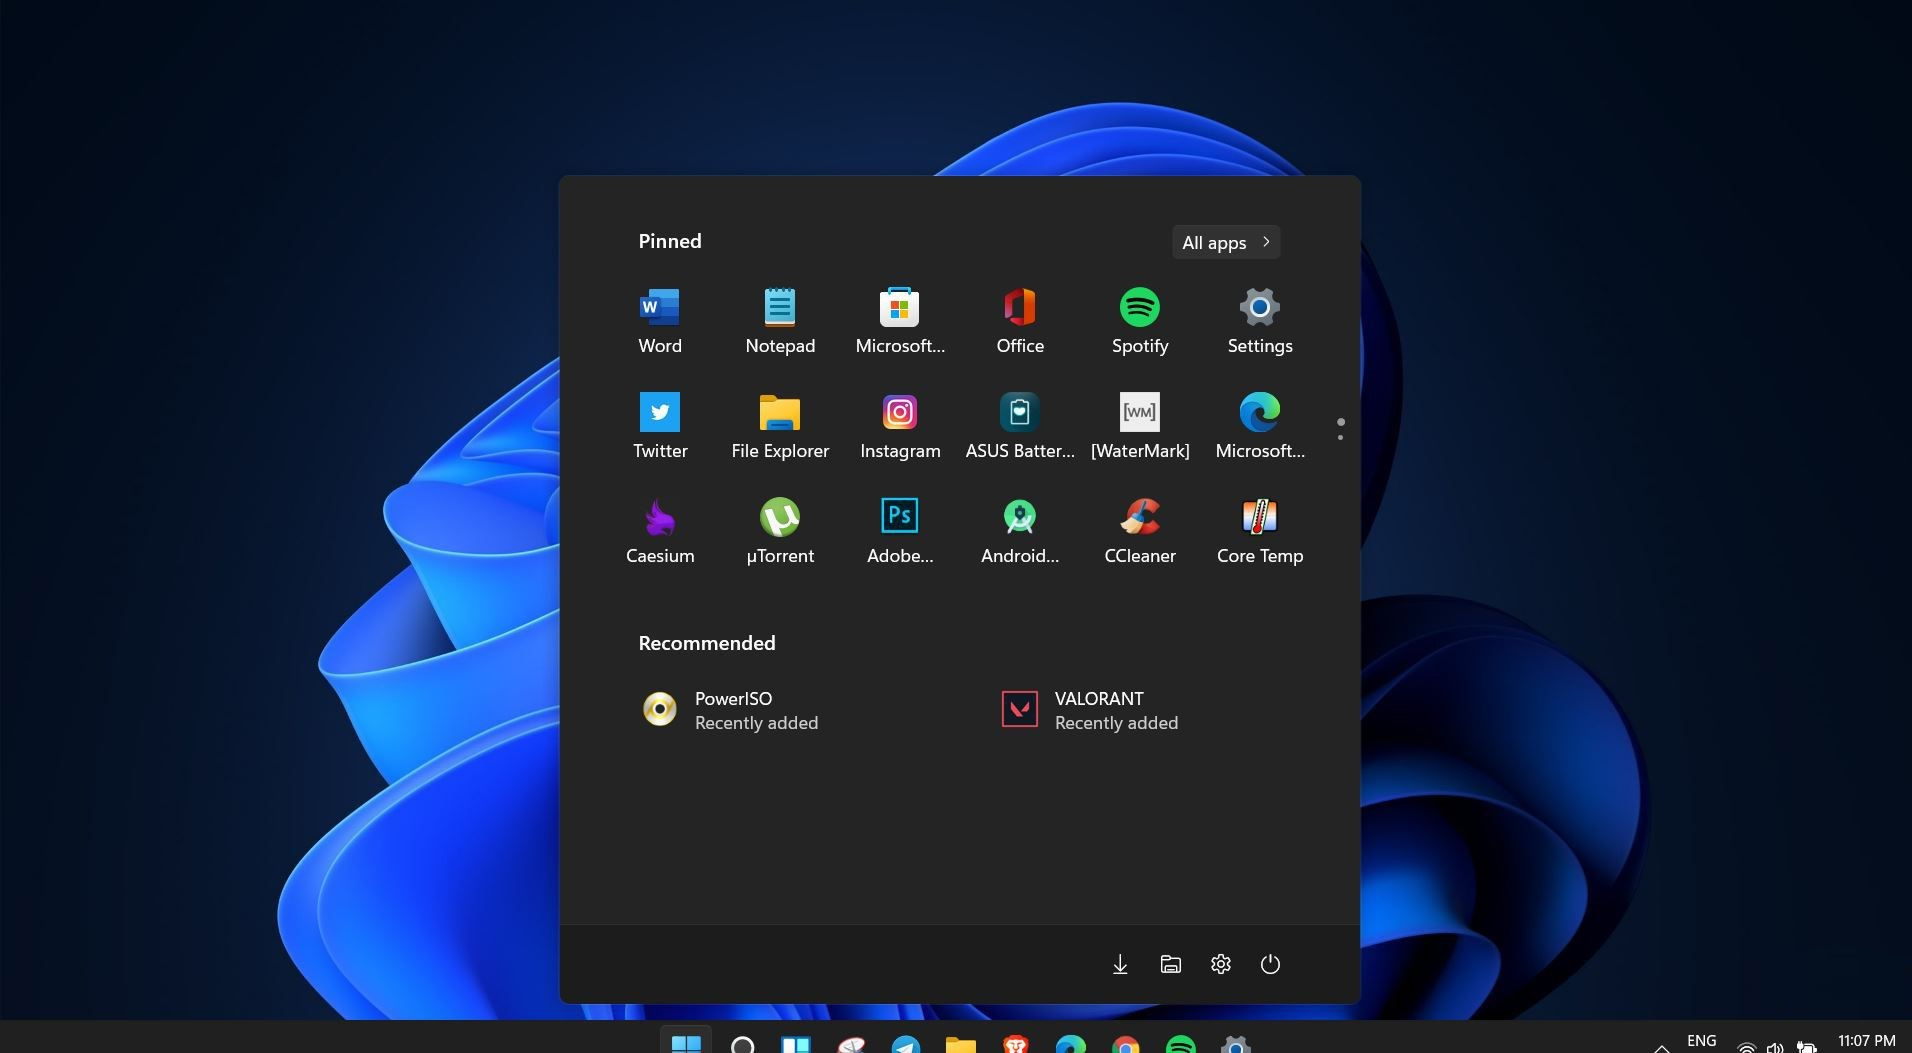
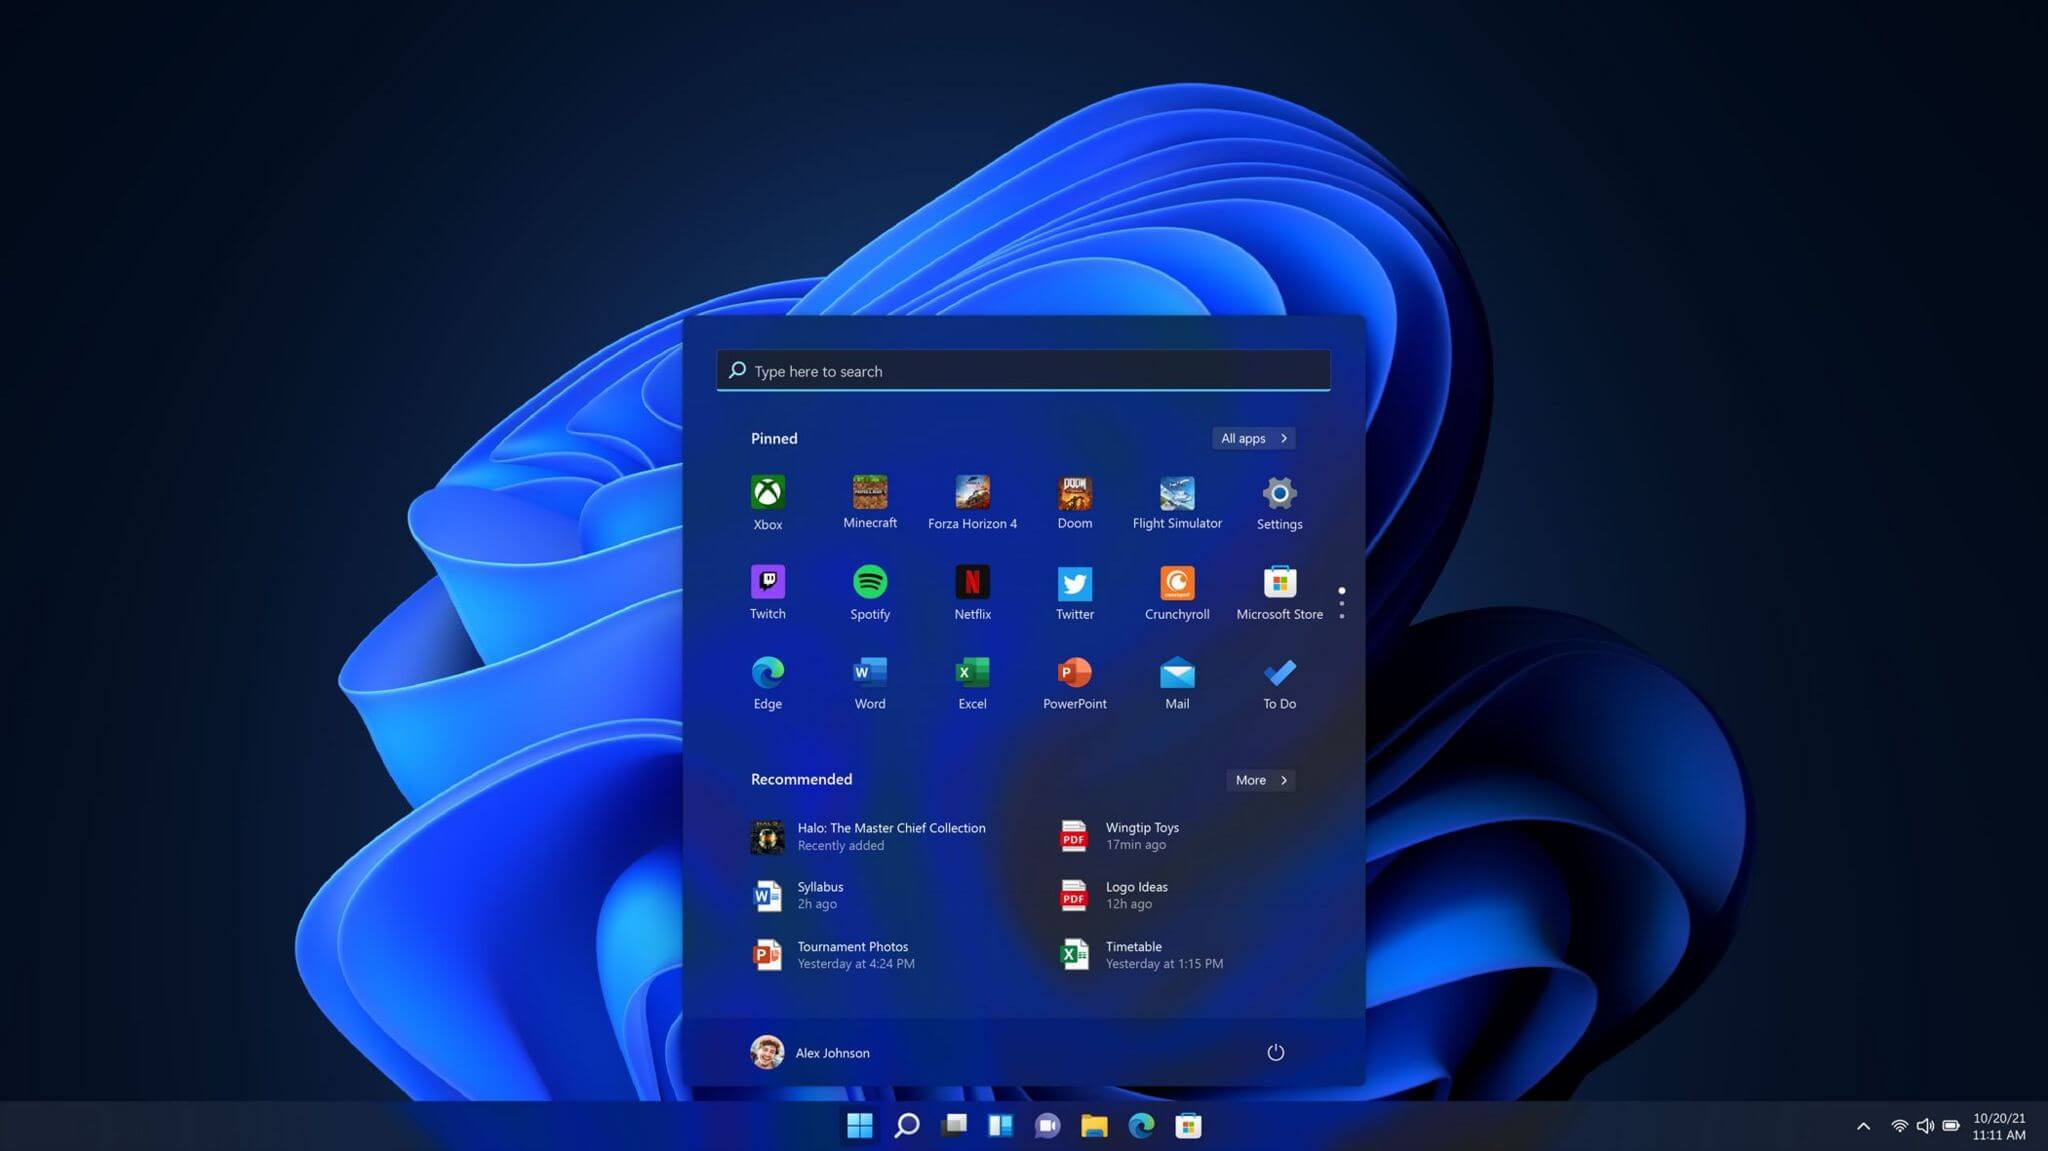 One of the first things that everyone saw when Microsoft has unveiled Windows 11 is its Start menu. Funny enough this is what has caused most of the divide among users, some find it interesting, and some do not like it. Truth is, it is different, and it is centered in the middle instead of the lower left part of the screen.
It has been confirmed however that the Start menu can be moved to any part of the screen so if you want, you could place it on the lower left as it has always been.
Live tiles do not longer exist in the Start menu, instead, we have styled simple icons.
One of the first things that everyone saw when Microsoft has unveiled Windows 11 is its Start menu. Funny enough this is what has caused most of the divide among users, some find it interesting, and some do not like it. Truth is, it is different, and it is centered in the middle instead of the lower left part of the screen.
It has been confirmed however that the Start menu can be moved to any part of the screen so if you want, you could place it on the lower left as it has always been.
Live tiles do not longer exist in the Start menu, instead, we have styled simple icons.
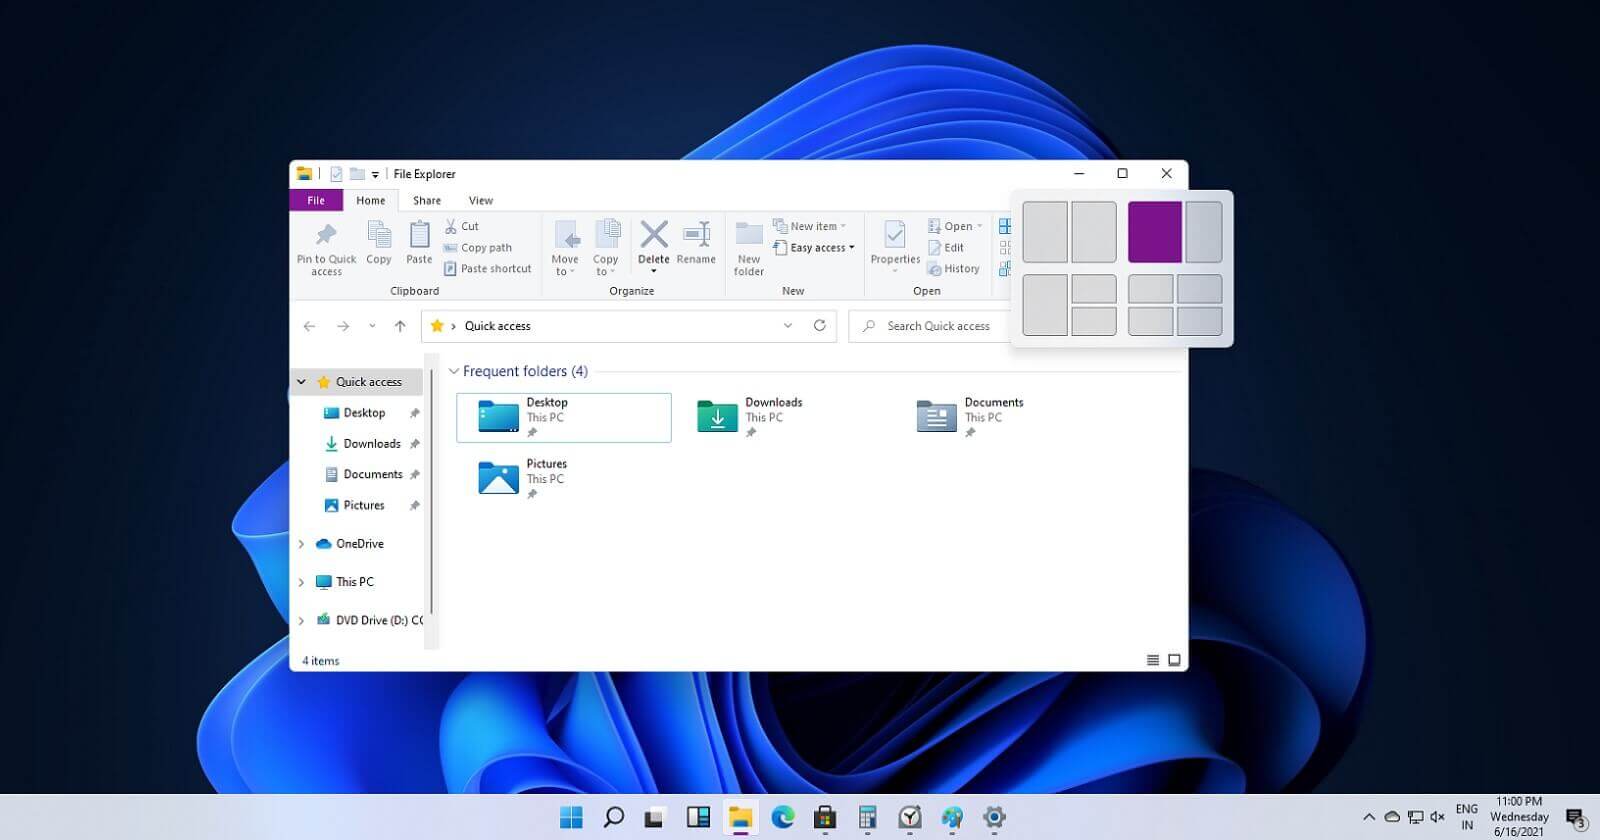 If you have used the cascade option in previous Windows versions then it is most likely that you will like the new Snap controls.
You can quickly snap windows side by side, or arrange them in sections on your desktop just by hovering over maximize button on the title bar.
If you have used the cascade option in previous Windows versions then it is most likely that you will like the new Snap controls.
You can quickly snap windows side by side, or arrange them in sections on your desktop just by hovering over maximize button on the title bar.
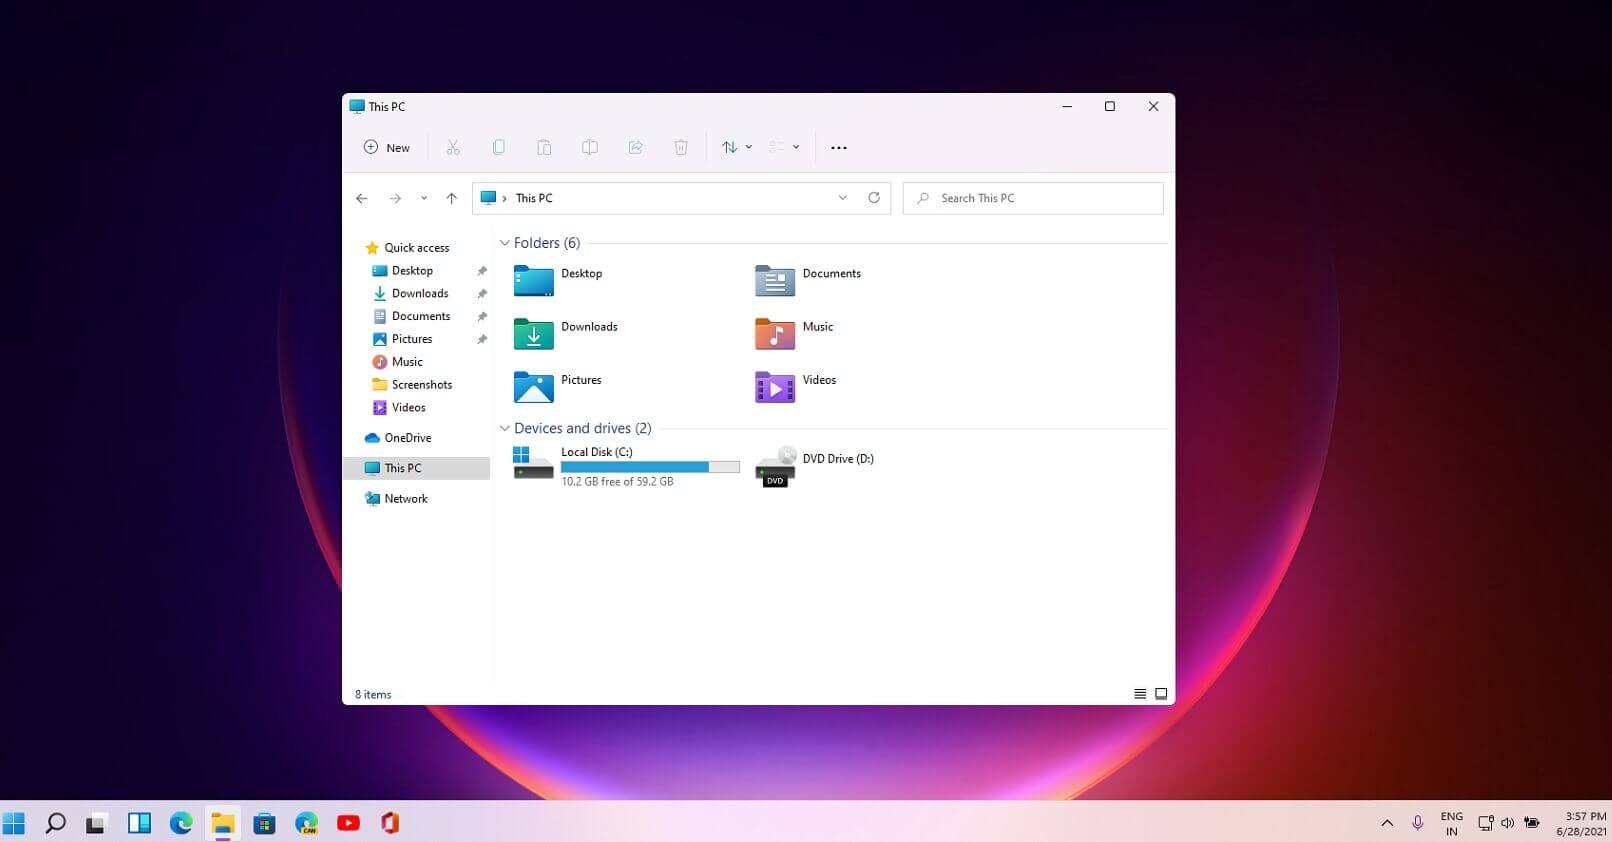 File explorer has gone through some visual and design changes, the ribbon on top has been completely removed and replaced with a header-like feature with a slick and clean design.
The header contains a nice organized and designed single row of icons like cut, paste, copy, rename, delete, and new folder icons.
File explorer has gone through some visual and design changes, the ribbon on top has been completely removed and replaced with a header-like feature with a slick and clean design.
The header contains a nice organized and designed single row of icons like cut, paste, copy, rename, delete, and new folder icons.
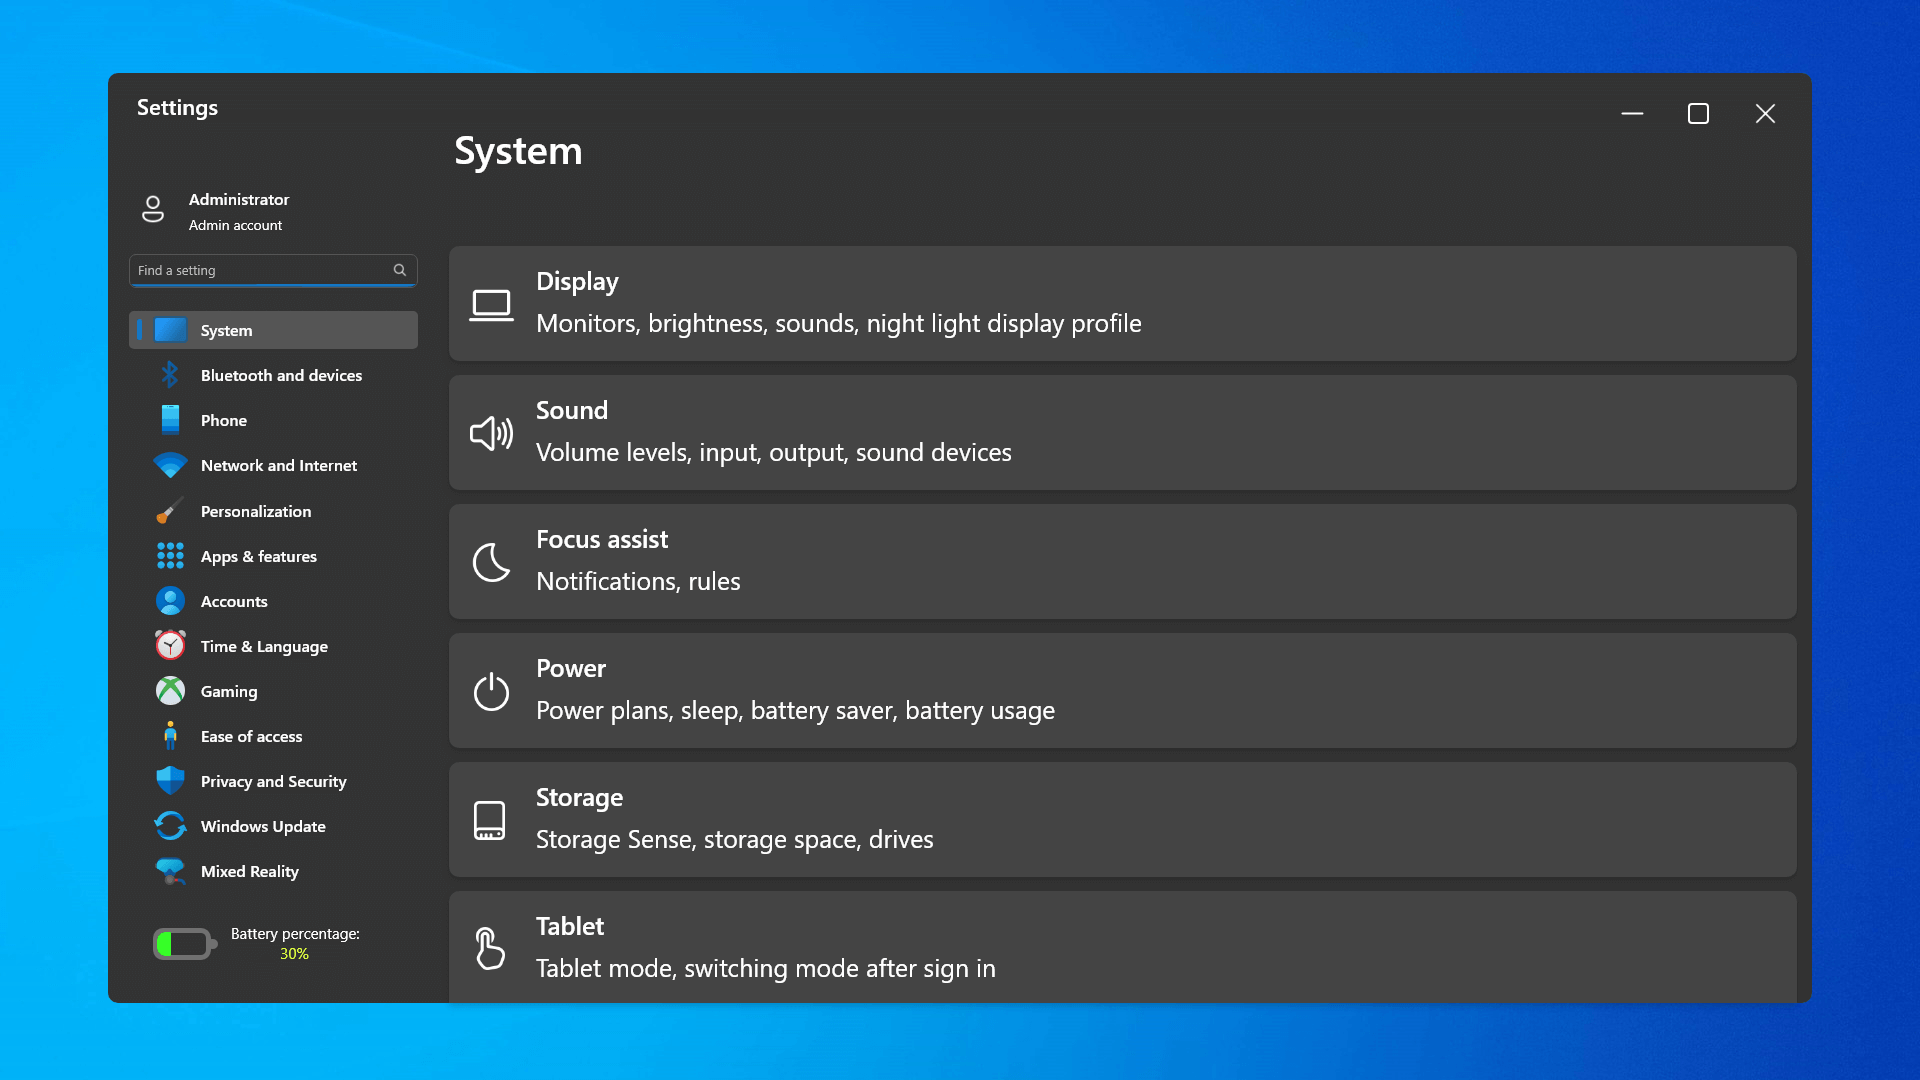 The settings app also has gone through visual and design changes. It has a new design that is very visually appealing and navigation has been simplified and more organized. Finding the right and desired setting is much faster and clearer now.
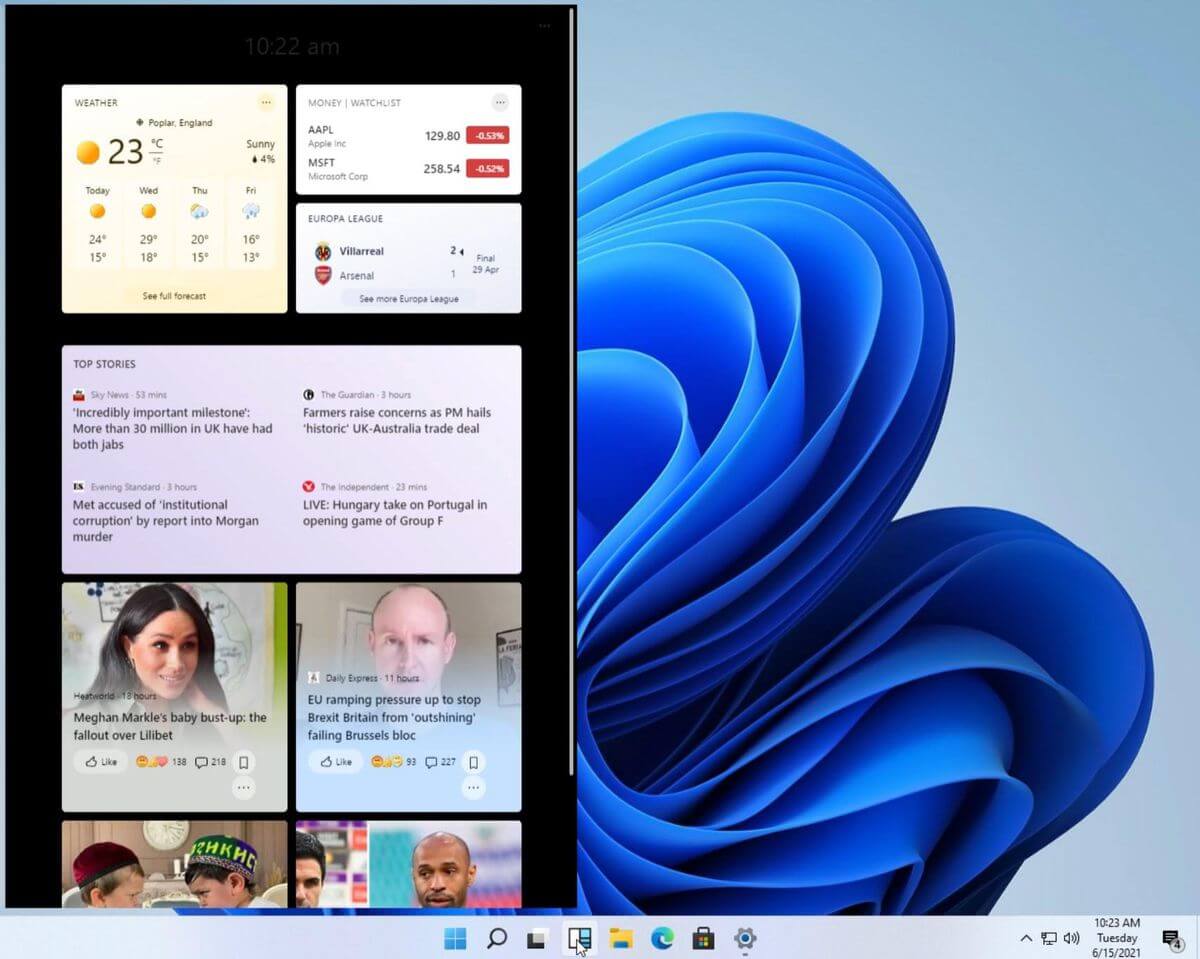 Yes, widgets are back but not like you remember them.
Instead of being all-time present at your desktop like once they used to be, now there is a button on the taskbar which brings the widget bar up that contains desired widgets. This way they are easily accessible and do not clutter desktops.
So far we have weather, news, calendar, and stocks widget but we will see how development on these goes. I expect to have community-made widgets like in old days for all of our needs.
Yes, widgets are back but not like you remember them.
Instead of being all-time present at your desktop like once they used to be, now there is a button on the taskbar which brings the widget bar up that contains desired widgets. This way they are easily accessible and do not clutter desktops.
So far we have weather, news, calendar, and stocks widget but we will see how development on these goes. I expect to have community-made widgets like in old days for all of our needs.
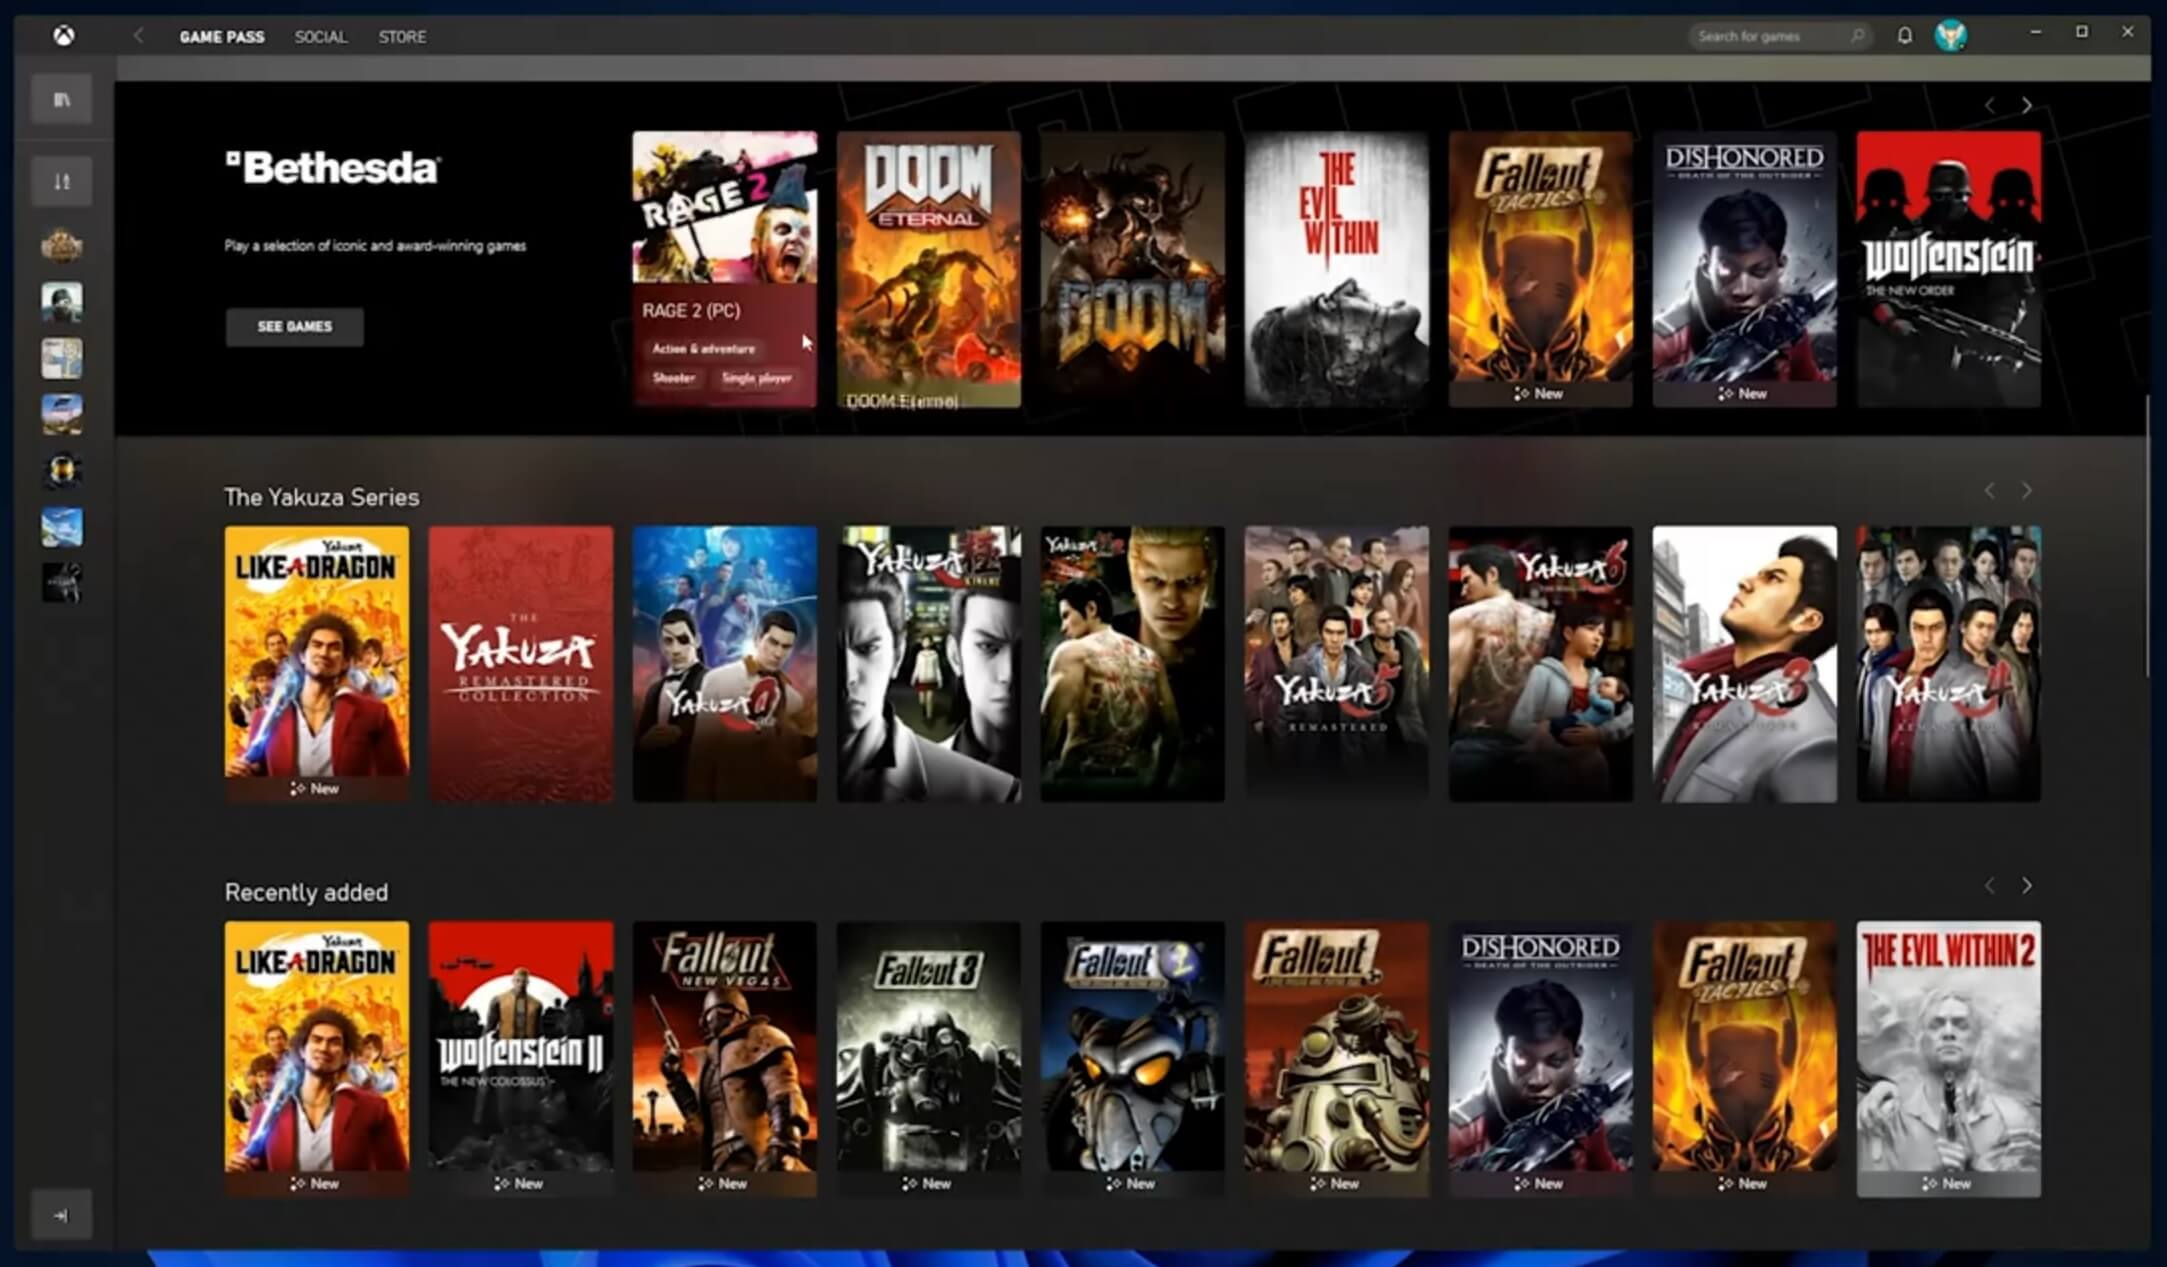 The new Xbox app is now integrated into Windows 11, offering quick access to Xbox Game Pass games, the social parts of the Xbox network, and the Xbox store.
 As widely known by now Windows 11 will require you to have a TPM 2.0 module capable CPU in order to install it.
This system requirement has caused a lot of controversies but essentially it seems that MS's goal is to protect your personal data by using this module.
The upside of course is that your data will be protected much more than in previous Windows versions, the downside, of course, will be that you will need newer hardware to run OS on it.
and that is essentially it, keep on tuned on more Windows 11 information and overall articles tied to PC and technology here at errortools.com
As widely known by now Windows 11 will require you to have a TPM 2.0 module capable CPU in order to install it.
This system requirement has caused a lot of controversies but essentially it seems that MS's goal is to protect your personal data by using this module.
The upside of course is that your data will be protected much more than in previous Windows versions, the downside, of course, will be that you will need newer hardware to run OS on it.
and that is essentially it, keep on tuned on more Windows 11 information and overall articles tied to PC and technology here at errortools.com 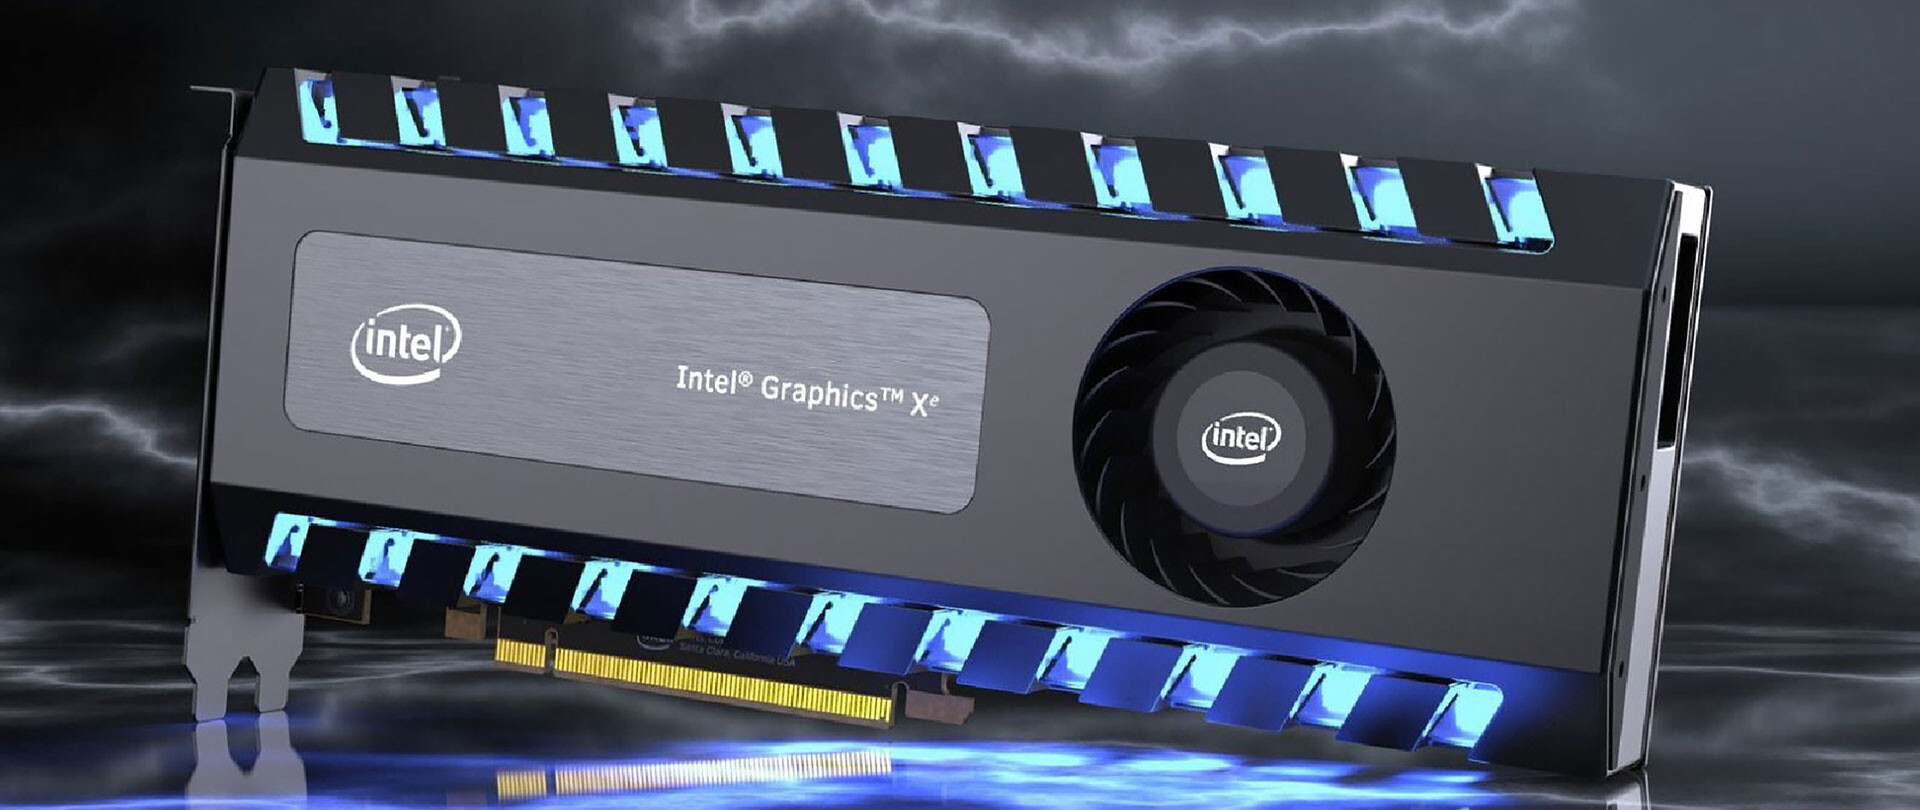 This is not the first time that Intel is trying to enter the GPU field but its adventures so far were, well let us agree not so good. All of that is hoping to be changed with the upcoming ARC GPU. The first generation of Arc graphics, code-named Alchemist and previously known as DG2, will support desktop PCs and laptops and is set to arrive in the first quarter of 2022.
Alchemist will have hardware-based Ray tracing and AI-driven supersampling. This indicates that GPU is aimed to compete in the Hi-end spectrum and battle side by side with Nvidia and AMD on the market. Alchemist will also pack full DirectX 12 Ultimate support.
Intel also released names for the next upcoming future generations of ARC GPUs: Battlemage, Celestial & Druid. More information about ARC products will be released later this year.
“Today marks a key moment in the graphics journey we started just a few years ago. The launch of the Intel Arc brand and the reveal of future hardware generations signifies Intel’s deep and continued commitment to gamers and creators everywhere,” Roger Chandler, Intel vice president, and general manager of client graphics products and solutions.
This is not the first time that Intel is trying to enter the GPU field but its adventures so far were, well let us agree not so good. All of that is hoping to be changed with the upcoming ARC GPU. The first generation of Arc graphics, code-named Alchemist and previously known as DG2, will support desktop PCs and laptops and is set to arrive in the first quarter of 2022.
Alchemist will have hardware-based Ray tracing and AI-driven supersampling. This indicates that GPU is aimed to compete in the Hi-end spectrum and battle side by side with Nvidia and AMD on the market. Alchemist will also pack full DirectX 12 Ultimate support.
Intel also released names for the next upcoming future generations of ARC GPUs: Battlemage, Celestial & Druid. More information about ARC products will be released later this year.
“Today marks a key moment in the graphics journey we started just a few years ago. The launch of the Intel Arc brand and the reveal of future hardware generations signifies Intel’s deep and continued commitment to gamers and creators everywhere,” Roger Chandler, Intel vice president, and general manager of client graphics products and solutions. 
 Windows 11 is coming soon, from its typical view and color scheme, Windows 11 will natively support dark mode.
The dark mode is very popular in many applications today, some large companies like Adobe, Autodesk, and many more have already adopted a dark color scheme for their software so it is logical for others to follow and Microsoft is aboard for it.
The dark mode itself has its benefits, for people who work on computer for longer period of time dark mode inside applications will throw less white and blue light on their eyes making workhours easier and pleasant on them.
As a person who does indeed spend a lot of time in front of the screen, I would advise you to switch to dark mode regardless of the time that you spend with a computer, your eyes will be grateful.
Windows 11 is coming soon, from its typical view and color scheme, Windows 11 will natively support dark mode.
The dark mode is very popular in many applications today, some large companies like Adobe, Autodesk, and many more have already adopted a dark color scheme for their software so it is logical for others to follow and Microsoft is aboard for it.
The dark mode itself has its benefits, for people who work on computer for longer period of time dark mode inside applications will throw less white and blue light on their eyes making workhours easier and pleasant on them.
As a person who does indeed spend a lot of time in front of the screen, I would advise you to switch to dark mode regardless of the time that you spend with a computer, your eyes will be grateful.