Logo

The new Windows 11 dev build will be buggy

windows 11 dev build channelMicrosoft sent an email to users on the Dev build channel saying that the company intends to push some builds that don’t represent what consumers will receive with Windows 11 when it officially releases. In other words, these are going to be some rather buggy builds that won’t be too enjoyable to use.

The company recommends users switch from the Dev to the beta channel if they aren’t prepared to deal with the instability.

We’ll have to wait and see just how buggy these builds are, but if Microsoft is actually sending out a warning about them it is very likely that builds will be plagued with issues and maybe even stability problems.

Back to Windows 10

How we can expect some buggy build of Windows 11 if you prefer a stable system over new features maybe best decision would be to switch back to Windows 10 until the new OS hits official release.

Switching from dev build channel to beta channel

Another solution, if you do not want to deal with too many issues, is to switch from Dev build channel to beta where things will be more stable. Follow the guide below in order to quickly switch to the beta channel.

Following instructions only apply to Windows 11 installations that are linked up to the Windows Insider program, not clean installation of OS.

  1. Press ⊞ WINDOWS + I to open settings
  2. Inside settings click on Windows update
  3. In Windows Update click on Windows Insider Program
  4. Inside click on Choose your Insider Settings
  5. Click on the button next to Beta Channel to select it (you can switch back to the Dev channel here if you change your mind)

The setting will be saved automatically and from now on you will only receive beta channel updates.

Do You Need Help with Your Device?

Our Team of Experts May Help
Troubleshoot.Tech Experts are There for You!
Replace damaged files
Restore performance
Free disk space
Remove Malware
Protects WEB browser
Remove Viruses
Stop PC freezing
GET HELP
Troubleshoot.Tech experts work with all versions of Microsoft Windows including Windows 11, with Android, Mac, and more.

Share this article:

You might also like

Repair Windows 10 Error Code 0xC1900208, 0x4000C

Code 0xC1900208 0x4000C, What is it?

The Error Code 0xC1900208 – 0x4000C is an error that is caused by an installed application or program on your computer that is not compatible with Microsoft Windows 10. The incompatible application prevents you from being able to complete the upgrade to Microsoft Windows 10 and will continue to do so until the issue is resolved. Common symptoms include:
  • You receive a dialog box displaying Error Code 0xC1900208 – 0x4000C
  • You are unable to successfully complete the Microsoft Windows 10 upgrade process.

Solution

Restoro box imageError Causes

Error Code 0xC1900208 – 0x4000C is caused by a non-compatible application or program that is currently installed on your computer, and is not allowing the Microsoft Windows 10 upgrade to finish the installation and update process.
  • The upgrade is stopped due to an incompatible app or program.
  • Out of date or no longer supported software can cause this error to occur.
  • Device drivers that are not up to date or no longer compatible.
  • The computer might pick up malware along the way and might be preventing the upgrade. If error code 0xC1900208 – 0x4000C is not rectified, you’ll not be able to proceed with your Windows 10 upgrade.

Further Information and Manual Repair

The good news is, error code 0xC1900208 – 0x4000C is a relatively common problem that is usually easily fixed by the user at home, though it can be a little time-consuming. To elude this time-consuming process, use a powerful tool to rectify the issue in no time (TSC). Before making any attempts to repair this error, ensure to perform a compatibility test.
  • Check the compatibility of applications and programs installed on your computer to locate and remove, or fix the one that is incompatible. (Don't stop at the first one you find, there could be multiple incompatibility issues.)
  • Check to ensure all programs and software are not outdated or no longer supported, and remove or fix any outdated or unused, unnecessary programs or software. (This is also a great way to free up space and clean your computer up a bit.)
  • Check to ensure that all of your device drivers are current, up to date, and compatible with Microsoft Windows 10, and replace or update where necessary.

Method 1:

Use the get Microsoft Windows 10 application on your computer to check its compatibility, follow the steps below to run the check.
  1. Look at the taskbar, to the right; you will see an icon for Microsoft Windows 10, right-click the icon. Locate the option in the menu to check the status of your upgrade. This will open an app for getting Microsoft Windows 10.
  2. Next, you will see 3 lines on top of one another on the upper left side, this will open a drop-down menu, once you have this menu open, locate the option to check the compatibility of your computer.
  3. Microsoft Windows will then run a check of your entire computer to check for compatibility with Microsoft Windows 10. Once it has finished its check, a pop-up window will display whether or not your computer will work with Microsoft Windows 10, and will also display a list of any hardware and software that are not compatible with the upgrade.
  4. This may not catch everything and there may still be incompatible programs so the previous steps, though time-consuming may still be necessary.

Method 2:

Once the incompatible applications are discovered, use the control panel to remove/uninstall them. The steps are below:
  1. Locate your computer’s Control Panel.
  2. Choose the option that says “Programs”
  3. From the options available, select the ‘Programs and Features’ link.
  4. Locate the app in the queue or menu.
  5. Right-click and choose the uninstall option.
… another option
You can also locate the app on the ‘app homepage’, right-click and choose the ‘uninstall’ option. If after following these steps the problem is still not corrected, download and install an automated tool for a quick fix.
Read More
Fixing 0x00000050 Stop Error – A How to Guide

What Is 0x00000050 Stop Error?

While running your Windows 7/Windows Server 2008 R2, your system suddenly stops responding out of complete randomness and you see an error message popping up which says something like this:

0x00000050 (parameter1, parameter2, parameter3, parameter4)

Solution

Restoro box imageError Causes

The stop error 0x00000050 signifies that there’s a PAGE_FAULT_IN_NONPAGED_AREA problem. If you’ve seen this error on different occasions then you will find the parameters in the message to be varying. That is because they are dependent on your PC’s configuration. Not all Stop errors "0x00000050” occur due to a single issue.

However, the most common problem which is encountered which results in the stop error popping up is due to a pool corruption occurring in the Srvnet.sys file.

This issue might be caused because of software incompatibility or a defective physical memory which resulted in requests for data for a hardware driver or service which was not found in the memory.

If you find the error occurring after you’ve installed a new application or a device driver then you should access Safe Mode and uninstall, disable or remove that application or driver.

Further Information and Manual Repair

In order to fix this issue, you should try booting your computer to the “Last Known-Good Configuration” as listed during startup.

For this you have to follow the below-mentioned steps:

  1. Start your system.
  2. When you see the message which says “For Troubleshooting And Advanced Startup Options For Windows, Press F8” hit F8 and proceed.
  3. Use the up and down arrow keys to highlight “Last Known-Good Configuration” and hit enter (This method will only work if your system boot was not successfully carried out ever since you made any specific changes).
  4. When you are starting the computer, press F12 and proceed with the PSA/32 Bit Diagnostics.
  5. Do the following so that a clean boot can be performed:
  • Go to the Start menu when the Windows 7 desktop shows up.
  • On the search bar, type “msconfig” and hit search.
  • Disable all the applications which are listed on the “Startup” tab.
  • Now head over to the “Services” tab and mark the option which reads "Hide all Microsoft Service".
  • Select the “Disable All Services” option.
  • Apply the changes by clicking on “Apply” then restart your PC. You should now check the performance of your computer. If you don’t see a BSOD then you start re-enabling all the Services and Startup applications one by one until you finally figure out which one is causing the BSOD to appear.
6. Update your Windows with “Windows Updates”.
Read More
Fixing Tcpip.sys Blue Screen Error in Windows
One of the most common Blue Screen of Death errors you can encounter on your Windows 10 computer is the Tcpip.sys Blue Screen error. The Tcpip.sys file is a driver file that is associated with the Transmission Control Protocol over Internet Protocol. When you see this kind of BSOD error, you may see any of the following error descriptions:
  • IRQL_NOT_LESS_EQUAL
  • KMODE_EXCEPTION_NOT_HANDLED
  • PAGE_FAULT_IN_NONPAGED_AREA
Whichever error description you got, you need to do use the following instructions below as a reference to obliterate the Tcpip.sys Blue Screen error.

Option 1 – Run the Blue Screen Troubleshooter

The Blue Screen troubleshooter is a built-in tool in Windows 10 that helps users in fixing BSOD errors like Tcpip.sys Blue Screen error. It can be found on the Settings Troubleshooters page. To use it, refer to these steps:
  • Tap the Win + I keys to open the Settings panel.
  • Then go to Update & Security > Troubleshoot.
  • From there, look for the option called “Blue Screen” on your right-hand side and then click the “Run the troubleshooter” button to run the Blue Screen Troubleshooter and then follow the next on-screen options. Note that you might have to boot your PC into Safe Mode.

Option 2 – Try resetting TCP/IP

In case you didn’t notice, the Tcpip.sys file is associated with the TCP/IP protocols in your computer system which is why resetting TCP/IP can help in resolving the Tcpip.sys Blue Screen of Death error especially when the TCP/IP has been modified.
  • First, you need to type “command prompt” in the Windows Search bar and then right-click on the related search result and select the “Run as administrator” option to open Command Prompt.
  • After that, type the following command in the elevated cmd window and hit Enter:
netsh int ip reset
  • Now reboot your computer after the command has been executed and check if it helped to fix the Blue Screen error.

Option 3 – Try to rollback your Network driver

If you have updated the driver software as of late and you suddenly got this BSOD error, you might have to roll back the device driver – in other words, switch back to the previous working version. To do that, follow these steps:
  • Tap the Win + R keys to launch the Run window and then type in the “devmgmt.msc” command and hit Enter to open the Device Manager window.
  • Under the Device Manager, you will see a list of drivers. From there, look for the Network Adapters and expand it.
  • Next, select the driver entries that are labeled appropriately other than anything in the context of the WAN Miniport.
  • Then select each one of them and double click to open a new mini window.
  • After that, make sure that you’re on the Driver tab and if you are not, just navigate to it then click the Roll Back Driver button to switch back to the previous version of your Network adapters.
  • Now restart your computer to successfully apply the changes made.

Option 4 – Try to update the Network drivers

You might also want to try updating all your network drivers in order to fix the Tcpip.sys Blue Screen error. To do so, here’s what you have to do:
  • Tap the Win + R keys to launch the Run window and then type in the “MSC” command and hit Enter to open the Device Manager window.
  • Under the Device Manager, you will see a list of drivers. From there, look for the Network Adapters and expand it.
  • Then right-click on each one of the Network drivers and update them all.
  • Restart your PC and see if it helped in fixing the BSOD error.
Note: If updating the network drivers didn’t help in fixing the problem, you can also try to uninstall the very same drivers and restart your Windows 10 PC. After that, the system itself will reinstall the drivers you just uninstalled. Alternatively, you can also download and install the drivers from the manufacturer’s website directly.

Option 5 – Try to disable both the Antivirus program and Firewall temporarily

There are times when antivirus programs and the firewall blocks a website that they consider to be malicious or even because of false-positive effects which is why you have to disable these programs temporarily as it might be the reason why you’ve encountered the error when trying to browse the internet.
Read More
A Guide to Fixing Error 101

Error 101 - What is it?

Error 101 is a Google Chrome error. You may experience this error if you browse the internet using Google Chrome. This error results when the existing HTTP connection between Chrome and the website is broken. The error is displayed in the following format: “Error 101 (net::ERR_CONNECTION_RESET): The connection was reset.”

Solution

Restoro box imageError Causes

The cause of Google Chrome error 101 cannot be narrowed down. This error can be triggered on your PC due to multiple reasons. These include:
  • The inability of the Google Chrome installer to create a temporary directory on your PC during the installation process
  • Enabled DNS Prefetching
  • Firewall
  • Viral Infection
  • Bad Registry Entries
  • Poor Internet Connection
Though this error code is not fatal, nonetheless it is advisable to fix it to ensure you are able to browse the internet using Google Chrome.

Further Information and Manual Repair

The good news is that this error is quite easy to resolve. Even if you are not a technical whiz you can still manage to fix it by trying these easy and effective DIY methods we have listed below:

Method 1: Reload the Website link on Chrome or Check Your Internet Connection

Sometimes refreshing the webpage can resolve the issue easily. Try doing it. Reload the link by pressing Ctrl +R. This will refresh the webpage. If it starts working then that’s great but if it doesn’t then it is advisable to check your internet connection. Disable and Enable the connection and then try browsing on Chrome again. If websites are accessible then the problem is resolved. If the error persists then try other methods.

Method 2: Disable DNS Pre-fetching

Sometimes this error may occur due to enabled DNS pre-fetching. To resolve the issue, open Chrome, then click on the wrench key. Go to setting and under the bonnet and Privacy section, look for the DNS perfecting option. If it is enabled, then uncheck it to disable DNS Pre-fetching. Save the changes and then close the browser. Now open it again and try browsing on Chrome. If error 101 does not appear and you are able to access websites then the issue is fixed.

Method 3: Scan for Viruses

Another way to fix this is to download and run a powerful antivirus. Scan and remove viruses to fix the problem.

Method 4: Check the permission for your temporary folder

As mentioned above, another underlying reason for error 101 can be Google Chrome installer was unable to create a temporary directory on your system during the installation process. To resolve it, check the permission for your temporary folder. Here’s how to do it: First go to the start menu and type Run. Now enter one of the following directories in the text fields 1. Windows XP: %USERPROFILE%Local Settings 2. Windows Vista: %USERPROFILE%AppDataLocal After that press OK. This will open a new window. In the Window that opens, right-click the temp folder. Now select properties and press the security tab to continue. In the group and user names section, select your user profile name. In the permissions, section verify that the checkboxes for READ, WRITE, and READ  & EXECUTE permissions in the DENY column are not selected. After you have verified, click apply and then ok. Now try reinstalling the Google Chrome browser again on your system.

Method 5: Remove Bad Entries by Cleaning the Registry

Bad entries and cookies saved in the registry can also lead to error 101. You can remove them manually but that will take a great deal of time and can be slightly difficult if you are not technically sound. Therefore, it is advisable to download Restoro. This is a user-friendly PC Fixer integrated with a registry cleaner that scans and removes all registry issues in a few clicks. It removes all the bad entries and junk files cluttering the registry and repairs it instantly. Click here to download Restoro.
Read More
Fix blank or empty dialog boxes with no text
The dialog boxes that you see on your Windows computer exist to send you a message or to notify you. However, you can also encounter issues with them. Recently, some users reported that they’re getting empty or blank dialog boxes. It’s definitely hard to choose between Yes or No or to click OK when you don’t know the context of the dialog box. If the same thing happened to you, worry not for there are some possible solutions that can help you fix the problem. This kind of problem usually happens when there are some issues with the graphics driver or when there is some corrupted software. Whichever the case is, here are some fixes you can check out to fix the empty or blank dialog boxes on your Windows 10 computer.

Option 1 – Run the System File Checker

System File Checker or SFC is a built-in command utility that helps in restoring corrupted files as well as missing files. It replaces bad and corrupted system files with good system files that might be the cause why you’re getting the errors 0x8024a11a and 0x8024a112. To run the SFC command, follow the steps given below.
  • Type “cmd” in the Start search and then right-click on the appropriate search result.
  • Next, select “Run as administrator” to open Command Prompt with admin privileges.
  • After opening Command Prompt, type in sfc /scannow
The command will start a system scan which will take a few whiles before it finishes. Once it’s done, you could get the following results:
  1. Windows Resource Protection did not find any integrity violations.
  2. Windows Resource Protection found corrupt files and successfully repaired them.
  3. Windows Resource Protection found corrupt files but was unable to fix some of them.
 Now restart your computer and see if the problem is fixed or not.

Option 2 – Try to update or rollback the Graphics driver

You can try to update your Graphics card driver using the Device Manager in your computer to resolve the blank dialog boxes problem or you can also go directly to the website of your graphics card manufacturers like NVIDIA, Intel, or AMD and go to the section called Drivers then check if there’s a new available update – if there is, download and install it. To update your Graphics driver via Device Manager, refer to these steps:
  • First, boot your computer into Safe Mode.
  • After that, tap the Win + R keys to launch Run.
  • Type in devmgmt.msc into the box and tap Enter or click OK to open the Device Manager.
  • After that, a list of device drivers will be displayed. From there, look for the Display Adapters and click on them.
  • After that, right-click on each entry under the Display Adapters and select the “Uninstall Device” option from the menu.
  • Now restart your computer.
  • After restarting your computer, go to the Settings app and Check for Updates in the Windows Update section.
Note: If updating the Graphics driver didn’t fix the problem, you can also try to roll back to its previous version and see if that helps.

Option 3 – Run the DISM tool

The next thing you can do is run the DISM tool. This tool is known to repair potentially corrupted files in your system as having them could also system issues like the blank dialog boxes. To repair these corrupted system files, you can run the DISM commands:
  • Tap the Win + X keys and click on the “Command Prompt (Admin)” option.
  • After that, input each one of the commands listed below sequentially to execute them:
    • Dism /Online /Cleanup-Image /CheckHealth
    • Dism /Online /Cleanup-Image /ScanHealth
    • Dism /Online /Cleanup-Image /RestoreHealth
  • Once you’ve executed the commands given above, restart your computer and check if the problem is now fixed.

Option 4 – Try to repair or reinstall the software

If the issue with the empty dialog boxes only occurs in a specific program, you can either try to repair the program or reinstall it. You can find the Repair option in the Add/Remove program section when you select the concerned program. If repairing the program didn’t work, you might have to uninstall it and then reinstall it.

Option 5 – Try troubleshooting the problem in a Clean Boot State

You might also want to troubleshoot the problem in a Clean Boot State. Doing so will help you isolate the problem. Refer to the steps below to do so:
  • Log onto your PC as an administrator.
  • Type in MSConfig in the Start Search to open the System Configuration utility.
  • From there, go to the General tab and click “Selective startup”.
  • Clear the “Load Startup items” check box and make sure that the “Load System Services” and “Use Original boot configuration” options are checked.
  • Next, click the Services tab and select the “Hide All Microsoft Services” check box.
  • Click Disable all.
  • Click on Apply/OK and restart your PC. (This will put your PC into a Clean Boot State. And configure Windows to use the usual startup, just simply undo the changes.)
Read More
An Easy Guide to Resolving Error C00D11B1

Error C00D11B1- What is it?

Error C00D11B1 is a type of Windows Media Player error code. The error C00D11B1 hampers your ability to play videos, MP3 files and songs on Windows Media Player. The error is displayed in the following format:
Error C00D11B1:’Windows Media Player can’t play the file.’

Solution

Restoro box imageError Causes

The cause of error C00D11B1 message pop up on your computer can be narrowed down to one particular reason virtually because this error may be triggered due to several reasons, these include:
  • Corrupt DRM license
  • Enabled codec of the video in Windows Media Player codecs section
  • Registry Corruption
The good news is that this error is not fatal and does not pose serious PC threats like runtime and BSoD error codes. However, it is still advisable to resolve to ensure you are able to watch movies and listen to songs on Windows Media Player without any difficulty.

Further Information and Manual Repair

Here are some of the best and effective do it yourself methods to resolve the error C00D11B1 on your PC right away:

Method 1- Disable the codec of the video option in the Codecs Section

If you are unable to play downloaded movie files on your PC on Windows Media Player, then try this method to resolve the issue. Simply open Windows Media Player, Go to Tools, Options, DVD and then click Advanced Tab. Here find the codecs section, scroll down to the codec of the video you are trying to play and see if it says enabled. If it does, then disable it and then select a decorder for the codec. Now try running the video again on your Windows Media Player. This will hopefully resolve the issue. Nonetheless if the error still persists, try method 2.

Method 2- Delete DRM Licenses & cache and Download it Again

Sometimes the error C00D11B1 can also be trigged by corrupt DRM licenses & cache. To resolve the issue, simply delete all files. First open Windows Explorer (Windows key + E) and then go to C:ProgramDataMicrosoftWindowsDRM. Now delete all files in this folder. Once deleted, Let Windows Media Player download your license again. After downloading the DRM license again, run the Windows Media Player to see if it works.

Method 3- Disable Firewall Temporarily

Firewall can also be responsible for blocking the Windows Media Player streaming. Firewalls often block important ports that are required in order to run some programs. If this is the cause, then simply disable Firewall temporarily to resolve the issue.

Method 4- Repair the Registry

Registry is that part of your computer that saves all the activities performed on the PC and all the files too including both important and unimportant files like cookies, junk files and bad registry entries. If these unimportant and obsolete files are not removed frequently, the registry gets corrupt and damaged. And due to this reason you may experience error code C00D11B1 on your system. To resolve this issue, simply repair the damaged registry by downloading Restoro. This is a powerful PC Fixer integrated with a registry cleaner. The registry cleaner removes all unnecessary files, cleans and repairs the registry in seconds. Click here to download Restoro and fix error C00D11B1 on your PC right now!
Read More
Keyboard folder shortcut in Windows 11
If you are visiting a single folder many times during the day it might be beneficial to place its shortcut on the desktop for easy access. But did you know that you can also set a keyboard shortcut for that same folder shortcut making it available simply by clicking desired key combination? keyboard shortcut
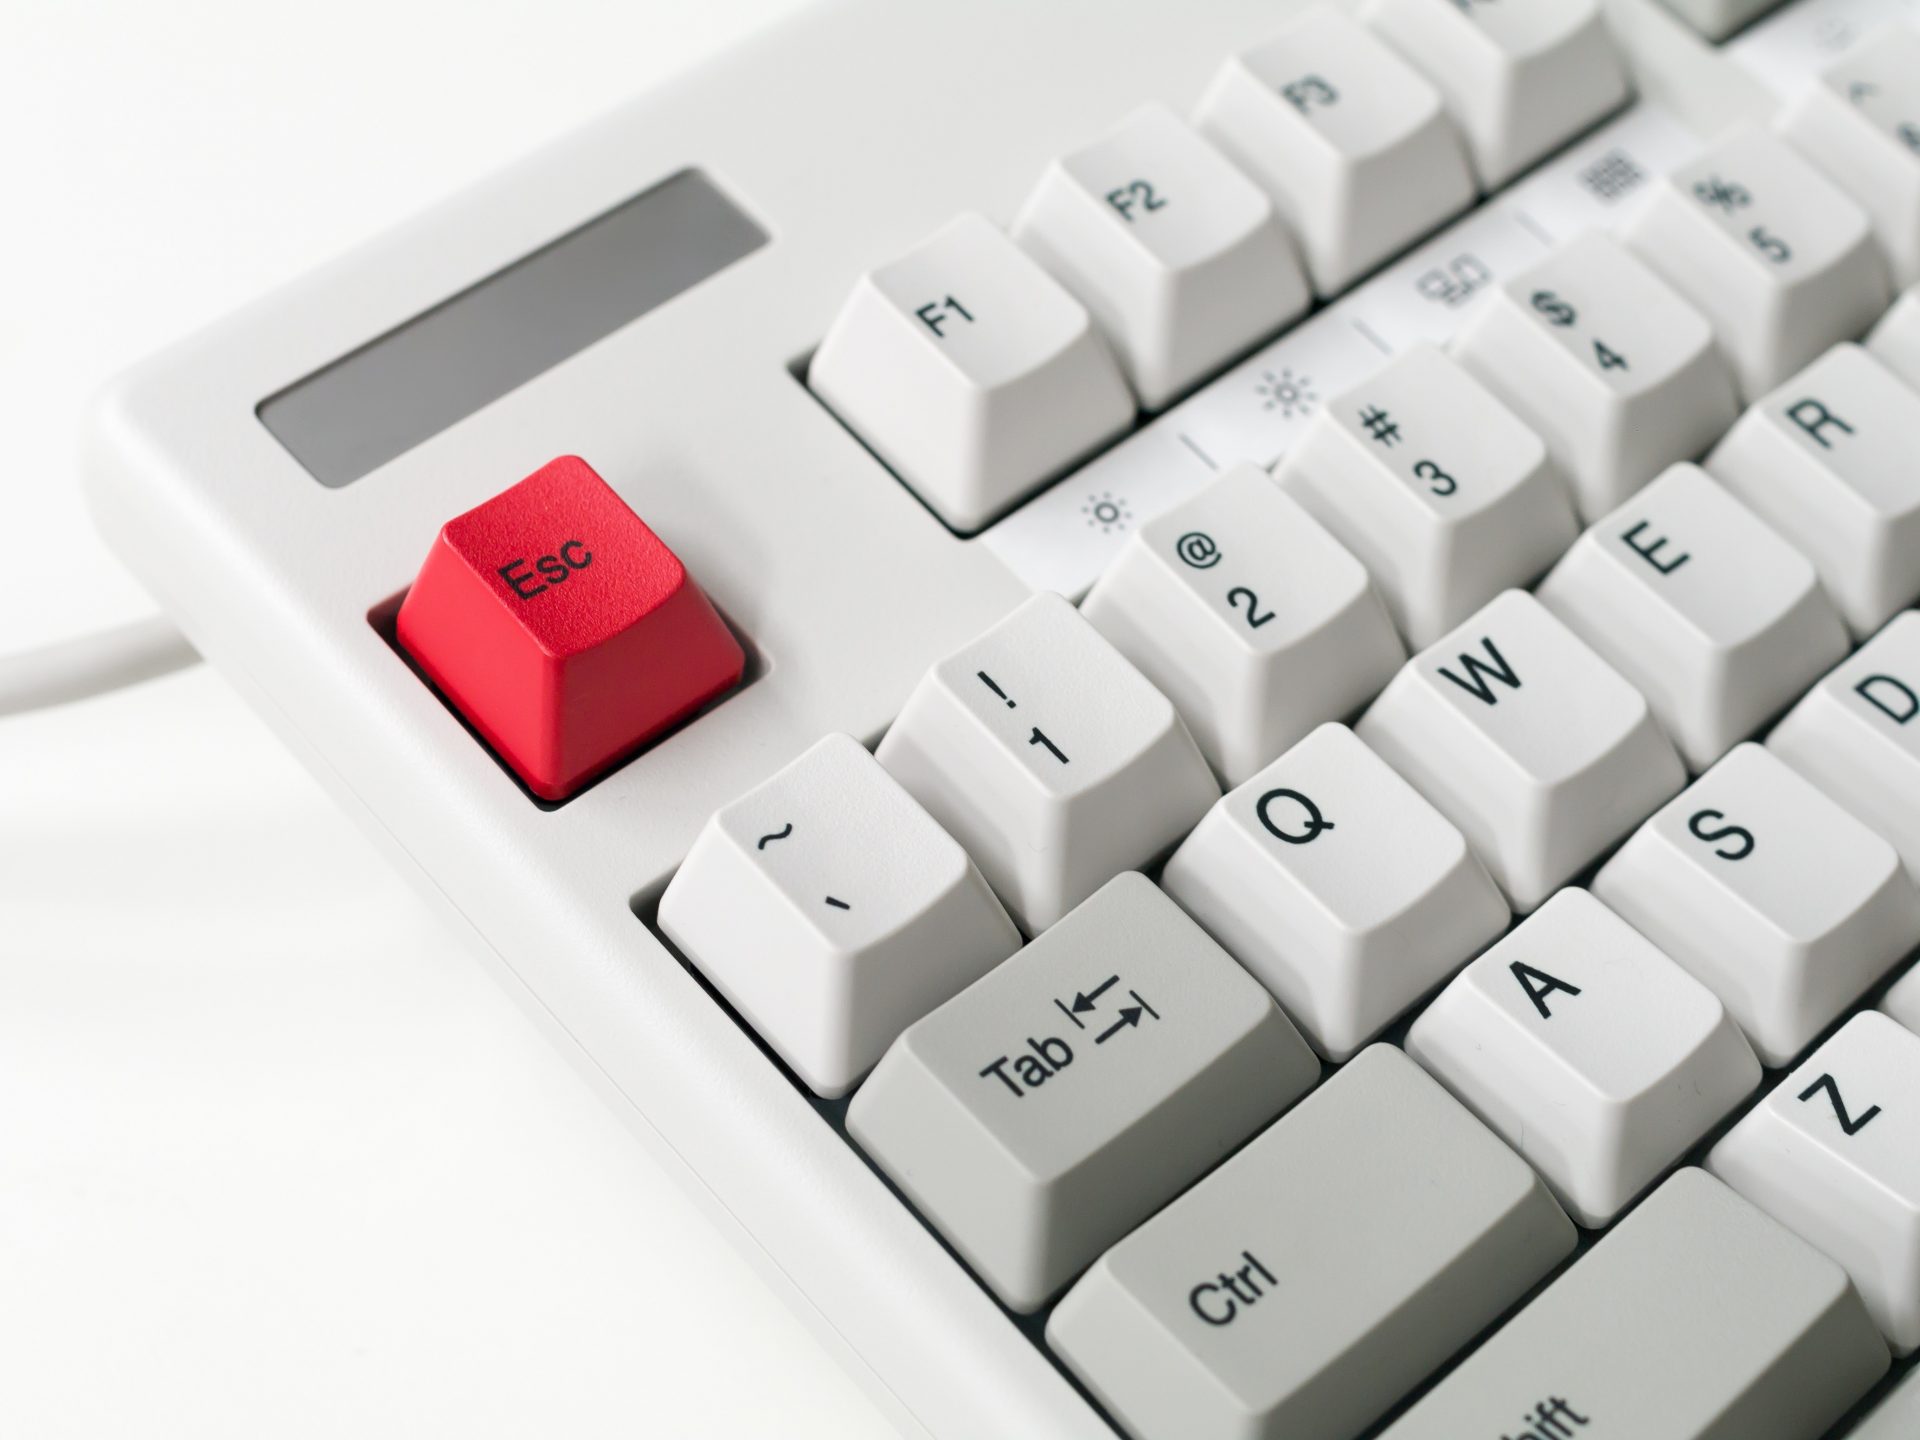
In order to make a keyboard shortcut for the desired folder know that it is available only when you have a shortcut of the desired folder, it cannot be done on the folder itself, only on its shortcut. Now folder shortcut does not need to reside on desktop, you can place it anywhere you like, but it must be a shortcut. So the first step is of course to make a shortcut of the folder that you wish to have access via keyboard key combination and place it where you wish. Once you have done this step, right-click on it and choose properties. Inside properties at the top click on the Shortcut tab and then inside Shortcut Key, press the key combination that you wish to associate with this folder. Confirm with OK and start using fast folder access with your desired key combination.
Read More
DDR5 what we know so far about it
DDR5 memory moduleNext-generation of RAM, DDR5 supposed to hit shelves around late summer or fall in 2021if everything goes as planned. Its goal is to increase speed and efficiency, wants to pack more memory in a single stick, and have better power management.

Hardware requirements for DDR5

Using the latest memory technology will require other hardware to follow certain standards and the first ones that will need to follow are CPUs and Motherboards. Intel is already prepared with its Alder Lake CPUs that suppose to come out also later this year. AMD on other hand has not stated anything at the time of this writing but it is a bet that their next generation that will come in 2022 will have full support. It is speculated that bot companies and their respective CPUs will have both support for DDR4 and DDR5. A story about motherboards is a little different. Motherboards will support DDR4 or DDR5 memory banks, not both, so make sure that your motherboard will support the memory you plan on getting.

Capacity of memory

The goal and aim for the DDR5 memory stick are to reach a whopping 126GB per stack. This will be done by using a dual in-line module or DIMM enabling larger capacity. That being said, the first modules that we will see are more likely to be 16GB as standard and 8GB as low entry ones.

Power consumption of DDR5 memory

The standard voltage that DDR4 operates under is 1.2V. DDR5 wants to lower this to 1.1V without sacrificing speed. Voltage regulation on modules themselves will be now integrated on memory banks instead of leaving that to motherboards which will help to detect memory errors directly on the memory bank.

Speed of memory

The most common speed of DD4 memory banks is 2,666MHz, more expansive ones go from 3,600 to 4,000MHz. DD5 aims to raise this bar to 4,800MHz and offers greater speed.

Should you get it right away?

Hardware is ever-evolving, we have PCIe 3.0 to PCIe 4.0, and taking into account that sometimes the newest tech can cause some unexpected behavior it is always the best strategy to wait for a little. Price for the newest tech has also been in its heist just when it is released and seeing how DDR5 will benefit mostly servers mostly since even today memory, processors, and other available equipment can tackle all daily tasks.
Read More
Customize Lock Screen in Windows 11
Same as in Windows 10, Windows 11 also features a lock screen. IN this lock screen by default, you will see a clock and date above the standard Windows 11 background. Not all users will be happy with this choice but do not worry, you can choose and customize your lock screen to better suit your idea of it.

Lock Screen in Windows 11
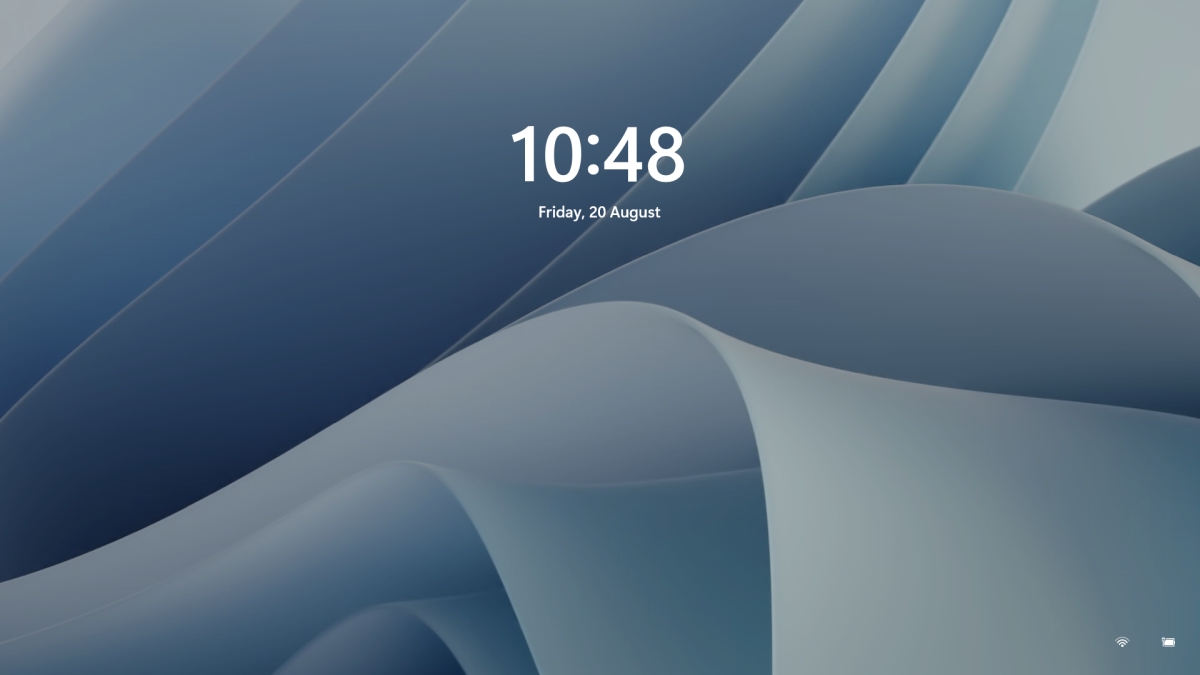
To personalize the lock screen do:

  1. Right-click on Desktop and select Personalize
  2. Click on the lock screen
  3. Choose one of three options and customize it
    • Personalize Your Lock Screen

      this option will let you set a custom image or slideshow for your lock screen. Choose either one that best suits you. Under selecting picture or pictures for the slide show you can uncheck the option to see tips, tricks, and facts on your lock screen.
    • Lock screen status

      when clicking on this option you can select the application widget that you wish to be shown on the lock screen like weather, mail, calendar, etc. Choose if you would like one by clicking on it.
    • Show the lock screen background picture on the sign-in screen

      as self-explanatory this switch will enable or disable chosen lock screen wallpaper on your login credentials screen.
  4. Close settings
All settings will be automatically saved and applied and when you wish to lock the screen easiest way is to press ⊞ WINDOWS + L shortcut on your keyboard.
Read More
Fix Windows Update error 0x80070422
If you were trying to run Windows Update or activate Windows Firewall or download from the Windows Store but encounter the Windows Update Error 0x80070422 instead, read on as this post will show you how you can resolve the problem. This kind of Windows Update error occurs when the Windows Update or WUAUSERVE is not started or when the Background Intelligent Transfer Service or BITS can’t be started. It could be that they are disabled or because they have no enabled devices associated with them. Whichever the case is, you can check out the options given below to fix the Windows Update Error 0x80070422 and make sure that you create a System Restore point first before you start.

Option 1 – Check the status of some Windows Update Services

  • Tap the Win + R keys to open the Run dialog box.
  • Next, type “services.msc” in the field and hit Enter or click OK to open Services.
  • From the list of Services, look for the following services and make sure that their Startup type is as follows:
    • Windows Update – Manual (Triggered)
    • Background Intelligent Transfer Service – Manual
  • After that, check if the Service status of the listed services above is set to Running. If they’re not, click on the Start button to start these services and then check if you can now enable the Windows Update service or not.

Option 2 – Try to disable IPv6 in the Network Center

You might also want to disable IPv6 in the Network Center in order to fix the Windows Update Error 0x80070422. How? Follow these steps:
  • Tap the Win + X key combination on your keyboard and click on Network Connections.
  • This will open the Network Connections section under the Setting app. From there, click on the Network and Sharing Center link located at the right side of the panel which will open a Win32 version of the Windows settings known as Control Panel.
  • In the Control Panel, click on the network your computer is connected to.
  • A mini window will appear and in that window click on Properties which will open another mini window that will provide a list.
  • From this list, uncheck the option that says, “Internet Protocol Version 6 (TCP/IPv6)”.
  • Now click on OK and close all the other windows and see if it fixes the Windows Update error.

Option 3– Run the Windows Update Troubleshooter

If disabling IPv6 didn’t work, you could also try running the Windows Update Troubleshooter as it could also help in fixing any issues related to Windows Update including the Windows Update Error 0x80070422. To run it, go to Settings and then select Troubleshoot from the options. From there, click on Windows Update and then click the “Run the troubleshooter” button. After that, follow the next on-screen instructions and you should be good to go.

Option 4 – Try running the DISM tool

You can also try to run the Deployment Imaging and Servicing Management or DISM tool to fix the Windows Upgrade error. Using this built-in tool, you have various options such as the “/ScanHealth”, “/CheckHealth”, and “/RestoreHealth”.
  • Open the Command Prompt with admin privileges.
  • Then type in the following commands and make sure to hit Enter right after you type each one of them:
    • Dism /Online /Cleanup-Image /CheckHealth
    • Dism /Online /Cleanup-Image /ScanHealth
    • exe /Online /Cleanup-image /Restorehealth
  • Do not close the window if the process takes a while as it will probably take a few minutes to finish.

Option 5 – Run Microsoft’s online troubleshooter

Running Microsoft’s online troubleshooter might also help you fix the Windows Update Error 0x80070422. This online troubleshooter is known to help in fixing Windows Update errors, it scans your computer for issues that might be causing the problem and then fixes them automatically.
Read More
1 2 3 171
Logo
Copyright © 2023, ErrorTools. All Rights Reserved
Trademark: Microsoft Windows logos are registered trademarks of Microsoft. Disclaimer: ErrorTools.com is not affiliated with Microsoft, nor claims direct affiliation.
The information on this page is provided for information purposes only.
DMCA.com Protection Status