Logo

Firewall is preventing or blocking connections

As you know, the Windows Firewall is designed not just to protect your computer from viruses and malware, and other security threats but it’s also designed to block any program from accessing the internet. Users are given the option to block both inbound and outbound traffic for any apps on their computers. However, this kind of option can often lead to not being able to access the internet.

In such cases, when you try to run the Windows Firewall Troubleshooter or the Windows Network Diagnostic troubleshooter, it will throw an error message that says, “Windows Firewall is preventing connections to your computer. The Windows Firewall rule HSS DNS Leak Rule may be blocking your connection”. If you are in this kind of scenario, then you’ve come to the right place as this post will guide you on how exactly you can fix this error.

When you encounter this kind of error, there are several options you can check out to fix it. You can try to allow an app or feature through the Windows Firewall or uncheck the HSS DNS leak rule in both private and public. For more details, refer to the suggestions provided below.

Option 1 – Try to allow an app or feature through Windows Firewall

The first thing you can do to get rid of the error is to allow a feature or app through the Windows Firewall. To do this, follow these steps:

  • Open the Windows Defender Security Center.
  • From there, select the Firewall and Network Protection option.
  • Next, click on the “Allow an app through firewall” option and then click on the “Change Settings” button and make sure that you have administrative privileges.
  • After that, select the app or feature you want to allow through the Firewall from the menu. You also have the option to manually add the app by using the “Add an App” option.
  • Then select the between the type of network an app can access such as:
    • Private Network will allow the app to connect to the internet only at home or work.
    • Public Network will allow the app to connect to the internet from anywhere, including Public WiFi hotspots.
  • Once done, restart your computer and see if it fixed the error or not.

Option 2 – Try to uncheck the HSS DNS leak rule in both private and public

The next thing you can do to fix the error is to uncheck the HSS DNS leak rule in both private and public. You can do this by following these steps:

  • Open the Windows Defender Security Center.
  • From there, select the Firewall and Network Protection option.
  • After that, click on the “Allow an app through firewall” option and then click on the “Change Settings” button and make sure that you have administrative privileges.
  • Next, scroll down until you see the HSS DNS leak rule in both private and public option and then uncheck it.
  • Now restart your computer and check if the error is now gone.

Do You Need Help with Your Device?

Our Team of Experts May Help
Troubleshoot.Tech Experts are There for You!
Replace damaged files
Restore performance
Free disk space
Remove Malware
Protects WEB browser
Remove Viruses
Stop PC freezing
GET HELP
Troubleshoot.Tech experts work with all versions of Microsoft Windows including Windows 11, with Android, Mac, and more.

Share this article:

You might also like

Windows 11 Home edition account requirements
Windows 11 has been officially presented during Microsoft’s virtual event on June 24th. Since presentation internet has been pretty live and busy with a discussion about it, some discussions are positive, some not so much but that is expected and it happens always when a new product is presented. One of information that we have about Windows 11 is tied to the home edition of this OS, Windows 11 home edition will require an internet connection at setup, and a Microsoft account in order to be installed and used. Previous versions of Windows could be installed and used with local accounts but it seems Microsoft has abandoned that idea for its new OS. OS will be delivered mostly as updates or via internet download so internet and online requirement make sense but why it cannot use the local account and must have a Microsoft one is beyond me.
Read More
Fix A breakpoint has been reached, 0x80000003
If you suddenly encounter Error 0x80000003 while trying to execute a random file then read on as this post will show you how you can fix such an error. Obviously, it mostly happens on executable files or .exe files and is most likely caused by the conflict in the execution of some registry files or it could also be caused by missing drivers or it could also be due to some incompatible hardware which is why you’re unable to run the executable file. When you encounter this error, you will see the following error message on your screen:
“The exception Breakpoint, A breakpoint has been reached, (0x80000003) occurred in the application.”
As you can tell, the Windows Executive STATUS message is a warning and if you are given an option, you must select one of the options from the message box. So if you are running the application in an end-user environment rather than in a development environment, you must contact the supplier of the running application regarding this error message since this shouldn’t be happening when a finished program is running. Before you get started executing the troubleshooting guide given below, make sure that you create a System Restore Point first since you will be dealing with some critical settings in Windows. Having done this, proceed to the options provided below.

Option 1 – Try to run the CHKDSK utility

Running the CHKDSK utility might also help you resolve Error 0x80000003. If your hard drive has issues with integrity, the update will really fail as the system will think that it’s not healthy and that’s where the CHKDSK utility comes in. The CHKDSK utility repairs hard drive errors that might be causing the problem.
  • Open Command Prompt with admin privileges.
  • After opening Command Prompt, execute the following command and hit Enter:
chkdsk /f /r
  • Wait for the process to be completed and then restart your computer.

Option 2 – Try to run a System File Checker scan

You can also try to run a System File Checker or SFC scan in order to scan your computer for corrupted files that might be the cause behind the Error 0x80000003. Once it finds any corrupted system files, it will automatically fix them. To run System File Checker, here’s what you have to do:
  • Tap Win + R to launch Run.
  • Type in cmd in the field and tap Enter.
  • After opening Command Prompt, type in sfc /scannow
The command will start a system scan which will take a few whiles before it finishes. Once it’s done, you could get the following results:
  1. Windows Resource Protection did not find any integrity violations.
  2. Windows Resource Protection found corrupt files and successfully repaired them.
  3. Windows Resource Protection found corrupt files but was unable to fix some of them.
  • Restart your computer after the scan is completed.

Option 3 – Perform a Clean Boot

There are some instances that some conflicting programs installed in your computer might be the one that’s causing the Error 0x80000003 to appear. To identify which program is causing the problem, you need to put your computer in a Clean Boot State. To do so, follow the steps below.
  • Log onto your PC as an administrator.
  • Type in MSConfig in the Start Search to open the System Configuration utility.
  • From there, go to the General tab and click “Selective startup”.
  • Clear the “Load Startup items” check box and make sure that the “Load System Services” and “Use Original boot configuration” options are checked.
  • Next, click the Services tab and select the “Hide All Microsoft Services” check box.
  • Click Disable all.
  • Click on Apply/OK and restart your PC. (This will put your PC into a Clean Boot State. And configure Windows to use the usual startup, just simply undo the changes.)
  • From there, start to isolate the problem by checking which one of the programs you installed recently is the root cause of the problem.

Option 4 – Run the Memory Diagnostic Tool to check for Memory leaks

  • Tap the Win + R keys to open Run and type mdsched.exe and hit Enter to open the Windows Memory Diagnostic Tool.
  • After that, it will give two options such as:
    • Restart now and check for problems (Recommended)
    • Check for problems the next time I start my computer
  • Once your computer has restarted, perform a basic scan or you could also go for the “Advanced” options such as “Test mix” or “Pass count”. Simply tap the F10 key to start the test.

Option 5 – Try contacting the developer

If you find that you’re getting Error 0x80000003 on only one particular application, then you can try to contact the developer of the software that’s throwing up this error. All you have to do is search the web for the official support channel of the software and discuss the error from there.
Read More
Windows Defender error code 0x80073afc
If you receive an error code of “0x80073afc” in Windows Defender after you boot your Windows 10 computer or when you try to manually run Windows Defender, then it could be that the Windows Defender files are corrupted. In such cases, this error could also occur if there is third-party security software that interferes with the smooth functioning of this Microsoft Security Client. If you are one of the users who are currently facing this issue, then here are some suggestions you can check out to resolve the Windows Defender error code 0x80073afc.

Option 1 – Try to check the status of all the Windows Defender-related services

  • In the Cortana search box, type “services” and click on the Services icon to open the Services Manager. Alternatively, you can also tap the Win + R keys to launch the Run prompt and then type “msc” in the field and hit Enter to open the Services Manager
  • After opening the Services Manager, look for the following services and make sure that their Startup type is set to their default values:
    • Windows Defender Advanced Threat Protection Service – Manual
    • Windows Defender Antivirus Network Inspection Service – Manual
    • Windows Defender Antivirus Service – Manual
    • Windows Defender Firewall Service – Automatic
  • You can right-click on each one of the listed services and then select Start to start them.
  • And if some of the services don’t have their default values, just double-click on the Services to change the Startup types and select the correct option from the drop-down menu of the Startup type under the Properties box.
  • Next, set up the Startup type of these services to Automatic and then click on the Start button if the services are not running yet.
  • Now click on the Apply and OK buttons to save the changes made and then see if it fixed the problem or not.

Option 2 – Try to re-register the concerned DLL files

You could also try to re-register some Dynamic Link Library or DLL files on your computer as this could also help in fixing the Windows Defender error.
  • In the Start search, type “cmd” and from the search results that appear, right-click on Command Prompt and select the “Run as administrator” option from the context menu.
  • After opening Command Prompt as admin, type the following commands one after the other:
    • regsvr32 dll
    • regsvr32 dll
    • regsvr32 dll
    • regsvr32 dll
  • Once you’ve entered the commands given above, it will re-register the concerned DLL files in your system.
  • Now restart your computer for the changes to take effect.

Option 3 – Try to use the Registry Editor

  • Tap the Win + R keys to open the Run dialog box,
  • Then type “Regedit” in the field and hit Enter to open the Registry Editor.
  • Afterward, navigate to this registry path: ComputerHKEY_LOCAL_MACHINESOFTWAREMicrosoftWindows NTCurrentVersionImage File Execution Options
  • Next, look for the DWORDs named “MSASCui.exe”, “MpCmdRun.exe”, “MpUXSrv.exe” and “msconfig.exe”.
  • If you can’t find these DWORDs, refer to the next given option below.
  • Restart your computer.

Option 4 – Check the Environmental Values

  • Type “View advanced system settings” in the Windows search box and select the appropriate result.
  • This will open a new mini window. From there, go to the Advanced tab and click on the “Environment Variables…” button located at the bottom part of the window.
  • Next, look for the “%ProgramData%” variable name and make sure that its value is set to C:/ProgramData.
  • Then click OK to save the changes made.

Option 5 – Run the System File Checker Scan

System File Checker or SFC is a built-in command utility that helps in restoring corrupted files as well as missing files. It replaces bad and corrupted system files to good system files. To run the SFC command, follow the steps given below.
  • Tap Win + R to launch Run.
  • Type in cmd in the field and tap Enter.
  • After opening Command Prompt, type in sfc /scannow
The command will start a system scan which will take a few whiles before it finishes. Once it’s done, you could get the following results:
  1. Windows Resource Protection did not find any integrity violations.
  2. Windows Resource Protection found corrupt files and successfully repaired them.
  3. Windows Resource Protection found corrupt files but was unable to fix some of them.
  • Restart your computer.

Option 6 – Perform a System Restore

Performing a System Restore on your computer can also help you fix the Windows Defender error. You can do this option either by booting into Safe Mode or in System Restore. If you are already in the Advanced Startup Options, just directly select System Restore and proceed with the next steps. And if you have just booted your PC into Safe Mode, refer to the steps below.
  • Tap the Win + R keys to open the Run dialog box.
  • After that, type in “sysdm.cpl” in the field and tap Enter.
  • Next, go to the System Protection tab then click the System Restore button. This will open a new window where you have to select your preferred System Restore point.
  • After that, follow the on-screen instructions to finish the process and then restart your computer and check if the problem is fixed or not.
Read More
A Guide to Resolving Error Code 32

Error Code 32 - What is it?

Code 32, a Device Manager error, pops up when a device driver and other required services related to the driver are disabled.

The error code 32 is usually displayed in the following format:

“A driver (service) for this device has been disabled. An alternate driver may be providing this functionality. Code 32”

When a driver experiences a problem, it is reported to the Device Manager. Though error Code 32 does not cause detrimental damage to your system, it can cause the loss of functionality of the hardware device whose driver is disabled.

Solution

driverfix boxError Causes

Error 32 may be generated due to several reasons. However, the most common causes include:
  • The device driver is outdated
  • The device is not configured as the default
  • Some other device is providing default functionality
  • The device driver is disabled in the registry
  • Corruption of registry values in the CD ROM Drive Class registry key

Further Information and Manual Repair

If you come across error code 32 on your PC, then repair it immediately to ensure optimum PC performance. To resolve this error code, try the methods listed below. If you are not a computer programmer, don’t worry!

The listed solutions are easy to perform, require no technical background or expertise and more importantly, these solutions are very effective.

Simply follow the instructions to repair error code 32 on your system in just a few minutes.

Method 1 - Reboot Your PC

Sometimes Device Manager error codes may appear due to temporary issues, which may be resolved simply by rebooting your system. If you are lucky, this might actually work.

By restarting your PC, you might be able to get rid of error code 32. However, if the error still persists, then try other methods given below.

Method 2 - Uninstall and Reinstall the Driver

To resolve error code 32, uninstall and then reinstall the driver. To uninstall the driver, simply follow these steps:

  1. Go to the start menu
  2. Type Device Manager in the search bar and then press enter
  3. Now in the Device Manager, find and then double-click the category of device that you wish to uninstall, for example, click on the Display Adapter to uninstall the graphics card.
  4. Once you have located the device and the driver you wish to uninstall, simply right click on it and then click ‘uninstall’
  5. Windows will prompt you to confirm device removal changes.
  6. Click OK to confirm and proceed.
  7. After that, simply restart your system to activate changes
  8. To reinstall, go to the control panel and choose Add/Remove Hardware and add a new device.  Follow all prompts to reinstall the device.

Method 3 - Delete Both the Upper Filters and Lower Filters Registry Values

As discussed above, sometimes error code 32 may be triggered due to corruption of registry values.

If this is the underlying cause, then delete both the upper filters and lower filters registry values from the registry. This will take about 5 to 7 minutes. Here’s what you have to do:

  1. Go to the start menu
  2. Type Regedit in the search box and then press enter
  3. Now locate the HKEY_LOCAL_MACHINE folder under  ‘My Computer’
  4. Click the |> or (+) icon next to the folder name to expand
  5. Here you will see a long list of subkeys
  6. Locate the correct class GUID for the problematic device
  7. Now click the registry subkey that corresponds to the device class GUID
  8. Locate the Upper Filters and Lower Filter values and delete
  9. Close the registry editor
  10. Restart your PC to activate changes

This will hopefully resolve error code 32 on your system if the error was generated due to registry value corruption. However, if the error continues to appear, then resort to method 4.

Method 4 - Update the Problematic Driver

Locate the problematic drivers and update them with the latest versions. This procedure is effective but time-consuming if performed manually.

It takes several minutes to identify problematic drivers and find the latest and compatible versions for each driver on the manufacturers’ website. And besides, you will have to perform updates continuously to ensure the error doesn’t occur again.

Method 5 - Download DriverFIX to Update Drivers Automatically

To avoid the hassle, download DriverFIX.

This is a cutting-edge and user-friendly software program embedded with intelligent system programming and intuitive technology that identifies problematic drivers and updates them with the latest and compatible driver versions in seconds, automatically and on a regular basis.

By installing it on your PC, you can update all the drivers and repair code 32 in no time.

Click here to download DriverFIX to resolve Device Manager error code 32 today!

Read More
How to know if you have keylogger in Windows
Hello and welcome everyone, today we will be talking about dreaded keyloggers, why they are dangerous, and how to know if you might have one in your system. Keylogger is a malicious application placed in your system and hidden with only one goal in mind, to get information about what are you typing and by that means for a person who infected you to get information about your credit card information or other sensitive data. They can be introduced into your systems in various ways and often can not be detected easily. Modern antivirus applications have ways of detecting them and removing but this tutorial aims to teach you how to spot them all by yourself since new keyloggers are produced daily and sometimes relying on antivirus alone is not enough. Unlike viruses and trojans, keyloggers are not heavy on system resources and you will not feel slow down on your computer if you have one which makes them harder to sport with regular work. Some of them can be even tracking you on the website and not even be physically present on your computer. Generally, we could categorize keylogger into 4 categories:
  1. Web browser-based keylogger. Some websites would have CSS scripts, input web forms, or so-called man in the middle keylogger. Lucky for us even Windows defenders with the latest update can detect this type of keylogger and successfully deal with it and how keylogger itself is not present on our system we are safe.
  2. General spyware keylogger. This keylogger is present in your system, usually, it infected it via email attachment, social media download, torrent download, some malicious so-called fixer application, etc. Most antivirus applications and windows defenders can detect these types as well and remove them successfully.
  3. Kernel-level keylogger. This keylogger is a more dangerous type they tend to operate underneath Windows as a rootkit and can go undetected by antivirus and windows defenders.
  4. Hypervisor-based keylogger. This is the most dangerous keylogger, they use virtualization techniques to hide and mask themselves as a replica of the operating system and they scan all keystrokes by the user. These are very rare keyloggers but they do exist.
If you suspect that you have a keylogger or just want to check your system for precaution reasons follow these tips and guides and luckily you will solve your issue in no time and your data will be safe.
  1. Use Task Manager to find suspicious entries.

    Task manager is a great application implemented in Windows that is constantly monitoring and showing all services, applications, and processes currently running on your system and thus a great tool to monitor your system if you know how to use it. First, open task manager by pressing CTRL + SHIFT + ESC Then take a good look into it, try to find suspicious names, probably duplicate of running application, something like Windows logon application, or keylog or anything similar which seems out of ordinary. If you manage to find a suspicious running application right-click on it and close it. Also while you are in task manager jump into the startup tab and check to see are there some unusual applications starting with your Windows, if you find anything, disable it right away. This is the most simple and quickest way to get some information right away if you suspect to have some simpler keylogger in your system.
  2. Use the command prompt to monitor your network.

    In order to check connections to your computer and find potential suspicious ones start the command prompt in administrator mode, press ⊞ Win + X, and choose command prompt (administrator). type in netstat -b and press ENTER. All website and application connections to your computer are now visible. ignore svchost, edge browser, windows store, etc ad check the IP of the remaining ones using the internet.
  3. Use keystroke encryption.

    Install encrypting software and even if you have a keylogger, the application will encrypt each stroke and all that attacker will get is gibberish
Please remember to always download files from trusted sources, do not open unknown emails, and do not share your information publicly. Take common protection steps in order to protect yourself in the digital world.
Read More
A Quick Fix Guide to Resolving Xinput1_3.dll Error Code

Xinput1_3.dll - What is it?

Xinput1_3.dll is a type of dynamic link library. It is an essential component of Microsoft DirectX. This is a technology that makes Windows OS compatible with programs rich in multimedia elements It helps your graphic card in creating a detailed virtual and stimulus environment. Games and programs with high graphics and sounds require DirectX to form a consonance with Windows PC to run successfully. The Xinput1_3.dll error occurs when games supported by DirectX are unable to run smoothly. This error is common on Windows 7. The error message is displayed in the following format:
  • "The file xinput1_3.dll is missing"
  • "File xinput1_3.dll not found"
  • "Xinput1_3.dll not found. Reinstalling might help fix this."
  • "Xinput1_3.DLL Not Found"

Solution

Restoro box imageError Causes

The causes of Xinput1_3.dll error include:
  • Damaged and Corrupt Xinput1_3.dll files
  • Missing Microsoft DirectX file
  • Viruses and malware on your system
  • Driver issues
  • Registry overloaded with invalid entries
If you come across this error, make sure you fix it timely. It is recommended to do so because it not only stops you from accessing and playing your desired games and using high graphic applications but also can lead to system failure and crash if the underlying cause of the error is related to the registry.

Further Information and Manual Repair

To resolve this error code, here are some of the best do it yourself methods:

Restart Your PC

Sometimes due to minor concurrence, PC is unable to load the file Xinput1_3.dll from the directory. If this is the cause, then you are lucky. All you have to do to resolve it and restart your computer. Once the computer restarts, re-launch the program.

Install the Latest DirectX Version

Search for the latest versions of the DirectX utility version. Try extracting the Xinput1_3.dll files individually from the DirectX downloadable package on your PC. Once downloading is complete, try running your desired application again and see if the error code pops up or not.

Update the Graphics Card

Being an element of Microsoft DirectX, Xinput1_3.dll is directly related to the video/graphics card assimilated. There can be a possibility of a mismatch between the Xinput1_3.dll file and graphic card drivers. If this is the case, then the best way to resolve the error is to update the graphic drivers by installing the latest version drivers of your video/graphics card. Nonetheless, after trying all the solutions discussed above if the error still persists, then this triggers two things either the error is triggered by a viral infection that you are unaware of or the problem is related to the registry.

Install Restoro

Whichever might be the cause, in such as scenario the best quick fix to it is to download Restoro. This is an advanced, cutting edge, and multi functional PC repair that is deployed with several utilities including a registry cleaner, an antivirus, Active X controls, and class detector, and a system optimizer. The registry cleaner utility removes all the unnecessary files from the registry that could be damaging the dll files and the registry. It clears the disk space, repairs dll files, and restores the registry back to normal. Simultaneously the antivirus module scans your system for all possible malicious software. It removes viruses, Trojans, malware, spyware, and adware thereby resolving the Xinput1_3.dll error right away. Total System Care is safe, bug-free, and has a user-friendly interface with easy navigation. It is compatible with all Windows versions. Click here to download Restoro and resolve the Xinput1_3.dll error right away!
Read More
Windows Photo Viewer can’t display picture
There are instances when you open a picture or an image in the Windows Photo Viewer and instead of displaying the image, it displays nothing and you’ll see an error message instead that says, “Windows Photo Viewer can’t display this picture because there might not be enough memory available on your computer”. Although this may look like a clear-cut issue of less storage space or low RAM in your computer, that’s not always the case. Security experts noticed that even when your computer has enough resources and disk space, this kind of problem could still occur. So if you experience the same thing, you need to check the Color Profile of your screen. For more information, refer to the detailed instructions provided below but before you proceed, make sure that you close some processes in the Task Manager or restart your computer and see if it helps in fixing the problem. You can also try using the Disk Cleanup tool. To use it, refer to these steps:
  • Tap the Win + R keys to open the Run dialog box and then type “cleanmgr” in the field and hit Enter to open the Disk Cleanup window.
  • After that, select the drive you want to clean.
  • Now click OK to clean the disk and restart your computer.
If the Disk Cleanup tool didn’t help in resolving the issue, refer to the instructions below. Step 1: In the search box, type “color management” and then select the “Change advanced color management settings for display” option from the search results. Or you could simply go to Settings > System > Display, Advanced display settings, and from there, select display and click on the Display adapter properties of Display. Step 2: Next, switch to the Color Management tab and click on the Color Management button. Step 3: Select the monitor where you’re getting the “Windows Photo Viewer can’t display this picture because there might not be enough memory available on your computer” error in the next window. And if you have two displays, make sure that you select the primary display. You also have an option to identify the monitor. Step 4: Once confirmed, select the “Use my settings for this device” checkbox. Step 5: After that, select the Profile listed under the “Profiles associated with this device” option and then click on Remove. Step 6: Next, go to the Advanced tab and make sure that all settings are set to System default which includes a device profile, perceptual images, rendering intent, Relative Colorimetric, and many more. Step 7: Once you’re done, you have to restart your computer and then try to open the same image you were trying to open earlier and then check if you can now open it instead of seeing the error.
Read More
Fix Can’t initialize disk in Windows 10
If you have recently installed a new internal or external hard drive or SSD and you’ve noticed that its status on the left side of the Disk Management tool states “Unknown Not Initialized”, this indicates that Windows can’t initialize the disk and that you won’t be able to use this new SSD or hard drive. You can encounter this kind of issue randomly and not just with a new hard drive or SSD but also with existing drives. There are times when you won’t be able to find your drive or partition in the File Explorer. In such a case, you have to check the Disk Management if your drive or partition is there physically. You also have to check if you can see it as Not Initialized. If it is, then this means that the disk or partition does not have a valid signature that is if it’s not registered with the system properly. Note that a disk is registered when you format it at least once so if the disk was available before, then it could be somehow corrupted. To resolve the problem, you can try to initialize the disk manually or bring it online and add a drive letter. You can also try checking the Device Manager for issues or check the cable physically.

Option 1 – Try to manually initialize the disk

Since initializing the disk is the most common way to resolve the “Unknown Not Initialized” error, this is what you have to try first.
  • To initialize the disk manually, you have to open the Disk Management from the WinX menu by tapping Win + X keys and selecting Disk Management.
  • From there, you can find the non-initialized disk. Right-click on it and select the “Initialize Disk” option.
  • Next, select the partition style. It is recommended that you use the MBR option instead of the GPT or GUID Partition Table.
  • Now click the OK button. Your hard drive or SSD should now initialize without any problem.

Option 2 – Set the disk Online and add the Drive letter

  • If the disk appears to be offline under Disk Management, right-click on it and select the Online option.
  • On the other hand, if the disk is already set Online but does not have a drive letter, right-click on it and select the Change drive letter and path option.
  • Select a letter that is not allocated yet.
  • Once you’re done, you have the option to format the disk in either NTFS or FAT32 but if you are using a 64-bit computer, make sure that you opt for NTFS.

Option 3 – Try to check any issues in the Device Manager

It is also possible that the hard drive is not working properly due to some driver issues. Thus, it’s better if you check the Device Manager and see if that drive is listed with a yellow exclamation mark next to it. And if that’s the case, you have to right-click on that drive and select the Uninstall drive option. After that, click on Action and then run the Scan for hardware changes. It should fix the problem.

Option 4 – Try to physically check the cable

You might also want to check the physical status of the wires and see if they are connected properly or not. Specifically, you have to check two cables, such as:
  • The first one is the power cable that’s connected to your SMPS.
  • Next is the one that’s connected to your motherboard.
If any of the two cables are not working or missing, then it’s no wonder why your drive has an “Unknown Not Initialized” status. Thus, you need to have them replaced to fix the problem.
Read More
Fix Windows Updates and MS Store, 0x80240438
If you were trying to update your Windows 10 computer and failed due to Error Code 0x80240438, then you’ve come to the right place as this post will give you a couple of suggestions you can check out to resolve this error. You can encounter Error Code 0x80240438 not just in Windows Updates but also in Microsoft Store. This is due to the fact that the delivery mechanism for both Windows Updates and Microsoft Store is common and interdependent. This is why a lot of Windows Update and Microsoft Store error codes are similar. And so fixing them won’t be that hard as well since most methods are basically the same. When you encounter this kind of error in Windows Update or Microsoft Store, you will see the following error message on your screen:
“There were some problems installing updates, but we’ll try again later. If you keep seeing this and want to search the web or contact support for information, this may help – (0x80240438).”
To resolve Error Code 0x80240438, here are some potential fixes you need to check out:

Option 1 – Try to run the Windows Update Troubleshooter

The Windows 10 Store Apps Troubleshooter will help you in fixing the Error Code 0x80240438. This is a great built-in tool from Microsoft that helps users fix any app installation issues. So this is worth a try to solve the problem. This built-in tool also helps you fix the Windows 10 Store if it isn’t working. To use the Windows Store Troubleshooter, follow the steps below.
  • Tap Win + I keys again to open the Windows Settings panel.
  • Go to Update & Security and then go to Troubleshoot.
  • Under the Troubleshoot section, on your left-hand side, scroll down to find Windows Update and then click on Run the troubleshooter option and follow the on-screen instructions and then see if it fixes the problem.

Option 2 – Try to temporarily disable anti-virus and Windows Defender Firewall

As mentioned, the error could be due to the antivirus program or the Windows Defender Firewall installed on your computer. Thus, disabling them or any security software installed in your computer is always a good idea you can try when you’re not able to access the shared drive on your computer. There are times when you encounter problems like Error Code 0x80240438 due to interference of antivirus or security programs. Thus, you have to disable both your antivirus program and Windows Defender Firewall for the meantime and check if it fixes the error or not.

Option 3 – Disable the Proxy server

You can also try to disable the Proxy server for your LAN to fix Error Code 0x80240438 especially if your computer was attacked by some malware or adware recently. In such cases, there is a chance that the malware or adware has changed your network settings in order to generate intrusive advertisements. Thus, you have to disable the proxy server and you can do that by following these steps:
  • Tap the Win + R keys to open the Run dialog box.
  • Then type “inetcpl.cpl” in the field and hit Enter to pull up the Internet Properties.
  • After that, go to the Connections tab and select the LAN settings.
  • From there. Uncheck the “Use a Proxy Server” option for your LAN and then make sure that the “Automatically detect settings” option is checked.
  • Now click the OK and the Apply buttons.
  • Restart your PC.
Note: If you are using a third-party proxy service, you have to disable it.

Option 4 – Try modifying the “Remove access to use all the Windows Update features” Policy

  • Start by tapping the Win + R key combination to open the Run utility.
  • Then type “gpedit.msc” in the field and tap Enter to open the Group Policy Editor.
  • Once you’ve pulled up the Group Policy Editor, navigate to this setting: User Configuration > Administrative Templates > Windows Components > Windows Update
  • Next, double click on the “Remove access to use all the Windows Update features” policy and set its radio button to “Not Configured”. As you can see, this policy setting has the following description:
“This setting allows you to remove access to Windows Update. If you enable this setting, all Windows Update features are removed. This includes blocking access to the Windows Update Web site at http://windowsupdate.microsoft.com, from the Windows Update hyperlink on the Start menu, and also on the Tools menu in Internet Explorer. Windows automatic updating is also disabled; you will neither be notified about nor will you receive critical updates from Windows Update. This setting also prevents Device Manager from automatically installing driver updates from the Windows Update Web site.”
If you enable this policy setting, you can configure one of the following notification options:
  • 0 = Do not show any notifications: This setting will remove all access to Windows Update features, and no notifications will be shown.
  • 1 = Show restart required notifications – This setting will show notifications about restarts that are required to complete an installation.
  • Now you need to exit the Group Policy Editor and restart your computer for the changes to take effect.

Option 5 – Try resetting the Windows Update folders

Resetting the Windows Update folders can also help in fixing the error in both Windows Update and Microsoft Store. All you have to do is delete the contents in both the SoftwareDistribution folder and reset the Catroot2 folder as well.

Option 6 – Try downloading and installing the Windows Updates manually

Error Code 0x80240438 might be due to a Windows Update that has failed. So if it is not a feature update and only a cumulative update, you can download the Windows Update and install it manually. But first, you need to find out which update has failed, and to do so, refer to the following steps:
  • Go to Settings and from there go to Update and Security > View Update History.
  • Next, check which particular update has failed. Note that Updates that have failed to install will be displayed under the Status column which has a label of “Failed”.
  • After that, go to the Microsoft Download Center and look for that update using its KB number and once you find it, download and then install it manually.
Note: You can also use the Microsoft Update Catalog, a service from Microsoft that provides a list of software updates that can be distributed over a corporate network. With the help of this service, it can be easier for you to find Microsoft software updates, drivers as well as fixes.
Read More
Schedule restart update on Windows 11
windows 11 schedule update
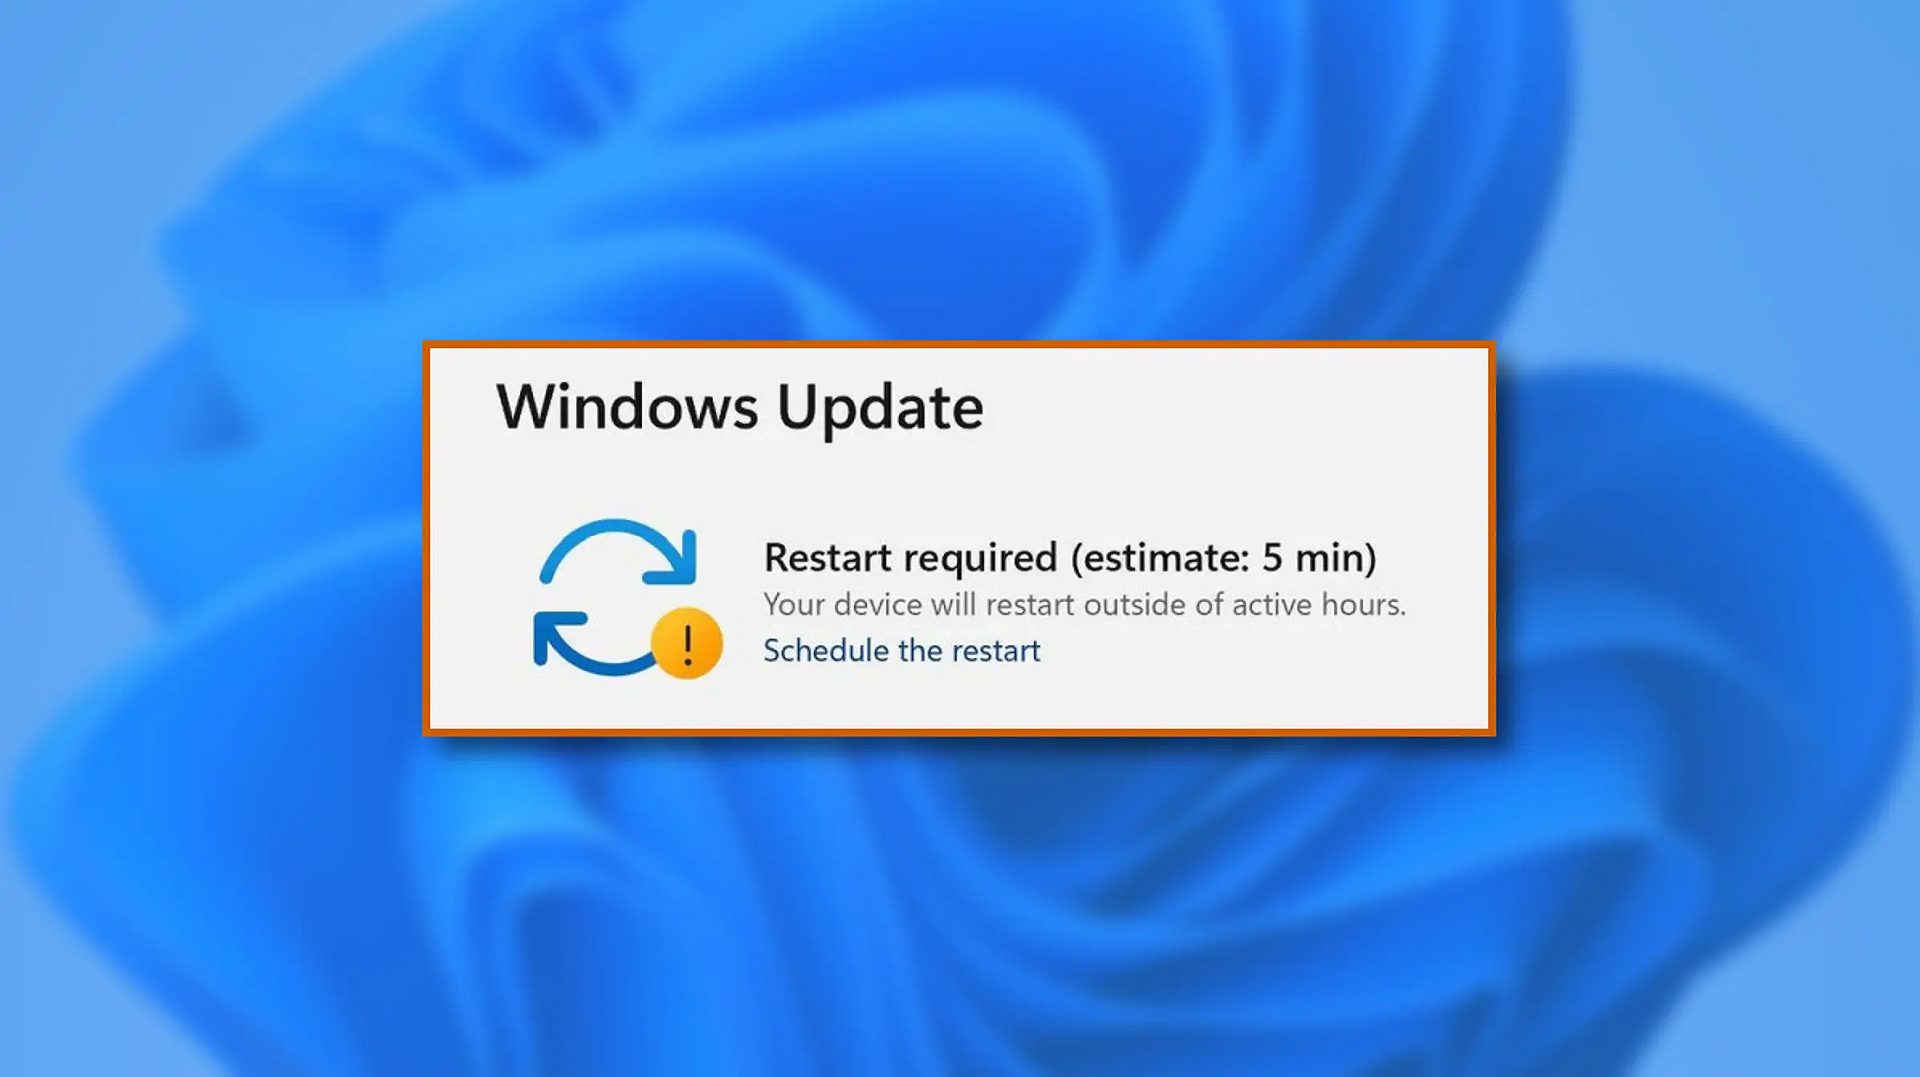
When Windows 11 update is available but you do not wish to restart right away because you are in the middle of using a computer, you can schedule a restart for up to 7 days. It is very easy and we will show you how to do it.
  1. Press ⊞ WINDOWS + I to open settings
  2. Click on Windows Update
  3. At the top, under the Restart required to click on Schedule the Restart
  4. Click the switch under Schedule a Time to turn it ON
  5. Use the Pick a Time and Pick a Day menu to set time and day when you want to update
  6. Go back to one screen and visually confirm that the date is set
  7. Close the settings
The scheduled restart will be confirmed in a message on the Windows Update page.
Read More
1 2 3 171
Logo
Copyright © 2023, ErrorTools. All Rights Reserved
Trademark: Microsoft Windows logos are registered trademarks of Microsoft. Disclaimer: ErrorTools.com is not affiliated with Microsoft, nor claims direct affiliation.
The information on this page is provided for information purposes only.
DMCA.com Protection Status