If you suddenly encounter the SPECIAL POOL DETECTED MEMORY CORRUPTION Blue Screen error with a bug check value of “0x000000C1” while you are using your computer then it might be due to some problem with the hardware of your Windows 10 computer. According to security experts, it is most likely caused by the physical RAM which could be due to some error in the Realtek driver for Wireless USB 2.0 as well as corruption of the files inside the RAM, and so on.
This kind of problem indicates that the driver wrote to an invalid section of the special pool. On the other hand, system files like the rtwlanu.sys or nvlddmkm.sys can also trigger the SPECIAL_POOL_DETECTED_MEMORY_CORRUPTION Blue Screen error.
To resolve this Blue Screen error, you can use the options provided below as reference but before you do that, make sure to create a System Restore point first. After you have that covered, proceed to the given options below.
If you have updated the driver software as of late and you suddenly got this BSOD error, you might have to roll back the device driver – in other words, switch back to the previous working version. To do that, follow these steps:
Note: If you see any of the following entries under the Network drivers, you might want to download their latest available versions from each one of their manufacturer’s websites.
On the other hand, if updating the Network driver didn’t help, you can also try to roll back to its previous version.
You can also run the ChkDsk utility to fix the SPECIAL_POOL_DETECTED_MEMORY_CORRUPTION Blue Screen error.
Since the problem has something to do with the physical RAM, you need to use Windows Memory Diagnostics. To run it, refer to these steps:
Note: After you select the option, your PC will restart and check for memory-based issues. If it finds any issues, it will automatically fix them.
The Blue Screen troubleshooter is a built-in tool in Windows 10 that helps users in fixing BSOD errors like SPECIAL_POOL_DETECTED_MEMORY_CORRUPTION. It can be found in the Settings Troubleshooters page. To use it, refer to these steps:

 Microsoft starting as of today will block its Office 365 users if they are using Internet Explorer or early versions of Edge browsers.
So if you are using older non Chromium Edge versions of Microsoft browsers you can no longer access Office services until you switch. Now normally I would fully support this kind of decision since Internet explorer is a slow and vulnerable browser and the edge is similar in that regard.
The new edge browser is great and it should be used but the issue I have is that Office 365 is not free, it is a premium feature and I am wondering how Microsoft plans to deal with people that have already paid for service but suddenly cannot access it anymore.
Microsoft starting as of today will block its Office 365 users if they are using Internet Explorer or early versions of Edge browsers.
So if you are using older non Chromium Edge versions of Microsoft browsers you can no longer access Office services until you switch. Now normally I would fully support this kind of decision since Internet explorer is a slow and vulnerable browser and the edge is similar in that regard.
The new edge browser is great and it should be used but the issue I have is that Office 365 is not free, it is a premium feature and I am wondering how Microsoft plans to deal with people that have already paid for service but suddenly cannot access it anymore. Error code 0x8007267C is specific to Windows 10. This error is triggered when no DNS server is currently configured in your network settings during the Activation process. If you are fairly confident in your ability to address command-line tools and networking issues, you can follow the steps below to try to remedy the error code on your own. If not, you may need to contact a qualified technician in order to resolve the error successfully.
 Error Causes
The cause of Error Code 0X8007267C within the Window 10 system is fairly straightforward. Windows Activation requires a valid DNS server to be configured in order to complete the Activation process; if one is not available or properly configured, then you may see this error code and Activation will fail.
The following methods may help you to resolve this error, but you’ll need to have some familiarity with command-line tools to complete the steps successfully. If these methods do not work or if you are uncomfortable in using the command prompt, you may need to consult a technician to fully resolve this particular error code on the Windows 10 system.
In order to resolve this error code, client connectivity to a DNS server must first be established. The following steps may help you to determine the root problem with your connectivity status:
ping <DNS Server IP address>
If basic connectivity to the DNS server in question is failing, then you will need to resolve that issue before going further in the process.
After troubleshooting the above basic connectivity issues to the DNS server, you can reattempt Windows Activation by using the command below from within an Elevated Command selection:
cscript windowssystem32slmgr.vbs -ato
If the steps above did not work for you, you may want to try the steps found in method 2.
If a DNS server is not connected to your network, you can use an alternative method to complete the Windows Activation process. Bypass Method 1 by using a MAK product key instead to activate the volume license installation. Certain MAK product key providers have a variation on the specific key numbers that you will need to use. If you are using TechNet media or MSDN media, you will have to change the product key listed to the product key provided. The product keys provided by either TechNet media or MSDN media for Windows Server 2008 or for Windows Vista Enterprise will be the MAK product key that you will enter in a later step.
Like the previous method, you will need to have some familiarity or confidence in your ability to operate Command Line tools before proceeding. Once you have found your MAK product key, you’ll need to open a command prompt and use the following command to change the product key to match the MAK product key, which should look something like the example below:
slmgr –ipk xxxxx-xxxxx-xxxxx-xxxxx-xxxxx-xxxxx
After completing the product key change, use the following command to initiate the phone activation wizard, thereby completing the activation of the system:
slui 04
The activation wizard should be able to walk you through the remainder of the process in a step-by-step manner. In addition to appearing as an error code in Windows 10, this particular error may apply to multiple versions of Windows, including:
Steps to address the error code may be different in any of these other versions of Windows. If you have difficulty in resolving the error effectively, seek professional technical help.
nslookup [–SubCommand …] [{ComputerToFind| [–Server]}]If you’ve determined that the drives disappear each time, you may have to change the DNS server or ask your admin to resolve the problem for you. Alternatively, you can also check out another option that has worked for a lot of users. This second option is disabling the IPv6 on the network adapter. In case you don’t know, Windows 10 prefers IPv6 over IPv4 so if you now have issues using IPv6 to connect to the servers, you can change your computer’s settings so that it’ll only use IPv4 instead of IPv6. To do so, follow these instructions:
 Today most people have Facebook accounts where they keep in touch with friends and family. But large Facebook network of users is also very interesting to another party as well, hackers.
There are many ways hackers can steal your data via direct hacks, trickery, and social engineering in order to get your credentials, emails, and many other things using them to wreak further havoc.
Once a hacker has needed information it is very difficult to minimize impact and all of your information could be compromised from a list of friends to credit card numbers. Keep on reading to learn how can you protect yourself against these attacks and learn about common practices that hackers use in order to steal your data.
Today most people have Facebook accounts where they keep in touch with friends and family. But large Facebook network of users is also very interesting to another party as well, hackers.
There are many ways hackers can steal your data via direct hacks, trickery, and social engineering in order to get your credentials, emails, and many other things using them to wreak further havoc.
Once a hacker has needed information it is very difficult to minimize impact and all of your information could be compromised from a list of friends to credit card numbers. Keep on reading to learn how can you protect yourself against these attacks and learn about common practices that hackers use in order to steal your data.
What is Mastodon? Mastodon is an open-source microblogging network very similar to Twitter. You can make 500 characters post messages called toot (tweet), share videos or images, and follow other people. But unlike Twitter, Mastodon is decentralized, meaning the entire Mastodon is not run by a single company pulling all strings.

Mastodon can be used directly in your web browser or through a mobile client on a smartphone or tablet. It includes features that seem copied from Twitter-like replies, boosts (retweets), favorites (loves), a timeline view, blocking, and voluntary content warnings that hide sensitive content.
Mastodon also has some great features that Twitter does not have like automated post deletion for the older post of a certain age, requiring approval for follows without restricting your account, and opting out of search engine indexing.
Currently, there are also no ads on Mastodon meaning no ad tracking or ad network surveillance.
Mastodon is a social media network made of nodes called servers or instances each running special software meaning anyone can run their own Mastodon instance (if they have a proper dedicated server). When you have your own instance it can be linked in the federation or remain private, so individuals or companies can have control over individual Mastodon servers.
The software itself is open source based on the social networking protocol ActivityPub which was developed by WWW Consortium.
While using Mastodon, people sign up for accounts with specific instances. Once logged in, you can view a local timeline (of posts from that instance only) or, if the instance is federated with others, see a federated timeline comprised of toots from people in other instances. Mastodon users can send messages to each other using their Mastodon account names that are similar to email addresses in that they feature the server address as well as the user name.
 The best gaming headset overall for PC, PS5, PS4, Xbox Series X/S, Xbox One, Switch, Android
The SteelSeries Arctis 7P/7X is the best gaming headset overall, offering great sound, consistent wireless performance, and a comfy, attractive design at a reasonable price. The headset’s 2.4-GHz wireless connectivity keeps you glued to your game without any lag or interference. Even better: Thanks to its USB-C dongle and USB-A adapter, you can enjoy wireless performance with any system, from a PS5 to a Nintendo Switch in handheld mode, to an Android phone.
The best gaming headset overall for PC, PS5, PS4, Xbox Series X/S, Xbox One, Switch, Android
The SteelSeries Arctis 7P/7X is the best gaming headset overall, offering great sound, consistent wireless performance, and a comfy, attractive design at a reasonable price. The headset’s 2.4-GHz wireless connectivity keeps you glued to your game without any lag or interference. Even better: Thanks to its USB-C dongle and USB-A adapter, you can enjoy wireless performance with any system, from a PS5 to a Nintendo Switch in handheld mode, to an Android phone.
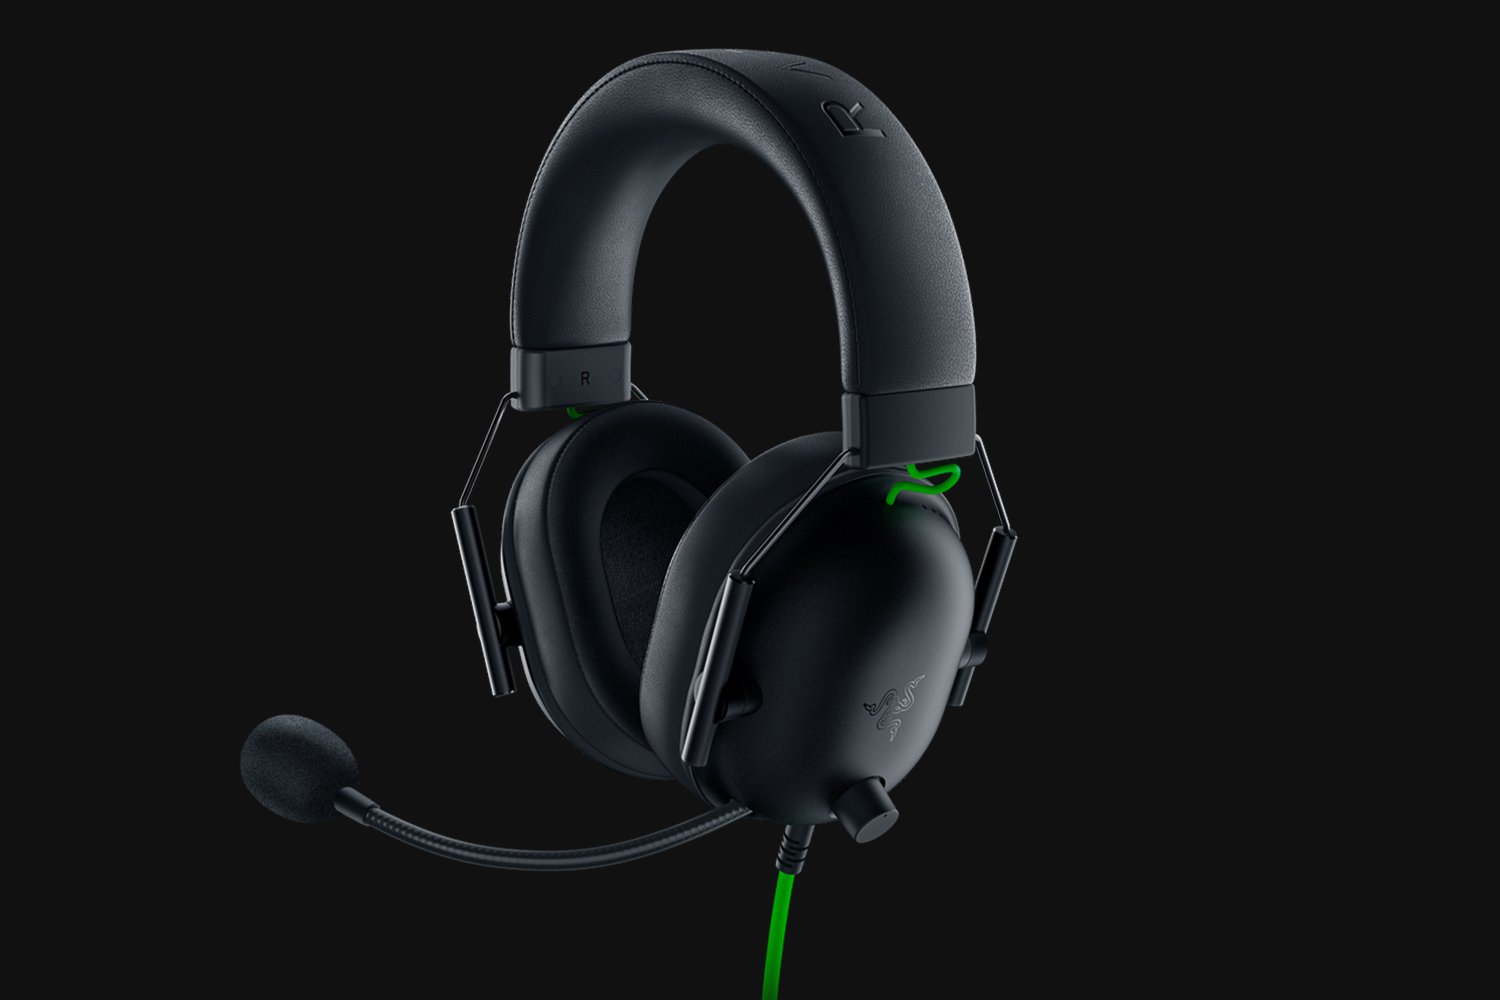 Razer's best headset yet for PC, PS5, PS4, Switch, Xbox One
The Razer Blackshark V2 is probably the best headset that Razer has ever made. This mid-range wired headset provides fantastic sound for both games and music, particularly thanks to its innovative THX profiles. The famous film audio company has lent its expertise to make the Blackshark V2's surround sound realistic and nuanced, especially for a handful of games like Apex Legends and Sekiro: Shadows Die Twice, which have their own optimized profiles.
Razer's best headset yet for PC, PS5, PS4, Switch, Xbox One
The Razer Blackshark V2 is probably the best headset that Razer has ever made. This mid-range wired headset provides fantastic sound for both games and music, particularly thanks to its innovative THX profiles. The famous film audio company has lent its expertise to make the Blackshark V2's surround sound realistic and nuanced, especially for a handful of games like Apex Legends and Sekiro: Shadows Die Twice, which have their own optimized profiles.
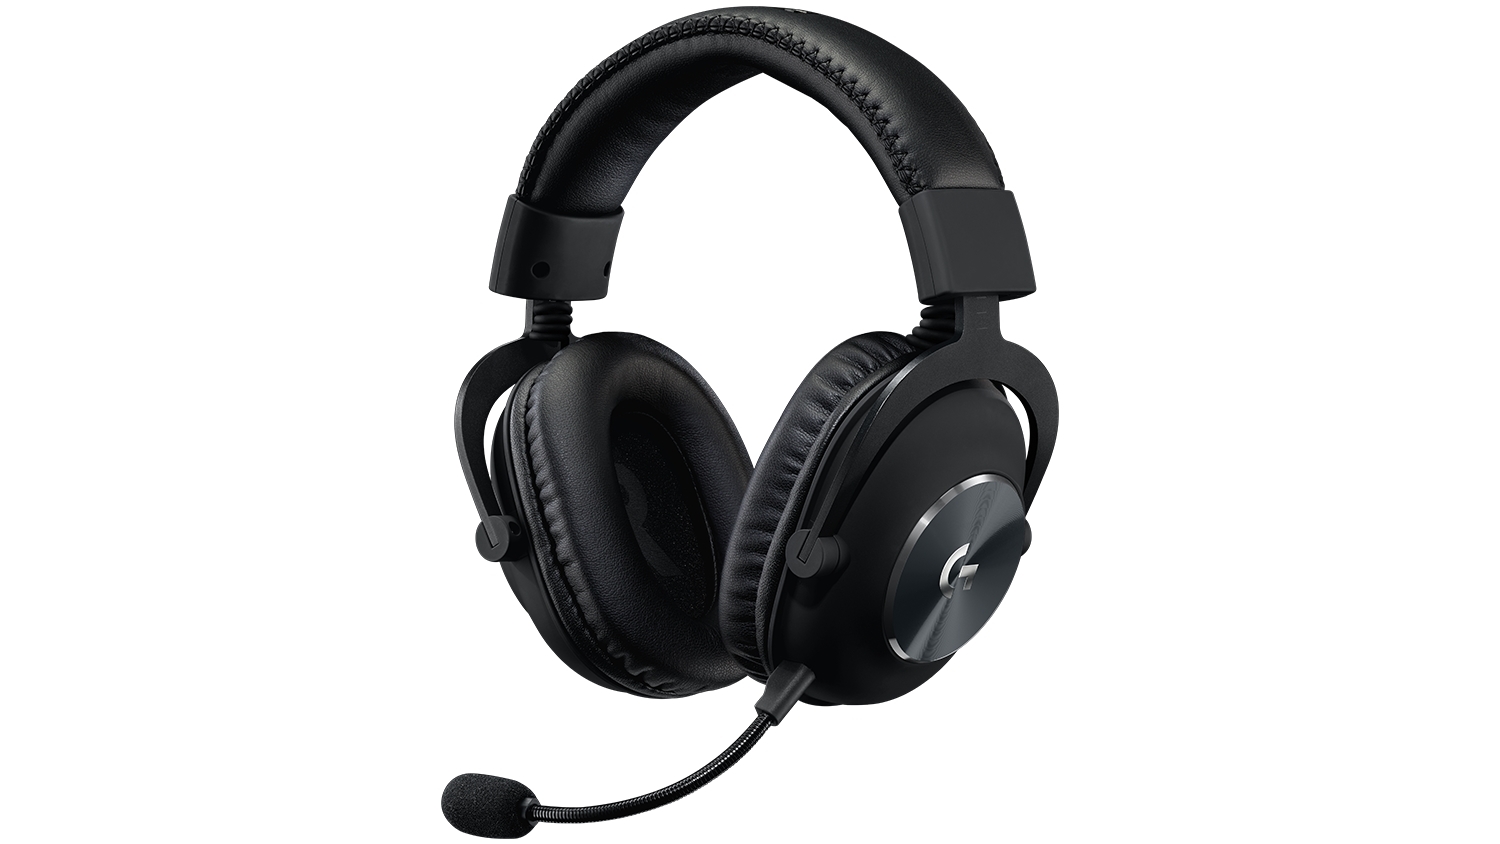 Built for tournament play for PC, PS5, PS4, Xbox One, Switch
The Logitech G Pro X delivers tournament-grade performance for a reasonable price. The headset's distinguished black design sets itself apart from the competition, in no small part thanks to its flexible headband and supremely comfortable foam and leatherette earcup options. The Go Pro X delivers rich, direction-accurate sound out of the box whether you're playing on PC or console. It's also the first gaming headset to sport a built-in Blue microphone, allowing for extra-crisp voice chat whether you're practicing with your Apex Legends squad or streaming to your online fans
Built for tournament play for PC, PS5, PS4, Xbox One, Switch
The Logitech G Pro X delivers tournament-grade performance for a reasonable price. The headset's distinguished black design sets itself apart from the competition, in no small part thanks to its flexible headband and supremely comfortable foam and leatherette earcup options. The Go Pro X delivers rich, direction-accurate sound out of the box whether you're playing on PC or console. It's also the first gaming headset to sport a built-in Blue microphone, allowing for extra-crisp voice chat whether you're practicing with your Apex Legends squad or streaming to your online fans
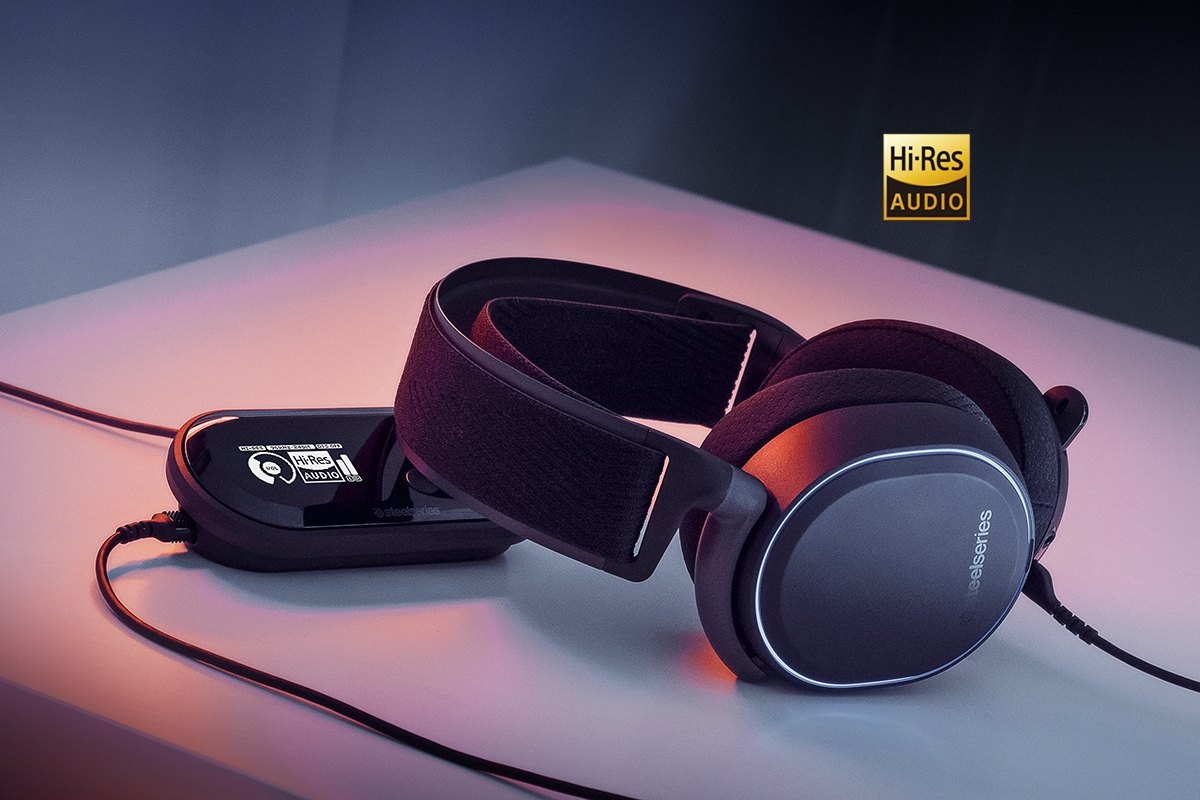 Audiophile sound for gamers made for PS4, PC (with GameDAC), Xbox One, Switch, mobile (analog)
SteelSeries’ Arctis Pro + GameDAC brings audiophile-grade features to the already excellent Arctis design. This headset includes a DAC (digital-to-analog converter), which allows it to deliver high-resolution 96-kHz/24-bit audio. The GameDAC also allows for a wealth of customization options, whether you want to fine-tune sound via an equalizer or customize the headset’s subtle RGB lighting.
Audiophile sound for gamers made for PS4, PC (with GameDAC), Xbox One, Switch, mobile (analog)
SteelSeries’ Arctis Pro + GameDAC brings audiophile-grade features to the already excellent Arctis design. This headset includes a DAC (digital-to-analog converter), which allows it to deliver high-resolution 96-kHz/24-bit audio. The GameDAC also allows for a wealth of customization options, whether you want to fine-tune sound via an equalizer or customize the headset’s subtle RGB lighting.
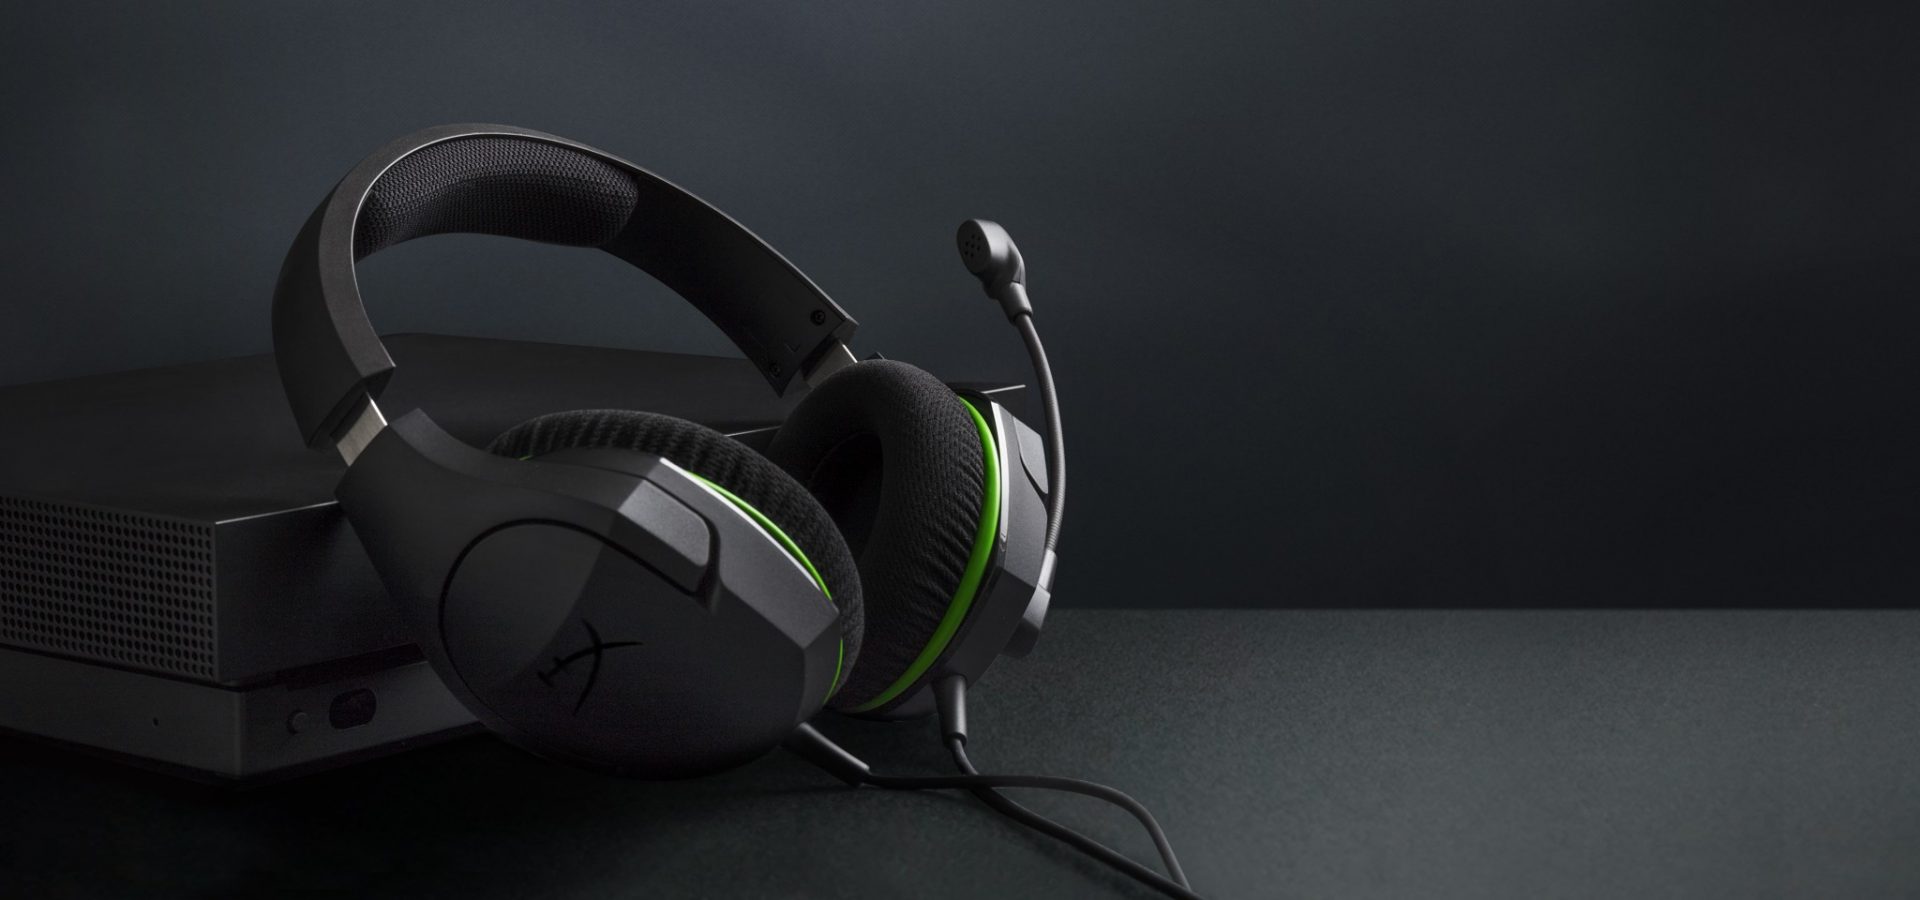 Big sound on a budget for PS, PS5, PS4, Xbox Series X/S, Xbox One, Switch, mobile
The Stinger’s sturdy, feather-light frame and soft, faux-leather earcups make for one of the best gaming headsets on a budget, and its handy on-ear controls and solid microphone certainly don’t hurt either. Finding a comfortable fit is arguably the most important thing you can look for in a gaming headset, and the Cloud Stinger doesn’t disappoint on that front. The Stinger also offers very solid audio quality for the price, though things can get a bit blown out at max volume
Big sound on a budget for PS, PS5, PS4, Xbox Series X/S, Xbox One, Switch, mobile
The Stinger’s sturdy, feather-light frame and soft, faux-leather earcups make for one of the best gaming headsets on a budget, and its handy on-ear controls and solid microphone certainly don’t hurt either. Finding a comfortable fit is arguably the most important thing you can look for in a gaming headset, and the Cloud Stinger doesn’t disappoint on that front. The Stinger also offers very solid audio quality for the price, though things can get a bit blown out at max volume
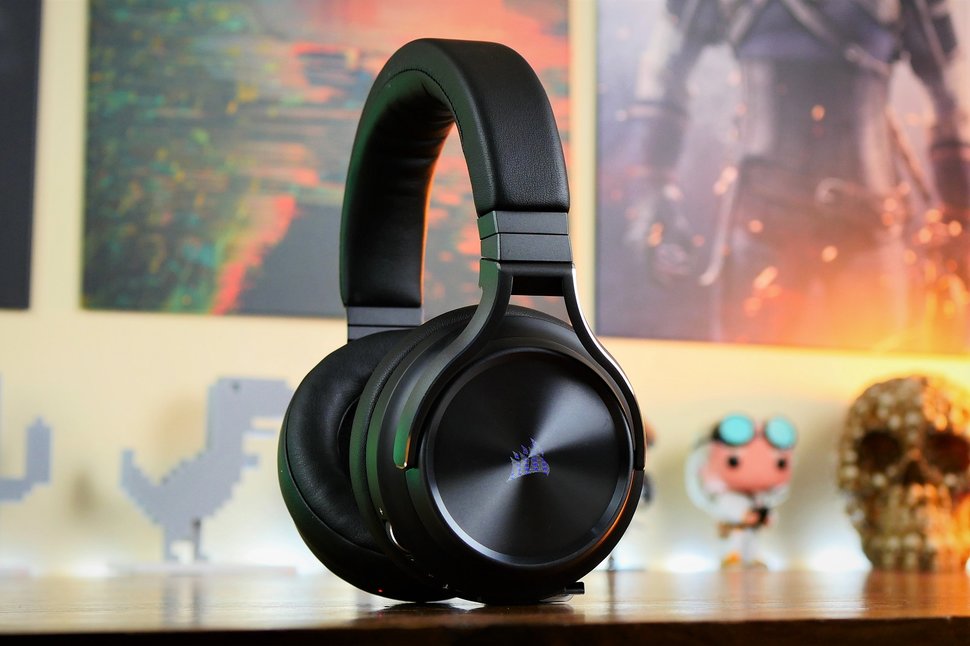 The best gaming headset with Bluetooth for PC, PS4, PS5, Xbox One, Xbox Series X/S, Switch (handheld), mobile
The Corsair Virtuoso RGB Wireless XT is one of the best gaming headsets that Corsair has ever made. Not only is this headset extremely comfortable, but it also provides excellent sound quality. It works wirelessly with PCs and PlayStation consoles via USB, as well as mobile devices, streaming players, and smart TVs via Bluetooth. You can connect it to a Switch, Xbox controller, or older system via a 3.5 mm audio cable. There's very little that the Virtuoso RGB Wireless XT can't do.
The best gaming headset with Bluetooth for PC, PS4, PS5, Xbox One, Xbox Series X/S, Switch (handheld), mobile
The Corsair Virtuoso RGB Wireless XT is one of the best gaming headsets that Corsair has ever made. Not only is this headset extremely comfortable, but it also provides excellent sound quality. It works wirelessly with PCs and PlayStation consoles via USB, as well as mobile devices, streaming players, and smart TVs via Bluetooth. You can connect it to a Switch, Xbox controller, or older system via a 3.5 mm audio cable. There's very little that the Virtuoso RGB Wireless XT can't do.
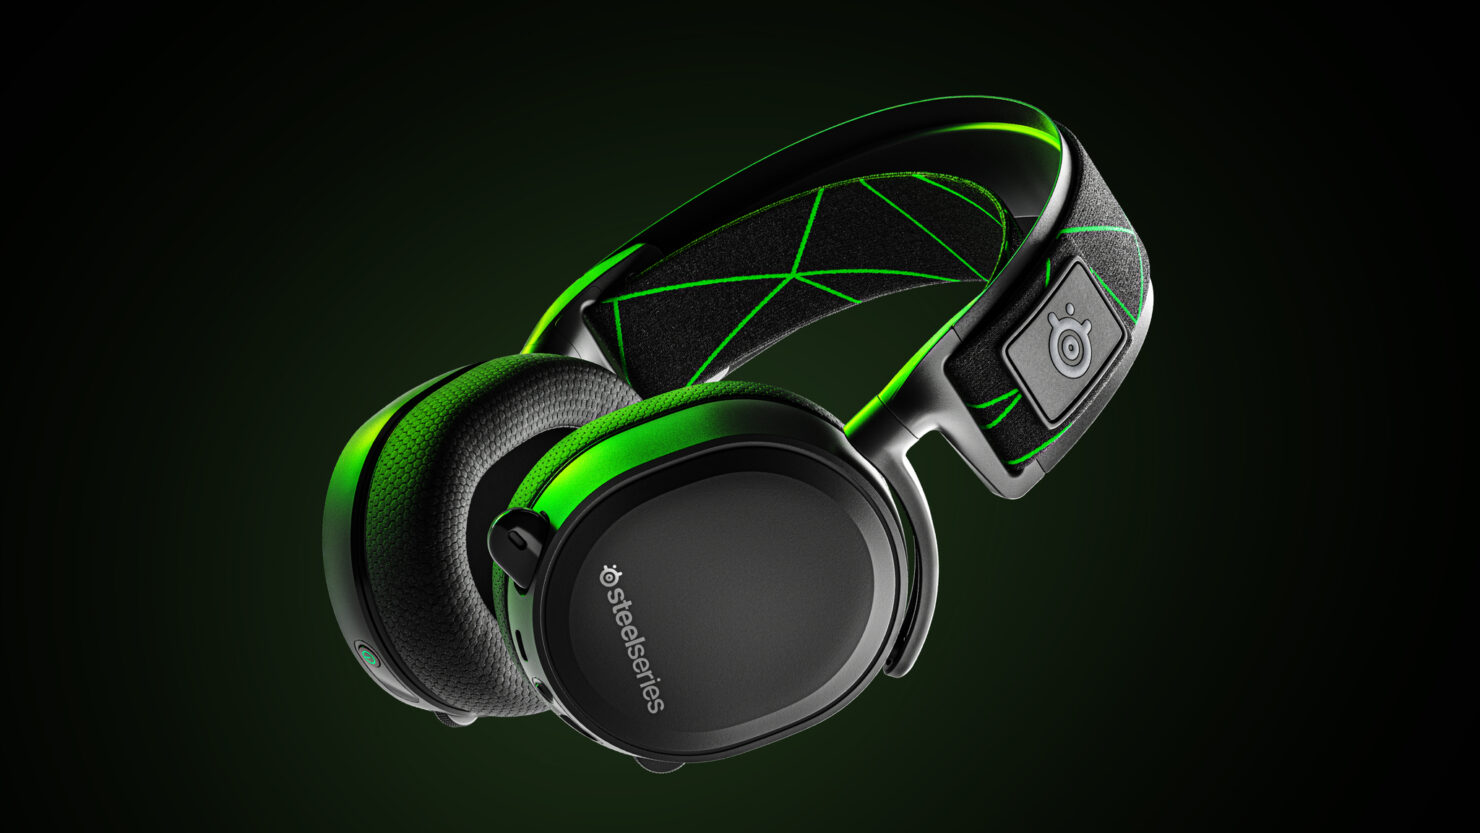
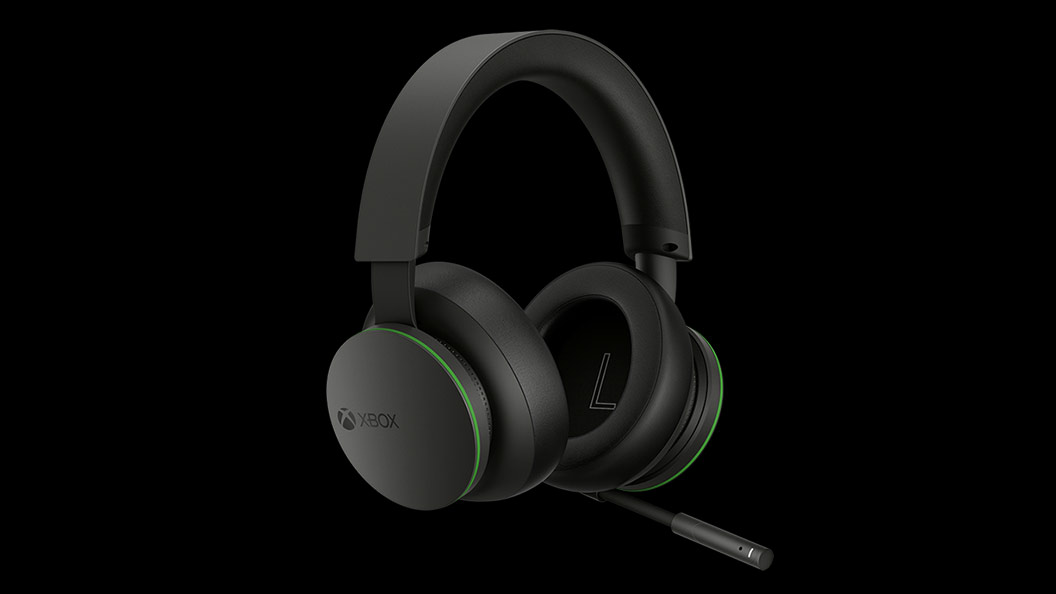 The best Xbox affordable headset for Xbox Series X/S, Xbox One, PC, mobile
The Xbox Wireless Headset is exactly what the name suggests: a wireless headset that works particularly well with Xbox consoles. Whether you have an Xbox Series X, an Xbox Series S, an Xbox One, or a Windows 10 PC with an Xbox controller adapter, this headset can provide fantastic sound with a simple pairing procedure. Not only that: the Xbox Wireless Headset supports Bluetooth as well, meaning that you can listen to music or take calls on your phone while you game.
The best Xbox affordable headset for Xbox Series X/S, Xbox One, PC, mobile
The Xbox Wireless Headset is exactly what the name suggests: a wireless headset that works particularly well with Xbox consoles. Whether you have an Xbox Series X, an Xbox Series S, an Xbox One, or a Windows 10 PC with an Xbox controller adapter, this headset can provide fantastic sound with a simple pairing procedure. Not only that: the Xbox Wireless Headset supports Bluetooth as well, meaning that you can listen to music or take calls on your phone while you game.
 The best Xbox Series X wireless headset for Xbox Series X/S, Xbox One, PC, mobile
Debuting alongside the Xbox Series X, the Razer Kaira Pro is arguably one of the best gaming headsets for Microsoft's next-gen console. This sleek, lightweight wireless headset pairs with Xbox consoles right out of the box. But you can also use it with PCs and mobile devices, thanks to built-in Bluetooth capabilities. The Kaira Pro is not terribly expensive, and the sound quality is excellent, particularly for video games.
The best Xbox Series X wireless headset for Xbox Series X/S, Xbox One, PC, mobile
Debuting alongside the Xbox Series X, the Razer Kaira Pro is arguably one of the best gaming headsets for Microsoft's next-gen console. This sleek, lightweight wireless headset pairs with Xbox consoles right out of the box. But you can also use it with PCs and mobile devices, thanks to built-in Bluetooth capabilities. The Kaira Pro is not terribly expensive, and the sound quality is excellent, particularly for video games.
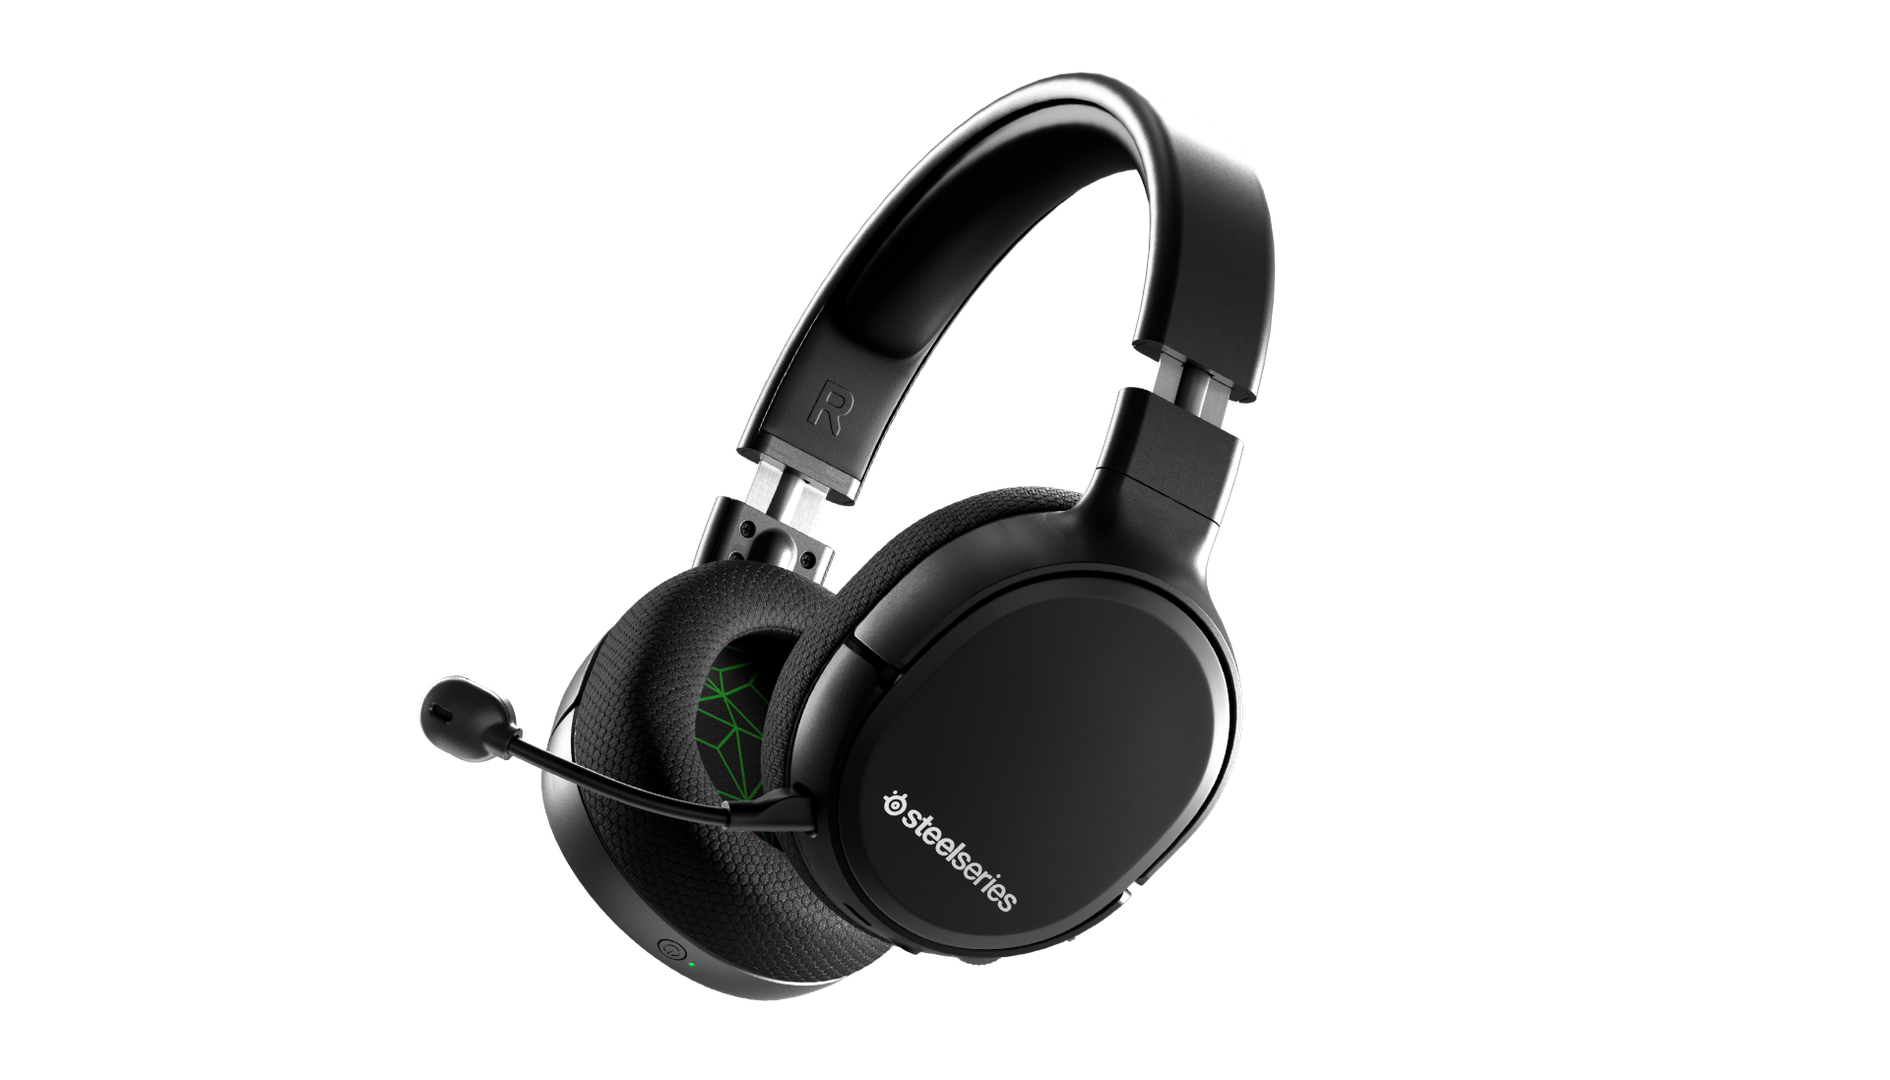 Affordable wireless for PC, PS5, PS4, Switch, Mobile (USB-C wireless), Xbox One (wired)
Getting good wireless performance has never been this seamless, or affordable. Thanks to its high-speed, discrete USB-C dongle, the SteelSeries 1 Arctis Wireless allows you to instantly enjoy wireless game audio from your Nintendo Switch, Android phone, PS4, or gaming PC, with none of the convoluted pairing or interference that comes with Bluetooth-based headsets. It’s worth mentioning the Nintendo Switch functionality again, as it’s hard to get a wireless headset for Nintendo’s handheld hybrid.
Affordable wireless for PC, PS5, PS4, Switch, Mobile (USB-C wireless), Xbox One (wired)
Getting good wireless performance has never been this seamless, or affordable. Thanks to its high-speed, discrete USB-C dongle, the SteelSeries 1 Arctis Wireless allows you to instantly enjoy wireless game audio from your Nintendo Switch, Android phone, PS4, or gaming PC, with none of the convoluted pairing or interference that comes with Bluetooth-based headsets. It’s worth mentioning the Nintendo Switch functionality again, as it’s hard to get a wireless headset for Nintendo’s handheld hybrid.
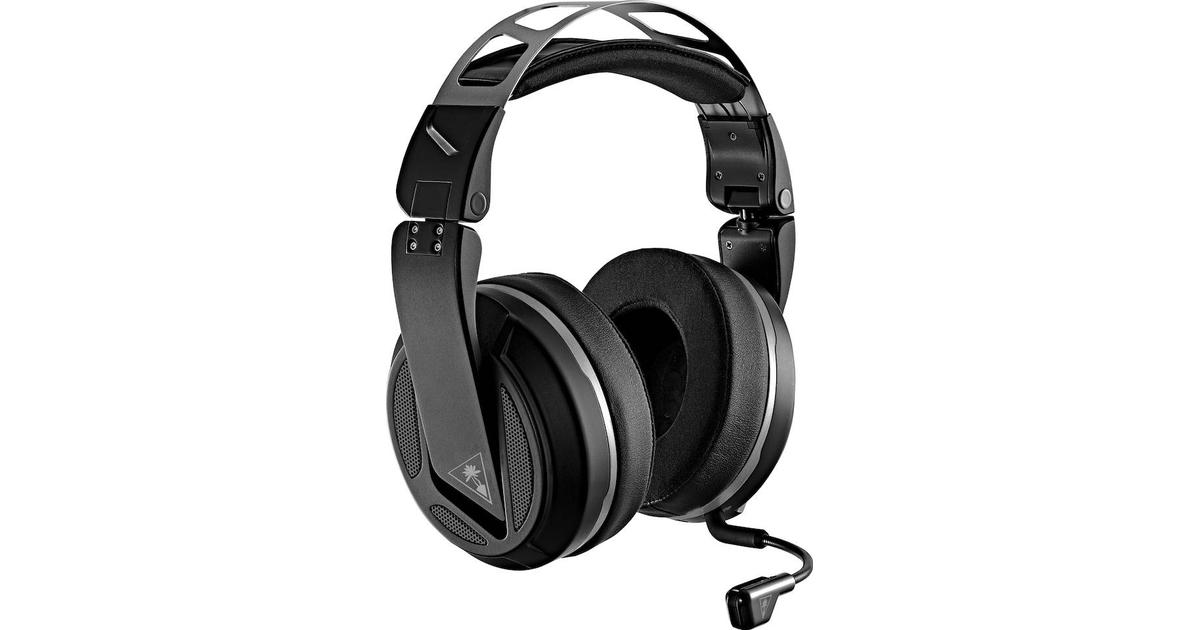 Absolute best in wireless for PC, PS4 (Wireless); Xbox One, Nintendo Switch, Mobile (Wired)
The highly customizable high-end headset that's especially ideal for PC, the new Turtle Beach Elite Atlas Aero is one of the best gaming headsets out there. This premium headset packs an incredibly comfortable pair of gel-infused ear cushions, which are also designed to play well with glasses. The Aero's 50mm speakers sound great out of the box, and it comes with a solid noise-canceling microphone to boot.
Absolute best in wireless for PC, PS4 (Wireless); Xbox One, Nintendo Switch, Mobile (Wired)
The highly customizable high-end headset that's especially ideal for PC, the new Turtle Beach Elite Atlas Aero is one of the best gaming headsets out there. This premium headset packs an incredibly comfortable pair of gel-infused ear cushions, which are also designed to play well with glasses. The Aero's 50mm speakers sound great out of the box, and it comes with a solid noise-canceling microphone to boot.
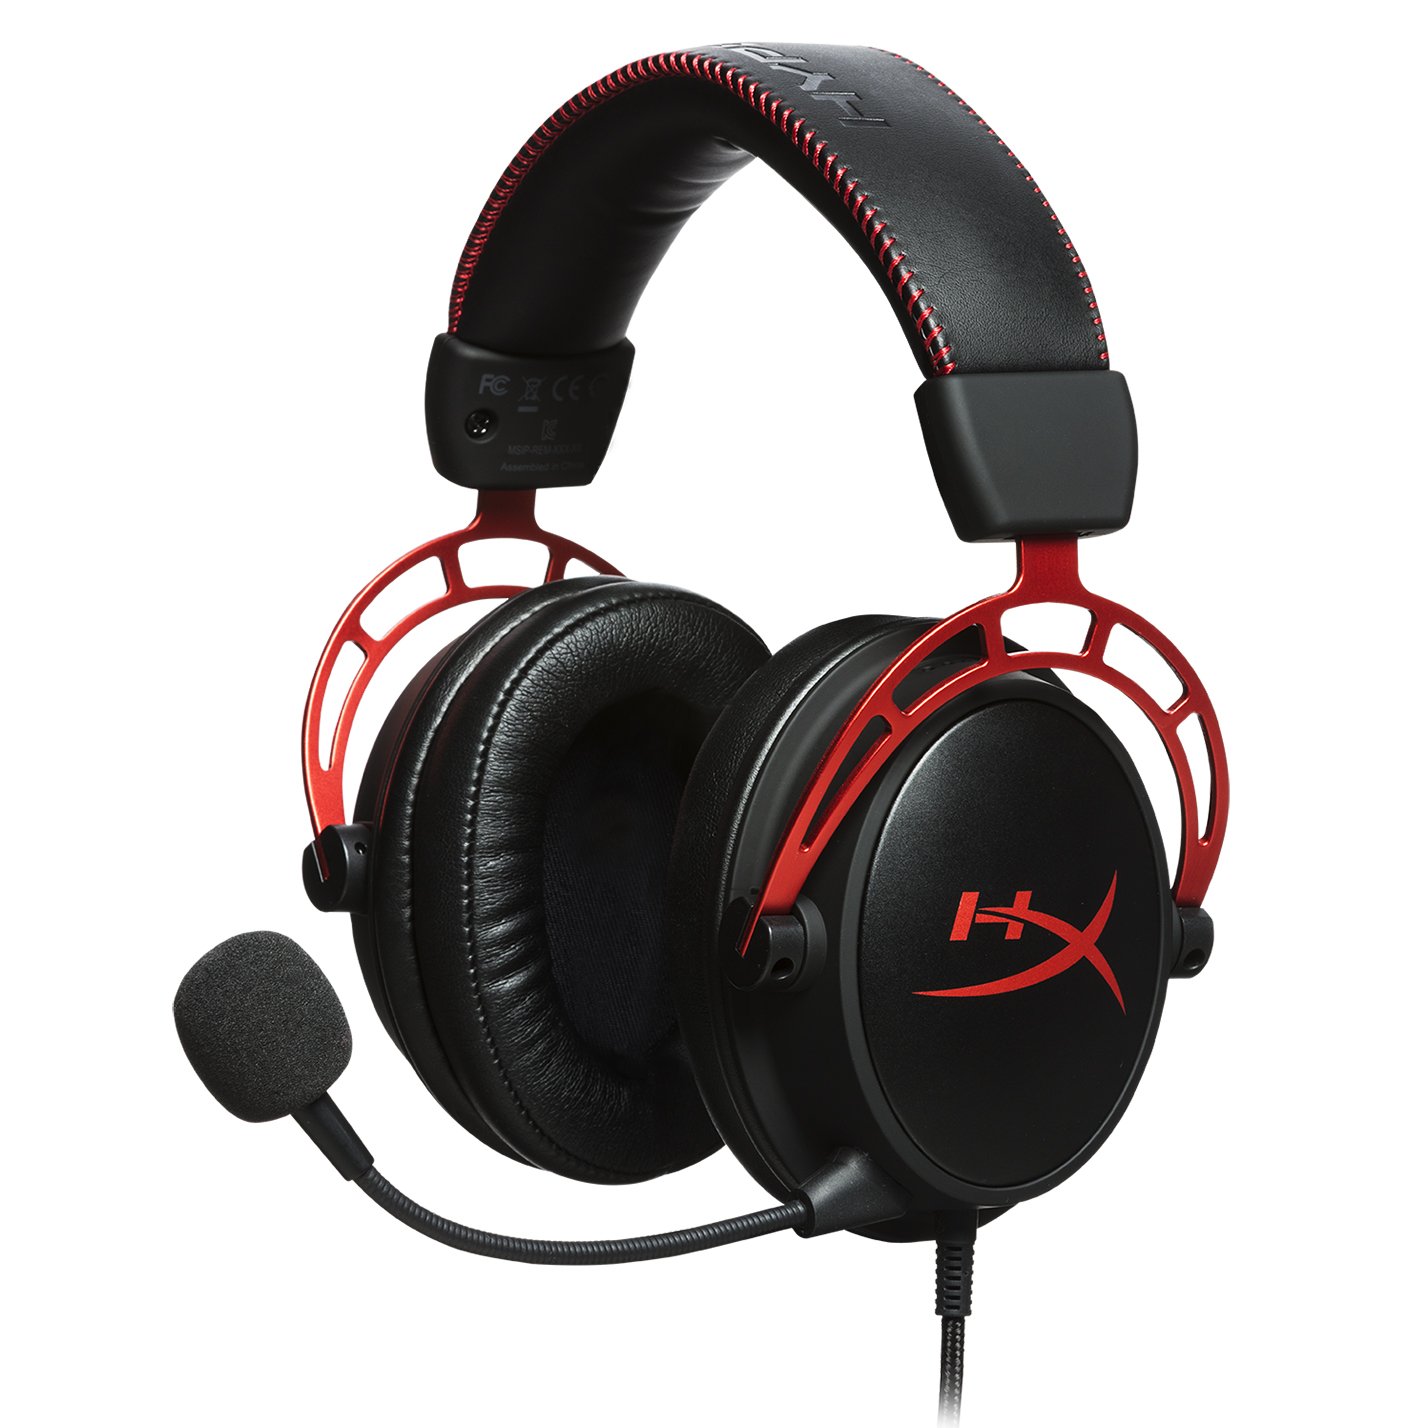 Superior style, sound, and value for PC, PS4, PS5, Xbox One, Switch, mobile
Thanks to a sturdy metal frame, a slick red-and-black paint job, and some of the most comfortable leatherette earcups this headset is really a steal for its price. This is a headset that you can transport with you anywhere and connect to almost any system, without ever having to worry about it breaking.
Superior style, sound, and value for PC, PS4, PS5, Xbox One, Switch, mobile
Thanks to a sturdy metal frame, a slick red-and-black paint job, and some of the most comfortable leatherette earcups this headset is really a steal for its price. This is a headset that you can transport with you anywhere and connect to almost any system, without ever having to worry about it breaking.
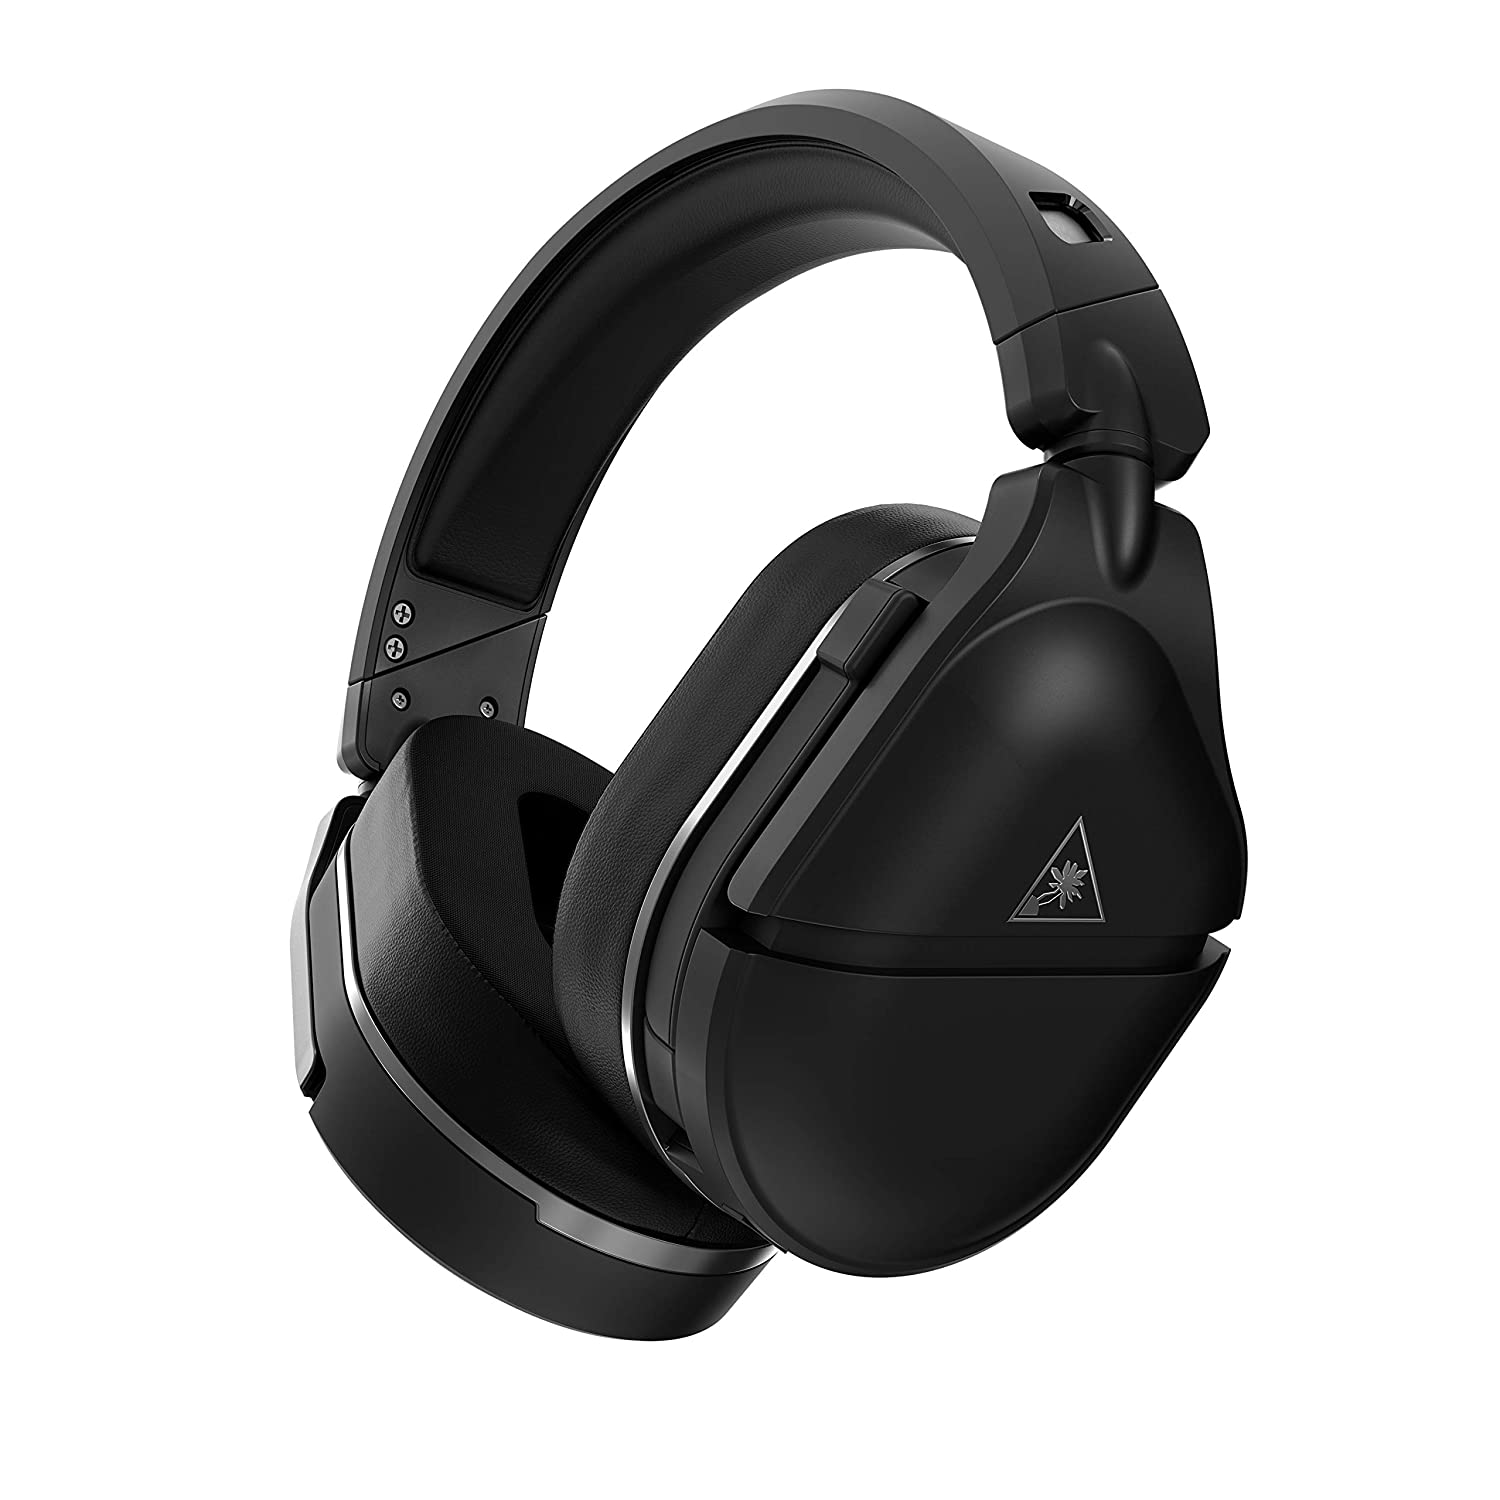 Console-centric wireless sound with Bluetooth for PC, PS4, Switch, Xbox One, mobile
The Turtle Beach Stealth 700 Gen 2 is one of the best console headsets on the market, particularly if you want a wireless model. This peripheral boasts great sound, plush earcups, and two kinds of wireless functionality. The PS4 version can connect to either PS4 or PC via a USB dongle; the Xbox One version can connect to the Xbox One right out of the box. Both versions can connect to mobile devices and PCs via Bluetooth. It's an extremely convenient feature, especially since very few gaming headsets offer Bluetooth functionality.
Console-centric wireless sound with Bluetooth for PC, PS4, Switch, Xbox One, mobile
The Turtle Beach Stealth 700 Gen 2 is one of the best console headsets on the market, particularly if you want a wireless model. This peripheral boasts great sound, plush earcups, and two kinds of wireless functionality. The PS4 version can connect to either PS4 or PC via a USB dongle; the Xbox One version can connect to the Xbox One right out of the box. Both versions can connect to mobile devices and PCs via Bluetooth. It's an extremely convenient feature, especially since very few gaming headsets offer Bluetooth functionality.
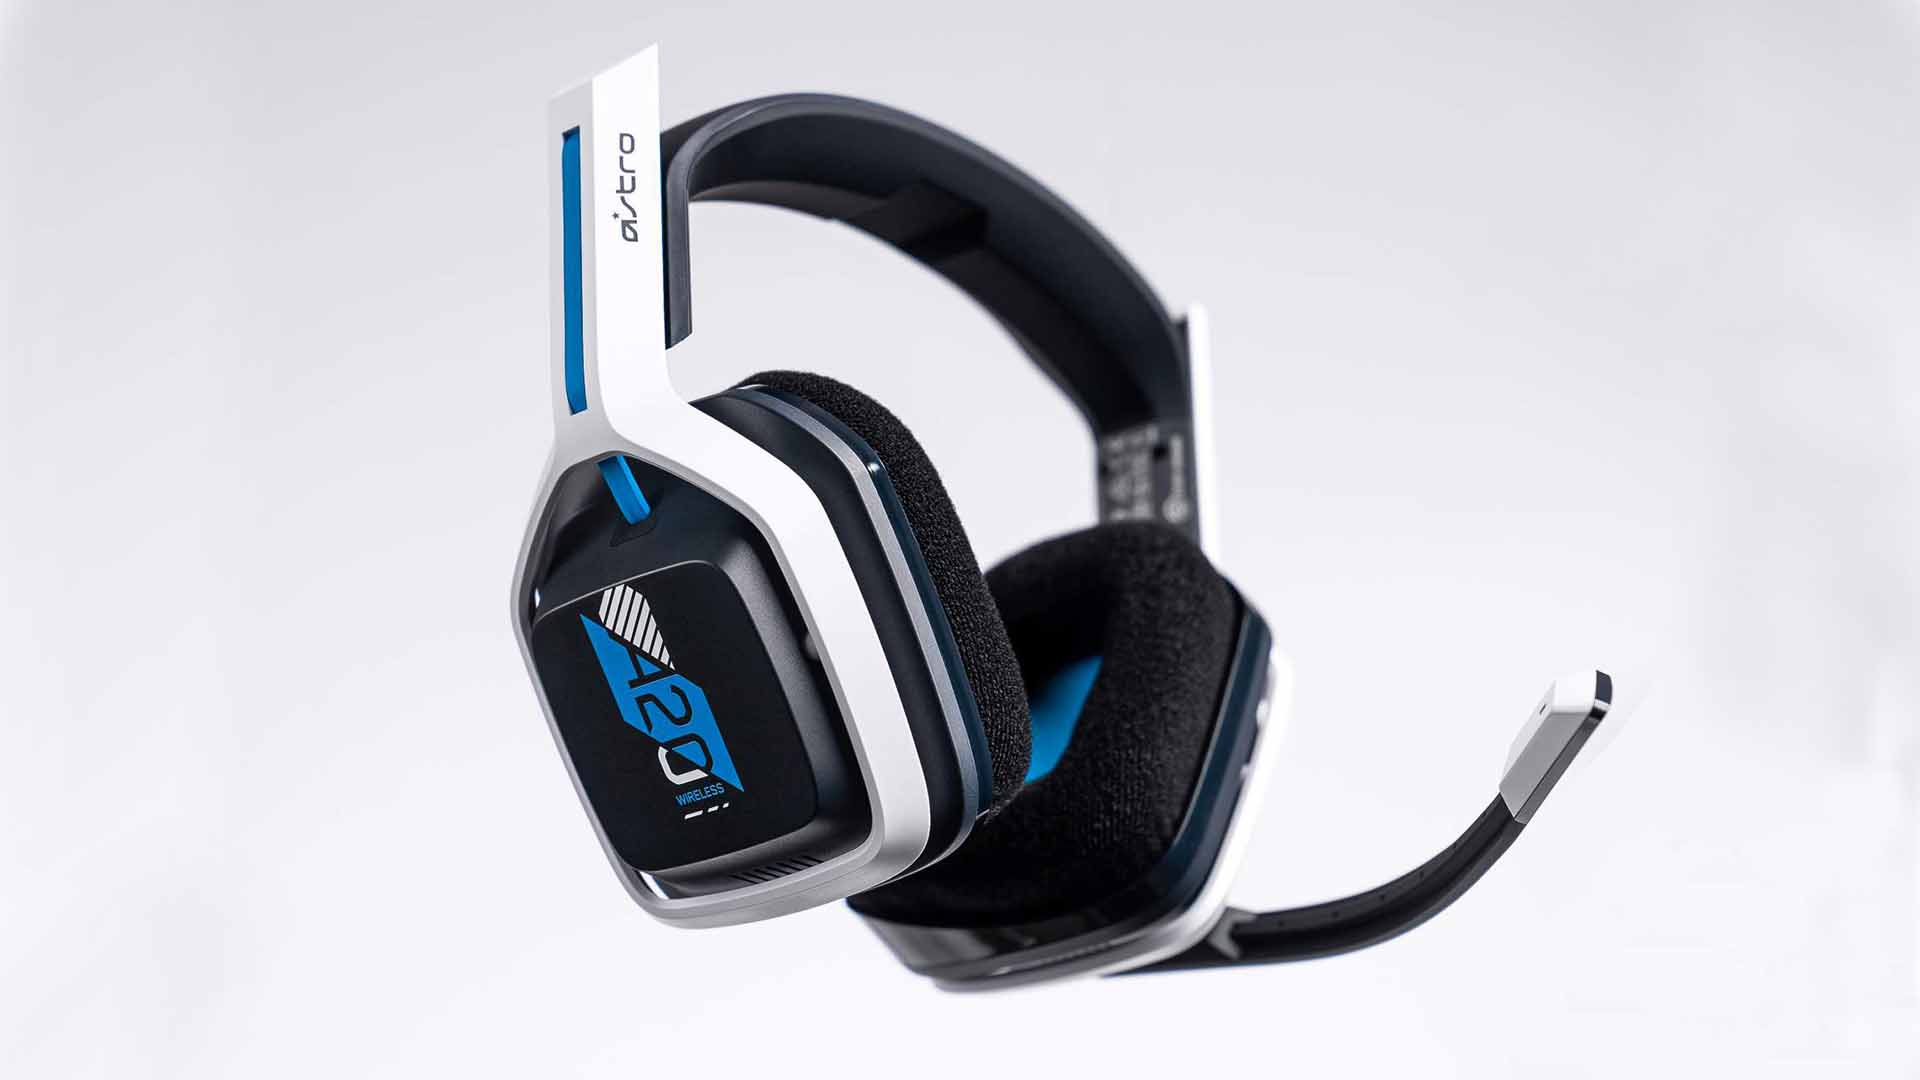 Wireless headset for both PS5 and Xbox Series X and PC, PlayStation, Xbox, Switch, mobile
The Astro A20 Gaming Headset Gen 2 is an ambitious and full-featured headset from one of the most trusted manufacturers on the market. This wireless peripheral offers excellent sound quality and a comfortable fit. More than that, though, the Astro A20 can also connect wirelessly to both the PS5 and the Xbox Series X, which is a rare feat, even among the best gaming headsets.
Wireless headset for both PS5 and Xbox Series X and PC, PlayStation, Xbox, Switch, mobile
The Astro A20 Gaming Headset Gen 2 is an ambitious and full-featured headset from one of the most trusted manufacturers on the market. This wireless peripheral offers excellent sound quality and a comfortable fit. More than that, though, the Astro A20 can also connect wirelessly to both the PS5 and the Xbox Series X, which is a rare feat, even among the best gaming headsets.
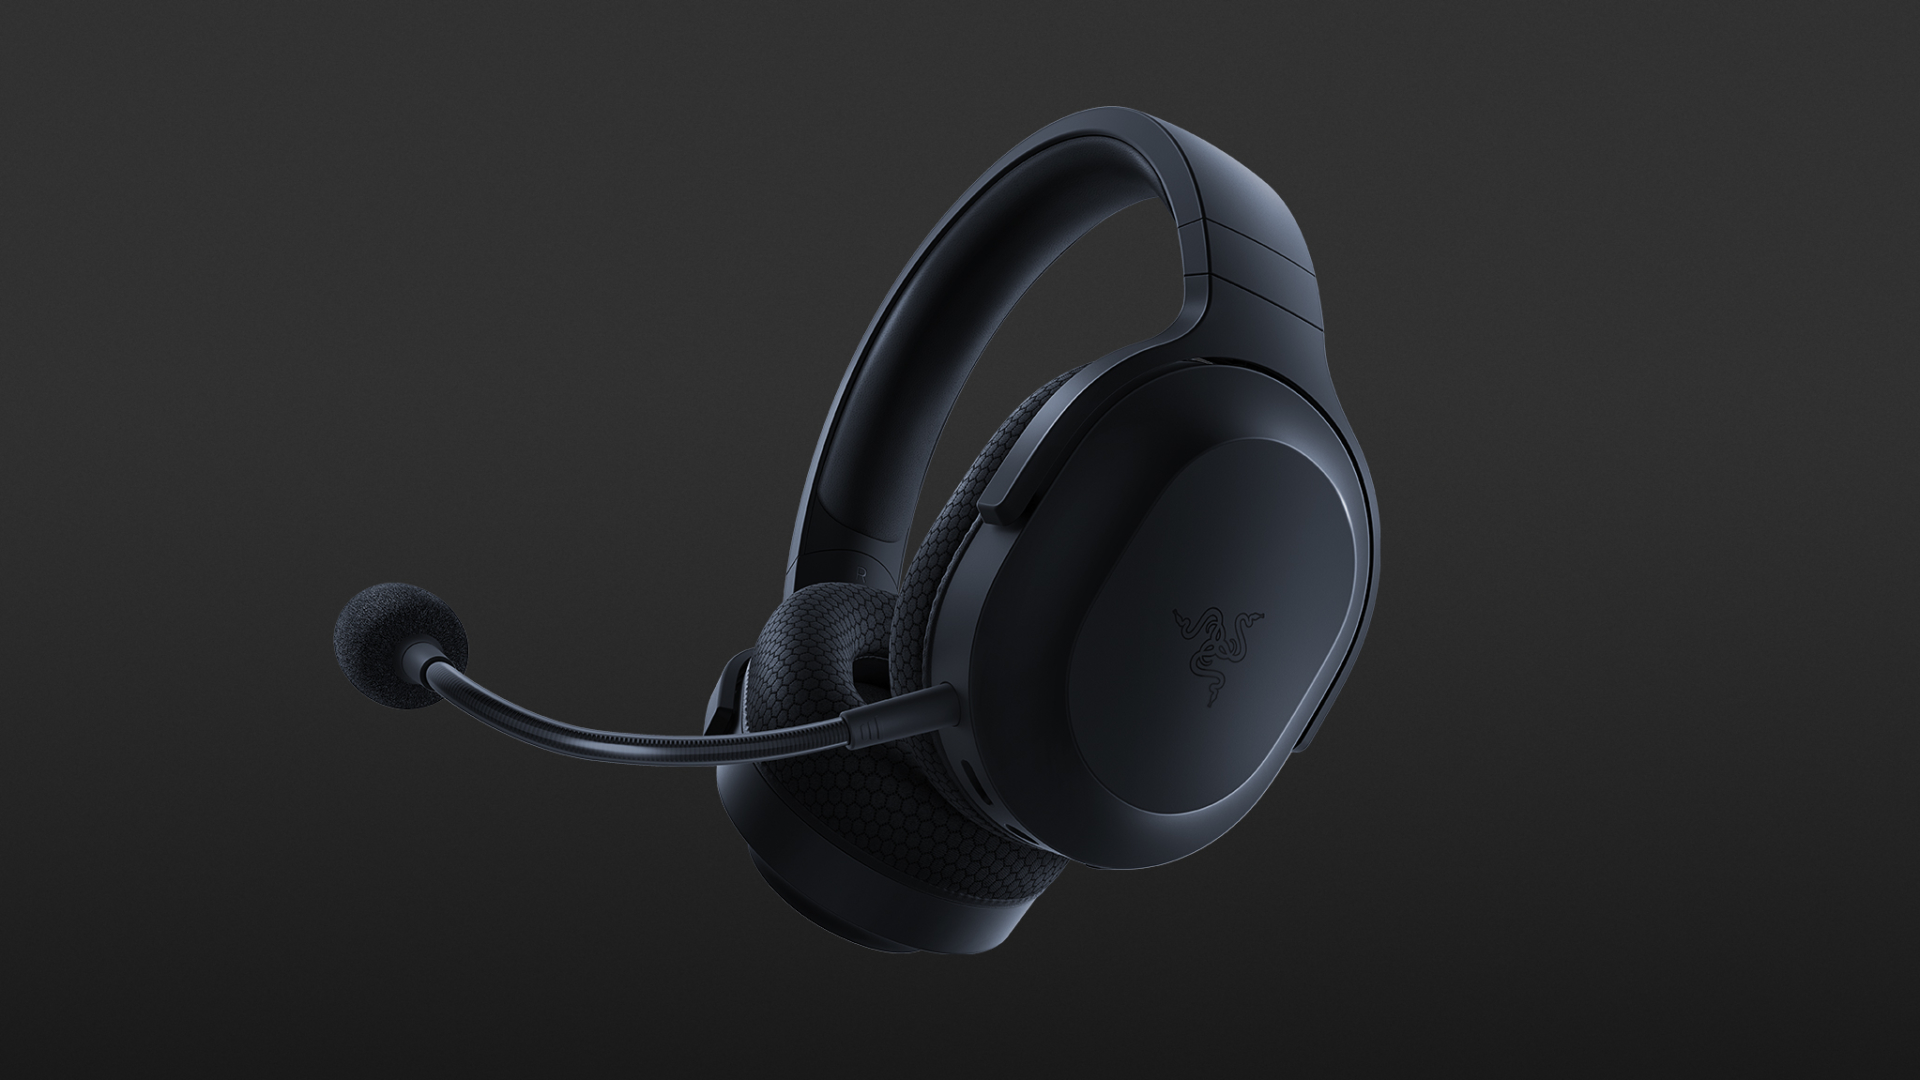 The best wireless Switch headset also for PC, PS4, PS5, Switch, mobile
The Razer Barracuda X is a wireless gaming headset that's ideal for the Nintendo Switch and mobile platforms. Thanks to its small USB-C dongle, it can connect wirelessly o the Switch in handheld mode, a rarity among gaming headsets. However, it also comes with a USB-A adapter, which means you can connect it to just about any other system you like, from PC to PS4, to Switch in docked mode. The USB-C dongle also fits neatly into a PS5.
The best wireless Switch headset also for PC, PS4, PS5, Switch, mobile
The Razer Barracuda X is a wireless gaming headset that's ideal for the Nintendo Switch and mobile platforms. Thanks to its small USB-C dongle, it can connect wirelessly o the Switch in handheld mode, a rarity among gaming headsets. However, it also comes with a USB-A adapter, which means you can connect it to just about any other system you like, from PC to PS4, to Switch in docked mode. The USB-C dongle also fits neatly into a PS5. Raptor Lake, a new and upcoming Intel 13th generation CPU will break the 6GHz barrier for the first time ever in normal working mode, overclocked mode in Intel words will go as high as 8GHz. CPU will be 15% faster than Alder lake in single-threaded tasks and a stunning 41% faster in multi-threaded workloads.
The current world record for overclocking is 8.72GHz done with AMD FX-8370 and Intel is aiming at breaking that record with Raptor Lake, of course, this kind of extreme overclocking will require some top-of-the-line nitrogen cooling systems.
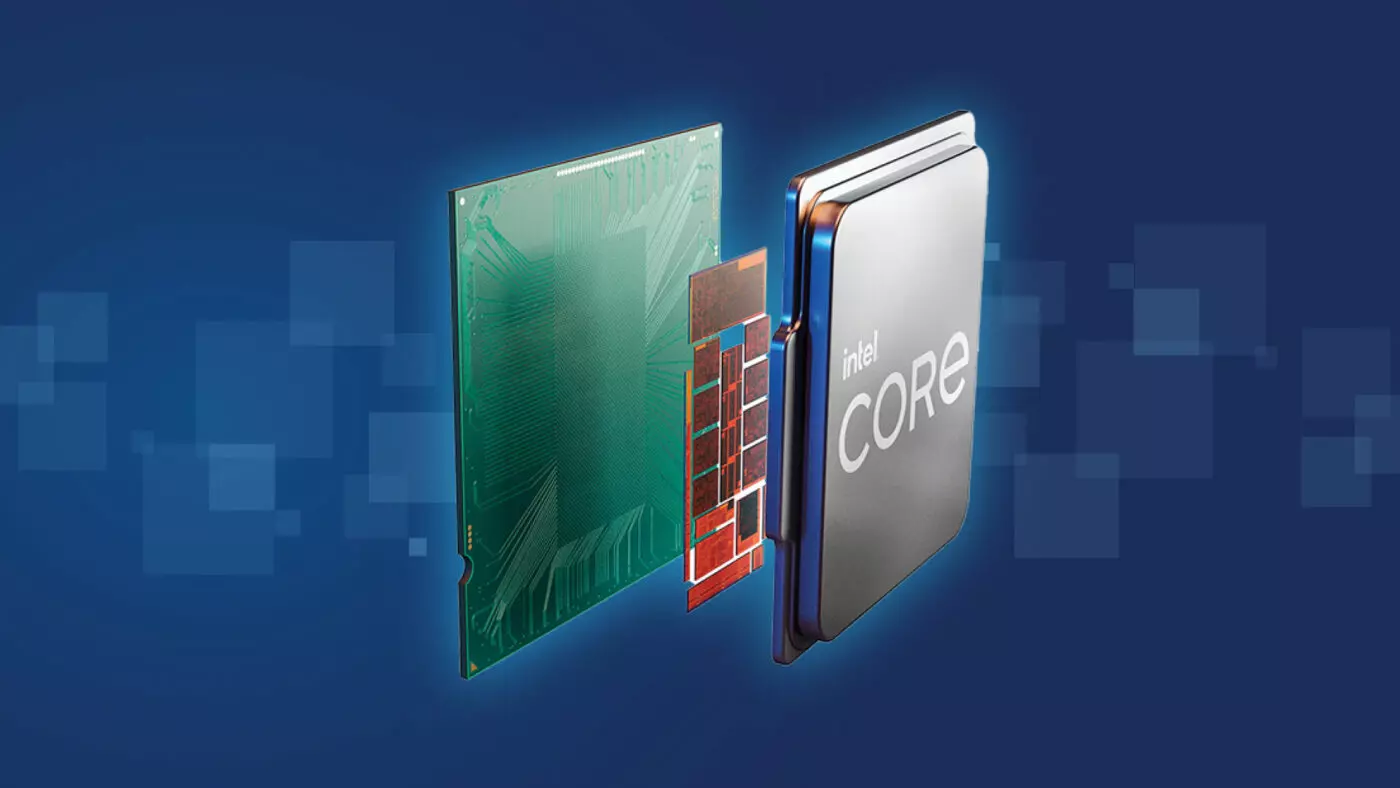
Raptor Lake will run on the current LGA 1700 socket, so you will not need to buy another motherboard for CPU and they will also be manufactured on a 10nm process which means that you will need to take care of cooling and power supply if they really go over 6GHz.
Mid-range Intel Core i5-13600K processor will come with 14 cores inside and 20 threads running at a maximum P-core frequency of 5.1GHz, while Core i7-13700K will have 16 cores and 24 threads and run on 5.3GHz max P-core frequency. Best i9-13900K will come packed with 24 cores, 8 of them will be P-cores, and the rest 16 are E-cores, and 32 threads. It will reach 5.4GHz frequency but it was stated it can go to 5.8GHz with Thermal Velocity Boost.
After this statement, we can clearly see that the 6GHz breaker CPU will probably be an i9 special KS variant. In other words, specially tested and picked existing i9 running at higher speeds as was with Alder Lake as well where normal i9-12900K ran at 5.2GHz while i9-12900KS was running at 5.5GHz.
You might encounter other error messages such as error code 42."Windows cannot start this hardware device because its configuration information (in the registry) is incomplete or damaged. To fix this problem you should uninstall and then reinstall the hardware device. (Code 19)"
"Windows cannot start this hardware device because its configuration information (in the registry) is incomplete or damaged. To fix this problem you can first try running a Troubleshooting Wizard. If that does not work, you should uninstall and then reinstall the hardware device. (Code 19)"