
Dnssd.dll is a type of dynamic link library. It is developed for Windows Operating System by Apple Computer Inc.
The latest version of fnssd.dll is 3.0.0.10 used in Windows Vista. This file also functions like a typical dynamic link library. DDL files are small programs similar to executable files which are used by multiple programs to load and run properly.
Dnssd.dll error occurs when the dnssd.dll file fails to function properly and load to run the desired application/program. The error may occur most often during computer startup and program startup.
The dnssd.dll error message may be displayed on your PC on either one of the following formats:
 Error Causes
To narrow down the cause of the dnssd.dll error is difficult virtually because there are multiple reasons why this error occurs on your system. However, here are the most common causes for this error:
It is advisable to fix this error right away, as it can create many troublesome problems on your PC such as slow system performance, computer freeze up, blue screen of death errors, system failure, and crash.
Here are some of the best and easiest DIY solutions that you can try to resolve this issue on your PC without hiring a professional.
Since this error largely indicates poor PC maintenance, it is advisable to use the System Restore function built-in Windows to resolve the Dnssd.dll file error.
It will help you restore the system back to its previous healthy status. It can also help you get a fresh copy of damaged and corrupted files. Here’s what you need to do:
This will help resolve the error. Now restart to see changes made. If the error still persists then try other solutions given below.
As dll files are shared files, there is a possibility that the file got deleted when you tried to uninstall a certain program. Therefore, if this is the reason, then try to reinstall the program that is causing the error message.
By doing so, you can set up the dnssd.dll file again on your PC.
Other reasons for the error are associated with viral infection and registry issues. Therefore it is advisable to download software to scan for these issues and remove them from your PC. Viruses can also corrupt dll files.
On the other hand, dll errors like Dnssd.dll can also occur if the registry is not cleaned frequently.
The registry becomes corrupt due to the accumulation of invalid/wasted and irrelevant files. This also causes disk defragmentation and hard disk problems which can also lead to hardware failure and dll file damage and corruption.
Now to repair it you can either download 2 different programs, an antivirus, and a registry cleaner, or you can install multi-functional and advanced software, Restoro.
Downloading 2 separate programs can reduce your PC performance even furthermore. Therefore we recommend you opt for Restoro.
This is a one-stop solution for all your PC problems. It includes multiple utilities like an antivirus that detects all malicious software including spyware, malware, adware, Trojans, and viruses.
A powerful registry cleaner that resolves all registry issues, wipes out bad registry entries and repairs broken registry keys, damaged dll files like Dnssd.dll, and restores the registry back to its optimum health.
This software also functions as a system optimizer that boosts the speed of your PC dramatically.
It is safe, bug-free, and efficient. All PC issues are resolved in seconds in just a few clicks. It is user-friendly and compatible with all Windows versions.
Click here to download Restoro and resolve the dnssd.dll file error right away!
 Error Causes
“The instruction at 0xf77041d24 referenced memory at 0×00000000. The memory could not be read.”
Error CausesdiskpartStep 5: Afterwards, type in either of the following commands to help you in either listing all the Disk connects or all the partitions on those disks formed.
diskpart or list volumeStep 6: Next, you need to select any of the two given commands below depending on the list you entered on the previous step.
select disk # or select volume #Step 7: After you enter the command, it will select the Disk or the Partition you want to select. Now you have to type and enter the following command to clean your drive.
cleanStep 8: Now enter any of the two following commands.
list disk or list volumeStep 9: Then type the next command below to create a specified partition.
create partition primaryStep 10: Once done, type in the following command to select the newly created partition.
select partition 1Step 11: Next, type the following command to mark the selected partition as active.
activeStep 12: Finally, restart your computer to successfully apply the changes made and then see if it has fixed the problem or not.
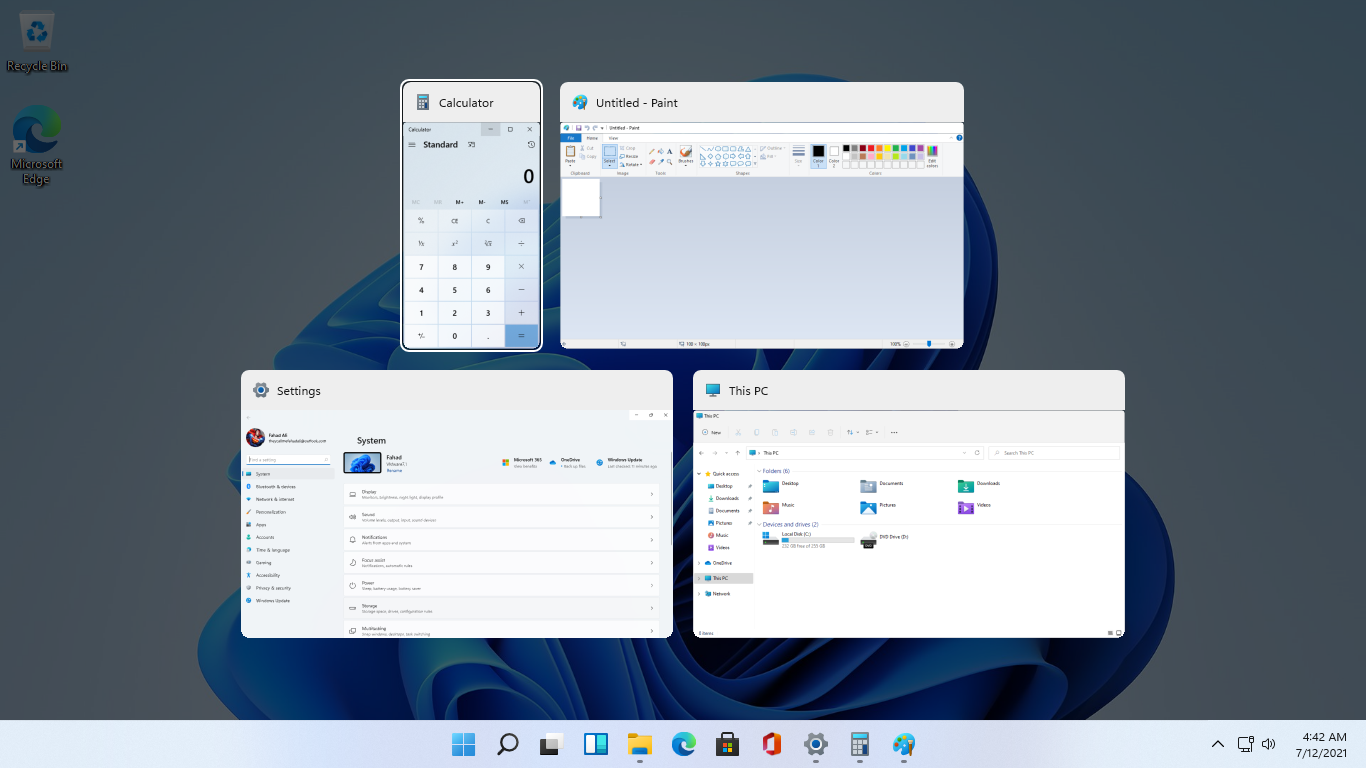 As in previous Windows 10, inside Windows 11 also when you press the ALT + TAB key combination you will get a preview of all running applications along with all Browser tabs so you can go through them and pick the one you want to switch to.
Alto, I personally am a big fan of alt-tabbing, I must admit that I am not a big fan of having multiple browsers tabs on screen when I do press key combo. Luckily there is a very easy way to turn this feature off.
Turning browsers tabs thumbnails off
As in previous Windows 10, inside Windows 11 also when you press the ALT + TAB key combination you will get a preview of all running applications along with all Browser tabs so you can go through them and pick the one you want to switch to.
Alto, I personally am a big fan of alt-tabbing, I must admit that I am not a big fan of having multiple browsers tabs on screen when I do press key combo. Luckily there is a very easy way to turn this feature off.
Turning browsers tabs thumbnails off
ST0P 0X00000024 (x00190203, 0x82700550, 0xc000012, 0x00000000)Due to this error, both Safe and Normal modes become inaccessible.
Error CausesStable Diffusion is a machine learning model developed by Stability AI to generate digital images from natural language descriptions. The model can be used for different tasks like generating image-to-image translations guided by text prompts and upscaling images.
Unlike competing models like DALL-E, Stable Diffusion is open source and does not artificially limit the images it produces. Stable diffusion was trained on a subset of the LAION-Aesthetics V2 data set. It can run on most consumer hardware equipped with a modest GPU and was hailed by PC World as "the next killer app for your PC".

Since Stable Diffusion is run locally and not in the cloud, as mentioned there is no limit to the number of images that you can produce but in order to use it you will have to get down a little dirty with setting your PC environment for it since it is not really an application, it is a command line text based descriptor that will use python to generate your images, so there is no install nor GUI.
In this guide, we will show you how to both install and run Stable Diffusion on your local PC so you can start producing some cool images all by yourself.
Make no mistake, Stable Diffusion will not run on a potato PC, in order to harvest the power of AI-generated imagery this is what you will need:
For this tutorial, we are covering the installation and running of Stable Diffusion on Windows PC. The steps presented here are presented in a way that installation can be performed on any operating system but precise instructions will be for Windows OS.
The first thing to do is to install GIT. It is a tool that will let you easily maintain and install repos from the internet. to install it go to: https://git-scm.com/ and click on download. Follow the instructions for your version of the operating system. If you are a developer you are familiar with GIT and if you already have it installed you can skip this step.
One thing that is important when installing GIT locally is to select to use it via the command line (the second option that says "Git from the command line and also from 3rd-party software").
Now when we have GIT installed, next thing is to use Miniconda3 to install python and all required libraries that are needed. Get the installer at: https://docs.conda.io/en/latest/miniconda.html
Miniconda3 is basically an easy installer so you do not have to install tons of stuff manually from different websites and sources, it is nicely packaged in the installer that will take care of everything.
After the previous two steps, we are ready now to actually install Stable Diffusion. Go to https://huggingface.co/CompVis/stable-diffusion#model-access and install the latest library (as of the writing of this article currently it is stable-diffusion-v1-4-original, the last one on the right), the library is almost 5GB in size so be prepared for big download.
After installing stable diffusion's latest library it is time to update it to the newest version. You can download ZIP from GIT HUB https://github.com/CompVis/stable-diffusion
Once downloaded click on the Windows start button and type in Miniconda3 and click on open. Create a folder and name it how you want on a drive of your choice. For this example, we will install it all in disk C under folder AI_art, follow the instructions below but use your own names and destination instead. Do not close Minicoda3 after typing commands!!!
cd c:/
mkdir AI_art
cd AI_art
Extract GitHub files that you have downloaded into your new folder and get back to Minicoda3 and type the next commands:
cd C:\AI_art\stable-diffusion-main
conda env create -f environment.yaml
conda activate ldm
mkdir models\ldm\stable-diffusion-v1
Let the whole process finish, some files are large and it might take a while. After the whole process is finished and completed, copy the checkpoint file that you have downloaded into: C:\AI_art\stable-diffusion-main\models\ldm\stable-diffusion-v1
After the file is copied rename it to model.ckpt and you are finished.
The created environment is needed in order to actually use Stable Diffusion to create images. Each time you want to use it you will have to run it, so go into Miniconda3, and inside it type:
conda activate ldm
cd C:\AI_art\stable-diffusion-main
after we are inside the folder call the script with the parameters:
python scripts/txt2img.py --prompt "TXT DESCRIPTION OF IMAGE THAT YOU WANT TO CREATE" --plms --n_iter 5 --n_samples 1and that's it, your image is created and it is located in C:\AI_art\stable-diffusion-main\outputs\txt2img-samples\samples