Logo

Calculator is not working in Windows

As you know, one of the basic apps in the Windows 10 operating system is the calculator and it can even be extended to a scientific calculator which makes it really useful for users. However, there are instances when you might encounter some issues while using this app. One of the issues about the Calculator app that’s been reported recently is that the Calculator app is not working. If you encounter the same problem, then you’ve come to the right place as this post will guide you on what you can do to fix the problem.

Based on the reports, users claimed that the issue with the Calculator app occurred right after they’ve installed a feature update, while other users claimed that the Calculator app never really worked on their computers and there are also cases where the app opens but it either freezes or crashes.

According to researchers, the main causes of the problem include a feature update that could’ve altered the settings. It could also be due to problems with the login account or corrupted and missing files, or the problem could also with the calculate app itself. To resolve this problem, here are some suggestions you can follow.

Option 1 – Run the System File Checker Scan

System File Checker or SFC is a built-in command utility that helps in restoring corrupted files as well as missing files. It replaces bad and corrupted system files to good system files that might be the reason why the calculator app is not working properly. To run the SFC command, follow the steps given below.

  • Tap Win + R to launch Run.
  • Type in cmd in the field and tap Enter.
  • After opening Command Prompt, type in sfc /scannow

The command will start a system scan which will take a few whiles before it finishes. Once it’s done, you could get the following results:

  1. Windows Resource Protection did not find any integrity violations.
  2. Windows Resource Protection found corrupt files and successfully repaired them.
  3. Windows Resource Protection found corrupt files but was unable to fix some of them.
  • Reboot your computer.

Option 2 – Run the DISM tool

You can also run the DISM Tool as it helps in repairing the Windows System Image as well as the Windows Component Store in Windows 10. Using this built-in tool, you have various options such as the “/ScanHealth”, “/CheckHealth”, and “/RestoreHealth” that could help in fixing the Calculator app.

  • Open the Command Prompt with admin privileges.
  • Then type in the following commands and make sure to hit Enter right after you type each one of them:
    • Dism /Online /Cleanup-Image /CheckHealth
    • Dism /Online /Cleanup-Image /ScanHealth
    • Dism (.)exe /Online /Cleanup-image /Restorehealth
  • Do not close the window if the process takes a while as it will probably take a few minutes to finish.

Option 3 – Try logging into your computer using a different User Account

You might want to try logging into a different User Account since it is possible that the issue could have something to do with your log-in account. Thus, you can isolate this possibility by logging into a different user account. If you don’t have any other user account, simply create a new one by clicking on the Start icon and then go to Settings > Account > Family & other users. From there, go to the Other user's section and click on the Add someone else to this PC option, and then inputs all the needed information and restarts your computer. Once your computer has restarted, log into your computer using the newly created user account.

Option 4 – Try to reset or reinstall the Calculator app

If the first three given options didn’t work, you might want to reset or reinstall the Calculator app. To do that, follow these steps:

  • Click on the Start button and go to Settings > Apps > Apps and features.
  • Next, look for the Calculator app from the app list and click on it to see its other options.
  • After that, select the Advanced options and go to the Reset section and then click on the Reset button to reset the Calculator app.

Note: You also have the option to reinstall the Calculator app. All you have the option to visit Microsoft Store and from there, uninstall the Calculator app.

Do You Need Help with Your Device?

Our Team of Experts May Help
Troubleshoot.Tech Experts are There for You!
Replace damaged files
Restore performance
Free disk space
Remove Malware
Protects WEB browser
Remove Viruses
Stop PC freezing
GET HELP
Troubleshoot.Tech experts work with all versions of Microsoft Windows including Windows 11, with Android, Mac, and more.

Share this article:

You might also like

Disable Speech Recognition feature in Windows
Speech Recognition is a technology used to control computers using voice commands. Through this feature, you can say commands that your computer will respond to, and aside from that, you can also dictate text to your computer which eliminates the need to type words in any word processing program or text editor. All in all, the Speech Recognition feature allows you to communicate with your computer and improves your computer’s ability to understand your own voice better as well as improve its diction accuracy. However, before you can improve its accuracy, you need to “train the feature” first. And if so far you are not satisfied with its performance, you actually have the option to disable it. So in this post, you will be guided on how you can disable the Speech Recognition feature in Windows 10 v1809.

To disable Speech Recognition on your computer, follow the steps below.

Step 1: Go to Settings > Ease of Access. Step 2: From there, go to Speech. Step 3: Now switch off the toggle button for Speech Recognition to disable this feature. On the other hand, you can also disable the Online Speech Recognition feature if you really don’t want to have anything to do with it. You have two options to do that – you can either do it using Settings or using the Registry Editor.

Disable Online Speech Recognition feature via Settings:

  • Click on the Start button and select Settings.
  • Next, go to the Privacy section and click on the Speech option located at the right pane.
  • Then switch the toggle button off to turn off the Online Speech Recognition feature.
Note: Speech services exist on your computer and even in the cloud since Microsoft collects essential information from these services in order to enhance user experience and if you want to stop this, you have to turn off the “Getting to know you” option under the “Inking and typing Personalization” section.

Disable Online Speech Recognition feature via Registry Editor:

Before you proceed, you need to create a System Restore Point first.
  • Tap the Win + R keys to open the Run dialog box.
  • Then type “Regedit” in the field and hit Enter to open the Registry Editor.
  • Next, navigate to the following registry path:
HKEY_CURRENT_USERSoftwareMicrosoftSpeech_OneCoreSettingsOnlineSpeechPrivacy
  • After that, check the default value of the “HasAccepted” key located in the right pane. As you can see its value is set to “1” which means that the Speech Recognition feature is enabled. And so to change it, you have to set “0” as its new value to permanently disable the feature.
  • Just double click on the key and change the value from “1” to “0”. Keep in mind that even if you are using a 64-bit Windows 10 computer, you still have to create a 32-bit DWORD value.
  • After that, restart your computer to apply the changes made.
Read More
Dune part two is officially green-lighted
Dune, arguably one of the best science fiction novels ever written was brought to a big screen first time by David Linch. Sadly movie itself went through development hell and a lot of troubles and the end result was somewhat strange. The audience was divided on it, some hated it, some loved it but for sure it left a mark in cinema history. Years have passed and just when people forgot about ever receiving another try on a book adaptation Denis Villeneuve has brought his vision of Frank Herbert's novel into its full glory on a big screen. The interesting thing about this new Dune movie was that from the start Denis envisioned it as a two-movie part openly saying that book itself is too complex to be done in a single movie. But, the issue arises when information about Dune part two was hanging on a thread on how well Dune part one will be received and performed in the box office. This naturally brought all kinds of speculation and worry among fans of the franchise, especially because the movie itself was really good and well made. Well for all of you fans and people who wanted to see a continuation of the story can rest at peace now since the Legendary picture has officially announced and green-lighted Dune part two. The budget was given and we can expect part two at the beginning of 2023. dune 2 annoucment
Read More
Fix igfxem.exe application error in Windows 10
When you get an igfxem.exe error in Windows, it is not really clear what does this means, usually, Windows throw us some code or we get a DLL error, rarely we get an EXE error. So what does this error means? Intel Graphics Executable Main Module, shortly called as IgfxEM module is a part of the Windows operating system. When you run Microsoft .NET Framework applications that use the AS/400 Data Queue ActiveX control (Mseigdq.dll) to read from and to write to IBM iSeries (AS/400) data queues, you may experience this error. In order to overcome this error and cope with it try the following things:
  1. Increase Virtual Memory

    Go to the Start Menu and click on Settings. Type performance. Choose Adjust the appearance and performance of Windows. In the new window, go to the Advanced tab and under the Virtual memory section, click on Change. At the bottom of the new window, check what the Recommended value is and how it compares to Currently allocated. If the current setting is significantly less than the recommended, uncheck the Automatically manage paging file size for all drives box at the top of the same windows and then click on Custom size. Enter the Recommended value in the Initial Size box, and a larger figure in the Maximum size box. Click OK to save the new settings.
  2. Download and update .NET framework

    Go to the Microsoft website and download the latest .NET framework. Once the download is complete, install the package following onscreen instructions.
  3. Reinstall INTEL graphic drivers

    Go to the intel website and download the latest graphic drivers for your graphic card model. Once the download is complete, install the package following onscreen instructions.
  4. Run SCF scan

    If all else fails, run command prompt and inside type sfc /scannow
Read More
Fix Network driver issue in Windows
The network driver error is a not serious Windows issue.  It happens from time to time and luckily it can be solved with a little effort and in a short time period. Today in this article we will explore the most common solutions for driver malfunction for Network adapter inside Windows 10. If you have this particular problem, go from step 1 to the last step since all steps are meant to go from simplest to the most complex. All of that being said let us fix your Network driver issue.
  1. Check to see if the cable is plugged in and not malfunctioned

    The first common issue of the network now working can be cable malfunction or bad contact in your network adapter or in HUB/SWITCH. There are various tools to check the quality and working order of cable but you could also make sure that it is not a cable issue by trying connection with the correct working cable. If the network is restored with another cable then change the malfunctioning cable and your issue is resolved if the problem persists move to the next step.
  2. Check if Windows troubleshooter will resolve the issue

    Righ-click on the network icon in the taskbar and choose to troubleshoot problems. Windows built-in tools could resolve issues and fix them for you. If by any chance Windows is not able to find or resolve issues move to the next step.
  3. Check if the Device Manager is reporting an error and update the driver

    If the hardware is functioning properly then the issue might be in Windows not detecting device or driver malfunction. In any case, the Device Manager will be the one who will report this problem. In order to check to see if the driver is properly working press ⊞ WINDOWS + X to open the hidden start menu. keyboard with windows and x marked Once it opens, click on Device Manager to open it, If you have a driver device error inside Windows, you should see it immediately when entering the Device Manager, it will have a yellow exclamation mark beside it. Right-click on it and choose update driver.
  4. Reinstall driver

    If driver update failed or you already have the latest drivers, reinstalling them could fix the issue since drivers might have corrupted during installation of some update or application. Follow steps from point 3 to get to the driver in Device Manager, then right-click on it but instead of update choose to uninstall. Reboot Windows once the driver is uninstalled and Windows will install a new one automatically. If you do not want to update drivers automatically, do not restart your system, instead install the latest driver for your device, then reboot. Since this is a network error, you will have to get drivers on another computer and transfer them via USB to malfunctioning one.
  5. Check Windows update

    Check to see if the latest Windows update is installed, update your Windows if needed
  6. Fix driver issue with DRIVERFIX

    If everything else fails, get DRIVERFIX, a premium solution for your PC issues, and fix driver errors.
Read More
Steam proton to run Windows games on Linux
Steam protonDespite popular belief, there are a lot of users running Linux OS. Linux offers great security and working environment and 96.3% of the world's top 1 million servers run on Linux. 90% of all cloud infrastructure operates on Linux and practically all the best cloud hosts use it. But gaming on Linux is limited, enter Steam proton a Valve’s gaming solution.

What is Steam proton?

Proton is a WINE fork with some extra capabilities, to play games and run applications not native and not made to run natively under Linux OS. It is supposed to bridge the Gaming issues for PC users and let them more freedom in choosing an operating system to game on.

Find out if your game supports Proton

Although there are a lot of titles that nowadays run natively on Linux some will still need proton in order to run at all and sadly some of them will not be able to run on Linux even via proton but seeing how Valve is busy and it is trying to push its ideas and technology slowly this gap is closing. In order to see how the game you want to play performs and behaves on Linux and proton environment visit https://www.protondb.com/ and find out. As soon as the site loads you will be greeted with statistics and a search option to find out the status of the desired game with one of the given statuses: Borked, Bronze, Silver, Gold, Platinum, and Native. As you probably guessed native means that the game will work on Linux out of the box and borked will probably not work at all. Platinum and gold status means that game will run on proton without any input or tweaks from the user while silver and bronze means that it will work but might need some tweaks in order to make it work.

How to get Steam proton?

In order to run games under proton inside Linux, you will need firstly a Steam client which luckily works naturally on Linux. Unlocking/activating Steam Proton on your Linux-based system is easy. Just head over to Steam > Settings > Steam Play and toggle the option “Enable Steam Play for Supported Titles”. Valve has tested and fixed some Steam titles and you will now be able to play those titles. However, if you wish to go even further beyond, and play titles that even Valve has not tested, toggle the option “Enable Steam Play for all titles”.

Conclusion

Even we are not there yet, native gaming on Linux is gaining a foothold each day. Will Steam’s OS with proton technology be one that will turn the tide from Windows or some other tech we cannot tell but one thing is for sure, more choices mean better products so I am hopeful for a bright future.
Read More
A Guide to Fixing STOP 0x00000000 Error Code

STOP 0x00000000 Error Code - What is it?

Stop 0x00000000 error code is a type of a Stop error popularly known as a blue screen of death error code. This is a critical error. It can pop up while loading or using the Windows program on your PC. When this error occurs, the computer screen turns blue and you, the user, get locked out of the program. Furthermore, it can also result in sudden system shut down or system freeze. If not fixed timely, the error may start to pop up more and more frequently which then may lead to complete system corruption and system crash.

Solution

Restoro box imageError Causes

The two most common causes for the STOP 0x00000000 error code are:
  • Malware infection
  • Registry corruption
This is a fatal system error and must be resolved immediately. Delay may lead to system crashes and data loss. And recovering lost data is not easy.

Further Information and Manual Repair

Though this is a fatal error the good news is that it is easy to resolve. To repair the STOP 0x00000000 error on your system, here are some methods that you can try:

Method 1 - Use System Restore to Bring Your Computer Back to its Previous State

To resolve this error on your system, try using the System Restore tool. Use this tool to bring your computer back to its previous state. The Windows System Restore utility is one of the most valuable recovery tools. To use it, simply type System Restore in the search box. Once you find it, click on it and select a restore point to bring your PC back to its normal state. To activate changes, reboot the PC.

Method 2 - Scan for Viruses

If the underlying cause of the Stop 0x00000000 error code is related to malware infection, then you must download a powerful antivirus to resolve it. Run it to scan your entire PC. Make sure you remove all types of malware including adware, spyware, viruses, and Trojan. Once your PC is malware-free, the error will be fixed in no time.

Method 3 - Clean and Repair the Registry

The registry is an important part of the PC. It stores practically all the activities you perform on your system. It saves all the files including both important and unnecessary files such as junk files, cookies, internet history, bad and invalid entries. If these obsolete and unnecessary files are not deleted frequently and keep on accumulating it takes up all the registry space and corrupts it. This results in registry errors like runtime and BSoD errors and sometimes may also lead to disk fragmentation. To resolve it is advisable to repair the registry. This can be done manually but that will take too much time and also require technical expertise. However, another way to resolve it is to download Restoro. This is a user-friendly PC Fixer with a powerful registry cleaner. It removes all obsolete and unnecessary files, cleans the registry and repairs the damaged files, thereby removing the error right away. Click here to download Restoro and resolve Stop 0x00000000 today!
Read More
Fix Qualcomm Atheros Qca61x4a Driver Issue
Qualcomm Atheros Qca61x4a Driver is a software driver used in WI FI communication between OS and device itself. When this driver stops working usually it means loss of connection and no internet available. This error knows to comes frequently and repeat itself over long periods of time which makes it quite annoying. If you are one of the unlucky users of Windows who get this error please keep reading in order to eliminate it and continue working on your computer normally.
  1. Disable & Enable the Qualcomm Adapter Driver

    Press ⊞ WINDOWS + X to open the secret menu, click on the device manager. In device manager expand network adapters. Right-click on Qualcomm Atheros Qca61x4a wireless network adapter and click on disable Right-click on Qualcomm Atheros Qca61x4a wireless network adapter and click on enable
  2. Rollback the Qualcomm Adapter driver

    Press ⊞ WINDOWS + X to open the secret menu, click on the device manager. In device manager expand network adapters. Right-click on Qualcomm Atheros Qca61x4a wireless network adapter and click on properties Under properties, window click on Driver tab and left-click on Roll Back driver (if the option is greyed there is no previous driver, follow next step) Choose your reason and click on OK
  3. Update Qualcomm Atheros driver to the latest version

    Press ⊞ WINDOWS + X to open the secret menu, click on the device manager. In device manager expand network adapters. Right-click on Qualcomm Atheros Qca61x4a wireless network adapter and click on Update Driver
  4. Install the new driver in compatibility mode

    Right-click on the installer package and choose properties Go to the compatibility tab Choose compatibility settings and install.
Read More
Razer Huntsman V2 mechanical keyboard
Razer huntsman
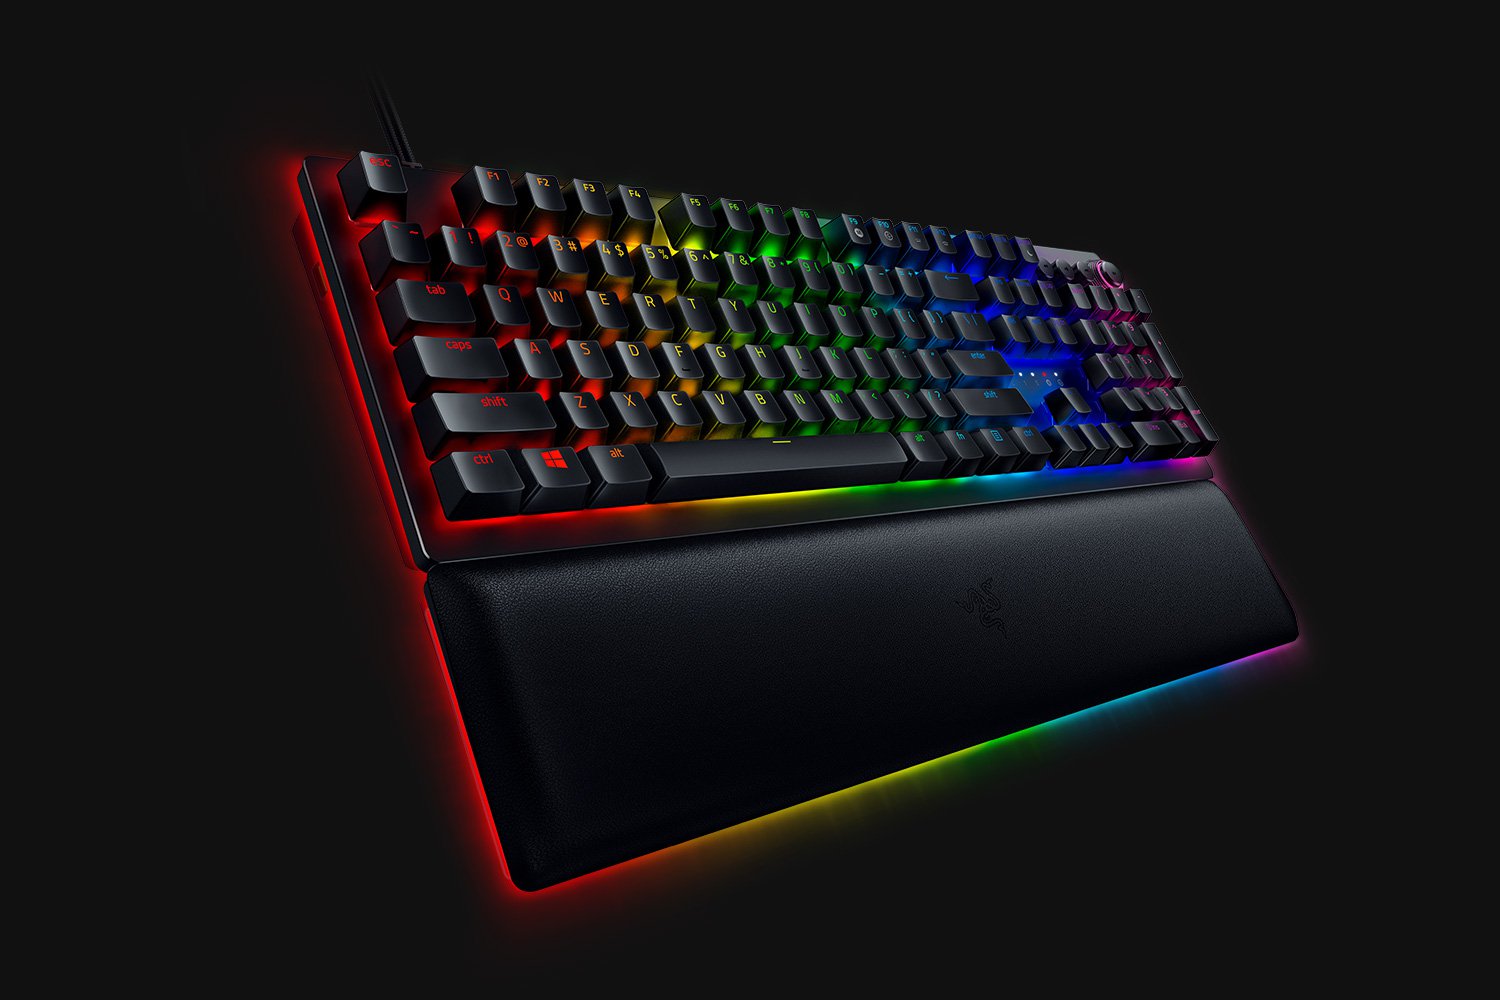
When it comes to computer peripherals first thing that comes to people's minds is probably Mouse and Keyboard. Also when discussing peripherals brands, Razer is not a stranger and over the years it has built its name and cult following. Razer’s mechanical keyboards have been always in the upper field of quality and trust from users and Huntsman is no different.

Tech specifics of Huntsman keyboard

  1. Mechanical optical switches Razer has introduced their new optical technology switch with this keyboard. These switches are faster and more accurate than typical mechanical switches and if tests are to be believed this is the fastest keyboard currently on the market.
  2. Multi-functional digital dial A multi-function digital dial with three tactile media keys gives you instant access to everything from brightness to volume in seconds. All programmable and customizable through Synapse 3, so you can set your preferred configurations right at your fingertips.
  3. 10-key rollover Anti-ghosting technology that enables 10-key simultaneous presses at the same time
  4. 4-side underglow with Razer chroma Go crazy and personalize lighting effects any way you want with a full 4-side underglow and 38 customization zones. Powered by Razer Chroma

Feel and noise

In the department of noise, well it is the mechanical keyboard so naturally, it will be louder than membrane ones but in terms of comparing it to other mechanical keyboards it is within the same noise range, maybe just a tiny bit silenced. The keyboard comes with 2 different types of switches, purple clicky ones that are louder and have that *click* sound for sound feedback, and red ones, that are not equipped with clicky sound but are linear providing slightly faster performance. If you choose the Huntsman elite model of the keyboard it will come with a nice hand resting mat that is very comfortable and feels right. Using a keyboard feels like using a Razer keyboard, it is responsive and gives that superior mechanical feeling.

Conclusion

Razer Huntsman mechanical keyboard is not the cheapest nor the best on the market but it is the fastest one out. It is in the top tier of keyboards and worth the investment.
Read More
USB Keeps Connecting and Disconnecting
External hard drives have become essential these days as they tend to be very useful to many users. They are usually used for storing system images like system backups, Windows installation media, or for personal use. However, if you are not able to utilize your external drivers for some reason then that could be a huge problem. One of the common issues with hard drives is when your USB device or external hard drive just keeps connecting and disconnecting. This kind of issue could be caused by a faulty USB port, some issues with the USB drivers, your computer’s Power Options, corrupted or damaged system files, and many other factors. The connecting and disconnecting issue with USB devices and external hard drives isn’t really new and has been experienced by many users for years now. Although this issue has somewhat decreased in Windows 10, there are still some users who encounter it every now and then. Worry not though for there are fixes that you can try to resolve the problem. Refer to the following straightforward solutions to resolve the issue with your USB device or external hard drive.

Option 1 – Plug your external device on a different port

If your USB device keeps on connecting and disconnecting then the first thing you can do is to try connecting it to a different port. This will help you isolate the problem. In some cases, the port where the USB is connected can be malfunctioning or obsolete so you need to check that possibility by plugging your USB device into a different USB port.

Option 2 – Update or reinstall your USB drivers

As mentioned earlier, the problem could be due to some issues with the USB drivers. It could be that it has to be updated or you need to reinstall it. To do that, follow these steps:
  • First, click the Start button and type “device manager”.
  • Then click on the “Device Manager” from the search results to open it.
  • From there, look for the “Universal Serial Bus controllers” option and then right-click on each one of the USB drivers and select the Update Driver from the menu.
  • Restart your PC and then click the “Search automatically for updated driver software” option.
You also have the option to update the motherboard and the USB driver from the manufacturer’s official website.

Option 3 – Try turning on the USB External drive

There are times when your system turns off some drives in order to conserve your computer’s power, etc. as a result, the driver that’s required to run your external hard drive properly ends up getting disabled. To fix this, you can prevent your system from turning off your external USB drive by following these steps:
  • You need to make sure that the external drive is connected to your system first.
  • Next, go to the Start Menu and type “device manager” in the field, and click on the appropriate result to open the Device Manager.
  • After opening the Device Manager, expand the category of the Universal Serial Bus controllers.
  • Then double click on your USB Mass Storage device and take note that the name might be different on your system.
  • Now go to the Power Management tab and uncheck the checkbox for the “Allow the computer to turn off this device to save power” option and click OK to save the changes made.

Option 4 – Turn off USB Selective Suspend

Another thing you can try is to turn off USB Selective Suspend especially when the issue has something to do with the Power Options. There are certain systems that are configured to disable USB devices after some time which could be the root cause of the problem. Thus, you need to turn off USB Selective Suspend. Here’s how you can do it:
  • In the Start Menu, search for “control panel” and open the related search result.
  • Then go to Power Options and click on the “Change plan settings” option.
  • Next, select “Change advanced power settings” and look for the USB settings and then expand it.
  • From there, you will see the USB Selective Suspend setting. Disable it and click OK.
  • Now restart your computer and check if it resolves the problem or not.

Option 5 – Format your drive

  • To get started formatting your drive, tap the Win + E keys and then go to the access page of the drive.
  • Next, right-click on the drive and select Format.
  • After that, uncheck the “Quick Format” option and then format your drive properly.
  • Now once the formatting process is finished, unplug the drive and plug it back in afterward.
  • Check if the error is already fixed. If the drive is not initialized, tap the Win + R keys and hit Enter.
  • After opening the Run dialog box, type “diskmgmt.msc” and hit Enter to open Disk Management.
  • From there, right-click on the drive volume and select initialize disk.
  • Next, select the correct partition type and proceed.
Read More
Couldn’t open PDF in Edge Error in Windows
As you know, Microsoft Edge is the default web browser in Windows 10 operating system. It is a built-in browser that replaced the ancient Internet Explorer for its performance and features. Aside from being the default web browser, it is also set as a default PDF viewer in Windows 10. So if you open a PDF file, it will be automatically opened in the Edge browser even if you have installed a PDF reader on your computer. However, some users recently reported getting an error that says, “Couldn’t open PDF in Edge, Something’s keeping this PDF from the opening” when they tried to open a PDF file or view an internet link that has a downloadable PDF file in the Edge browser. If you are one of these users, read on as this post will help you troubleshoot the problem and fix it. This kind of error mostly occurs if you have installed other PDF viewers on your computer. They could be interrupting Edge while it tries to open the PDF documents. To fix it, check if Microsoft Edge is set as the default PDF viewer or you could also try to clear its browsing cache. In addition, you could also reset or repair Edge. For detailed instructions, refer to the given options below.

Option 1 – Check if Microsoft Edge is set as the default PDF viewer

The first thing you can do is to check if Edge is set as the default PDF viewer. If it’s not, you have to set it as one to fix the problem.
  • Open Control Panel and go to Default Programs.
  • Then click on the “Associate a file type or protocol with a program” option.
  • Next, select the PDF file option and click on Change program.
  • After that, select Microsoft Edge in the pop-up window and then select the “Always use this app to open .pdf” option.
  • Now click the OK button to set Edge as the default PDF viewer and then check if you can now open the PDF file in the Edge browser.

Option 2 – Clear the browser cache of Microsoft Edge

  • Open Microsoft Edge.
  • Then click on the three horizontal dots to open the menu.
  • From there, click on Settings. And under Settings, click the “Choose what to clear” button under the Clear browsing data section.
  • Next, check all the checkboxes and then click the Clear button to clear the browsing data in the Edge browser.
  • Restart Edge.

Option 3 – Reset, repair or reinstall Microsoft Edge via Settings

You can reset, repair or reinstall the Edge browser through Settings. If none of it helped, you can try the following:
  • Open File Explorer and then go to this path – C:/Users/YourUsername/AppData/Local/Packages
Note: Before you type in the path in the Address bar, make sure that you put your user account name in place with the “YourUsername”.
  • Tap Enter to proceed.
  • Next, look for the folder named “MicrosoftEdge_8wekyb3d8bbwe” then right-click on it.
  • Click on Properties and uncheck the option “Read-only” under the General tab in the Properties window.
  • Click on Apply and then OK to save the changes made.
  • After that, look for the MicrosoftEdge_8wekyb3d8bbwe folder again and delete it. And if a prompt stating “Folder Access Denied” appears on your screen, just click on the Continue button to proceed – doing so will delete most of the content inside the folder except for the folder named “AC”.
  • Restart your PC.
  • Now all you have to do is to re-register Microsoft Edge using PowerShell. In the Start Menu, search “Windows PowerShell”.
  • Right-click on Windows PowerShell from the search results and select the “Run as administrator” option.
  • Type in this command in the PowerShell windows and tap Enter – Cd C:/Users/YourUsername
Note: Once again, make sure that you key in your user account name in place of “YourUsername.
  • After that, type in this command and tap Enter – Get-AppXPackage -AllUsers -Name Microsoft.MicrosoftEdge | Foreach {Add-AppxPackage -DisableDevelopmentMode -Register "$($_.InstallLocation)AppXManifest.xml" -Verbose}
  • Restart your PC.
Read More
1 2 3 171
Logo
Copyright © 2023, ErrorTools. All Rights Reserved
Trademark: Microsoft Windows logos are registered trademarks of Microsoft. Disclaimer: ErrorTools.com is not affiliated with Microsoft, nor claims direct affiliation.
The information on this page is provided for information purposes only.
DMCA.com Protection Status