Waol.exe is an executable file located in a subfolder of "C:\Program Files" - usually C:\Program Files\America Online 9.0a. Waol.exe is not a core file but it is an important part of AOL (American Online) utilities.
It ensures the AOL programs run smoothly on your system. The Waol.exe error occurs when the AOL program fails to execute and run properly.
The error message is displayed in the following format:
“Waol.exe has encountered a problem and needs to close. We are sorry for the inconvenience.’
Solution
Error Causes
Waol.exe error typically occurs when this executable file gets infected by a virus, Trojan, adware, or spyware. When this happens the file location also changes.
Therefore the best way to verify if your PC is under attack by malicious software is to check the Waol.exe file location on your PC. If the file is found in some other location instead of its correct disk location, then you must immediately fix this error before the damage sets it.
Malicious software like viruses and spyware are notorious for slowing down PC performance and besides they give access to hackers to break into your system and manipulate your confidential and private data saved on your PC.
This exposes you to serious privacy errors and data security dangers including identity thefts, cybercrime, and data breaches.
Furthermore, viruses can also corrupt the computer’s registry and lead to system failure and crashes.
Further Information and Manual Repair
To resolve Waol.exe error many PC users seek an antivirus.
Though this also helps resolve the issue but you should know that an antivirus has certain limitations. It is known to slow down the system speed and will only remove viruses from your PC.
This means if the virus has affected the registry of your PC, it will not resolve that, and to repair your registry you may then have to download a registry cleaner separately on your system thereby reducing the PC speed even more.
To ensure all kinds of malware are removed and registry issues resolved along with system speed optimization, it is recommended to download Restoro.
This is an advanced, innovative, and multi-functional PC repair tool deployed with a variety of powerful utilities. These include a registry cleaner and a system optimizer.
It is safe, efficient, user-friendly, and compatible with all Windows versions including Vista, XP, Windows 7, 8, 8.1, and 10. The antivirus feature embedded inside this software detects scans and removes all malicious programs infecting your PC immediately. It resolves all your system’s privacy issues and makes sure that your system is inaccessible to hackers.
Besides this, the registry cleaner removes files cluttering and damaging the registry and also restores it. With the help of the system stability detector, it detects errors causing PC slowdowns and resolves them too thereby boosting the speed of your PC dramatically.
To begin with, Cyclic Redundancy Check is basically an error checking technique. This technique is used for data verification. It detects accidental changes in the data. It is used by computers to specifically check the data stored in the hard drive or optical disks (DVD’s and CD’s).
The Cyclic Redundancy Check error occurs when the data being verified on the hard drive or optical disks is corrupt.
Symptoms for this error code include program lock-ups, slow PC performance, inability to run and execute the desired program, system freeze and shutdown and startup issues.
Error Causes
The Cyclic Redundancy Check error code occurs due to the following reasons:
Cluttered hard disk
Registry corruption
Misconfigured files
Unsuccessful program installation
All these causes points towards registry issues and poor PC maintenance. The registry is the main database of the computer. This part of the PC saves practically every activity you perform on it including activities like application installation and deletion and web browsing to name a few.
With time and frequent PC usage, the files generated from every activity you execute on your system begin to load the registry. These include even the unnecessary files like junk files, internet files and files of applications that you’ve uninstalled.
All these files overload the registry and acquire a lot of hard disk space. And when you don’t remove these files on your system, eventually it leads to file misconfiguration, cluttered disk, and registry corruption.
New program versions that you want to install and run on your system also don’t function because the files of the old program version still saved in the registry.
Further Information and Manual Repair
As the Cyclic Redundancy Check Error causes data corruption on the hard disk, it is advisable to fix this error right away. The reason is that it can have serious consequences. It can lead to data loss, fatal crashes, and system failures.
When it comes to resolving Cyclic Redundancy Check Error, there are two ways to fix it:
Run the CHKDSK application.
This is a built-in feature in your Windows system. It checks for hard disk damage and attempts to resolve it.
If you are using Google Chrome browser in surfing the web, you might have experienced a situation where you’re trying to connect to a website but were unable to since Chrome failed to fetch the website to the browser and throws an error that says, This webpage is not available – Err Connection Timed Out. Aside from an issue with the network connection, there are also other reasons why this error suddenly shows up, read on to fix it.
There are times when the Windows computer is responsible for this kind of issue. And it can happen not just to Google Chrome but to other browsers as well. To resolve this issue, here are some suggestions that might be of help.
Option 1 – Try checking the network cables and then restart your router and reconnect
The first thing you can do is to check if all the network cables are properly connected be it to your computer or to the router. And if your computer is connected via Wi-Fi, you need to restart your router once. And of course, you can always opt to forget the Wi-Fi details and then reconnect again just make sure that you know the password.
Option 2 – Check the Windows Host file
You can also try to cross-check the Windows Hosts file to find out if the website you are trying to open has been blocked because if it is, then it’s no wonder why you’re getting the ERR CONNECTION TIMED OUT error in Chrome. There are instances when some third-party application modifies the file and adds some websites to the blocklists. So if the website is indeed blocked, you need to remove it from the list.
Option 3 – Try removing Proxy
Removing the Proxy might also help you in fixing the ERR CONNECTION TIMED OUT error. Here’s how you can do it:
Tap the Win + R keys to open the Run dialog box.
Then type “inetcpl.cpl” in the field and hit Enter to pull up the Internet Properties.
After that, go to the Connections tab and select the LAN settings.
From there. Uncheck the “Use a Proxy Server” option for your LAN and then make sure that the “Automatically detect settings” option is checked.
Now click the OK and the Apply buttons.
Restart your PC.
Note: If you are using a third-party proxy service, you have to disable it.
Option 4 – Try to clear the browsing data of Google Chrome
If your browsing data in Chrome hasn’t been cleared for some time now then that might be the reason why you’re suddenly getting the ERR CONNECTION TIMED OUT error when you browse the web. To fix this error, you need to clear your web browsing data. Refer to the following steps to do so.
Tap the Ctrl + Shift + Delete buttons to go to the Clear browsing data section in Chrome.
Next, set the time range to “All time” and tick all the boxes and then click on the Clear data button.
After that, restart the Chrome browser and try to open the website you were trying to open earlier.
Option 5 – Flush the DNS and reset TCP/IP
You might also want to flush the DNS and reset TCP/IP as it could help in fixing the ERR CONNECTION TIMED OUT error. To do so, refer to these steps:
Click the Start button and type in “command prompt” in the field.
From the search results that appear, right-click on Command Prompt and select the “Run as administrator” option.
After opening Command Prompt, you have to type each one of the commands listed below. Just make sure that after you type each command, you hit Enter
ipconfig /release
ipconfig /all
ipconfig /flushdns
ipconfig /renew
netsh int ip set dns
netsh winsock reset
After you key in the commands listed above, the DNS cache will be flushed and the Winsock, as well as the TCP/IP, will reset.
Now restart your computer and open Google Chrome then try opening the website you were trying to open earlier.
Option 6 – Run the built-in Malware Scanner and Cleanup Tool in Chrome
In case you don’t know, there is actually a built-in malware scanner and cleanup tool in Chrome that helps you get rid of any unwanted ads, pop-ups, and even malware, as well as unusual startup pages, toolbars, and other things that could affect the performance of the browser.
Option 7 – Reset Chrome
Resetting Chrome can also help you get rid of the ERR CONNECTION TIMED OUT error. Resetting Chrome means restoring its default settings, disabling all the extensions, add-ons, and themes. Aside from that, the content settings will be reset as well and the cookies, cache, and site data will also be deleted. To reset Chrome, here’s what you have to do:
Open Google Chrome, then tap the Alt + F keys.
After that, click on Settings.
Next, scroll down until you see the Advanced option, once you see it, click on it.
After clicking the Advanced option, go to the “Restore and clean up the option and click on the “Restore settings to their original defaults” option to reset Google Chrome.
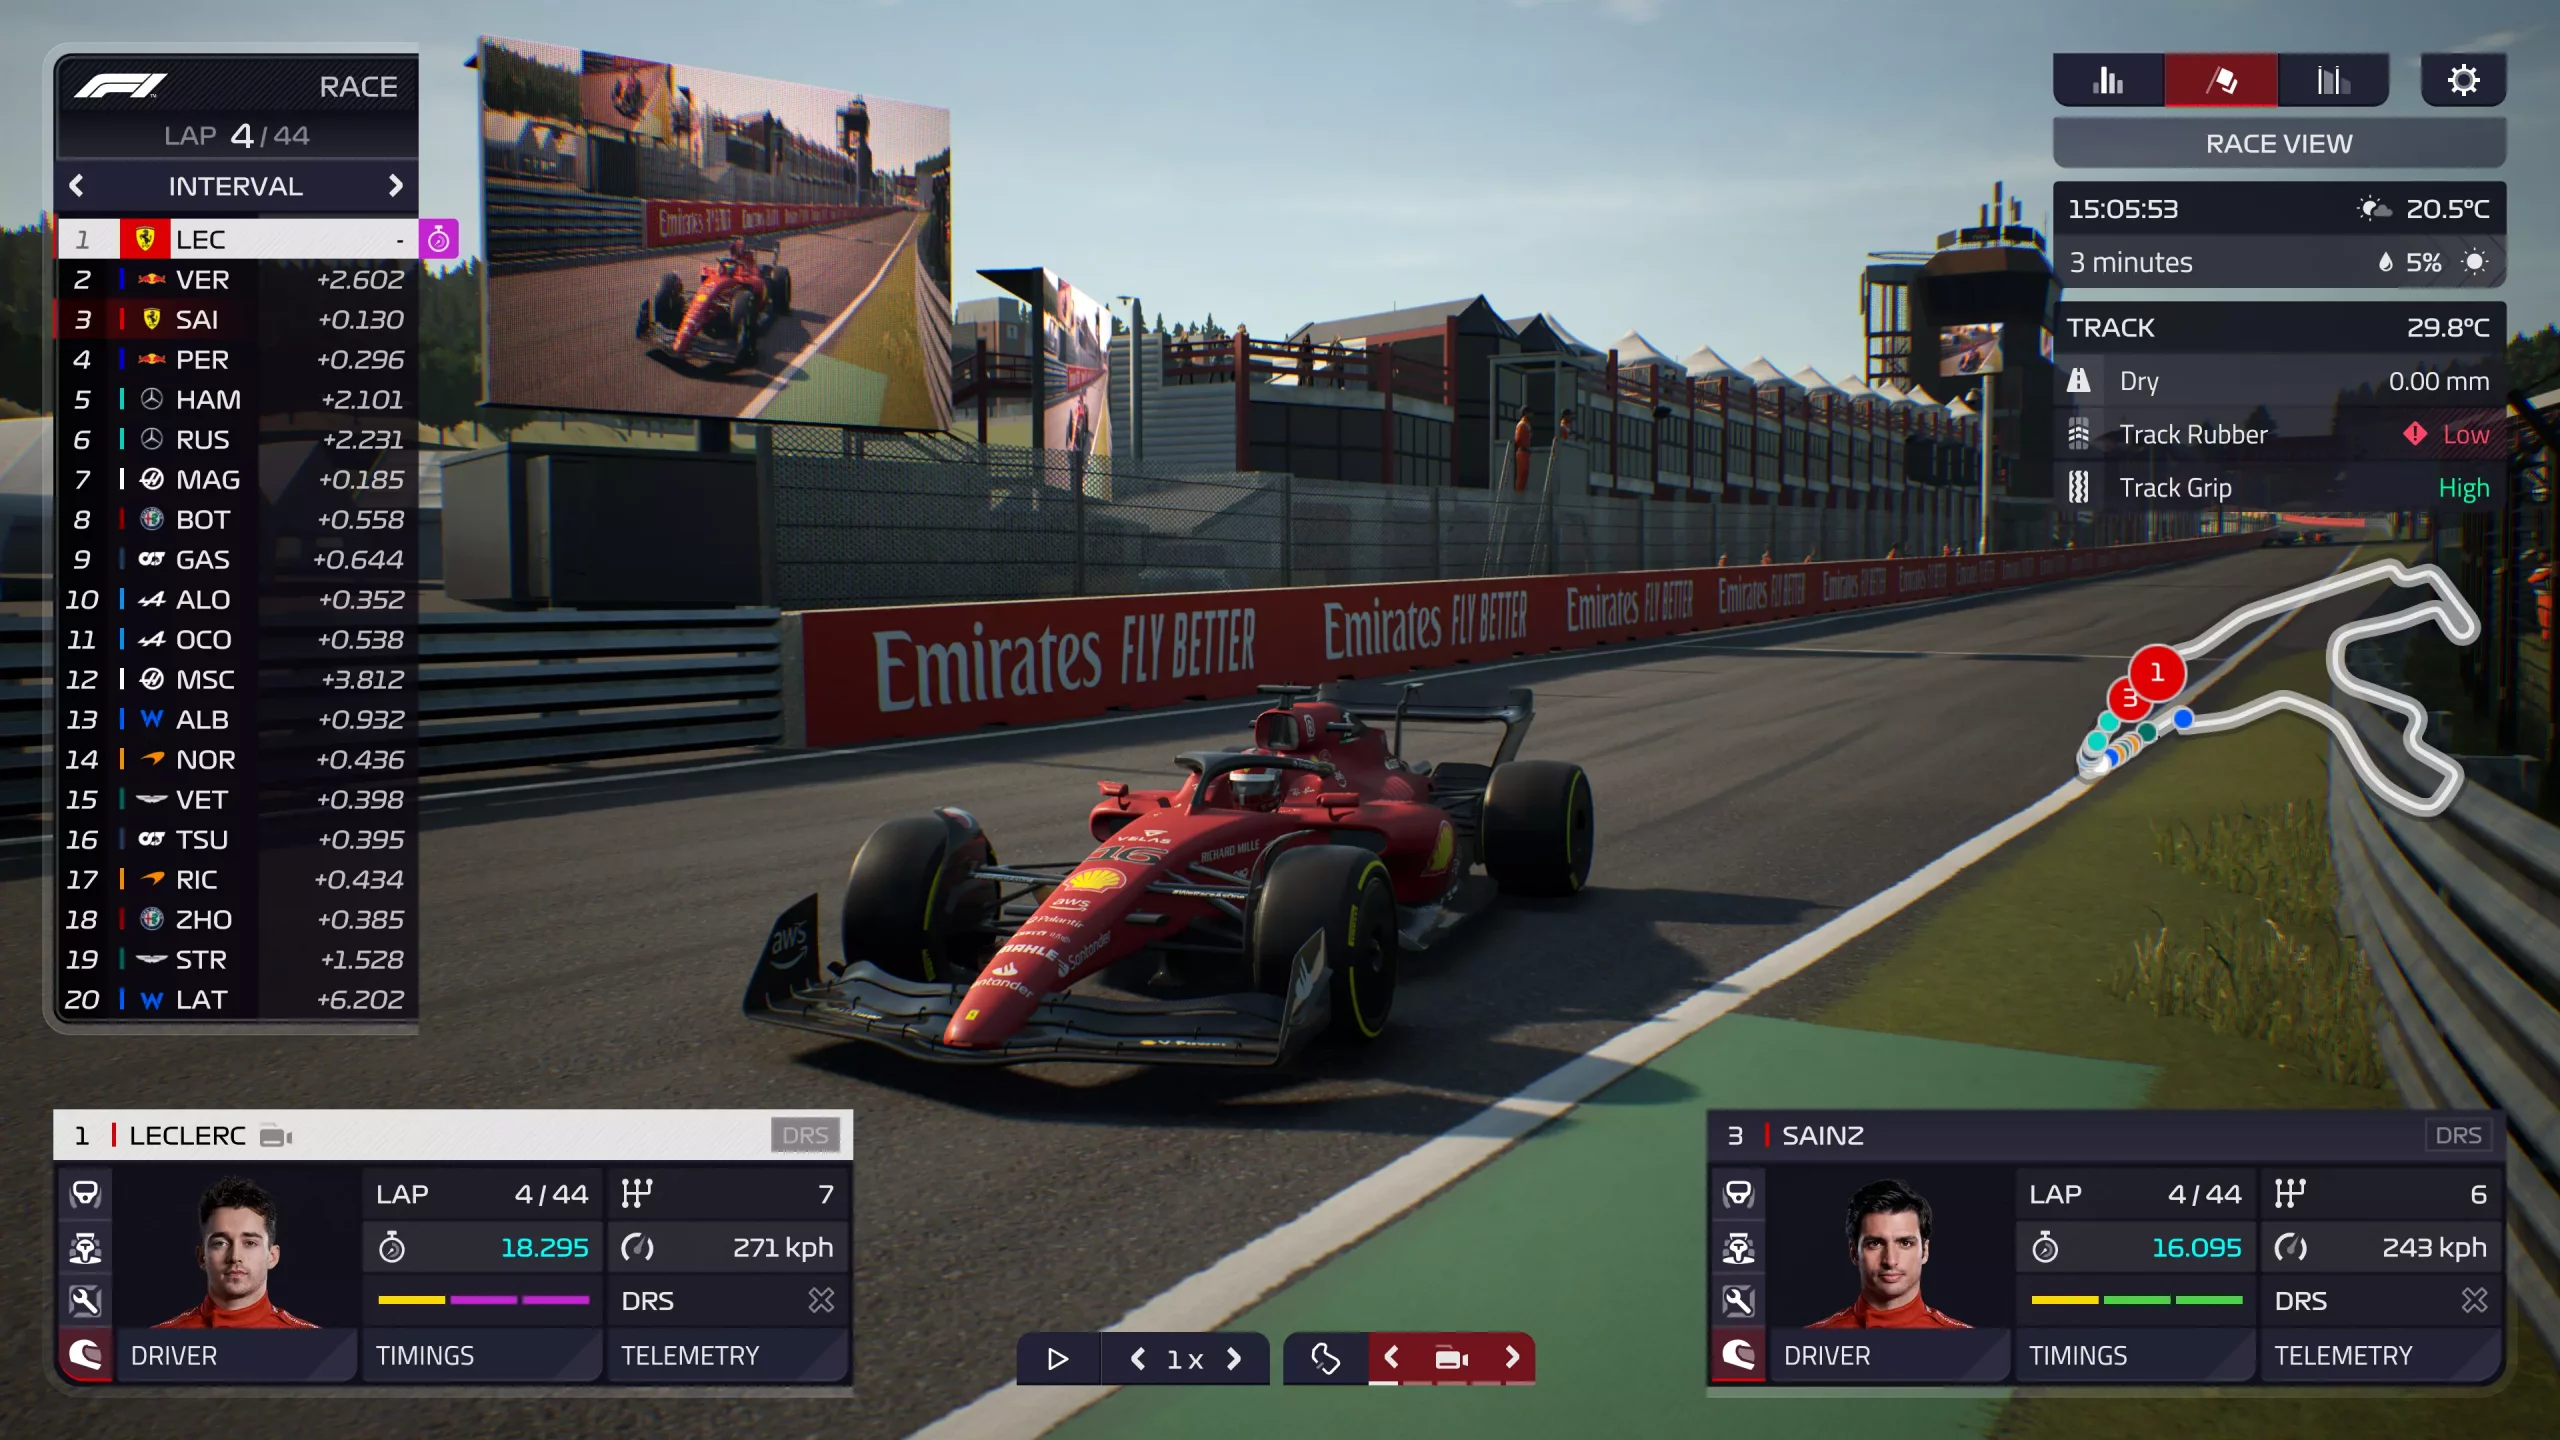
Steam Autumn sale is still raging and other storefronts like EPIC and GOG have also had their go, and as the year slowly closes we reflect on the best games released this year.
The games presented are not in any particular order and as sales are still raging pick one for you for a good time.
F1 Manager 22
If you are into formula racing this new manager is something we will wholeheartedly recommend. How it has been a very long time since a good F1 manager has been released this one is breath of fresh air. Masterfully done and fun to play, also licensed with real teams and cars get it here: https://store.steampowered.com/app/1708520/F1_Manager_2022/
Stray
I like cats, but this game is on another level from its competitors. Unique approach, great storyline, and of course orange cat as the main character! Set in a cyberpunk environment following the story of some unfortunate androids you can do most cat things like playing in boxes, etc but essentially the game is a puzzle platformer which in my opinion is a great thing. Meow your things and get the game while it is discounted: https://store.steampowered.com/app/1332010/Stray/
Neon White
Mirror's Edge was the very unique game when it was released introducing parkour into the gaming world, and Neon white brings it one level up. With competitive parkour FPS gameplay this game is great for killing some time and competing with your friends but most of all it is fun to play experience. Get it here: https://store.steampowered.com/app/1533420/Neon_White/
This game needs to be experienced in order to fully grasp its magnitude and quirkiness. From the creators of borderlands comes a new IP fusion of fantasy, guns, and crazy ideas all wrapped into an action RPG looter shooter with a recognizable borderlands style of graphics. https://store.steampowered.com/app/1286680/Tiny_Tinas_Wonderlands/
Norco
Winner of multiple awards, Norco is a classic point-and-click adventure game with a great sci-fi story with a lot of environmental focus. Story and atmosphere are the main selling points for the game and if you enjoy good stories with interesting characters give this one a go: https://store.steampowered.com/app/1221250/NORCO/
Final Fantasy 14: Endwalker
Expansion for Massive multiplayer online roleplaying game brings so much to the table that we just could not oversee it and place it aside. Technically not full standing game since it is the expansion it still delivers on many fronts and since it is supposedly the last expansion now is the best time to pick it up and give a final fantasy 14 a go: https://store.steampowered.com/app/1592500/FINAL_FANTASY_XIV_Endwalker/
Elden Ring
Of course, the list would not be complete if we did not include Elden ring, a great example of how a difficult but well-executed game can go over and beyond. With a story on par with great epics and compact as in dark souls, this title will provide you with many hours of gameplay and content. https://store.steampowered.com/app/1245620/ELDEN_RING/
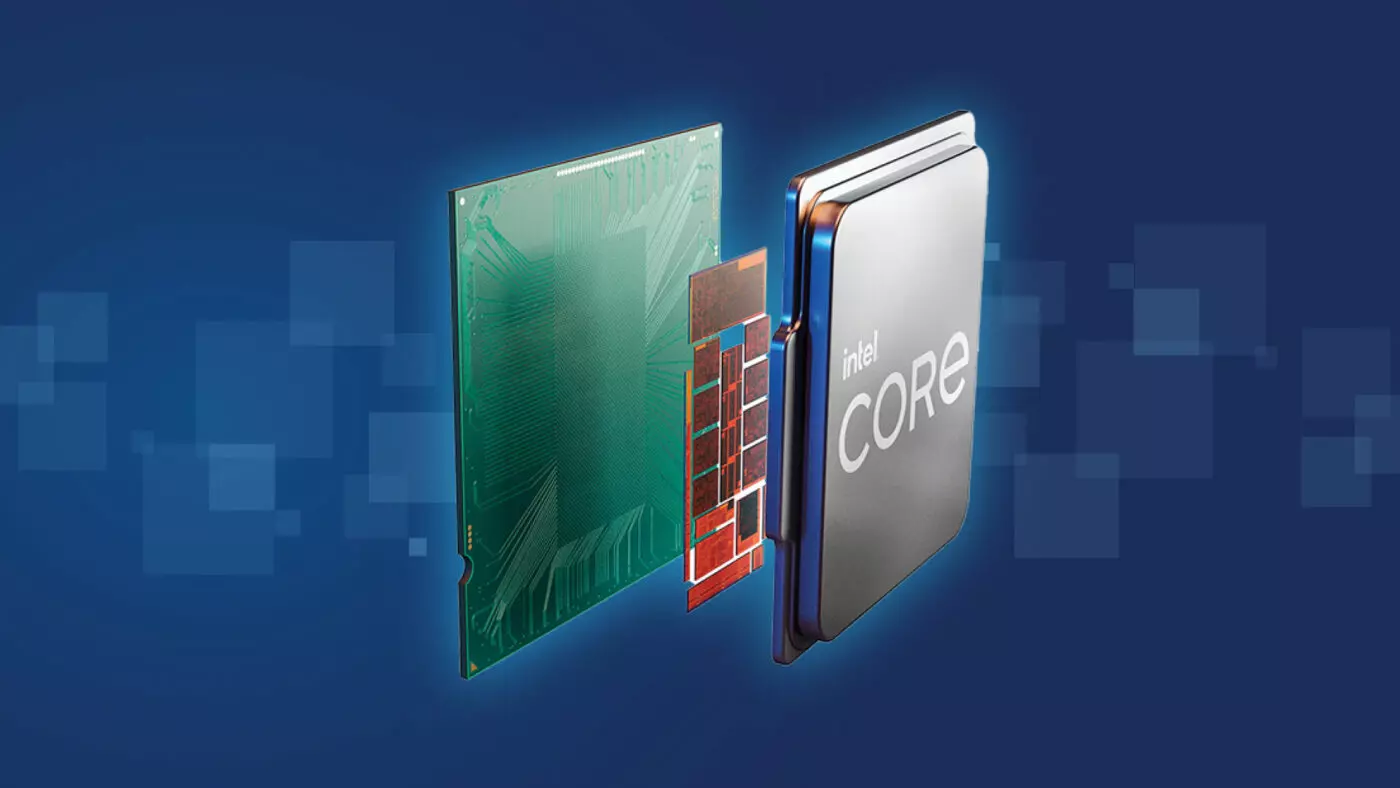
Raptor Lake, a new and upcoming Intel 13th generation CPU will break the 6GHz barrier for the first time ever in normal working mode, overclocked mode in Intel words will go as high as 8GHz. CPU will be 15% faster than Alder lake in single-threaded tasks and a stunning 41% faster in multi-threaded workloads.
The current world record for overclocking is 8.72GHz done with AMD FX-8370 and Intel is aiming at breaking that record with Raptor Lake, of course, this kind of extreme overclocking will require some top-of-the-line nitrogen cooling systems.
Raptor Lake will run on the current LGA 1700 socket, so you will not need to buy another motherboard for CPU and they will also be manufactured on a 10nm process which means that you will need to take care of cooling and power supply if they really go over 6GHz.
Mid-range Intel Core i5-13600K processor will come with 14 cores inside and 20 threads running at a maximum P-core frequency of 5.1GHz, while Core i7-13700K will have 16 cores and 24 threads and run on 5.3GHz max P-core frequency. Best i9-13900K will come packed with 24 cores, 8 of them will be P-cores, and the rest 16 are E-cores, and 32 threads. It will reach 5.4GHz frequency but it was stated it can go to 5.8GHz with Thermal Velocity Boost.
After this statement, we can clearly see that the 6GHz breaker CPU will probably be an i9 special KS variant. In other words, specially tested and picked existing i9 running at higher speeds as was with Alder Lake as well where normal i9-12900K ran at 5.2GHz while i9-12900KS was running at 5.5GHz.
This is a typical system error that occurs during Windows setup. To be precise, this error may pop on your computer screen during the text mode portion of Windows setup.
The setup hangs and stops responding and the error message is displayed in either one of the following formats:
‘The file I386Ntkrnlmp.exe could not be loaded. The error code is 7.’or ‘The file I386L_intl.nlf could not be loaded. The error code is 7.’
Solution
Error Causes
Error 7 may be triggered due to several reasons but the 2 most common causes for this error code are:
Incorrect settings of the BIOS
Faulty RAM modules
Registry corruption
Further Information and Manual Repair
To resolve this error on your system, here are some easy and effective DIY methods that you can try.
Method 1 - Change Back the BIOS to its Default Settings
If the underlying cause of error code 7 is related to incorrect BIOS settings, then it is recommended to restore default settings to resolve.
You can reset your computer’s BIOS (basic input and output system) settings to factory defaults by selecting the restore defaults option within BIOS or by removing CMOS ( Complementary Metal Oxide Semi-Conductor) battery from your unplugged computer for about five minutes.
The battery removal method requires opening the computer case, so only attempt it if you are unable to access BIOS.
To reset BIOS follow these steps, reboot your PC and then press the key assigned to loading BIOS during your computer boot splash screen.
The key assigned to load and access BIOS varies from manufacturer to manufacturer but usually, it's F1, F2, or F12. Once you enter the BIOS, select the ‘Restore Defaults’ option listed in the menu. I
t may be a keyboard shortcut or be under the Advanced settings menu. Confirm settings and then exit BIOS. Hopefully, this will resolve Error 7.
Method 2 - Remove the Faulty RAM
When error code 7 is triggered by faulty RAM modules, then to resolve it simply remove the memory modules that are installed in the computer.
If the error code is displayed again after you remove the memory module, remove a different memory module. This procedure requires you to reboot your PC several times to identify the specific memory module that is not working properly.
Method 3 - Repair the Corrupted Registry
Error code 7 is sometimes also linked with registry issues. If the reason for the error occurrence is a damaged or corrupted registry, then simply download Restoro.
This is a powerful PC Fixer embedded with a registry cleaner. It is easy to operate and user-friendly. The registry cleaner detects and removes all errors in seconds. It cleans the registry and repairs the damages in no time.
Click here to download Restoro.
One of the most useful utilities for advanced users in Windows is the Windows command line or Command Prompt. It is efficient in fixing system files, checking the disk for errors as well as other intensive tasks that are made convenient using this.
One of the tasks you can carry out using Command Prompt is repairing the Windows bootup process if it encounters any issues. However, if you tried running the “bootrec/fixboot” command and you receive an error message saying, “Element not found”, read on as this post will guide you in fixing this error. This kind of error in the command line could be due to a damaged BCD or MBE, inactive system partition, or it could also be that there is no drive letter being assigned to the EFI partition. Whichever the case is, here are some possible fixes that should help you resolve the problem.
Option 1 – Try to repair BCD
As mentioned the error could be caused by a damaged BCD and so to fix the problem, you need to repair BCD by following these steps:
First, make sure that you have a bootable Windows 10 USB drive with you and use it to boot your computer.
Once you’re on the Welcome Screen, click on Next.
After that, click on Repair your computer located at the bottom-left portion of the window.
Then select Troubleshoot > Advanced Options > Command Prompt.
After you open the Command Prompt window, execute the following command:
bootrec /fixboot
Afterward, enter the next command below to rename the BCD file:
ren BCD BCD.bak
Next, type the following command and make sure to replace “b:” with the letter of your bootable drive attached to your computer.
bcdboot c:Windows /l en-us /s b: /f ALL
Now, wait until the process is completed and restart your computer to successfully apply the changes made.
Option 2 – Try assigning the drive letter to the EFI partition
Tap the Win + X keys or right-click on the Start button and click on Command Prompt (Admin) to open Command Prompt with admin privileges.
Then type the following command to start the Diskpart utility:
diskpart
After that, if you receive a UAC prompt, just click on Yes to proceed.
Next, type the following command to list all the volumes created on your PC including both types of partitions that are visible to a normal user in the File Explorer as well as the ones created by Windows 10 by default which helps it in storing the boot files and other important system files:
list volume
Now type the following command to select the desired volume:
select volume number
Then type the following command to assign a letter to the selected volume:
assign letter=<LETTER>
Note: Make sure to replace “<LETTER>” with the letter you want to allocate to that partition. Afterward, it will assign a letter to the selected volume.
Reboot your PC to apply the changes made.
Option 3 – Try setting the System Partition to Active
Like the first given option, you also have to make sure that you have a bootable Windows 10 USB drive before you proceed to set the System Partition to Active. Once you have it covered, refer to these steps:
Boot your computer using the bootable Windows 10 USB drive.
Next, click Next when you get to the Welcome Screen.
Then click on Repair your computer located at the bottom left part of the window and select Troubleshoot > Advanced Options > Command Prompt.
After opening Command Prompt, type the following command and hit Enter to start the Diskpart utility. It is a command line-based utility just like Command Prompt but has a UAC prompt once you provoke it. So if you encounter a UAC prompt, just click on Yes to proceed.
diskpart
Now type the following command:
list disk
From there, select your primary disk by typing the following command:
select disk number
After that, list all the partitions on the selected disk by entering the following command:
list partition
The command you just entered will list all the partitions created on your PC including both types of partitions that are visible to a normal user in the File Explorer as well as the ones created by Windows 10 by default which helps it in storing the boot files and other important system files.
Now type the following command to select the partition that is usually around 100 MB in size:
select partition number
Finally, type the following command to mark the partition active:
active
Then type the “exit” command to exit the disk part utility.
Microsoft just released Windows 11 ISo file, based on the latest Insider Preview Build 22000.132. Inside build, you can try all-new features like clock updated app, snip tool, and everything releases so far via various patches. You can also use Windows 11 ISO file to do a clean install on your computer, but if you go with this option all of your existing files will be deleted.
Microsoft says it added the ability to name your PC during the setup experience. You’ll also get to experience the Get Started app that’s designed to help you get going on your new Windows 11 PC (even if it’s not actually a new one).
Download ISO
Go to the Windows Insider Downloads page. You will need to sign in with a Microsoft account registered with the Insider Program.
Scroll down to Select Edition and select the build you want to download. You will most likely want the one at the top from the developer channel, as this is where Windows 11 should arrive first. So far, only Windows 10 builds are available. Click confirm.
Select your preferred language. Not all languages available for Windows are compatible with the Insider program, so you may have to stop depending on where you are from.
Click the download button and the ISO file will start downloading.
This is definitely an easier method, but unfortunately, it is not available yet. We will update this article once Windows Insider ISOs are available. Later, once Windows 11 64 bit is available to everyone, you can also download the stable build of Windows 11 iso. Microsoft offers the Media Creation Tool and Upgrade Assistant, which usually do just that. It will be some time before Windows 11 versions of the tools are available, as the operating system is only getting closer to this holiday.
Stumbling upon downloader.dll not found error is not pleasant to experience, usually, it means that desired application can not be started. There could be several reasons why this error happens from user mistakes, corrupted files, bad installation, and even bad RAM memory. Whatever the reason might be solutions provided are the same for all and offer a fix to this issue.
it is advisable to follow provided solutions from start to finish not skipping any one of them since they are tailored to address the simplest solutions and issues and move toward more complicated ones.
Reinstall application
If you are receiving Downloader.dll not found when trying to run just a single certain application, reinstall the application, there is the possibility that the application has somehow corrupted downloader.dll during the installation process. Reinstalling might fix the problem.
Run SFC scan
SFC scan is the tool meant to scan all files and fix any corrupted ones. To run this tool, open the command prompt in administrator mode by right-clicking on the windows start button and then left-clicking on the command prompt (admin). When you are in command prompt type in SFC /scannow and let the whole process finish.
Update device driver
If previous steps have not provided results, go to device manager and visually check is there a device with an exclamation or other sign next to it, if there is, right-click on it and choose update driver.
Wondering if upgrading to Windows 11 will boost your gaming experience? We can’t give you a straightforward answer, sadly. But we can take you through the tweaks you can expect if you have all the right requirements and help you make a final decision.
Is Windows 11 good for gaming?
Essentially, the answer to this question is yes. Microsoft has definitely added a bunch of enhancements and features to its latest OS to give gamers the best possible experience. However, you have to keep in mind that this may not work out smoothly for every single user.
Whether you’ll be able to fully take advantage of the Windows 11 gaming features really depends on your setup. As expected, Windows 11 has more demanding system requirements than its predecessor.
Credit: Florian Olivo on Unsplash
So, unless your hardware can run the new OS comfortably, you might not be able to make the most of all these gaming perks. In that case, we recommend you first upgrade your hardware and then make the switch. Be prepared to be a little surprised by a few other interesting changes in comparison to Windows 10, though!
For some of the new gaming features to work, it’ll also be necessary for you to have an NVMe SSD and an HDR-compatible monitor. So let’s take a look at 4 big improvements you can expect if your setup is compatible.
Gaming enhancements on Windows 11
1. Enjoy faster loading speed with DirectStorage
For this powerful feature to work, you need a compatible graphics card and, as stated before, an NVMe SSD. It’s also important for your GPU to support the DirectX 12 graphics API at least. And since we’re on that subject, you’ll be happy to know that Windows 11 has also introduced a new version of the API called DirectX 12 Ultimate.
Now, what does DirectStorage do? It’s a new feature designed to make full use of the speedy storage of NVMe SSDs. It also transfers game data directly onto the graphics card, lightening the load on your CPU. Normally the CPU would have to decompress the data first, but DirectStorage helps bypass this. That’s how loading times are reduced and games run more smoothly.
2. Fully immerse yourself through Game Mode
Windows 11’s Game Mode is certainly a welcomed addition. When you turn on Game Mode, usage of background apps that aren’t essential to your game is reduced. This results in the game you’re running becoming a priority process. This way, it uses your hardware and system resources to the max. Ultimately, the Game Mode means less lag and higher frame rates so you can play undisturbed and fully enjoy your gaming session.
3. Vibrant visual experience thanks to AutoHDR
For this one you’ll absolutely need an HDR-compatible monitor. Basically, HDR (High Dynamic Range) means a wider range of contrasts and colors that can be displayed on a monitor.
Windows 10 has an HDR feature, but you have to turn it on and off manually (“Use HDR”). Plus, users have reported that, if left on, it results in an unappealing appearance of content other than movies and games.
Windows 11 fixes that problem with its AutoHDR feature. Toggling it results in the system automatically adjusting the color contrast, balance and brightness based on what you’re currently looking at. For gamers, this means vivid imagery in every single game, resulting in a supreme visual experience. You can check out Microsoft’s own video showcasing the power of AutoHDR.
Aside from AutoHDR, another way Windows 11 improves the visual aspect is through its support for refresh rates of up to 360Hz.
4. Xbox Game Pass & Game Bar
It’s no secret that Microsoft wants to integrate Windows and Xbox. We’ve seen some attempts with Windows 10, but they’re pretty wonky compared to the new OS.
Windows 11’s built-in Xbox Game Bar enables quite a few options all gamers desire. You can take screenshots and videos of your game and send them, for starters. Furthermore, you can use it to see audio settings and monitor your PC’s performance without having to leave the game or open the Task Manager.
Widgets are also a really cool part of the Game Bar. You can choose from a wide variety of widgets, such as Xbox Achievements, Spotify, Gallery, Xbox Social and more.
Moreover, the Xbox Game Pass has been streamlined on Windows 11. Game Pass is a subscription service that unlocks hundreds of awesome games and supports cloud streaming. Do keep in mind that the games are only unlocked for a certain period of time, as the selection rotates once in a while.
What can you do for a better gaming experience?
Windows 11 does offer tweaks that require zero input from you. However, there are a few things you can do manually to get even more out of your new OS while gaming.
Turn off enhanced pointer precision. Most games enhance precision by default, so having this feature on might interfere with that.
Make sure to select your high performance graphics card for each game. Go to Settings > Gaming > Game Mode and tap ‘Graphics’ from the ‘Related settings’ menu. Find the game you want to adjust, click on ‘Options’ and choose your high performance graphics card to be the default setting. While there, you can also turn on ‘Hardware-accelerated GPU scheduling’ at the top.
Disable unnecessary apps and programs. As long as they aren’t essential to running your game, they might take up valuable system resources, so disable them to make space for your gaming requirements.
Check for pending updates and install them. It’s well-known that out-of-date software causes bugs, latency and crashes. The same goes for your GPU drivers.
Use the High-performance power plan (Control Panel > Power Options > Additional plans) to maximize the use of resources for the best possible performance.
Summary
Windows 11 has done quite a bit for avid gamers. We hope your setup is compatible with all these new features and you can experience these enhancements ASAP!
This post will guide you in fixing the “Communication with service process failed” error in Windows 10. This error is related to the Intel Driver and Support Assistant application. Although this error does not reportedly cause any loss of functionality in the computer, however, it still indicates that there is something wrong with some of your driver modules.
Intel has taken a bold step and combined its older modules into this new application (Intel Driver and Support Assistant) recently. This application enables users to scan their computers for any available updates from Intel. This is the main application of Intel and provides users a way to update their driver software automatically instead of manually updating it. However, with the recent reports submitted by some users, it seems that something is wrong with this application, and users to have to deal with the “Communication with service process failed” error. This error might be caused by several reasons, for one, it could be that the application is corrupted or incomplete in its nature which is possible since this is still a developing and newly released app. It could also be that there are other utilities or modules that conflict with the Intel software. Whichever the reason may be, you can try out the options given below to resolve the problem but before you proceed, make sure that you have an administrator account as well as an active and stable internet connection.
Option 1 – Disable DSATray in Startup
If you receive this error message every time you start your computer then this means that the application is not able to launch properly. Like pointed out, it could be that it is still incomplete in nature or it conflicts with other applications. Thus, you can try to disable the service from the startup and check if it fixes the problem.
Tap the Win + R keys to open the Run dialog box.
Then type “taskmgr” in the field and hit Enter to open the Task Manager.
After that, go to the Startup tab and look for the Intel Driver and Support Assistant app.
Right-click on the app and select Disable.
Restart your PC and check if the error is now fixed or not
Option 2 – Reinstall the Intel Driver and Support Assistant
If the first option did not work, you can try reinstalling the Intel Driver and Support Assistant app. To do so, follow these steps:
In the search box, type in “control” and then click on Control Panel (desktop app) among the search results.
After that, select Programs and Features from the list which will give you a list of all the programs installed on your computer.
From there, look for Intel Driver and Support Assistant and select it and then uninstall it.
After you have the app uninstalled, open your browser and go to Intel’s official website. From there, download the driver utility manually.
Once the download is finished, right-click on it and select “Run as administrator” and install the app on your PC with elevated access.
Restart your PC and then check if the error is now fixed.


 Microsoft just released Windows 11 ISo file, based on the latest Insider Preview Build 22000.132. Inside build, you can try all-new features like clock updated app, snip tool, and everything releases so far via various patches. You can also use Windows 11 ISO file to do a clean install on your computer, but if you go with this option all of your existing files will be deleted.
Microsoft says it added the ability to name your PC during the setup experience. You’ll also get to experience the Get Started app that’s designed to help you get going on your new Windows 11 PC (even if it’s not actually a new one).
Microsoft just released Windows 11 ISo file, based on the latest Insider Preview Build 22000.132. Inside build, you can try all-new features like clock updated app, snip tool, and everything releases so far via various patches. You can also use Windows 11 ISO file to do a clean install on your computer, but if you go with this option all of your existing files will be deleted.
Microsoft says it added the ability to name your PC during the setup experience. You’ll also get to experience the Get Started app that’s designed to help you get going on your new Windows 11 PC (even if it’s not actually a new one).

