Logo

Chrome Roblox malware

Roblox is a very popular online game with millions of gamers playing it each day and as such it will naturally bring a lot of malware and attack on players trying to steal and exploit them for monetary gains. The latest attack and high-profile stealing of currency and assets happened exactly in Roblox.

roblox

Malicious activities have been reported to come from chrome extensions. So far 2 extensions have been identified that have hidden malware inside them but there could be more of them currently undetected. Extensions work as a front while in the back they mine user logins and other data in order to steal stuff from the Roblox platform.

To make things worse some of the malware is within long extensions like SearchBlox. The SearchBlox extension allows you to search quickly for other users if it was legitimate but has been compromised within the last month. There is evidence that people are stealing Roblox currency with the data gathered by the hidden backdoor in it.

SearchBlox extension is still Active in Chrome Web Store, with the primary listing still with the "Featured " badge. Google is actively removing malicious software from its storefront on a regular basis but this one still lingers in it.

If you or your kid have this Chrome extension installed, uninstall it right away and always be careful about which extension you install and give access to your system, keep them updated and check various blogs and article sites to inform yourself when a bad one is found.

Do You Need Help with Your Device?

Our Team of Experts May Help
Troubleshoot.Tech Experts are There for You!
Replace damaged files
Restore performance
Free disk space
Remove Malware
Protects WEB browser
Remove Viruses
Stop PC freezing
GET HELP
Troubleshoot.Tech experts work with all versions of Microsoft Windows including Windows 11, with Android, Mac, and more.

Share this article:

You might also like

Fix Sechost.dll missing error in Windows 10
If you are facing a missing sechost.dll error in your Windows 10, welcome, you have come to the right place to solve it and get back your computer in working order. Sechost.dll is a file that allows other programs to function and complete their tasks as well as control and change the behavior of other programs. The file is found in Windows subfolder System32, it is a completely safe file and should not be deleted. Sometimes however various other reasons can corrupt it or delete it. This guide will lead you to common solutions on how to get file back up and running.
  1. Update device driver

    Have you installed a new device and all of a sudden you get the error message that Sechost is missing? Update device driver, it is possible that the file has been corrupted or replaced with an older version and therefore reported as missing. Update device driver to lastest version and issue should run away.
  2. Re-register file via command prompt

    If Sechost got corrupted re-registering will solve the issue, press ⊞ WINDOWS + X and choose Command prompt (administrator), click on it. type regsvr32 sechost.dll and press ENTER Reboot your PC
  3. Reinstall application

    Usually, Sechost gone bad or missing is due to the installation of another application that corrupts the file. Reinstall the application to try to solve errors. In order to properly reinstall the application first use the control panel to remove it completely from the system and then install it again, hopefully, this time correct version of Sechost.dll will be installed in the system.
  4. Check your hard drive

    In some cases, a hard drive malfunction can cause several files to be corrupted or gone missing. To eliminate hard drive malfunction run check disk from Windows on C drive to check it and find if there are any errors.
  5. Uninstall Windows update

    Same as with some application, even Windows update could corrupt some files due to update not being properly downloaded. Try uninstalling the latest update and revert to the previous Windows state, then update it again.
Read More
An Easy Guide to Fixing Error Code 800b0100

Error Code 800b0100 - What is it?

800b0100 is a typical Windows Update error. This error message occurs when you try to install the latest updates from Microsoft Updates and Windows Updates. The error message is displayed in the following format:
“Code 800B0100 Windows Update encountered an unknown error.”

Solution

Restoro box imageError Causes

Error code 800b0100 may pop up on your computer screen due to different reasons. However, some of the common causes include:
  • The file needed by Windows Update is corrupt or missing
  • Security software conflict such as Firewall
  • Incorrect Registry keys
  • Windows security .dll files are registered incorrectly

Further Information and Manual Repair

To resolve error code 800b0100 on your system, you don’t have to hire a professional. This error is quite easy to repair and requires no technical expertise. In other words, you don’t need to be a computer programmer or technically sound to repair this issue. Here are some of the easy and effective DIY methods that you can try to resolve error code 800b0100 on your system:

Method 1

Download System Update Readiness Tool from Microsoft’s website on your PC. This tool can help you fix this problem that might prevent Windows Updates from installing. Typically it will take 15 minutes or less to scan your entire PC.  The System Update Readiness Tool will scan your computer for inconsistencies that may cause errors to occur.

Method 2

Disable Security Software on your PC for example if you use Windows Vista then you will have Firewall already built in. Disable it to resolve error 800b0100. To do this, simply go to the start menu and open the control panel and then select security. Now locate the option Windows Firewall and upon finding, simply choose the option Turn Windows Firewall on or off. Select off (not recommended) option, then click Apply and OK to reset and confirm changes. After that, go back to the Windows Update screen and then click the try again button. The download and installation would start. After the installation is complete, restart your PC to activate changes. Once the updates are successfully installed, not re-enable the Firewall, to ensure your PC is not exposed to potential security threats or viruses.

Method 3

Remove Invalid Keys from the Registry by downloading Restoro. This is a PC Fixer deployed with a registry cleaner. It scans your entire PC and removes all the obsolete and unnecessary files like cookies, bad and invalid registry keys. It cleans and repairs the registry in a few clicks. Click here to download Restoro.
Read More
Epic games and many more coming in Win store
Microsoft store is ready and prepared for Windows 11 official release on October 5th and it is coming with some surprises. Windows store
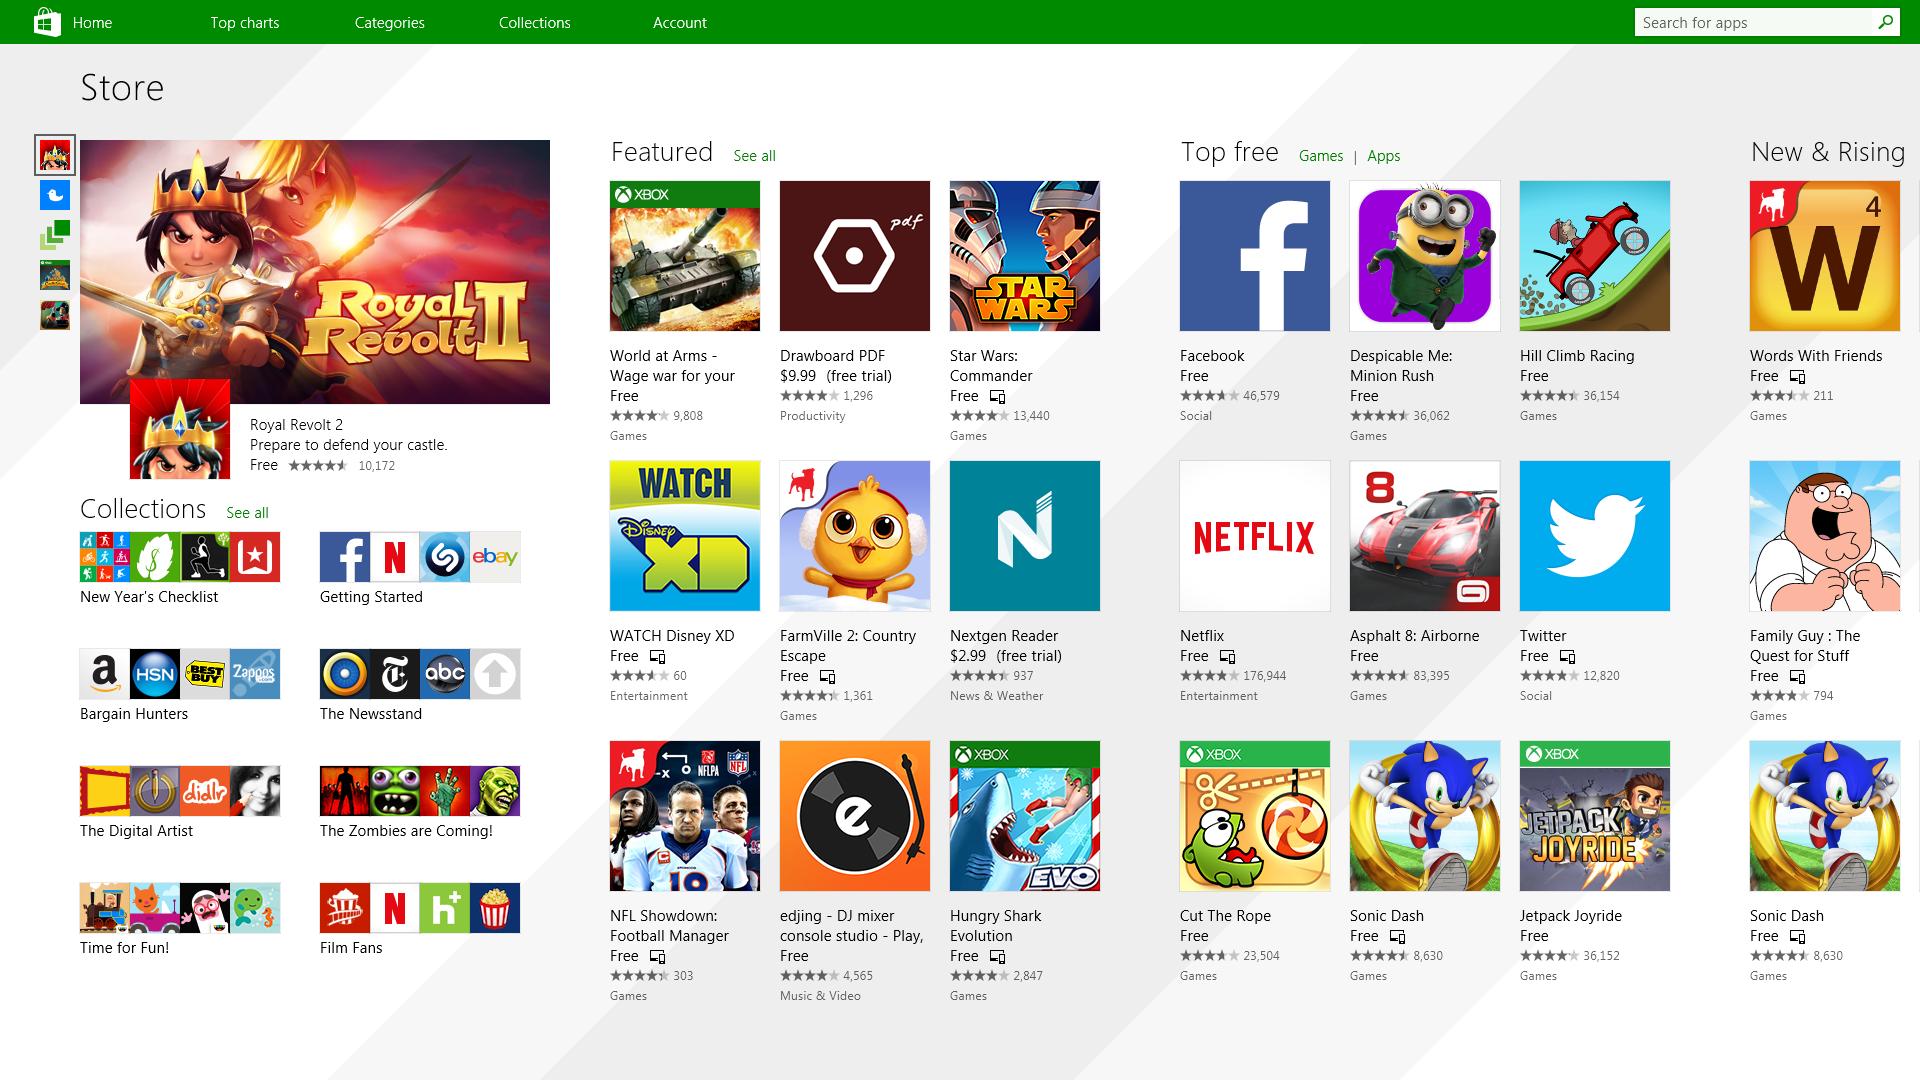
It has officially confirmed that many open source and free applications will be in it like Opera, VLC, discord, Libre office, etc. It seems that Microsoft wants to place its store as one place to go for all of your software needs. Another great surprise is the coming of Epic games store implementation. It was officially confirmed but not explained in detail, will we have Epic store opened in Windows store or we will only get installer as a package we will see but this is some great news. As for how it states now, it seems that the Windows store aims to eliminate searching the web for applications and bring them all into one environment with reviews and ratings so you know which one to install and use. It also features a great search engine to find proper applications for your needs. The new store will come to Windows 10 as well but after all Windows 11 has been mostly released and adopted. So expect it via update in two or three months' time. It would be great if some larger companies decide to join MS stores like Autodesk, Adobe, the Foundry, etc so you can install everything you need from it but one can only hope.
Read More
Fix AMD driver crashing Windows 10
Graphic cards are essential to our computers but from time to time in the race to make better GPU and to grab a large portion of the market bad drivers get released and can create really unwanted and unpleasant experiences, from Windows freezes to the black screen of death, to AMD driver Windows crashing down and many more. This article will cover basic troubleshooting with AMD drivers and offer you solutions on how to fix them.
  1. Rollback the previous version of the driver.

    Installing the new driver version is the reason for this particular error, so naturally rolling back the previous version which was stable and did not cause issues will solve the problem. To roll back the previous version of drivers follow the next steps: Open Start menu and click on settings, go to system and choose Apps and features Find: AMD Catalyst Install Manager, right-click on it, and choose to uninstall Go to AMD official website and download the previous driver version, install it on your computer Turn off automatic driver updates and reboot your system
  2. Reinstall the driver

    Sometimes it is not a bug in the released driver, it is a corruption of files because of file transfer or any other specific reason. The reinstalling driver will fix an issue if this is the case. To reinstall the driver Press ⊞ WINDOWS + X and choose Device Manager Expand Display adapters, right-click on AMD device and choose to uninstall Go to the official AMD website, download the latest driver and install it Reboot your system
  3. Disable browser extensions

    Some users have reported that error occurs only when they are watching videos online, if this is your case, go to your browser options and disable extensions to see if this will remove the problem.
  4. Remove Lucid Virty MVP

    If by any chance have this relic installed on your system, go to Applications and remove it. It is an old program shipped with old drivers and it is usually present in your Windows that was upgraded from 8.1 to 10. Uninstall it and see if this fixes your issue.
  5. Clean your graphic card

    Sometimes this error can happen due to excessive dust on your GPU, if you have the expertise, clean it or take it somewhere to be cleaned.
Read More
Radeon Settings are currently not available
One of the most common brands of GPUs that comes in a large number of computers is AMD’s Radeon Graphics processing units. AMD included the Radeon Settings panel so that users can control how the hardware functions. However, as of late, a lot of users reported that the Radeon Settings panel throws an error that says, “Radeon Settings are currently not available. Please try again after connecting AMD graphics” when they try to use it. This kind of error in the Radeon Settings panel is most likely caused by either corrupted drivers or incompatible drivers. If you are one of the users who are facing this problem, worry not for this post will guide you in fixing this error. You can either use the Device Driver Uninstaller or change the driver version. For more details, make use of the options provided below.

Option 1 – Try to use the Device Driver Uninstaller

The first thing you can do to fix the problem is to uninstall the AMD Radeon drivers by using the Device Driver Uninstaller software. After you’ve uninstalled the AMD Radeon drivers using this software, go to the official website of AMD to download the AMD Radeon drivers. Once you’ve downloaded them, you can install them by simply running the executable file. Once the installation of the new AMD Radeon drivers is done, try to open the Radeon Settings panel and see if the error is now fixed or not. If not, refer to the next given option below.

Option 2 – Try changing the Driver version

If you have followed the instructions in the first option then you can proceed to the next given steps below.
  • Now that you’ve completely uninstalled the AMD Radeon drivers and reinstalled their latest working versions, check if the drivers are still updating. If they are, you need to stop them.
  • To disable the drivers being automatically updated, you need to go to the Group Policy Editor by tapping the Win + R keys to open the Run utility and then type “gpedit.msc” in the field and tap Enter or click OK.
  • After opening the Group Policy Editor, navigate to this policy setting: Computer Configuration > Administrative Templates > System > Device Installation > Device Installation Restrictions
  • From there, double click on the “Prevent installation of devices that match any of these device IDs” policy setting to open a new window, and from this window, you will see the following description of the setting:
“This policy setting allows you to specify a list of Plug and Play hardware IDs and compatible IDs for devices that Windows is prevented from installing. This policy setting takes precedence over any other policy setting that allows Windows to install a device. If you enable this policy setting Windows is prevented from installing a device whose hardware ID or compatible ID appears in the list you create. If you enable this policy setting on a remote desktop server the policy setting affects the redirection of the specified devices from a remote desktop client to the remote desktop server. If you disable or do not configure this policy setting devices can be installed and updated as allowed or prevented by other policy settings.”
  • Now set the radio button of the policy setting to “Enabled”. This will turn off the delete confirmation prompt. Note that setting the radio button to either Not Configured or Disabled will turn off the driver being automatically updated.
  • Next, click on the Show button under the Options section. And in the field that pops up, type in the Hardware ID of your GPU and click OK. You can find the GPU’s Hardware ID under this location: Device Manager > <DEVICE NAME> Properties > Details > Hardware IDs
  • Once you’re done, click the Apply and OK buttons to save the changes made.
  • Close the Group Policy Editor and restart your PC and see if the “Radeon Settings are currently not available. Please try again after connecting AMD graphics” error is now fixed.
Read More
An Easy Guide to Fixing Libvlc.dll Error

Libvlc.dll Error Code - What is it?

Libvlc.dll error is a type of DLL file error. Libvlc.dll is a type of Dynamic Link Library file associated with 3rd party software developed by the Videolan Team for the Windows OS. Libvlc.dll file contains small programs similar to EXE executable files which allow multiple software programs to share the same functionality. It helps load and run certain programs developed by Videolan Team on your system. The Libvlc.dll error pops up when the file fails to load and run your desired program. This error is usually triggered during program installation while a Libvlc.dll related software is running on the PC or during Windows start-up or shut down. Libvlc.dll error code may appear on your Windows computer in any of the following formats:
"Libvlc.dll not found." "The file libvlc.dll is missing." "Cannot register libvlc.dll." "Cannot find C:WindowsSystem32\libvlc.dll." "Libvlc.dll Access Violation." "Cannot start Third-Party Software. A required component is missing: libvlc.dll. Please install Third-Party Software again." "This application failed to start because libvlc.dll was not found. Re-installing the application may fix this problem."
Though Libvlc.dll error is not a fatal error code but nonetheless it is advisable to resolve it immediately to avoid any inconvenience.

Solution

Restoro box imageError Causes

Libvlc.dll error code may occur due to several reasons including but not limited to:
  • Corrupt Libvlc.dll registry entry
  • Malware infection
  • Hardware failure
  • Deleted or missing Libvlc.dll file
  • Another program overwrote the required version of Libvlc.dll

Further Information and Manual Repair

Here are some of the best and easy-to-work-around methods that you can try to resolve Libvlc DLL error on your system in minutes. Let’s get started:

Method 1: Re-install the Deleted Libvlc.dll file

Since DLL are shared files, sometimes the error code may pop up if it is deleted accidentally while uninstalling a program that is also run by the same file. In such a situation, to resolve the Libvlc.dll error all you have to do is re-install the deleted file by going into the recycle bin. If you find it reinstall, but if you don’t then simply download Libvlc.dll file from a reliable DLL file website and install. Hopefully this will resolve the issue. Alternatively, you can re-install VLC which should come with a complete copy of the libvlc.dll. However, if the error code still persists, then try other methods given below.

Method 2: Restore Points - Undo the Recent Changes

Another way to resolve Libvlc dll error is to restore your Windows system to an earlier point. System Restore can return your PC system files and programs back to a time when everything was working absolutely fine. This can help you avoid hours of troubleshooting headaches. This can be easily done by going to the start menu. In the search box type System Restore and press enter. Now click System Restore and enter administrator password if prompted. Follow the steps in the Wizard to choose a restore point and then reboot to activate changes.

Method 3: Repair the Registry

The Libvlc dll error can be triggered by invalid registry entries. To resolve, simply download Restoro. This is a user-friendly and multi-functional PC Fixer embedded with a powerful registry cleaner. It removes all the invalid files, repairs the damaged DLL files, and cleans the registry in seconds. Click here to download Restoro and resolve Libvlc dll error today!
Read More
How to Repair Runtime Error 216

What is Runtime Error 216?

Runtime Error 216 is not a common error message like Runtime Error 339. However, it may sometimes occur when starting up the computer if you are using a Windows-based application or using Internet Explorer.

Solution

Download Available to Completely Repair Runtime Error 216

Restoro box imageError Causes

The runtime error 216 error occurs when your computer gets infected with one or more viruses. The most common virus, in this case, is the SubSeven Trojan virus. Once your computer gets infected with a virus(es) it creates a backdoor on your Windows system. This might give hackers access to monitor your PC remotely. This poses a great risk to confidential information and personal data stored on your PC. The hackers can easily monitor your PC, access your private information and misuse it.

Further Information and Manual Repair

If you experience this error message, it is advisable to repair it immediately without any delays; Runtime Error 216 can make your system vulnerable. Here’s what you must do:
  • First things first, disconnect the internet connection so that the hacker can’t access your PC.
  • Now perform a boot scan through a powerful antivirus.  The antivirus will scan your system for viruses. After the scan is complete, all the disinfected files will appear in the scan report results. You are advised to delete them and click repair to fix the error.
  • Remember the antivirus will not scan infected Windows Registry entries, therefore to remove SubSeven.exe Windows Registry entries go to the start menu and type REGEDIT in the search box.
  • Click on REGEDIT and select Run as Administrator. Now type the following registry path HKEY_LOCAL_MACHINESoftware. This will help locate SubSeven.exe infected files. Once located, delete all of them and close Windows Registry Editor.
To ensure your computer is completely free from SubSeven Trojan Virus and other possible viruses, it is advisable to remove all the recently installed programs and downloaded applications. This is recommended because sometimes while downloading programs, we tend to download corrupted programs which include viruses. It’s, therefore, best to delete all the programs you’ve installed recently. Secondly, to prevent virus and hacker attacks, you must frequently update your security program by installing a powerful antivirus program. Following the repair guide steps will protect your system from malware. It will also help fix runtime error 216 and ensure your PC is protected from similar threats.
Read More
Edge Content Process has stopped working
A lot of programs in Windows utilize the helper processes to ensure that they can get the job done as early as possible. And one of the programs that use these processes is Microsoft Edge. This built-in browser uses a process called the Edge Content process. The moment you start your computer, these system processes are loaded which makes the Edge browser load faster. To be specific, these are the three processes that are related to Microsoft Edge:
  • MicrosoftEdge.exe
  • MicrosoftEdgeCP.exe
  • MicrosoftEdgeSH.exe
The process that ends with the “CP.exe” is the content process in Edge. However, when this process stopped working, this can affect the Edge browser. In such cases, when you check the Reliability Monitor, you will see that the state of the “Microsoft Edge Content Process” is “Stopped working” which keeps on appearing. To resolve this issue, you can try to clear the browsing data of Microsoft Edge or repair or reset it. You can also try re-registering Edge via Windows PowerShell as well as check your security programs that might be causing interference with the process.

Option 1 – Clear the browsing data of Microsoft Edge

  • Open Microsoft Edge.
  • Then click on the three horizontal dots to open the menu.
  • From there, click on Settings. And under Settings, click the “Choose what to clear” button under the Clear browsing data section.
  • Next, check all the checkboxes and then click the Clear button to clear the browsing data in the Edge browser.
  • Restart Edge.

Option 2 – Try to reset, repair or reinstall Edge via Settings

You can reset, repair or reinstall the Edge browser through Settings. If none of it helped, you can try the following:
  • Open File Explorer and then go to this path – C:/Users/YourUsername/AppData/Local/Packages
Note: Before you type in the path in the Address bar, make sure that you put your user account name in place with the “YourUsername”.
  • Tap Enter to proceed.
  • Next, look for the folder named “MicrosoftEdge_8wekyb3d8bbwe” then right-click on it.
  • Click on Properties and uncheck the option “Read-only” under the General tab in the Properties window.
  • Click on Apply and then OK to save the changes made.
  • After that, look for the MicrosoftEdge_8wekyb3d8bbwe folder again and delete it. And if a prompt stating “Folder Access Denied” appears on your screen, just click on the Continue button to proceed – doing so will delete most of the content inside the folder except for the folder named “AC”.
  • Restart your computer

Option 3 – Re-register Edge via Windows PowerShell

  • In the Start Menu, search “Windows PowerShell”.
  • Right-click on Windows PowerShell from the search results and select the “Run as administrator” option.
  • Type in this command in the PowerShell windows and tap Enter – Cd C:/Users/YourUsername
  • After that, type in this command and tap Enter – Get-AppXPackage -AllUsers -Name Microsoft.MicrosoftEdge | Foreach {Add-AppxPackage -DisableDevelopmentMode -Register "$($_.InstallLocation)AppXManifest.xml" -Verbose}
  • Restart your PC.
Get-AppXPackage -AllUsers -Name Microsoft.MicrosoftEdge | Foreach {Add-AppxPackage -DisableDevelopmentMode -Register “$($_.InstallLocation)AppXManifest.xml” -Verbose}

Option 4 – Try to check your security program

It is possible that a security program installed in your computer is the one that’s causing the problem which is why you have to check it. According to security experts, there are some security programs that could be detecting the Edge’s content process as suspicious, blocking or terminating it as a result. Thus, you need to modify your security program’s settings to fix the problem.
Read More
VirtualBox displays Black screen
If VirtualBox suddenly displays a black screen without any text or mouse cursor when you are trying to boot a guest operating system, then read on as this post will guide you in fixing such an issue. This black screen occurs when Windows 10 failed to provide a specific setting that VirtualBox requires. Consequently, you will not be able to install or use any guest operating system in VirtualBox even if your PC has virtualization support, the best thing you can do now is to fix this black screen issue. There are two ways you can fix this black screen in VirtualBox, you can either try to disable Hyber-V or disable 3D Acceleration. For more details, refer to each one of the given options below.

Option 1 – Try to disable Hyper-V

Hyper-V is a built-in virtualization tool available in Windows that helps users in creating a virtual machine as well as install a guest operating system without using any third-party tool like VMware, VirtualBox, and many more. However, the problem with this virtualization tool is that some systems cannot run it and VirtualBox simultaneously which is most likely why the screen abruptly turns into black. Thus, you have to disable Hyper-V to resolve the problem. How? Refer to these steps:
  • In the Start Search, type “Turn Windows features on or off” and then click on it from the results.
  • Once you’ve opened the Windows Features window, remove the checkmark from the Hyper-V box.
  • Click the OK button and then restart your computer.
  • Now try to use VirtualBox again and see if the problem is fixed.

Option 2 – Try to disable 3D Acceleration

The guest operating system will use the host computer’s GPU to render 3D graphics if you enable the 3D Acceleration for the virtual machine. To simply put it, it will enhance the graphics of the virtual machine and will let you use 3D graphics. Although it may seem nice, it can actually cause the black screen to appear as well so you might have to disable it to isolate the problem. In fact, a lot of operating systems have failed to use the 3D Acceleration for the guest operating system because of this black screen issue. To disable it, follow these steps:
  • Open VirtualBox on your computer and select the virtual machine.
  • Next, click on the Settings button and go to the Display section.
  • After that, look for a checkbox named “Enable 3D Acceleration” located on your right-hand side and then uncheck it.
  • Save the changes you’ve made and reboot your PC and see if you can now run the virtual machine without any problem.
Read More
Fix MEMORY_MANAGEMENT due to Chrome browser
When you try to open your Google Chrome browser and it starts to connect to the internet but suddenly, your Windows 10 computer crashes along with a Blue Screen error that says, “MEMORY_MANAGEMENT”, then read on as this post will guide you in fixing the problem. This kind of BSOD error occurs when Google Chrome requests more memory or when it tries to access the network and demand is raised for more memory, the memory management program fails. To fix the problem, here are some possible solutions you might want to try. Follow them thoroughly.

Option 1 – Use the Driver Verifier Manager

The Driver Verifier Manager is another tool in Windows that could help you fix driver-related issues. And since the MEMORY_MANAGEMENT Blue Screen error concerns Google Chrome and an internet connection, the root cause of the problem might have something to do with the Network driver and to verify that, you can use the Driver Verifier Manager:
  • Type in the keyword “Verifier” in the Cortana search box to search for Verifier in Windows 10.
  • After that, select the option “Create custom settings”.
  • Make sure that you have checked everything except the options “DDI compliance checking” and “Randomized low resources simulation”.
  • Next, select the option “Select driver names from a list” option.
  • Afterward, you have to select all the drivers from any unofficial or third-party provider. To simply put it, you have to select all the drivers that are not supplied by Microsoft.
  • Then click on the Finish button.
  • Open Command Prompt as administrator and execute this command – verifier /querysettings
  • The command you just executed will display the Driver Verifier settings so if you see any of the flags enabled boot your Windows 10 PC into Safe Mode.
  • Open the Command Prompt as admin again and run this command – verifier /reset
  • The command will reset the Driver Verifier. Once the process is done, restart your PC and check.

Option 2 – Try updating the Network drivers

  • Tap the Win + R keys to launch the Run window and then type in the “devmgmt.msc” command and hit Enter to open the Device Manager window.
  • Under the Device Manager, you will see a list of drivers. From there, look for the Network Adapters and expand it.
  • Then right-click on each one of the Network drivers and update them all.
  • Restart your PC and see if it helped in fixing the MEMORY_MANAGEMENT BSOD error.

Option 3 – Try disabling Hardware Acceleration

You might want to disable Hardware Acceleration system-wide or for a particular program like Google Chrome and see if it resolves the MEMORY_MANAGEMENT error

Option 4 – Run the Memory Diagnostic Tool to check for Memory leaks

  • Tap the Win + R keys to open Run and type exe and hit Enter to open the Windows Memory Diagnostic Tool.
  • After that, it will give two options such as:
    • Restart now and check for problems (Recommended)
    • Check for problems the next time I start my computer
  • Once your computer has restarted, perform a basic scan or you could also go for the “Advanced” options such as “Test mix” or “Pass count”. Simply tap the F10 key to start the test.
Note: After you select the option, your PC will restart and check for memory-based issues. If it finds any issues, it will automatically fix them and if there’s no issue found, then it’s most likely not a memory-based issue so you should try the other options given below.

Option 5 – Perform a System Restore

Performing System Restore might help you in fixing the SYNTP.SYS Blue Screen error. You can do this option either by booting into Safe Mode or in System Restore. If you are already in the Advanced Startup Options, just directly select System Restore and proceed with the next steps. And if you have just booted your PC into Safe Mode, refer to the steps below.
  • Tap the Win + R keys to open the Run dialog box.
  • After that, type in “sysdm.cpl” in the field and tap Enter.
  • Next, go to the System Protection tab then click the System Restore button. This will open a new window where you have to select your preferred System Restore point.
  • After that, follow the on-screen instructions to finish the process and then restart your computer and check if the problem is fixed or not.

Option 6 – Run the Blue Screen Troubleshooter

The Blue Screen troubleshooter is a built-in tool in Windows 10 that helps users in fixing BSOD errors like MEMORY_MANAGEMENT. It can be found in the Settings Troubleshooters page. To use it, refer to these steps:
  • Tap the Win + I keys to open the Settings panel.
  • Then go to Update & Security > Troubleshoot.
  • From there, look for the option called “Blue Screen” on your right-hand side and then click the “Run the troubleshooter” button to run the Blue Screen Troubleshooter and then follow the next on-screen options. Note that you might have to boot your PC into Safe Mode.
Read More
1 2 3 171
Logo
Copyright © 2023, ErrorTools. All Rights Reserved
Trademark: Microsoft Windows logos are registered trademarks of Microsoft. Disclaimer: ErrorTools.com is not affiliated with Microsoft, nor claims direct affiliation.
The information on this page is provided for information purposes only.
DMCA.com Protection Status